Apricot and Ginger Tarte Tatin

I’d love to get my hands on some really good apricots! The ginger with this sounds yummy!

Linda Duffin's avatarMrs Portly's Kitchen

Image of Howard's apricot bushes

I experienced serious fruit tree envy recently when visiting Kenton Hall in Suffolk, home of the McVeigh family and their longhorn cattle. It’s also home to Aunt Paddy and Uncle Howard, possessors of a lovingly-tended kitchen garden and crucially, of three or four espaliered apricots. Howard is rightly proud of them and says they produce a good crop of fine-flavoured fruit.

We have apples and pears, plums and gages, quince and cherries, blueberries, strawberries, raspberries, tayberries, gooseberries, red-, white- and blackcurrants and something Dutch I can never remember the name of. What we don’t have are any apricots, so I was well jell, as my nieces and nephews probably wouldn’t be caught dead saying. I did, however, manage to source a few punnets in our local Co-op.

Image of bowlful of apricots

Usually I make apricots into a conserve, which is without a doubt the most popular jam in the Portly preserve cupboard. This time…

View original post 72 more words

The less common parts of the beast

As you’ve seen in my posts on offal before, there are edible parts of the animal that you won’t find in the supermarket–Americans seem to focus on only the really choice (not referring to USDA grading here) parts of the animal–like steaks and roasts.  We relegate  some really tasty parts to pet food (not that I don’t love the cat–I’ll share).

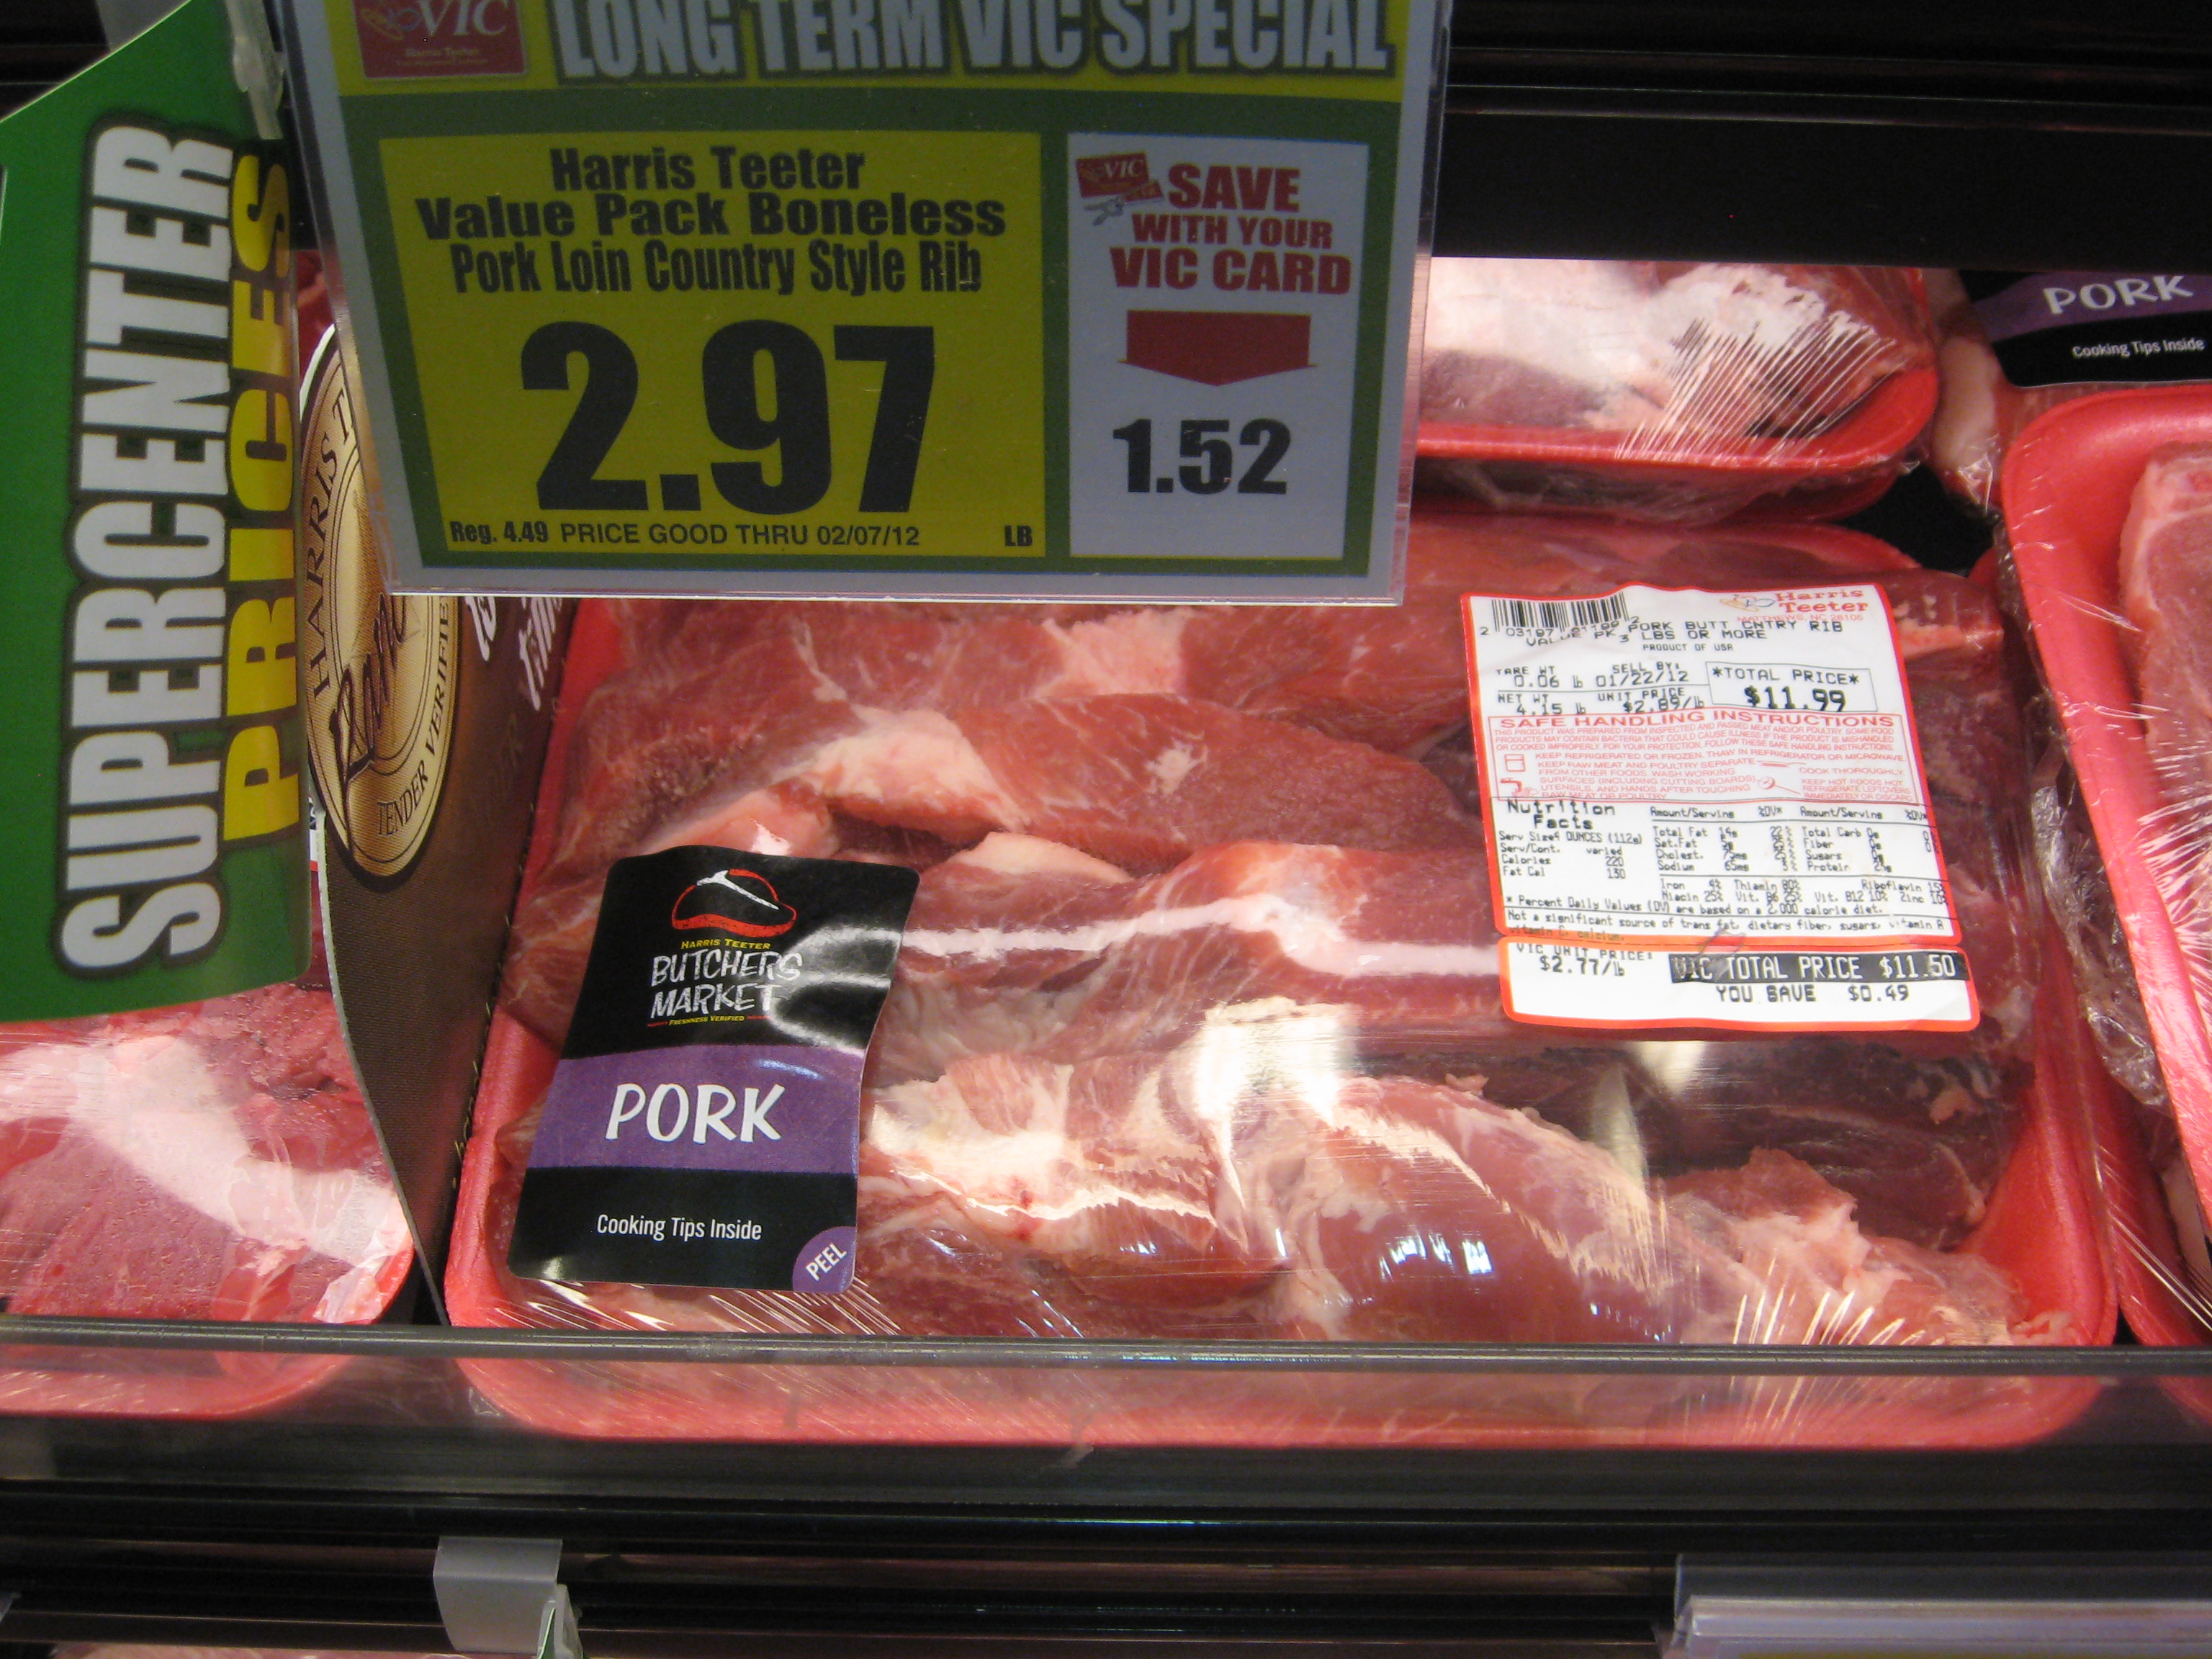
If you want to sample some of these tasty bits,  you’ll  need a local supplier who butchers their own animals or you can likely find some of these other edible parts in an Hispanic or Asian market, though I’ve noticed that pork belly has been showing up in the meat case at my local Harris Teeter recently.

For cooking instruction for the odd bits, some of my favorite cookbooks for this “nose-to-tail” or “everything but the oink” eating are by Fergus Henderson and Jennifer McLagen. See Bibliography page.

This really isn’t offal–it’s not an internal organ, but it is part of the beast that we don’t usually cook (except as bacon), kind of like jowels or cheeks.  For some really luscious pork, you should try pork belly.  This is going to be more like what you’d get if you attend a “pig pickin'”, rather than the usual pork roast that shows up on the dinner table.  If these pictures from Eat the Earth don’t have you drooling on your keyboard, I can’t imagine what will.

The method used there was from Jamie Oliver.com; here is a recipe for roast pork belly.  This is serious comfort food–and it’s good to be able to get this without having to wait for an occasion where the whole pig has been cooked. Now that you’re acquainted with “less common” parts of the beast you should check out true offal: heart, liver, lungs, kidneys, and even the stomach and intestines. (Frankly, I have cooked and eaten tripe (stomach) and chitterlings (intestines), and probably will not ever cook those two bit of offal again–unless it’s the intestines as the casing of sausages.  That’s a whole different thing.  I’ll happily have a go at most of the other organs.

Since I’ve an easy supply of offal from Rose’s Meat and Sweet Market and a large Li Ming’s Global Mart (Asian) I’ve no problem getting the odd bits–like duck gizzards–so there will be more about offal as we go along.

Roast NY Strip Loin

This is a great way to do strip. If you’re cooking for one, you can use a strip steak cut about 2-2-1/2-inches thick. It gives some “leftovers” for a roast beef sandwich. It’s one way to cook roast beef for a single-serving meal with not too many leftovers.

Russ's avatarThe Domestic Man

The NY strip loin, sometimes called loin roast or top loin, is a cut taken from the top of the cow’s short loin. The short loin is located near the spine, past the ribs but before the tenderloin and round. This is a crowded area of the cow in terms of butchery, as the porterhouse and tenderloin also come from this section. In fact, this strip loin is basically an uncut series of NY strip steaks. Confused yet? Don’t worry, you don’t need to know how to break down a cow in order to cook up this delicious specimen.

We’re going to roast this loin in a method similar to my most popular post, this Perfect Eye of Round. We’ll blast the roast at 500F to create a nice crust, then reduce heat to 250F until it’s medium-rare.

Not one to leave a job half done, I also roasted…

View original post 108 more words

Dandelion greens for supper

soon to be supper

soon to be supper

Yesterday, it was sunny, a bit breezy, but warm enough to have the doors and windows open (in spite of the pollen).  Today, that warmth and sun is somewhere else, so I needed some sort of cool weather, one-pot meal.  (One-pot particularly since I’m right in the midst of a big indexing project, too.)  My rapid trip through the local Harris Teeter left me with a lovely big bunch of dandelion greens, and a pair of Sicilian sausages to play with.  Add onions, red bell peppers, and a little garlic and it will be supper.

Although the  dandelions are blooming (and that’s good–my bees will be here soon) I didn’t go out and forage for the greens.  I took the wimpy way out and bought them.  But they still taste good.

The dandelion greens from the supermarket are going to be older, tougher leaves than I’d pick were I out foraging.  The really young  leaves can be used as salad greens, uncooked.  These need cooking. Whether cooked or raw, dandelion greens are bitter–in a good way that makes them pair particularly well with the “sweetness” of Sicilian or Italian sausages.

Sicilian sausages

Sicilian sausages

The Sicilian sausage is similar to Italian, but has orange added so  it is “brighter” and not quite as “sweet” as Italian, nor as spicy as hot Italian, but the contrast between the sweet spices of the sausage and the bitterness of the greens is lively–certainly not bland.  Since these sausages are not hot, I added some hot red pepper flakes when I was seasoning the greens.

The sausages were browned (as described by Nigel Slater in his Real Food:

all in the pot

all in the pot

Very, very slowly and gently in a bit of olive oil.  (If you’re cooking for one, at least get some of his books from the library–they’re fun, easy reading, and have some good advice about food, and cooking in general, and one particularly.)

I added two medium onions thinly sliced, a red bell pepper cut into strips, and three large cloves of garlic (chopped), to sweat with the sausages for a bit, and finally, the chopped dandelion greens (with the very bottoms where there was only stem and no leaf removed with a hefty  pinch of kosher salt.  No extra liquid is required as the onions and peppers will give off some liquid, and the moisture left on the greens after washing is enough for cooking in the covered brasier. The domed lid will accommodate that pile of greens until they wilt down to not much volume like most greens.

Other than a pinch of kosher salt, garlic, and the red pepper flakes, I didn’t add other herbs or spices as I thought the seasoning of the sausages was enough contrast to the bitterness of the greens.

sausages and greens

ready to serve

I would really have liked to add some cannellini beans, or other white beans, but since I’m trying low-carbohydrate eating to lose some weight, I just couldn’t do it–though it was tempting, and I love beans. (A small display of will power, here.)

As you can see, there’s no recipe for this–you just use peppers, onions, and greens so that it looks right, keeping in mind that greens do really cook down to less than you expect when you look at them raw. I would have used a smaller amount of vegetables had I been adding the cannellini (or garbanzo) beans to this–or added another sausage.

That second sausage and the rest of the veggies have been popped into a heavy-duty freezer bag, with as much air removed as possible, to await another chilly, rainy day when I need something warming to eat–my version of the TV dinner.

ÒΔÓ

Wine?  But of course! Nothing really fancy. Just part of a bottle–my last one unfortunately–one of my favorite “everyday” Chateau d'Oupia Les Heretiques, IGP Pays de l'Herault, France labelwines: Chateau d’Oupia Les Heretiques.   It’s a blend of old-vine Carignan (90%) and Syrah (10%) that has some bright clean, cherry, plum, and spice that goes nicely with a lot of my casual cooking–even just a burger, or just sipping without food.  It’s also in the price range to make it “everyday”. It’s time to go to the Wine Cellar at Sutton Station and get some more of this.

plate of sausage, veggies

A son goût!


Chilean sea bass (Patagonian toothfish)

I could scarcely believe my eyes when I wandered past the seafood display in the newly opened Fresh Market.  There was Chilean sea bass (this name is really a marketing ploy)!  Or really, Patagonian toothfish.  It’s not pretty when as  the whole fish, but it’s luscious in the pan.  It’s also NOT cheap. And there are some that are considered “sustainable”, so I wasn’t being totally irresponsible–just fiscally irresponsible for my budget.  But it had been, literally, years since I’d eaten this luscious fish.  No will power effort here–I brought some home.

When I spend this kind of money for special fish (how about 7 ounce piece for $13.00–yes fiscally irresponsible, and the hock-your-soul category) I’m going to make very sure that I don’t screw up the cooking or seasoning. The texture is firm and meaty with large flake (in that respect somewhat like monkfish, tuna, or swordfish, but still has character of its own) and moderately oily so it doesn’t dry out during cooking. The flavor is often characterized as mild, buttery, somewhat like cod, halibut, or stripped bass;  not fishy in an undesirable way.  It’s the combination of flavor and texture that makes the toothfish so special–and nothing else can really be substituted if you want that particular flavor-texture combination.

If you’re looking at something called just “sea bass” it’s probably not toothfish–that’s usually sold as “Chilean”.  There are, however, a lot of fish sold as “sea bass”–white-fleshed, and lovely as well, but not as special, or expensive, as the toothfish, but still well worth trying.

The toothfish is oily enough to allow for lots of flexibility in method Picture of a cast from a 70kg Patagonian Toothfish of cooking–even broiling or grilling.  To keep it simple and let this special fish really shine, I took the really easy route: seasoned with salt and baked in a covered dish in a 425°F oven for about 25 minutes since it was a thick (almost 2 inches) piece of filet.  While that cooking was going one, I made a pan sauce of brown butter, shallots, and white wine, salt and pepper.

Efforts are being made to legally harvest toothfish, so before you buy check the source, but then break the budget and enjoy! (This image is from the Coalition of Legal Toothfish Operators, Inc.)

The wine? Well, another glass of my Alandra Portuguese white since this was a really simple preparation–and that’s a good all purpose white wine for causal use on a weeknight when I want a rather short glass.

“Pan-roasted” Swordfish

Sometimes a lot of good things come all at one time.  In this case it was the shad roe and another favorite that I haven’t seen in a while: swordfish. Yes, kind of feast or famine (at least figuratively). My shard roe is happily soaking in the salted water (1 tbsp per quart) overnight to purge blood. (I’d not tried this before since I like the “fishy” taste of herring, mackerel and blue fish, but after reading the post from The Garum Factory, I decided to try this way for this spring!

I’m sure that some of you are cringing, thinking that it’s an endangered fish. It was at one time, but we managed to lay off for a while and the population is coming back.  If in doubt about what you’re wanting to eat, here is the link to the Monterey Bay Seafood Watch Official Site. The Fisherman’s Market at my local Harris Teeter does support sustainable fishing, and usually gives the source for the fish.True, it’s not been long since I actually had so-called Chilean sea bass (Patagonian toothfish) that I purchased when the Fresh Market opened here in Durham.  Today I just couldn’t pass up that lovely swordfish steak.

swordfish steak in skillet

One of my favorite ways of cooking fish steaks is pan-roasting–sear one side on stove-top, and then pop into the oven for finishing the cooking evenly and gently. When I’ve a really special fish (Patagonian toothfish, tuna, swordfish) I tend to go for minimal seasonings to just enhance the fish.  That usually means butter or maybe extra-virgin olive oil, possibly lemon juice and/or zest, maybe parsley, or sometimes even a touch of garlic or ginger–but lightly.  After all, this is a very special, moderately expensive piece of fish here, so I want to focus on it. A simple pan sauce is all this needs.

browned in skillet

I did brine the swordfish steak (as suggested in Cook’s Illustrated, and then proceeded with the pan-roasting.  There’s really not a recipe for this–I used lemon juice, lemon zest and butter and a little white wine to deglaze the pan.

Ingredients

  • 1-inch thick swordfish
  • vegetable oil/olive oil

Preparation

  • Preheat oven to 425°F
  • Salt steak
  • Warm appropriately sized skillet on stove-top over medium-high heat and add oil
  • Sear steak on one side–about 3 minutes
  • Turn and place in oven for about 10 minutes
  • Remove steak to warm plate to rest
  • Deglaze the pan with butter, lemon juice (or white wine) and reduce slightly, adding pepper and herbs of your choice
  • Taste for seasoning, and pour it over the steak.

A son goût!

For those of you wondering about swordfish, here is the link to FishWatch.

Xiphias gladius2.jpg

“Xiphias gladius2” by Werner – Histoire naturelle des poissons. Licensed under Public Domain via Wikimedia Commons – http://commons.wikimedia.org/wiki/File:Xiphias_gladius2.jpg#mediaviewer/File:Xiphias_gladius2.jpg

Roasted beet soup

I really think that beets are right up there with cabbage as under-appreciated vegetables. I’ve another cold beet soup recipe some time ago, but I wanted to share this one with any beet lovers out there. Enjoy–either hot or cold.

Wendy Ellen Thomas's avatarWendy's Place

Spring is here and I’ve got little baby beet seedlings in the greenhouse but I can’t wait 65 days for them to make beets.

Roasted beet soup-7So until then I’m getting organic beets at the store. They are a vegetable, in my opinion, that spans all seasons. We ate this roasted beet soup hot and cold and both were delicious. So if you’re still freezing your tush off- heat it up. If you are in CA and it’s gone straight from winter to summer- keep it cool.

PRINT RECIPE: {ROASTED BEET SOUP}

  • 1½ lbs roasted, trimmed beets (about 4-6 medium-lg beets)
  • 2 ½ qts chicken stock- or veggie if you prefer
  • 3 T olive oil
  • 5-6 cloves garlic
  • 1 T honey
  • 1 tsp apple cider vinegar
  • 1 tsp salt
  • 1/8 tsp white pepper
  • 2-3 T sour cream or crème fraîche

It is super simple. The beets are roasted with skin on. I…

View original post 275 more words

Corned Beef for St. Patrick’s Day

Though it’s too late to get your corned beef this way, you can be prepared for next year! Corned beef is easy, and really good it’s DYI!

StefanGourmet's avatarStefan's Gourmet Blog

DSC07510
Happy St. Patrick’s day! It’s an Irish-American tradition to eat corned beef with cabbage on St. Patrick’s day. I usually don’t celebrate St. Patrick’s day (most people in the Netherlands haven’t even heard of it), but when I came across a recipe for corned beef with cabbage I thought the cooking technique was very interesting. You see, beef brisket is first cured in salt and spices (similar to the first curing of pancetta or gravlax), and then it is cooked. What finally won me over is that the recipe requires saltpeter (potassium nitrate, KNO3 or E252). Ironically, this ingredient is not available in Ireland, and so I bought it for Conor so he could make spiced beef. Although Conor only needed 12 grams, the smallest amount I could order was 2.5 kilograms.

10947257_957045920974339_1991779490484442380_n
I mailed enough of the ‘dangerous substance’ to Ireland for Conor to make spiced beef twice, and…

View original post 711 more words

Pan-roasting

I’ve mentioned pan-searing as a cooking technique for indoor steaks, or really anything that you want to have a nice brown crust on that is NOT really thick. Well, pan roasting is half a pan-sear, and then finish in the oven.  As this terminology suggests it involves doing part of the cooking on the stove-top (the searing) and part in the oven–the dry heat roasting part.  It’s a  technique that can be applied to many things: proteins–meat, poultry, fish, and vegetables. One of the advantages is that finishing the cooking in the oven is gentle and even.

The general technique for pan roasting proteins is simple:

  • adjust oven rack to mid-position and preheat oven, usually to 425°F to 500°F
  • select an oven-proof skillet
  • heat your skillet over high heat until hot
  • when hot, add your oil and reduce to medium-high heat
  • heat until oil is shimmering–just below smoking or just starting to smoke
  • pat you meat dry and add to skillet–it should sizzle!
  • cook until browned on one side, time will vary depending on the type of protein. When you put it into the pan, it will seem to stick. As it cooks, it will release cleanly with a gentle nudge of a spatula.  It should be well-browned on one side now.
  • transfer the skillet to the oven to complete cooking. Fish may need only a few minutes in the oven, while beef, pork may need longer.  Use an instant-read digital thermometer to check temperature. Remember that the temperature will rise while your meat rests.

Here are some video links to demonstrate pan roasting of various proteins.  It’s a great technique.

If you’re skulking through cookbooks and blogs, you sometimes hear “pan-roasting” applied to vegetables.  Often these are more like steam/sauté  rather than this method used for protein.  Probably we should refer to the method for cooking protein as pans-sear/oven-roast.

More pork and cabbage

prok butt country ribs IMG_6075

country-style ribs

Yes, more pork and cabbage.

I think pork is a really versatile meat, and cabbage an under-utilized vegetable.  So, more!

My local Harris Teeter had a special on pork country-style ribs recently–about half the usual price. (Not the price in that picture–less.)  Needless to say,  a big package of country-style ribs came home with me.  The weather has still been cool enough to have braises and stews–cool-weather dishes, so I though I would make braised pork and cabbage since that reheats well, and freezes well.

I was planning to do the Caribbean spiced one from Jacques Pepin’s book, but my plans were altered by the arrival of a manuscript for indexing. After looking at the manuscript, I decided that I needed to get started on that right away to be sure I could meet the deadlines–it’s very dense and intense, and brings out my OCD tendencies–so I opted for a braised pork that I could put together really quickly–in other words, improvisation.

one-pot meal in the making

potatoes and cabbage

I wanted to turn this into a one-pot, one-plate meal, so I put potatoes right in with the pork and cabbage.  I looked at the amount of pork and decided that it needed a whole large head of cabbage. I eye-balled what I thought would be a serving of potatoes with each serving of pork and cabbage, and popped those right in with the cabbage–scrubbed, unpeeled, and cut only if they were large. In this case I used “regular” green cabbage, instead of savoy. I sprinkled some salt over the layers of cabbage and potatoes.

I could have used a Dutch oven, but using a clay cooker let me take a few shortcuts to speed this up–including cooking a bit faster in the oven than had I used the Dutch oven and making it unnecessary to brown the ribs as a separate process before putting them into the pot. The meat will brown on the exposes surfaces while it cooks in the Römertopf since this is more roasting than braising, at least of the meat.

pork added to cabbage and potatoes

ready for seasoning

The Römertopf that I used (pre-soaked) for this was sized for 14 pounds (not that I had THAT much pork), but the quart sizing on these is misleading since it’s the capacity of the bottom (rather shallow).  I had a lot of pork, so I needed the head room here for all that meat. I put the pork over the cabbage and potatoes and seasoned it.

I used by “stand-by, go-to” when lazy seasoning–herbes de Provence because it’s such a great blend of flavors. (I really should have put some caraway seeds in with the Herbes De Provence
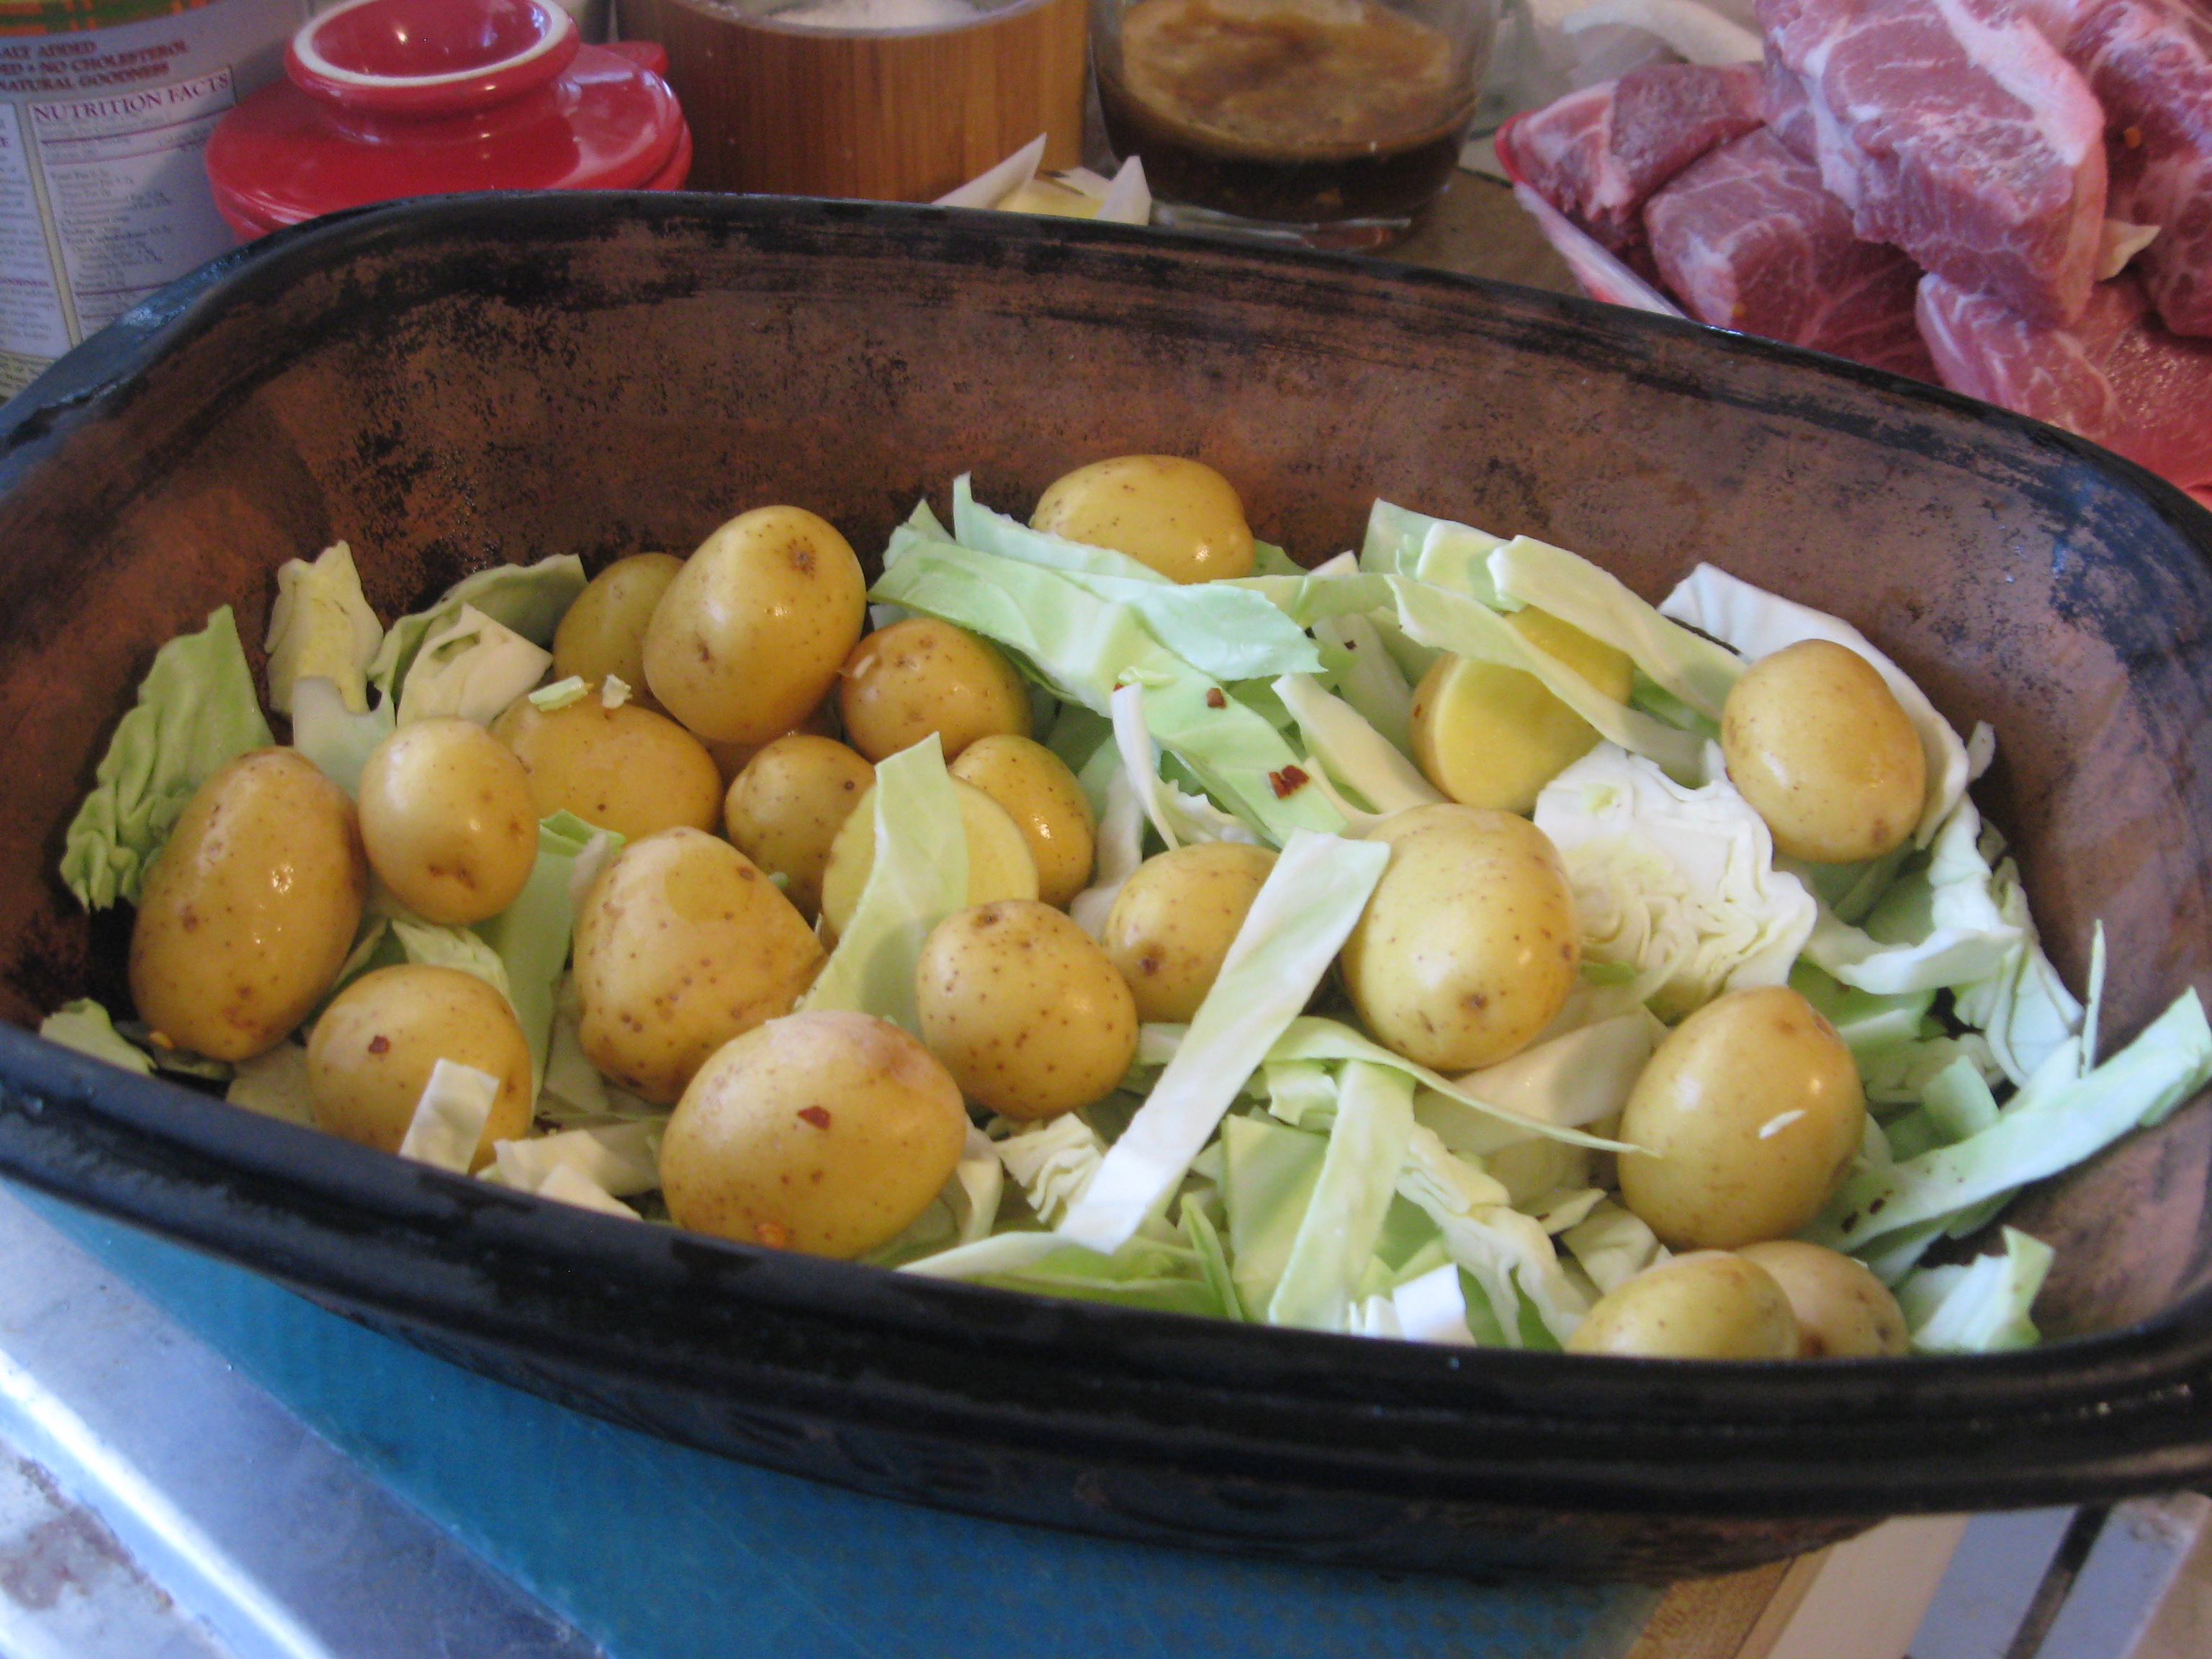
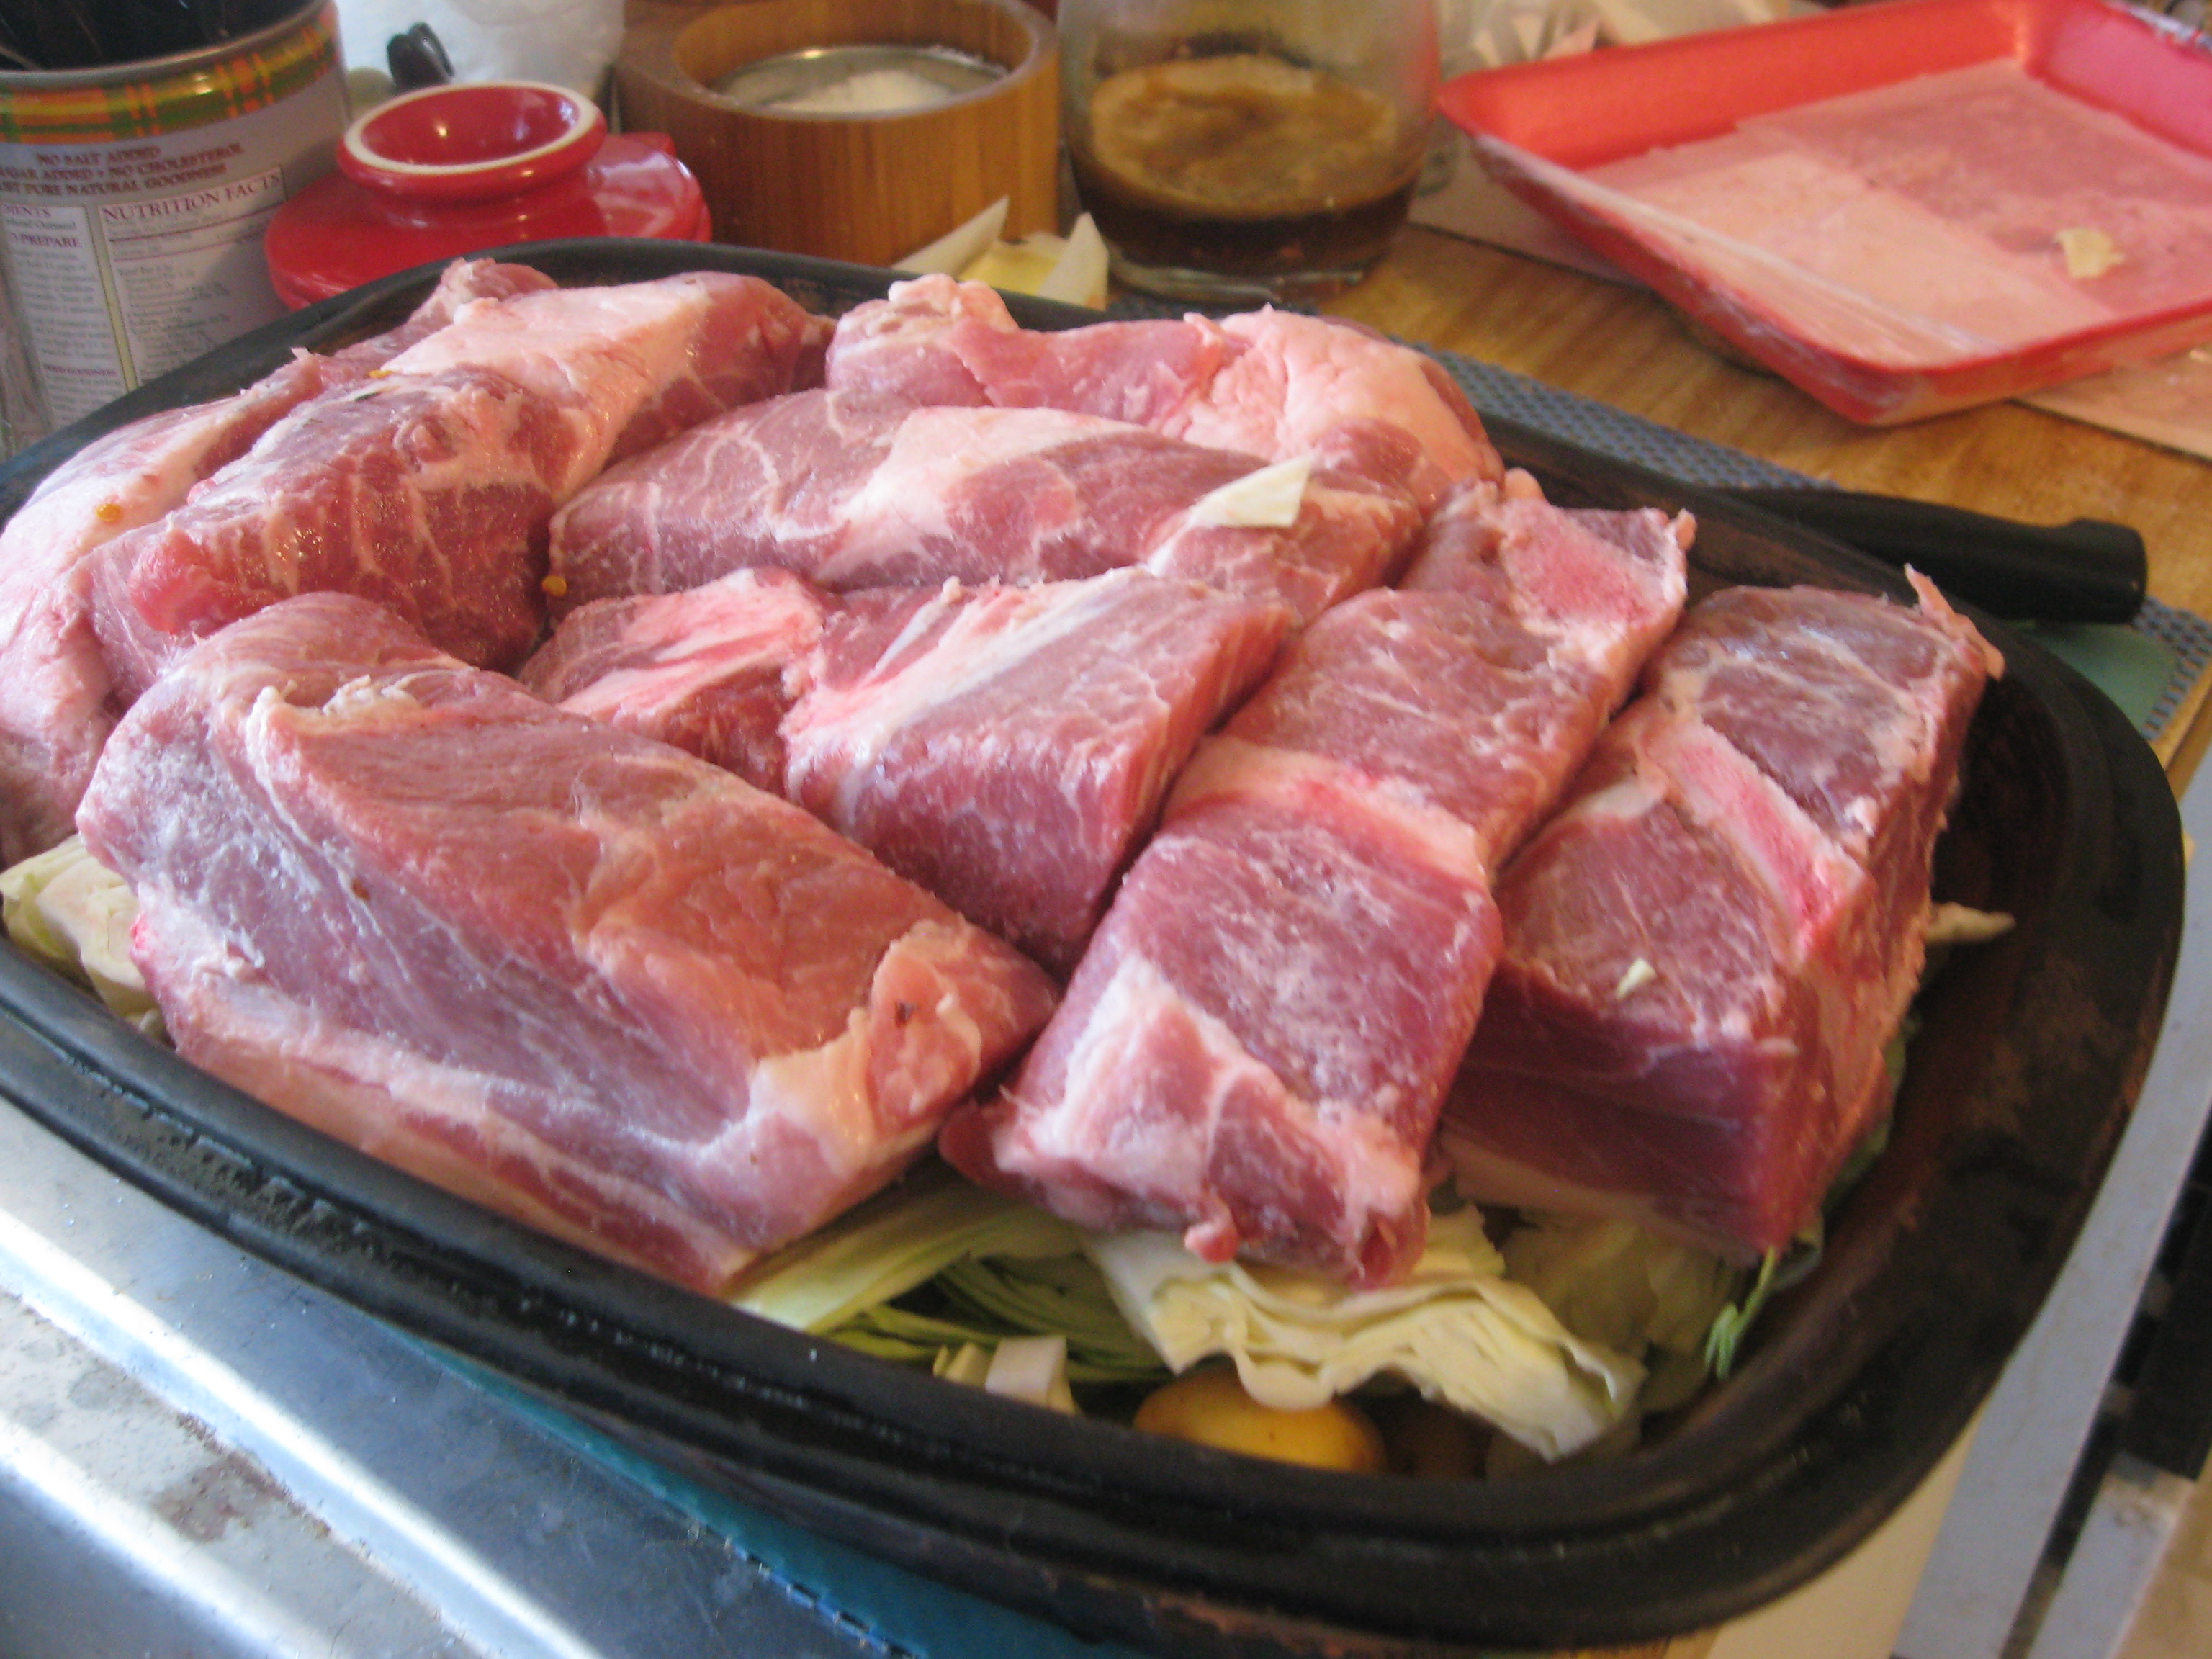
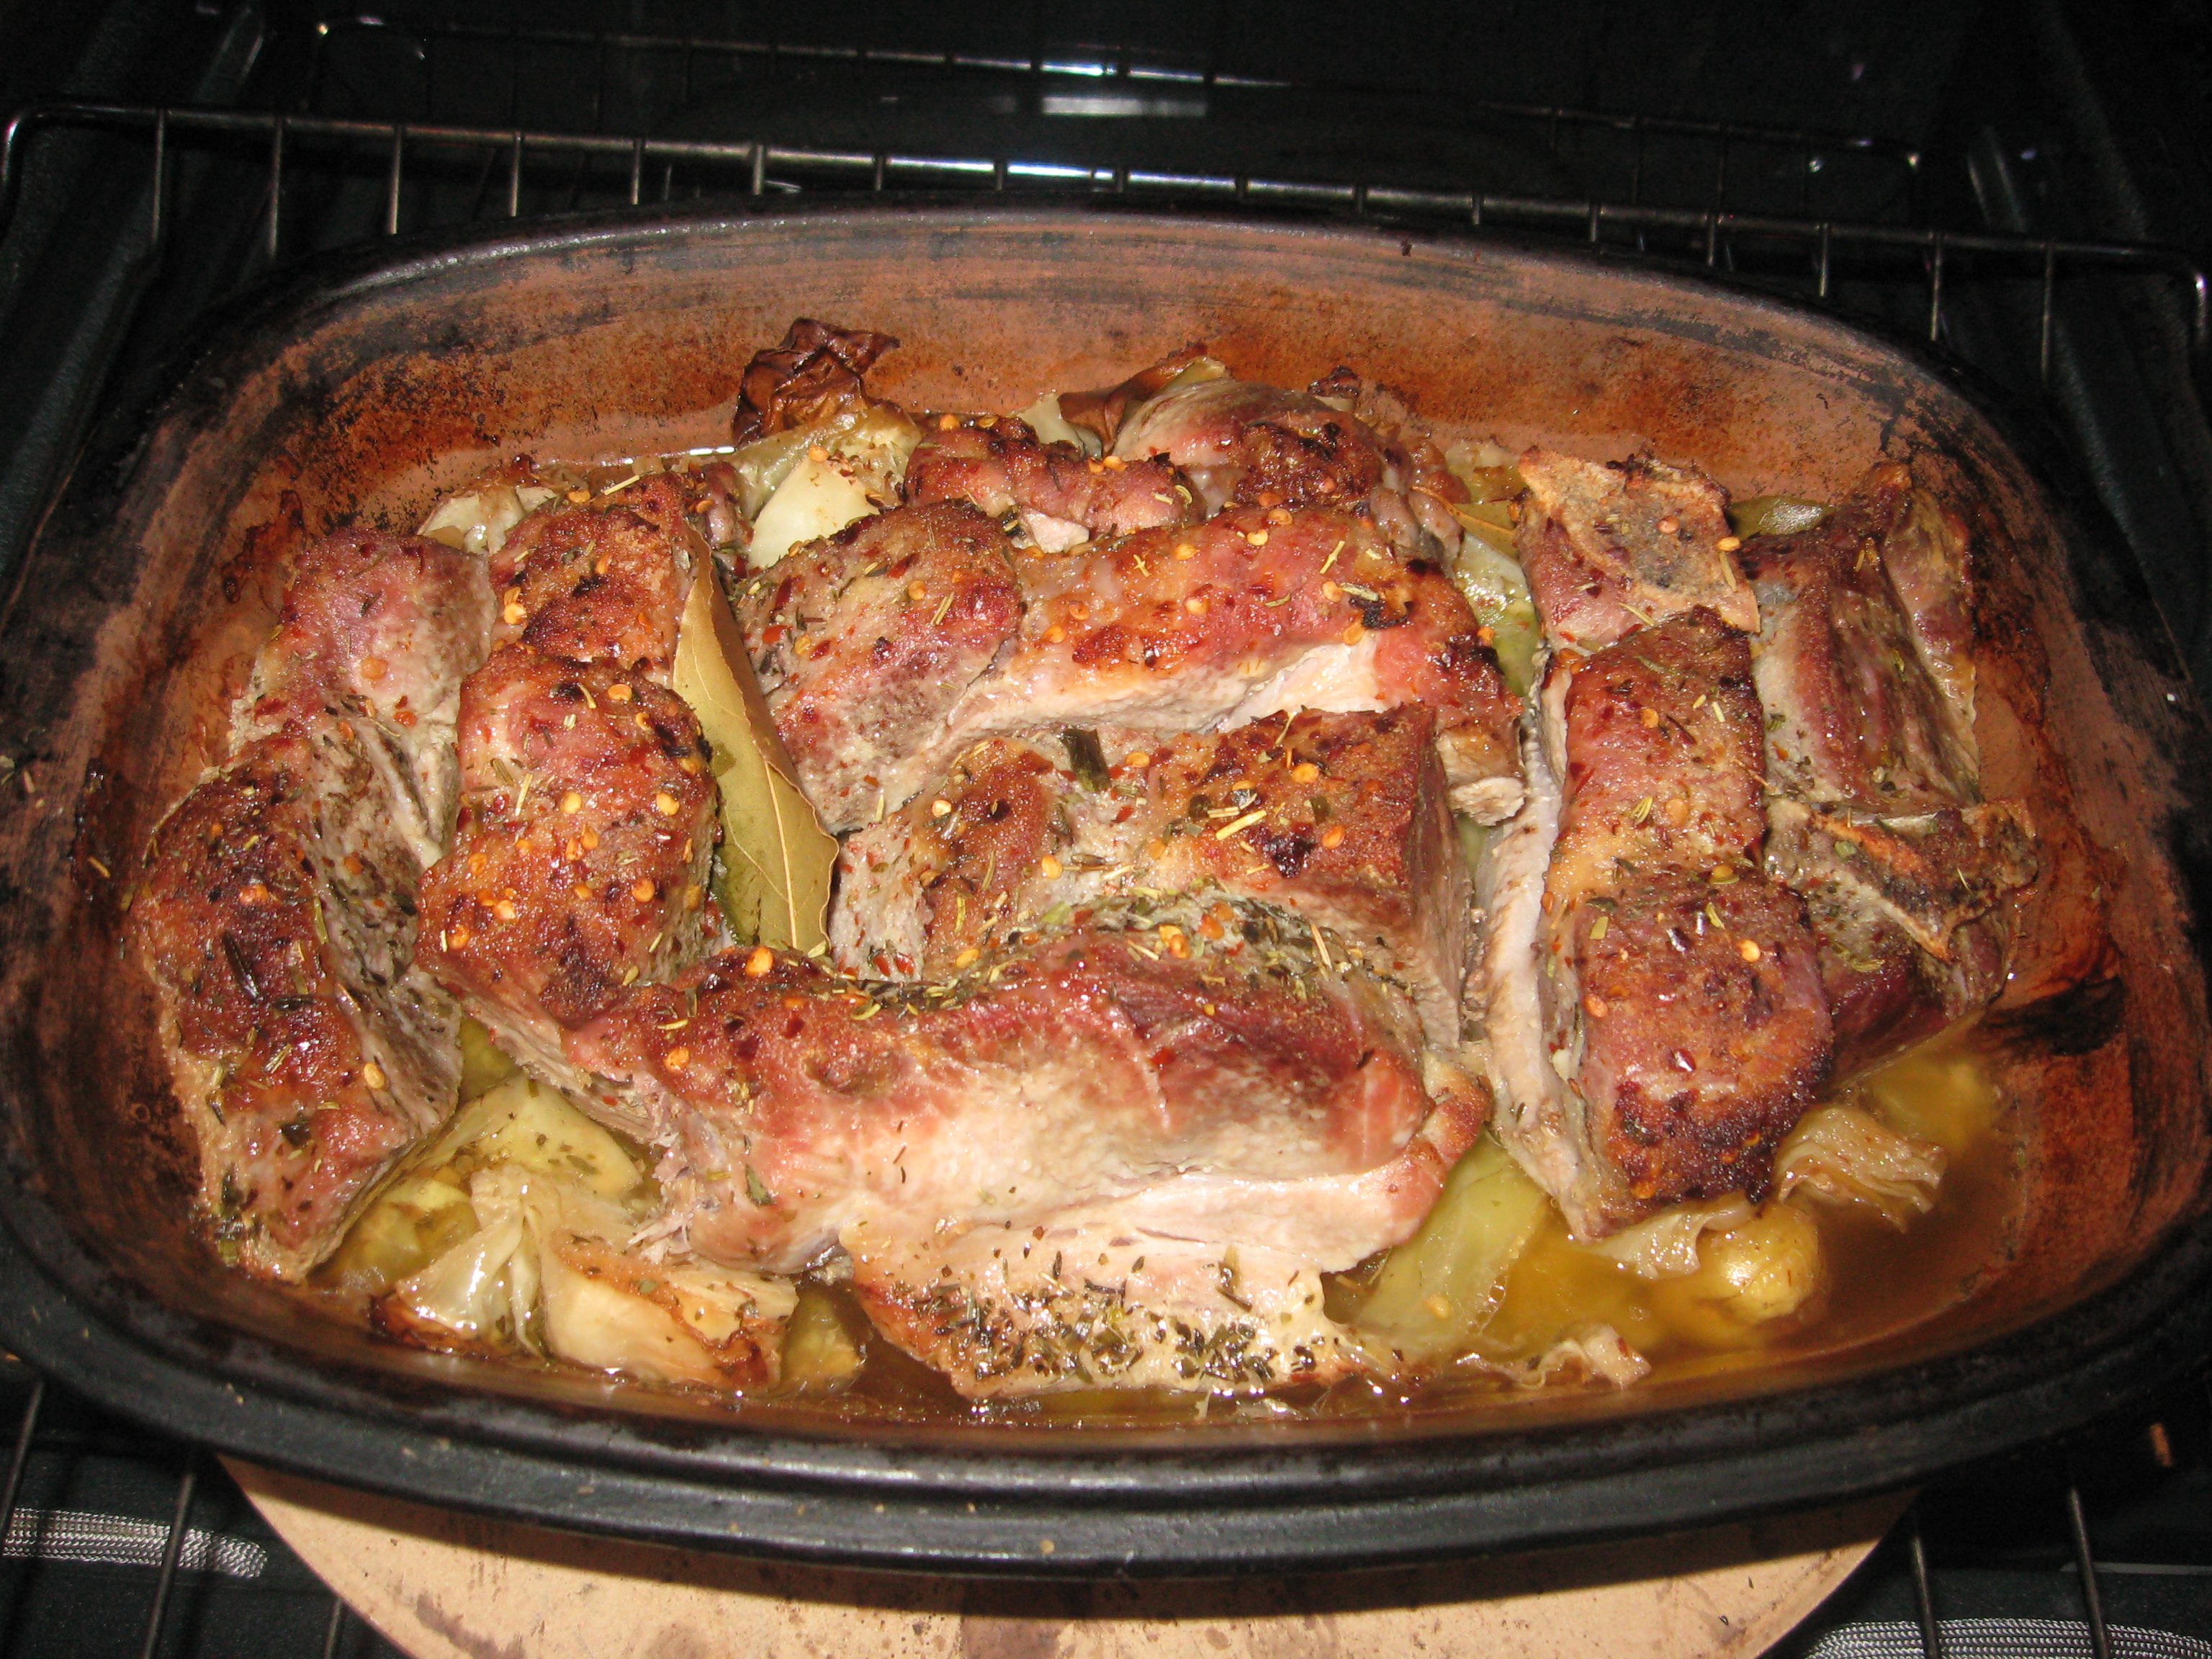
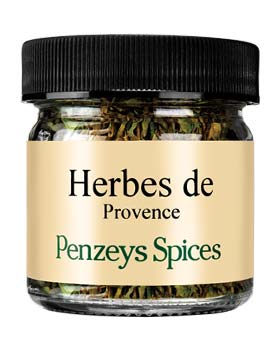
cabbage, under the pork–that would have blended nicely with the herbes de Provence on the pork). I sprinkled the meat with kosher salt, herbes de Provence, and added some red pepper flakes (hot) for a little extra spice; my supper was now oven-ready.

So there’s not really a recipe here, but to summarize:

Ingredients

  • country-style pork ribs (each strip makes one very good serving)–this was about 6 servings based on the amount of meat
  • one large head of cabbage, depending on what you want the ratio of meat to vegetables (this was about 1:2 meat to cabbage since I wanted large serving of cabbage with the meat).

    IMG_7990

    oven ready Römertopf

  • Yukon Gold potatoes (4 small per serving) but adjust as desired
  • salt (about 1 tablespoon for the entire dish) \*
  • herbes de Provence  or other herbs, about 2 generous teaspoons
  • red pepper flakes, about 1 generous teaspoon, adjust as desired

Preparation

If you’re using a clay baker like the Römertopf or Schlemmertopf, you will need to soak in water for 15 to 30 before putting into the oven. DO NOT preheat oven–clay pots must go into a cold oven.

ready to eat!

ready to eat!

  • Chop cabbage into about 1/2 inch (3.5-4cm) pieces
  • Layer potatoes and cabbage into three layers; sprinkle salt over each layer)
  • Place country-style ribs on top of the cabbage and potatoes and sprinkle with salt and herbes de Provence
  • Cover with the pre-soaked top
  • Do not add liquid–there will be enough released during cooking
  • Place in cold oven, and set to 400°F (200°C)
  • Check after two hours–it’s likely ready to eat.

ÒνÓ

If you don’t have Römertopf or Schlemmertopf, you can do this in a Dutch oven. The recipe for braised pork and cabbage should give you the cooking times, liquid, and oven settings.  Just adjust the size of the pot to be appropriate for the amount of meat and cabbage. (It would have been just as tasty but more colorful had I used Red Bliss potatoes–but Yukon Golds where what was present in the kitchen!

IMG_8002

* A note on salting: I keep kosher salt in a salt pig by the stove so that I can just pinch-and-sprinkle. I estimate that I used about 1 tablespoon for this entire preparation. Just sprinkle salt evenly and lightly and you’ll be fine.