Unknown's avatar

About sa.fifer

Lover of good, wholesome food and wine. Cooks for one and the cat. Likes to paint-- a frustrated botanical illustrator and amateur (photographer) and fledgling birdwatcher, beekeeper, and Kindle addict. Works as a freelance indexer.

Hive report: Oops!

‘Tis the season to feed the bees–at least until the goldenrod and asters start blooming. quad feeder with jars in placeI’ve been hearing comments from other beekeepers about starving bees. After inspecting the hives last time I decided it was time to start feeding the ladies until the dearth ends–and keeping the feeders filled until the autumn flow begins.

I put 1:1 sugar syrup feeders on both hives. After my sticky mishap when I was starting my first colony, I’ve found that my preferred feeding method is quart Ball/Mason jars with lids that have a number of small holes punched in them. They sit in a frame on top of the  inner cover of the hive, covered with an empty “super”. The great thing about this method of feeding is that the bees cannot get into the upper chamber so the  beekeeper can check food and replace as needed without using smoke or putting on protective gear.

This system works so nicely–quart jars are easier to handle than gallon buckets, and it’s really easy to raise the telescoping top and see how much the ladies have imbibed–IF the  beekeeper has done what the  beekeeper should do. If not, well disaster awaits.

When I went back to check the feeders on hive Rosemarinus I got a real surprise–I had noted in last hive report that because of the weather and the dearth the ladies were a bit testier than usual, but I wasn’t expecting to encounter bees in the chamber with the feeders so no suit or smoke needed. WRONG! Surprise!

When I approached the hive I heard more buzzing (not humming) from the super just below the feeders. Had I been really paying attention that should have warned me that something was amok. But no, I just blithely popped the cover off the feeding box–and then ran like–well, like I had a lot of bees chasing me! The feeder area was full of bees and they didn’t like my intrusion at all.

After making my escape into the house and taking Benadryl to counteract the stings that I had gotten, catching the bees that had ridden into the house on me and putting them back outside, I lit my smoker, suited up, and went back to the hive to find out why I got that nasty surprise.

I think most beekeeping problems are, like most computer problems, human error. This one certainly was. This  beekeeper had made two errors. First, because the ladies were so irritable when  I placed the feeder I did it quickly. My quickness resulted in that feeder frame not sitting flush on the inner cover, so bees that would normally only have access to the underside of the frame could bet into the box around the feeders. But those should have been MY bees and since they really couldn’t get syrup from there, should really have been a big deal.

But my other BIG  beekeeper boo-boo was that I forgot to close the external entrance to where the quart jars lived (that was fixed, too).  Neither the canted frame nor the external upper entrance would (by themselves) have been such a nasty surprise. By my doing both at the same time, I managed to create a nasty situation for both the ladies of the hive and for myself–robbing. (This was not robbing that would have been prevented by the screens.)

The bees in that were in with the quart jars were able to bet under the feeder frame and get to the syrup–as were my bees coming up out of the lower part of the hive. Fortunately, Rosmarinus is a good strong colony and was able to defend the honey super–that’s why I was hearing the major buzzing from the box just below the feeder, but because of needing to defend the hive, they were very testy! (Can’t say that I blame them at all.) I think most of the attacking bees came from the robbers that I disturbed.

After I set the feeder frame properly (with the help of some smoke) that batch of bees dispersed–and not in the direction of my hive (making me even more sure that I had some robbing going on). My ladies were still royally PO’d though.

Õ¿Õ

Refilling the feeders today went well–without smoking or bee suit. Despite heat, humidity, and dearth both hives were nice and calm–no bees where there should not have been bees. The  beekeeper has learned a lesson from this–keep my brain in gear, go slowly, pay attention to what sounds I hear from the hive, and check that I have done what I think I’ve done!

Ò¿Ó

.

Steamed eggs?

Browsing through my email cooking subscriptions, I found an article that made me think of my egg cooker–one of my favorite small kitchen appliances is my egg cooker–yes, it’s a single-use appliance, but it’s worth the bit of space it takes up because it gets used often–to hard cook eggs that I want to have around for snacks and salads, to soft cook in the shell for breakfast, or to poach. It is so much easier than “boiling” in a pot of water; it eliminates cracked eggs, with funny alien looking growths. I can’t screw up the timing. Even in my minimally functional morning state, I can do the simple task of measuring some water in a Maveriick egg cooker IMG_3799specially marked cup to cook my egg. The buzz (truly obnoxious) when the eggs are done takes care of overcooking issues.

This is an inexpensive (under $20 even today and as you can see, well-used, Maverick) egg cooker–no fuzzy logic, nothing complicated. It’s just physics in operation. The eggs are cooked by steaming. There is an on-off switch, but otherwise, absolutely no controls to fuss with–except the cup to measure the water. (The cup also has a piercing gadget built right into the bottom of the cup so you don’t have to look for a thumb tack or push pin. So, you’re wondering why steam cooking eggs is better? A more tender egg white and a smoother yolk that is much appreciated by egg aficionados.

If you don’t have an egg cooker but would like to try steaming your eggs here is a link to an article from Bon Appetite on steaming eggs. You do have to watch the time with this method, but it would let you see the difference with steaming (which may lead to the purchase of an egg cooker); however, I not about to give up some other cooking methods like carefully scrambling in butter, poached in olive oil (video), or in Spanish potato omelette.

(Cook’s note: It would seem that the Maverick egg cooker has gotten more expensive, and a fancy version comes looking like a white hen; perusing Amazon.com for egg cookers, I see that there are still some basic cookers still available in that price range; given how happy with my Dash yoghurt maker, were I looking for a basic, inexpensive egg cooker I’d likely try theirs or the Better Chef.)


Hive report: 21 July 2016

Merde! (Yes, please, pardon my French, but that’s the only expletive that fits today.) The ladies of the hive are royally PO’d. I worked these hives on the 19th and the ladies were just a tad testier than usual. Today I would say that they were a whole lot unhappy.

I was placing feeders on the hives. I hadn’t even gotten the cover off the hive when they came swarming out to show their displeasure. I had to beat a hasty retreat and put on the bee jacket  (which I’ve only worn once before) and the serious gloves (which I’ve never worn before) and use the smoker just to get the feeders on.

True, it’s hot (officially 89ºF but feels like 94ºF) and humid, intermittently overcast, but really! That reaction, the dearth, the fact that I’ve seen some fighting between bees on the landing board, tussles and stinging at the water source, make me think something has disturbed the colony.

robbing screen for hive entrance

Robbing Screen (image from Bailey Bee Supply)

Given reports from other beekeepers in the area of robbing, I made a quick trip to Bailey Bee Supply for robbing screens for my hives, going for prevention rather than having to try to stop robbing in progress.

This video shows the fighting when “foreign (robber)” bees try to enter. That’s something I don’t want to see at my hives. Both my  colonies are queenright and strong so guards can defend against a few invaders but it can get to a real “frenzy” that will just wipe a hive. Prevention is the way to go.

Hive inspection: 19 July 2016

This time of the year can be hard for bees–we’re  enjoying the results of their work earlier in the year but there’s not a lot for them to tote back to the hive to store in preparation for winter right now. As a beekeeper, dripping sweat in feels-like 97ºF temperatures, it can be a bit difficult to realize the ladies in the hive are in the midst of preparing for winter, or that while we enjoy plenty they are in a dearth of nectar and pollen–that bees can starve at this time of the year if the beekeeper is not keeping up with what the colony needs.

hive added
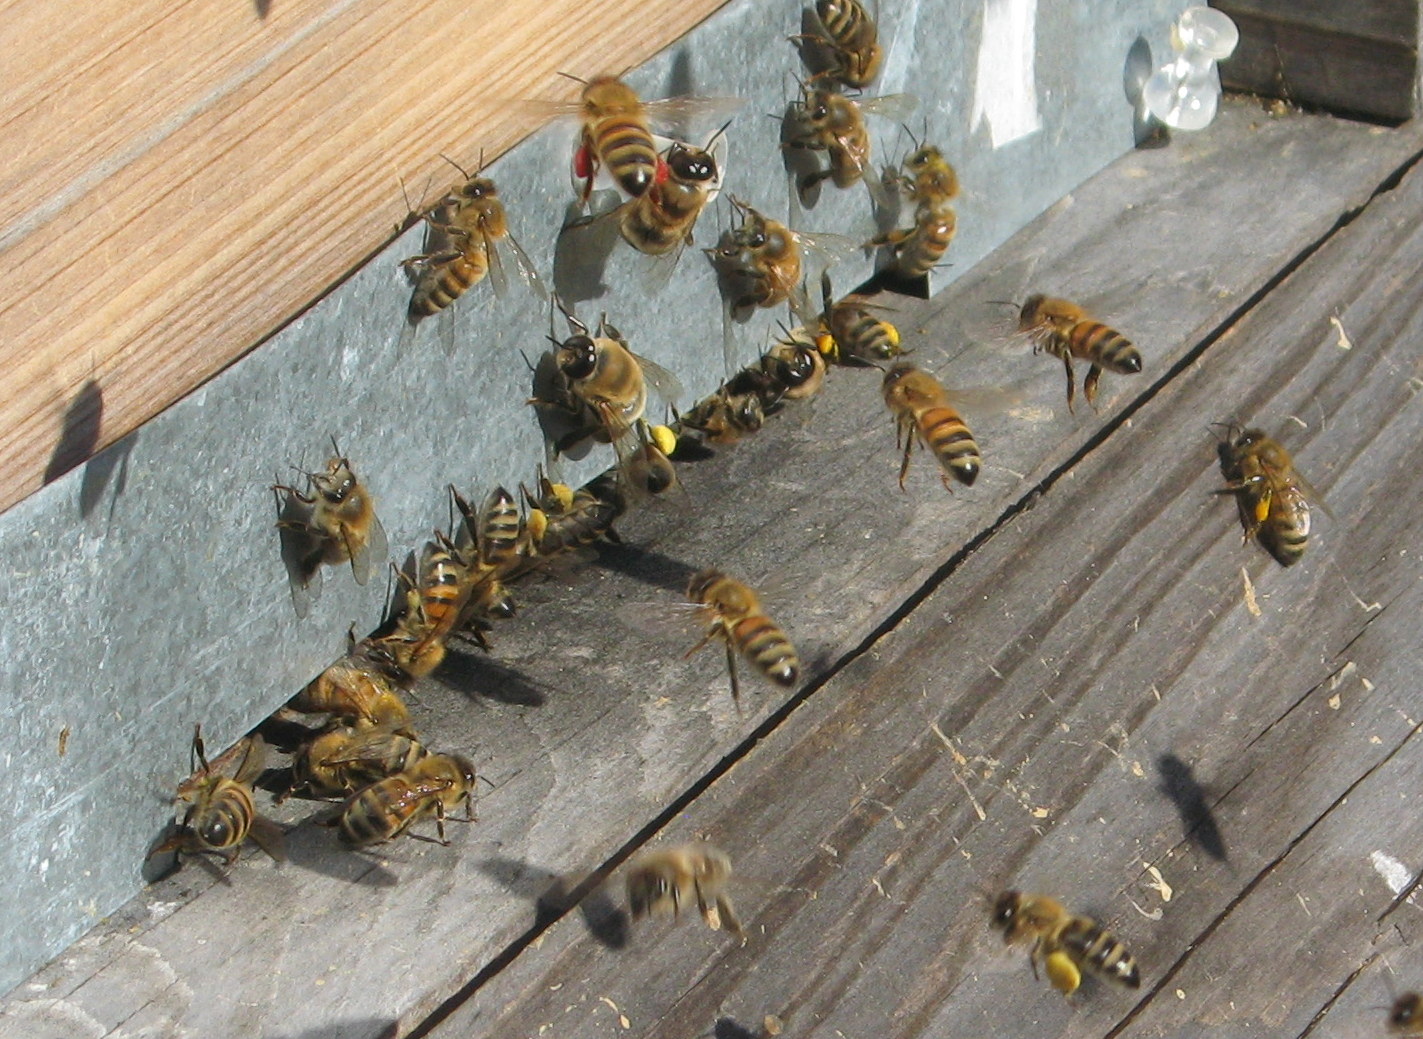
This was a routine inspection as, from the outside, both hives appear to be doing well, judging by traffic in and out though not much pollen seems to be carried into either hive. But that’s expected at this time of the year while we’re waiting for asters and goldenrod to bloom.

Although I can see the effect of the dearth with less brood, Rosemarinus colony has almost a full super of honey that is capped. My intention for that box was for cut-comb honey until the ladies declared it partly a brood box. Now there is only a very narrow band of drone brood on the lower edge of the center frames and the areas where brood had been are being filled with pollen and nectar. I was hoping to snatch a couple of the lateral frames for cut-comb honey even this late in the season but the girls have decided to put pollen there so I won’t take those frames now. (Learning experience for beekeeper!). I’m happy to see that much honey and pollen stored at this time of the year. Though I still haven’t seen that queen, I do see evidence that she’s doing what queens are supposed to do–brood in all stages and lots of workers also doing their thing.

Salvia hive (from the swarm earlier in the year) has grown well over the summer–lots of bees. Since I saw brood in all stages I didn’t spend a lot of time searching for the queen, but feel sure that this colony is queenright. The fourth box on this hive had been intended as a honey super so I had put a queen excluder on; the ladies seem to be reluctant to start drawing comb above it. They simply propolized it down to the top of the frames below. I removed it once I managed to free it from all the propolis and hope they will use it to store more honey for the winter. I’ll have to go back into the hive when the fall nectar flow starts to make sure that they are using those frames for honey storage. This hive also had capped honey and what appeared to me to be reasonable pollen stores for this time of year.

Ò¿Ó

I’m so happy to see that both colonies appear to be in fine fettle for this time of year. I’ll put sugar syrup feeders on both hives today even with the honey stores that I saw because we are now in a dearth. When the aster and goldenrod come into bloom I’ll quit feeding until that bloom is over. I just don’t want the bees to have to use the current honey and pollen stores for survival right now. Those need to be saved for wintertime.

I also noticed (thanks to two stings while working the hive) that the girls are a bit testier than usual. After some research on one of my favorite beekeeping websites (Honey Bee Suite) I found a list of things that may make bees more aggressive. Among the things listed were nectar dearth, heat and high humidity, and rainy weather–all of which have been present in the last few days–and two present  right now.  The ground around my hives was definitely wet from the rain of the last few day and the dew point was in the 70s.

I guess I should be grateful that I got only two stings from the ladies! I’m sure I was grumpier after working for several hours in the heat and humidity, so I can understand theirs though I don’t care for the way in which they choose to communicate it to me.

Ô¿Ô

.

There’s an app for improvisation

Cooking for one? Frustrated with recipe adjustment? You want to improvise but not quite ready to just “wing it”?  You want a fritter batter (for one or two) but the recipe serves six?

Using something other than measuring cups and measuring spoons can give you a lot more freedom in the kitchen. How to Cook without a Book will help you get away from the frustration of looking at the recipe that serves six and wondering how to modify it for you (and the cat). If you know cooking techniques (e.g. sauté or braise) you are well on your way to using that recipe for inspiration and adapt it to your needs and taste. If you want a good start on learning techniques, I would recommend you check out Michael Ruhlman’s Twenty that includes not only the techniques but important ingredients as well: water, onions, acids, eggs, butter, and flour for a start.  Now to take improvisation to the next level of freedom from recipes: using ratios of ingredients.

Ratio: The Simple Codes Behind the Craft of Everyday Cooking Cover ImageThe Ratio (link below) is devoted to explaining and working with ratios in the kitchen.  Topics in this book include batters (cake and bread), stocks, roux, sauces, and even sausages. Measuring by weight  (though not required) does simplify this process–and eliminate washing all those measuring cups and measuring spoons. Adjusting the amounts of main ingredients is straight forward, but this approach does mean that you will need to adjust seasoning by tasting–rather than simply mathematically.

There is an app that will put all this at your fingertips (links below). Let’s say your gardening neighbor has just gifted you a BIG bag of zucchini. You might think you can use some of them to make fritters as the main course for your supper. You can go the Google route–find a butt-load of recipes, most of which serve six, or you can use this app to check batters–and you’ll see a button for fritter batter. The “details” tab will give you more specific information: e.g. that each 4 ounces of flour and liquid will hold together two cups of garnish (your shredded zucchini) and that would make about eight nice, big fritters and some seasoning suggestions for both sweet and savory. This app is NOT free ($4.99 from Google Play via Ruhlman Enterprises); there are some issues with it–but I think it’s worth that small price.

The issues: The egg part of the ratio, since eggs come nicely packaged right from the hen. I learned the “ratio” approach from my grandmother she taught me to make a “pound” cake or “four parts” cake–since the egg was premeasured, we worked in egg weights and use an equal weight of each other ingredients–flour, sugar, and butter. This is easy if you use scales, but if not, then here are some ways to deal with the egg part of the ratio.

Weights of various grades of eggs for the USA and for other countries can be found in Wikipedia; additional volume information can be found on Get Cracking . Using this site you can find that a large egg (called for in most recipes) weighs 2.0 to 2.25 ounces (56.7 to 63.7 grams) and volume of 46 mL (3.25 tablespoons). Cup equivalents of eggs are found at The Incredible Edible Egg. Some recipes (custards and some sauces) will call for egg yolks only. To help on these calculations you need to know the weight of the yolk of a large egg is 17 grams or 0.60 ounces. Weights for other egg sizes can be found at  the {convert to} site. From this same  website you can convert that 1 yolk into cup measure: 0.07 cups, which is equal to 0.56 fluid ounces, or 1.12 tablespoons, or 3.37 teaspoons of egg yolk. (I doubt that you’ll be doing this kind of conversions–but it can be done.) Just to be complete,  the weight of egg white from large eggs is = 33 grams = 1.2 oz. The information for other sizes/grades of chicken eggs, as well as duck, quail, and turkey eggs, is also given.

Now suppose you want to make a small amount of custard (e.g. for quiche) you can use the calculator of this app to determine how much liquid you need. To do this by weight, enter 56.7 in the “eggs” and set units to grams. Now set the liquid units to grams as well–and the calculator will tell you to use 113 grams of liquid. (You’re saying you could have done that in your head–true, but now you click the “details” tab, and you’ll get a kind of “master” recipe with more instructions.)  Want Crème Anglaise using only egg yolks? Use the weight of the number of egg yolks, and the calculator will spit out the amount of cream and sugar you need, as well as the total weight. For two egg yolks, you would need 136 grams cream and 34 grams of sugar.

More on using ratios:

Happy improvisation with ratios! A son gôut!

Õ∇Õ

.

Monkfish sous vide

I’ve been thinking about sous vide cooking, reading about it, and I’m finally going to try it, especially since it CAN be done without any fancy equipment–except a beer cooler. That I can handle–in fact, I already have one–I just had not thought of it as a kitchen appliance.

I’ve been wanting to try sous vide cooking, especially reading about it Stefan’s Gourmet Blog posts. Being somewhat budget conscious, I’ve explored alternatives to the water ovens and circulators usually used in sous-vide cooking. I’ve looked at articles on how to turn your slow cooker into a sous-vide machine and discovered that requires some additional equipment and “hacking” to work; that’s also not for me.

There seem to be a lot of reasons for using this technique, not the least of which is to avoid heating up the kitchen and overworking the A/C! There’s also the appeal of the evenness of cooking and not being able to overcook unless you give a lot of attention to the actual cooking. All those advantages and some alternatives to expensive equipment or ones that require engineering know-how at least let me try it. One alternative I discovered was a big pot of water, low oven temperature–not an option in summer for me.  I found references on adding external temperature controls to rice cookers and multifunction pots, using the oven, and, of course, lots of ads for sous vide tools.

So what has precipitated this sudden fit of actually doing it? It’s the hot, muggy, humid, steamy weather we have here in the summer and the fact that I’m a serious fresh-air freak. If it’s at all possible I’ll have the doors and windows open–Frankie especially appreciates this. I want to cook without having all the extra heat–so I’m exploring all possible alternatives, including adapting recipes that normally involve using the oven for the slow cooker–looking for ways to beat the heat.

Krups rice cooker IMG_3796

For food safety temperature is important so I looked at lots of articles giving temperatures for various meats and fish, including on that considered using the keep-warm function on the rice cooker or multifunction pot. Next to the beer cooler method this looked like a possible one for me since I do own a Krups multifunction pot. To check that out I filled the pot with and checked the temperature on the slow-cooking setting–the temperature held at 185 ºF which looks as if it might work for some veggies and, perhaps, for tough cuts of meat. Switching to the keep-warm function and doing a temperature check two hours after I had switched to keep-warm function–but the water started at 185 ºF and I had absolutely no information on what the rate of cooling in the closed multifunction pot was. So–more data, please! I started with water at 110 ºF on keep-warm setting to see what happened. What happened was 165ºF.

So the multifunction pot (Krups) is out for just using the warm function, but I’ve discovered that if the pot is hot and then turned off, it hold a steady temperature for about two hours. Since I’m only doing sous vide for one and quick things, I don’t need a huge pot. This is going to take a bit more tending, but it would certainly be easier for quick things than a beer cooler (my laziness is showing, I know).

Searching for the best temperature to use for monkfish sous-vide produced an interesting array of suggestion. Always preferring data, I was glad to see Monkfish sous vide temperature experiment which tested throughout the range of temperatures that I found and gave a description of the fish texture at each.

From ChefSteps I also found the following temperature guide for fish and from Amazing Food Made easy temperatures and times in the range of 10 to 30 minutes:

  • Tender  40ºC/104ºF
  • Tender and flaky 50ºC/122ºF
  • Well done 60ºC/140ºF

For my monkfish, I think tender and flaky is a good option; for tuna, I might go for just tender–or even rare, depending on the grade. Now for time specifically for monkfish to be medium the general consensus seemed to be “medium” at 140ºF for 10 to 30 minutes. Since my tap water is at 140ºF with the beer cooler I should be good to go–though it seems strange to not have to be concerned about time but since it won’t go above the water temperature anything in that range should work.

For seasoning? Well, simple seemed good for my first try so I went with salt, freshly ground black pepper, and butter. I used the rice-cooking mode to bring the water up to 140ºF, put the monkfish in, closed the lid and crossed my fingers. It just seems too simple even though I’ve cooked other things by putting them in liquid and then turning off the heat and letting the residual do the cooking.

The results? The best monkfish I’ve ever eaten. Okay, so I’ve not had anyone else’s monkfish cooked sous vide, but it’s the best monkfish I’ve ever cooked. I cooked it at 140ºF for 30 minutes. Temperature check at the end of the cooking was still at 140ºF. The fish was tender and just starting to flake. I’m still trying to find some adjectives for it. If i have to pick one I think it will be just plain luscious!

Now that I’ve done all the temperature experiments on the Krups multifunction cooker (in slow-cooking mode and keep-warm mode), and on how it holds temperature, I see more sous vide in my future.

Related links:

Homemade skyr

41ktixxzjwl-_sx425_
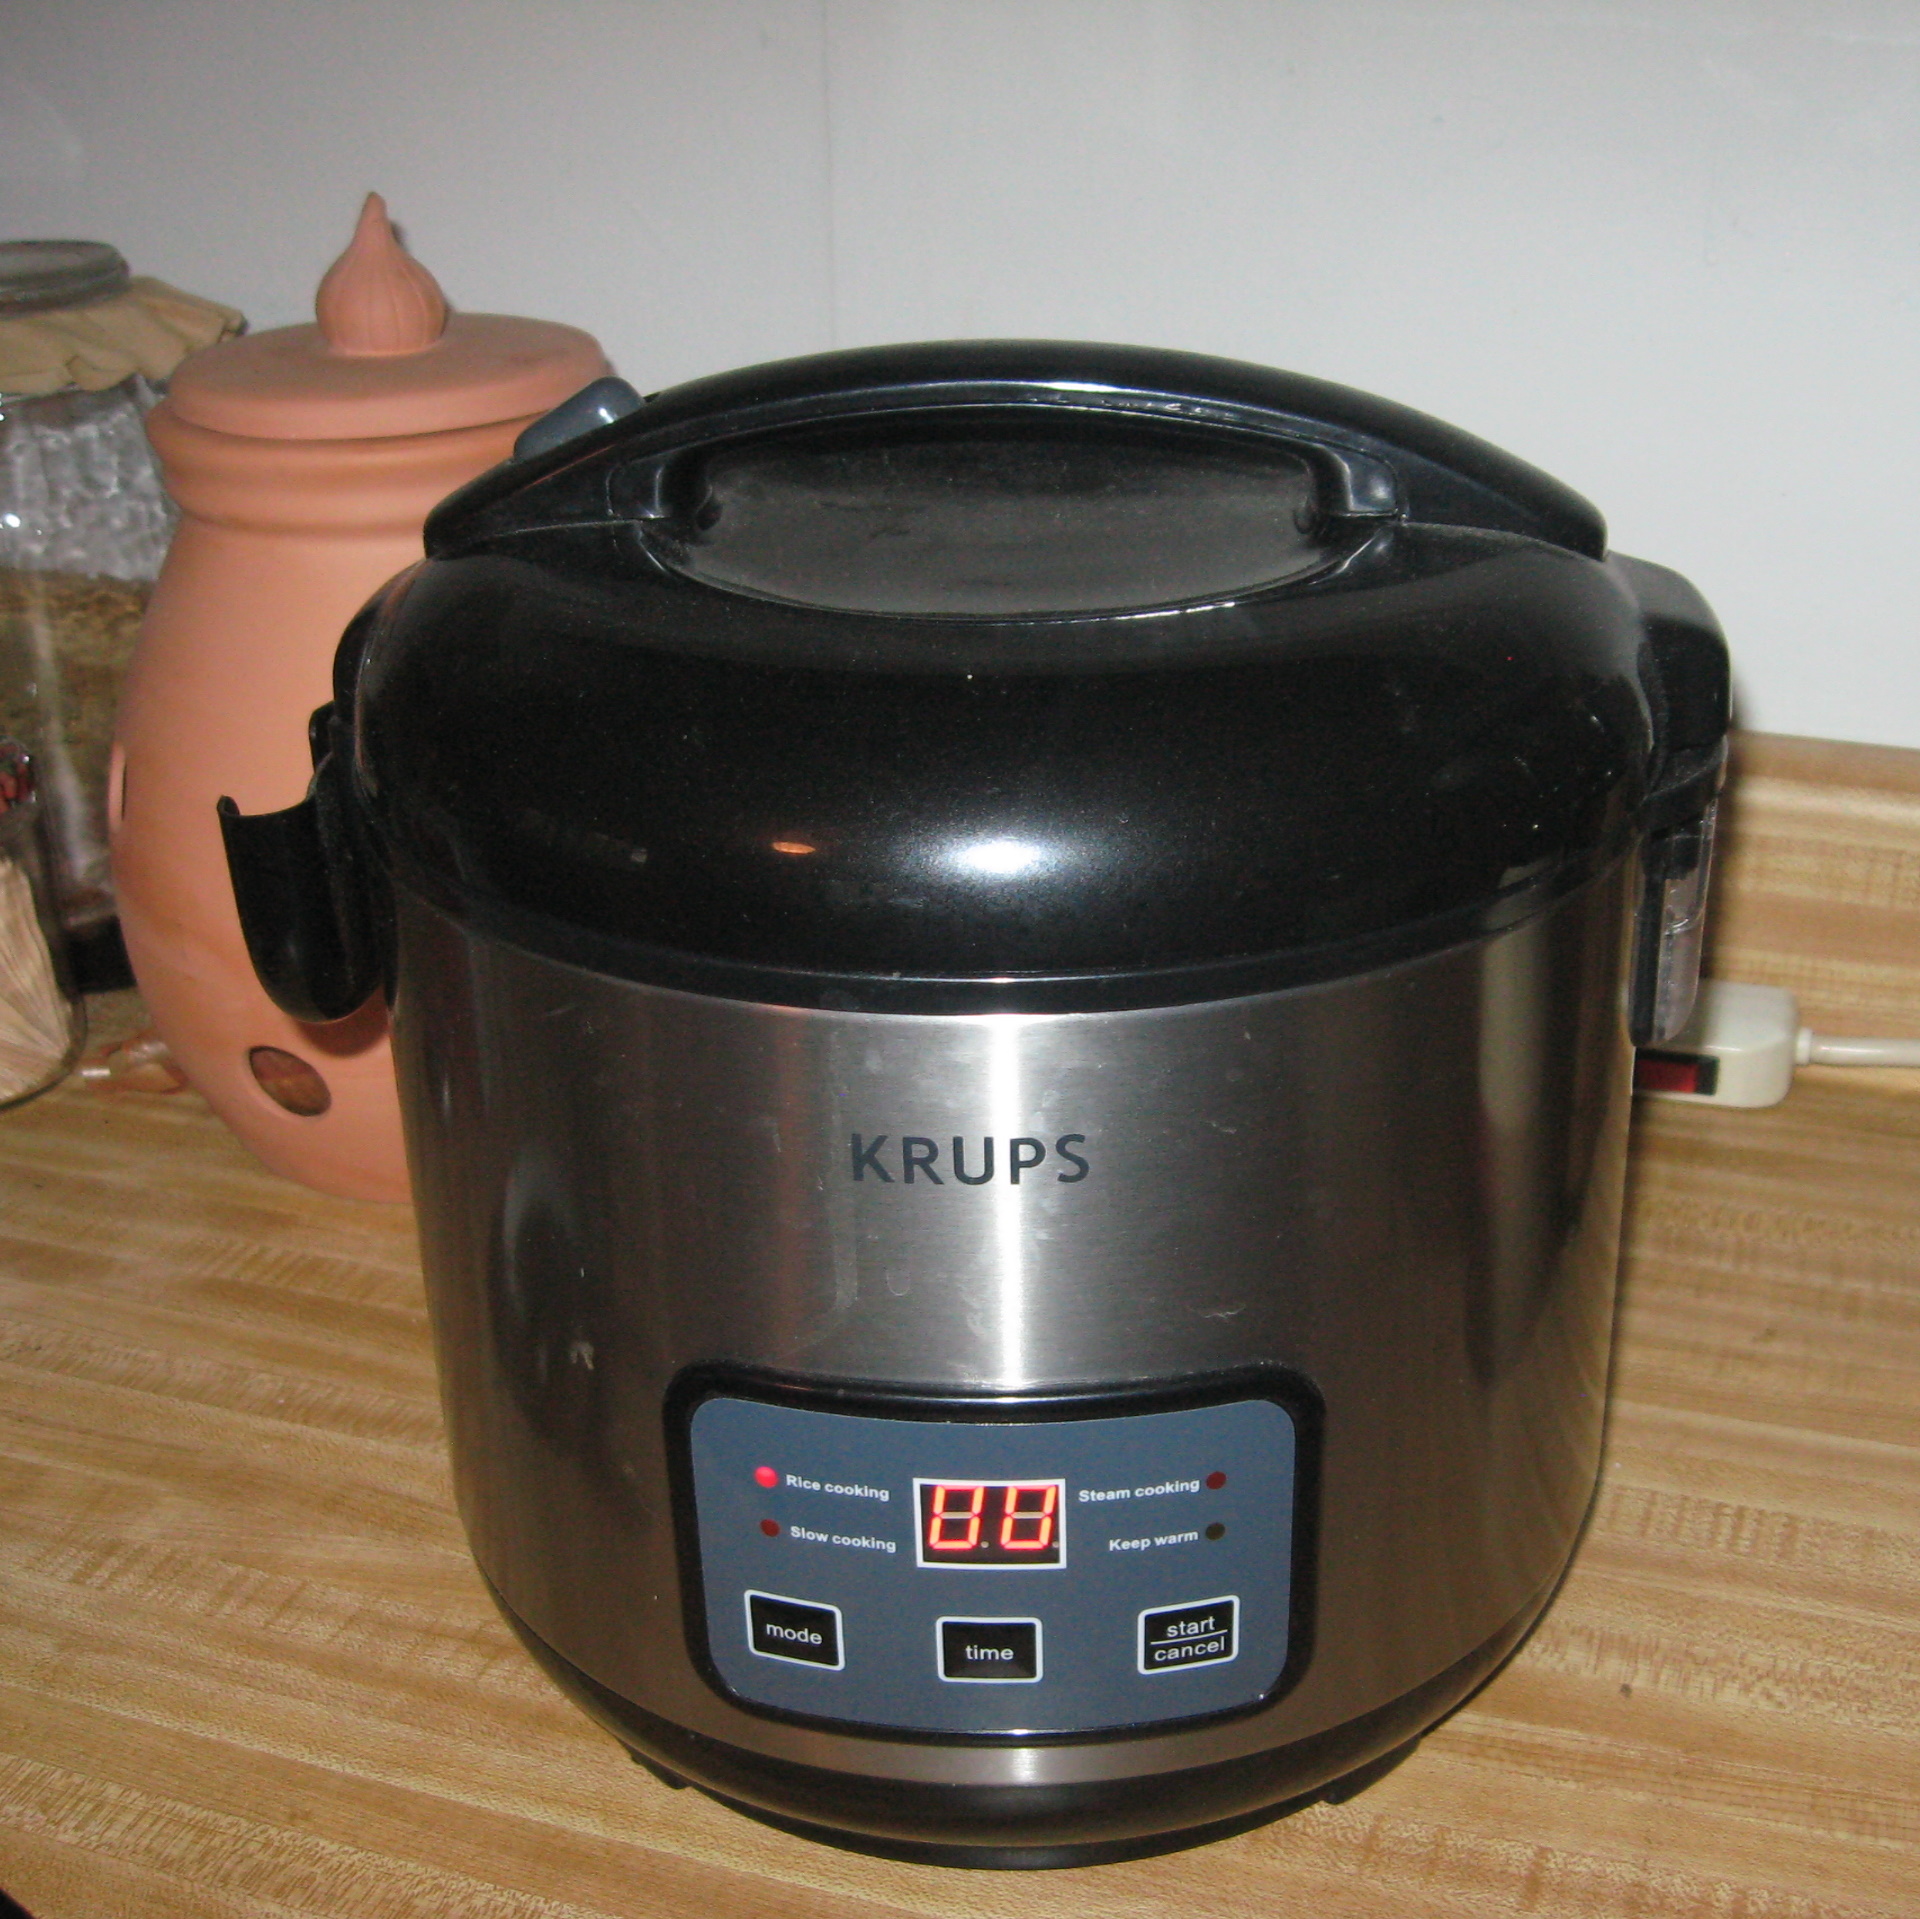
I finally got a yogurt maker. I didn’t go for the Cuisinart with all the bells and whistles–just opted for the Dash which seems to do the basics.  I didn’t order hot pink, but that’s what I got; I can deal with that–I’m not going to be sitting around contemplating it–so long as it works–and it does do what it’s supposed to. I got the “Greek” because it has a strainer with it and it does bulk yogurt instead of little itty, bitty jars.

Of all the commercial yogurts I’ve tried, the Icelandic Products Skyr is my favorite. I looked at the cultures used in that: Streptococcus thermophilus Icelandicus™ and Lactobacillus bulgaricus bifidobacterium. These are noted as heirloom cultures. Since this is my favorite store-bought yogurt I decided to use that as my starter culture.

Most of the recipes that I found for skyr called for rennet but that’s not listed as in ingredient in the Icelandic Products skyr, so I’m not using it. The ingredients did say skim milk but since I’m still working on the Always Hungry? plan, which calls for whole milk products, I made mine with whole milk.

I used 8 hours 30 minutes for my first batch. The texture after straining was great but for my taste, it needs to be just a bit more tart so I’ll try using 10 hours next time. Perhaps after I get off the Always Hungry? program, I’ll try skim milk and see how that works.

I’ve used the whey that was strained off to thin the consistency of the power shake just a bit instead of pouring it down the drain since I’m adding whey protein powder to the shakes. Though it’s a bit richer tasting than most commercial yogurts, it seems to work fine in all the uses called for in the meal plan.Certainly much cheaper than buying Greek yogurt–and I know exactly what is in it.

20160715_153827

Summer plenty

Walking through the farmers’ market we see an abundance of fresh produce. We cook and eat without thinking about the food waste between seed and plate. I’ve posted and reblogged articles about this issue: what has been done in other countries, tips on how not to waste food, making efficient use of leftovers, mindful eating, and grocery shopping for one, all with thoughts about food waste.

vegetable-chard IMG_0728
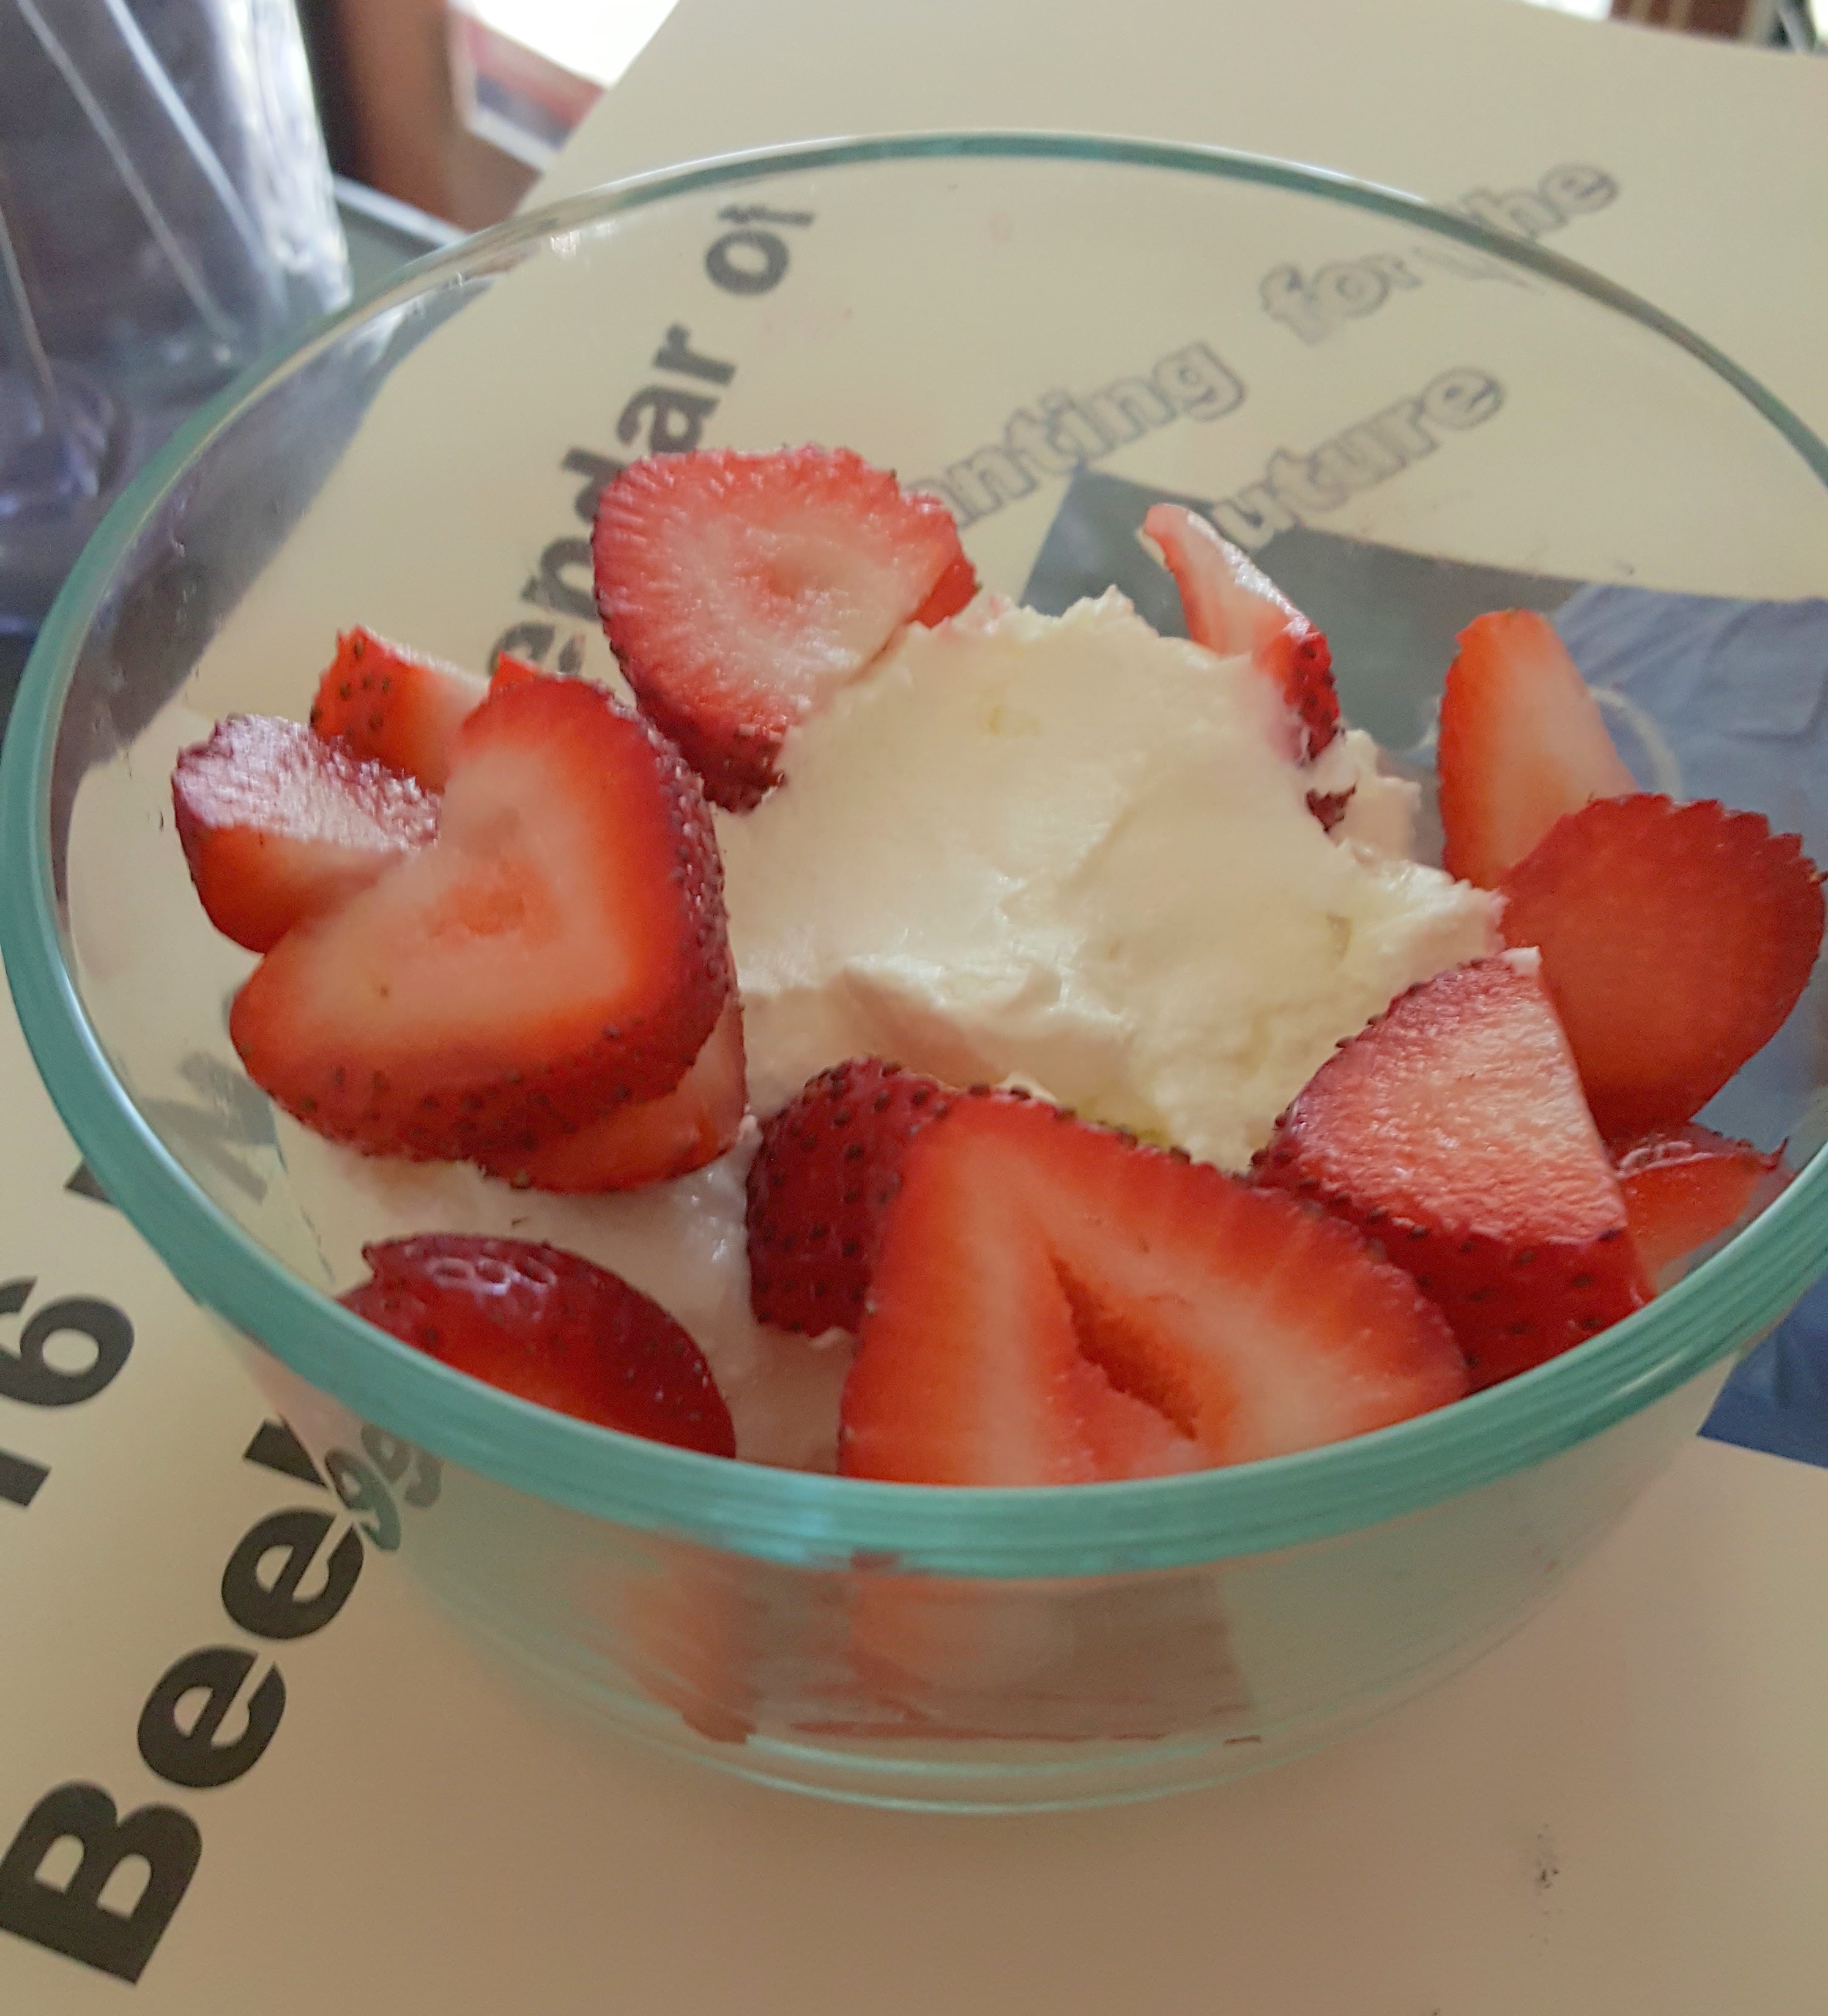
This morning I read an article from Food 52 on kitchen scraps–with some statistics on food waste. This post gave a lot of recipes using those things that we often consider “scraps”–and some information on how long those (sometimes) impulsive purchases from the farmers’ market will last once you’ve gotten them into the kitchen.

This article has links to 125 (yes–one hundred twenty-five) recipes that focus on using that whole bunch of greens (even the stems) and things we often don’t consider for cooking and eating–radish tops, and even peels and skins of fruits and vegetables. We often discard the stems from chard and other greens when we cook the tender leaves but those stems are just as nutritious if treated just a bit differently–added first to the pot, or even used separately rather than discarded.

I’ve not tried all these recipes, but from my experience, the recipes from sources cited here are usually good. Even if you don’t use the recipes per se I think perusing them can show many ways that we can better use our food.

Õ¿Ó

On a related note, while we are enjoying the benefits of pollinators–honey bees included-Summer Harvest IMG_4487-those ladies of the hive are experiencing a decrease in the nectar and pollen that they can
gather–what we beekeepers call a “dearth” (scarcity or lack of something). We are eating and putting by the “fruits” of their work in the spring–and we don’t think about what is available for them at this time of the year.

I’ll be inspecting my hives tomorrow to see how much honey and pollen is stored. Most likely my ladies are consuming stored honey and pollen while awaiting the start of the goldenrod and aster seasons here in the Piedmont region of North Carolina. If necessary, I’ll be providing supplemental food (sugar syrup with supplements added) for them until the fall nectar flow starts and they can store honey and pollen for the winter.

I’m not planning a second harvest from hive Rosemarinus, or a first harvest from Salvia–they will get to keep all they produce from the autumn nectar flow to see them through the winter.

IMG_8902Feb hive

Ô¡Ó