This is a first for me–I’ve eaten reheated fish. I have been known to re-purpose leftover fish–e.g. salmon into a Scandinavian potato salad, or grilled tuna steak into tuna salad; reheated leftover fish invariably (after one bite or even just a sniff) goes into the garbage.
One of the attractions of sous vide cooking for me as a single-serving cook has been the references to how well foods cooked this way can be stored (right in the cooking bag) for longer times.
reheated sous vide monkfish
My test of this was the monkfish that I cooked sous vide a few days ago: the fillet cut in half, cooked separately in two quart-sized Ziploc bags with only a little salt and some olive oil. One serving was eaten immediately. The second serving was cooled quickly and refrigerated (unopened) in the cooking bag for eating later. (Circumstances prevented me from reheating this for several days, but the monkfish remained sealed in the cooking bag until i reheated it in the water bath, to the cooking temperature.)
Results? OK, so this wasn’t a blind taste test, but I just ate every bit of that second fillet and I doubt that I could tell it from the fresh-cooked portion–it may well be the first time I’ve eaten reheated, cook fish. (That would be an interesting test.)
Although a cliche, this may be a life-changing event for me–at least in terms of cooking for one. I might not be limited to cooking things that are more usual leftovers,or limiting myself to small portions of fish that I’m going to eat at one time. Most of the references that I’ve found to keeping sous-vide cooked dishes indicate that the storage time if unopened–just cooled and store in the cooking bag–is much longer than the usual use-by times for cooked stuff. The lentils that I cooked in the mason jars kept very well–as indicated for up to ten (yes, 10) days sealed in the cooking jar (after being cooled and refrigerated). A real boon for when I’ve a busy schedule–hands–off cooking, the ability to have extra meals in the fridge, minimizing waste, and (especially) getting things cooked just the way I like them because of the temperature control. A son gôut!
Sous vide cooking has intrigued me for quite some time–so much that I had to do some trials to see if I really wanted to purchase a special appliance for it. One of my early experiments was with monkfish and then Chilean sea bass. Well I’ve finally purchased a thermal circulator–made the leap to real sous vide equipment. I’ve already cooked several things with the real equipment: short ribs, lentils, and some vegetables.
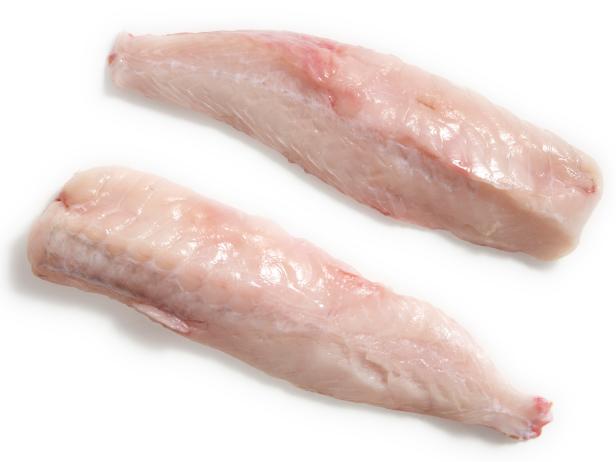
While I was skulking through my local Harris Teeter supermarket yesterday, I made my usual swing past the meat and seafood cases, and there was monkfish. It somehow seemed appropriate that I try it again with the “real” equipment. So I blew my budget on a lovely filet of monkfish. The butcher (or perhaps in this instance he should be fishmonger) removed the membranes so that I don’t even have to do that!
monkfish fillets
While searching for recipes, I found a wide range of temperatures recommended: from 113°F to 144°F (140°F was what I had used in my first trial). After reviewing the post from Stefan’s Gourmet Blog again since there were descriptions of texture for different temperatures. I love sashimi, but I wanted cooked fish here so after perusing other recipes, I decided to go with 132°F–tender and flaky. This is a lower temperature than what I used with my earlier monkfish (which was wonderful). The filet that I had was really more like two servings, so I cut it in half and I’ll see how it reheats for the second serving. (For single-serving cooking it would be wonderful to be able to reheat something like this.)
I read in several places that the tail fillets are the only edible part of this fish; however, online see that it is possible to purchase monkfish cheeks, apparently from larger fish. I’ve eaten cod tongues, and cheeks.
I dry-brined for 30 minutes, and then cooked for 37 minutes with just the salt and some extra virgin olive oil. The result was even better than my first try at the higher temperature. I didn’t try to finish by searing, just added a brown butter sauce with some lemon zest and juice. The taste and texture were wonderful! Next time, although the fish was opaque and just starting to flake, I think I’ll try just a degree or two higher for the next cook–e.g. 133 or 134°F as I’d like the fish to be just a little flakier than this was.
it is not a pretty fish, but so tasty–the poor man’s lobster
Not pretty, but certainly tasty and one of my favorite fish. This precision control of the temperature has lots of possibilities–a son gôut!
I’ll be reporting on how the other half of the filet tasted after cooling and reheating (although reheated fish usually just, despite my best intentions, is headed for the garbage despite the waste.
Obviously the decision (and selection process) of a sous vide circulation heater necessitated a good deal of research before, and perusal of cookbooks after it arrived in the kitchen.
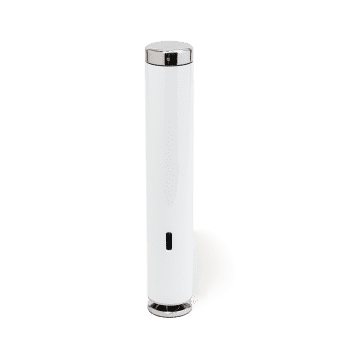
The ChefSteps website for the selected device (the Joule) is bristling with information including recipes. I’m sure that had I chosen a different device (e.g. Anova) I would have found the same resources.
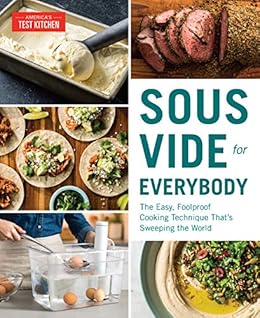
But if you have a new way of cooking you must also have a new cookbook. Thanks to my Kindle and a subscription to Kindle unlimited I was able to sample a lot of different cookbooks. I’ve found several for specialized uses of sous vide that have gone on my wish list, but the one that I bought was Sous Vide for Everybody. I like all the sciencey explanations of why recipes work. There was a delightful “freebie” with the book: recommendation to check out a particular website. Lifehacker site has a delightful collection of articles on what and how to use sous vide cooking.
As useful as the recipes from ChefSteps are, I’m in favor of having independently tested recipes. For my first “cook” I did short ribs and I did find it interesting that the temperature recommendations from that book were a bit different from the website, although overlapping. Given the results of my first batch, I do want to try the temperature recommended in that cookbook.
For right now that’s my source for recipes as I explore sous vide; however there are books from several authors that have gone onto my Kindle wish list: Jason Logsdon (several sous vide books), Dave Arnold (for Liquid Intelligence), Lisa Q Fetterman (Sous Vide at Home). Some of these for basics, others for special applications of this precision cooking technique. So much exploration to do!
Sous vide is a bit of a misnomer. It means “under vacuum”. That was how it originally started but now it would really be more appropriate to call it something like precision cooking now.
Vacuum was first used as a way to remove air from around the food so that there was good contact with the water in the bath since air is a poor conductor. Now while it’s possible to use vacuum a lot of sous vide cooking is done using Ziploc freezer bags and removing air by letting water in the bath press the plastic onto the food. You can also do this kind of cooking in–you guessed it–mason or Ball jars although you’ll need to increase times just a bit since glass is a poorer conductor of heat than with the think plastic.
Note that I specifically used the Ziploc brand name. Those are recommended as being safe and holding up to the cooking temperatures and times used. Most recipes suggest gallon bags, and not ones with the slider. You want the double seal. Since I’m mostly cooking single-serving size amounts I’ve been using quart size, and a smaller water bath than is usually recommended.
Some of you might be cringing at the temperatures and the times you see. They are safe. Even the lower temperatures essentially pasteurize the food according to USDA standards. More on that later, but pasteurization is really a pretty fascinating process.
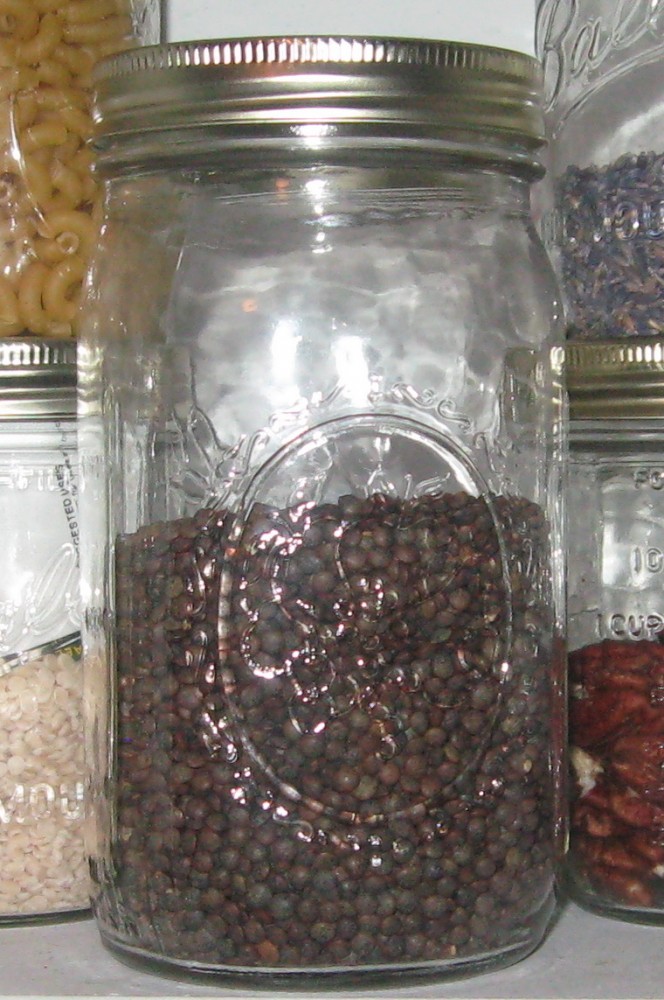
I’ve already cooked one thing in a mason jar–lentils. Cooking right in the jar makes one of the good things about sous vide even better especially in cooking for one: that jar of lentils (about 3 really hefty servings) could go in the fridge so there was no extra washing up. Awesome. I’m envisioning some other advantages to sous vide for doing single-serving cooking!
I wasn’t surprised to find differences in how meat cooks with sous vide and pressure cooking. I want to know more about the best way to cook other things that I use frequently: beans, cabbage, rice, etc. so I decided to do another comparison. Lentils are something that I do use quite often so I thought that a pressure cooker/sous vide test was in order here too.
I was inspired to try cooking lentils with the Joule app on my smartphone. There was a section on “batch cooking.” Normally, since I’m always trying to do single-serving cooking and don’t do well with leftovers, I’d blow right by a suggestion like that, but I noticed that those batch-cooked lentils could be stored in the refrigerator for 7 to 10 days. That made sense since they would essentially be pasteurized. An interesting possibility for something that I use in as many ways as lentils!
Lentils are so quick to cook on the stovetop that you might wonder why you should use a pressure cooker or sous vide (particularly with the time required). One reason is hands-off. In the pressure cooker, it’s set-and-forget until done. The same is true of sous vide; for me, that can be an advantage when I’m engrossed in writing and indexing. So, here is a comparison of the two methods.
Another thing that made me curious about cooking lentils this way was that they were cooked in pint jars. With the brown lentils I had in the house at 185°F for the recommended 90 minutes, plus the additional recommended 30 minutes I still didn’t have cooked lentils. But I thought this deserved further investigation, so I searched for other recipes with suggestions for time and temperature.
My first task was to look at American’s Test Kitchen’s Pressure Cooker Perfection to see how to cook lentils in the pressure cooker other than just pushing the “beans/chili” button on the Instant Pot (IP). Much to my surprise, lentils weren’t listed as an ingredient. So, I went to other reliable sources for cooking time suggestions: From the Forks over Knives website, 20 minutes; from Kitchn, 15 minutes. Both recipes call for natural pressure release.
For sous vide (precision cooking), I did find lentils as an ingredient and, thus, instructions for cooking in Sous Vide for Everybody (location 3646). The recipe called for black lentils (sometimes called beluga lentils). Most often, I use French green lentils (lentilles du Puy), but I occasionally use brown lentils, so I opted to use those. At least I felt I was comparing apples to apples regarding cooking times and temperature since both were for black lentils.
The experiment
I had already tried using Mason jars in the water bath and in the IP, so I decided to use a pint Mason for both cooking methods. Although I believe that Ziploc freezer bags are probably safe, I think about using as little plastic as possible for environmental reasons if I can use recyclable containers like the Mason jars.
As with the meat, I decided to season both batches the same so that the only difference was the cooking method so the lentils were cooked with only salt as seasoning; it’s the texture I wanted to know about. From reviewing recipes from several sources for both electric pressure cooker and sous vide I prepared two pint jars each with 4 3/4 ounces of brown lentils, salt and 8 3/8 ounces of water–one for the pressure cooker and one for the sous vide water bath. The pressure cooker was set for 15 minutes, normal pressure release, and the sous vide for 194°F and 3 hours (range 3-5 hours). Then, the wait began.
The jar from the pressure cooker was cooled (it was sealed) and refrigerated until the sous vide lentils were cooked. That jar was also cooled (it was also sealed) and refrigerated.
The results:
For the taste and texture tests, both jars were removed from the refrigerator and unsealed to look at the lentils before reheating. The cold jars were placed in a cold water bath to reheat to 145°F (1 hour and 30 minutes).
Just looking at the two, there was an obvious difference in how some of the lentils cooked in the IP were “blown out”–i.e., exploded, burst open, etc.- not great for use in a salad. This is no surprise, given what I’ve read about the differences in other legumes cooked in either of these ways.
the sous vide lentils
pressure cooked
When tasted before reheating (cold), lentils cooked in the IP were much softer, almost mushy. This was OK in soup, especially if you wanted to puree some to thicken it a bit. The sous vide lentils were firm but tender—just what I’d like for a salad or a side. After reheating, there were still the same differences.
The flavor? I’m struggling to describe the differences in flavour–there definitely was a difference. I think part of it was that the IP lentils you started tasting immediately when they hit you mouth; with the sous vide lentils you didn’t really taste them until you start chewing them. Then, this burst of flavour seemed to me to be more intense than with the IP lentils. I found it very difficult to separate flavour from the “mouth feel” of the two batches–I think the texture differences affected my reactions.
After this experiment, I think I’ll be cooking a lot of lentils with the sous vide method. If I want lentil soup, I’ll turn to the IP. I’ll also add more salt to both.
It took me a while to join the Instant Pot (IP) cult, but I finally did and I’m glad that I did–I love my IP. Now I’ve added a new gadget to the kitchen: a sous vide immersion circulator.
I had tried some “jury rigged” sous vide (here and here) so I was sure it was a way of cooking I was interested in pursuing.
The Joule, from ChefSteps now has a place in my kitchen. We all also know that you can’t have a new kitchen toy without playing. So I had to decide what to cook first.
When I got my IP one of the first recommendations for something to cook was boneless beef short ribs. I’ve done short ribs as a braise in the oven (love them, but it’s a wintertime thing–not for summer when the A/C is working hard to fight the heat and humidity. As I was browsing amongst the cookbooks on sous vide I found a recommendation of something to try with sous vide. Yep, short ribs. There was even a recipe for them in the app on my smartphone (which you need to operate the Joule). An absolute no-brainer–short ribs by sous vide.
After reading the descriptions of sous vide meat, the scientist in me just had to do a little study of my own. I’ve really enjoyed short ribs out of my IP. Certainly they were not the same as the long oven braise that I would do in the wintertime, but for hands-off cooking and summertime, they are great. It seemed logical that I should cook something using my new sous vide that I knew so I could really get a feel for what sous vide really does. So, a little experimental design here.
I got a package of four very homogeneous-appearing boneless beef short ribs. Two of those went into the IP, and two into the sous vide according to the recipe on my smartphone. I seasoned both the same: garlic powder, onion powder, and salt then set to cooking.
The Joule app gave me a choice of cooking temperatures for ribs: 156°F, 167°F, and 176°F, with 167°F marked as the “fave”. Since I thought a good deal of experimentation had probably gone into those recommendation, I opted for the middle one for the recommended time of 24 hours. (Yes, really.) The other two went into the IP for 90 minutes that I’d previously used to get nice tender short ribs. (I’d tried less time, higher pressure but didn’t get the result I wanted. Less and there was just a bit too much chew to the meat.)
When the short ribs in the IP were cooked, I cooled them quickly, put them into a freezer bag and refrigerated them. (The freezer bag was because the sous vide ones and my IP ones would be reheated in the water bath.) At the end of the 24 hours, I chilled the sous vide ribs and refrigerated them too.
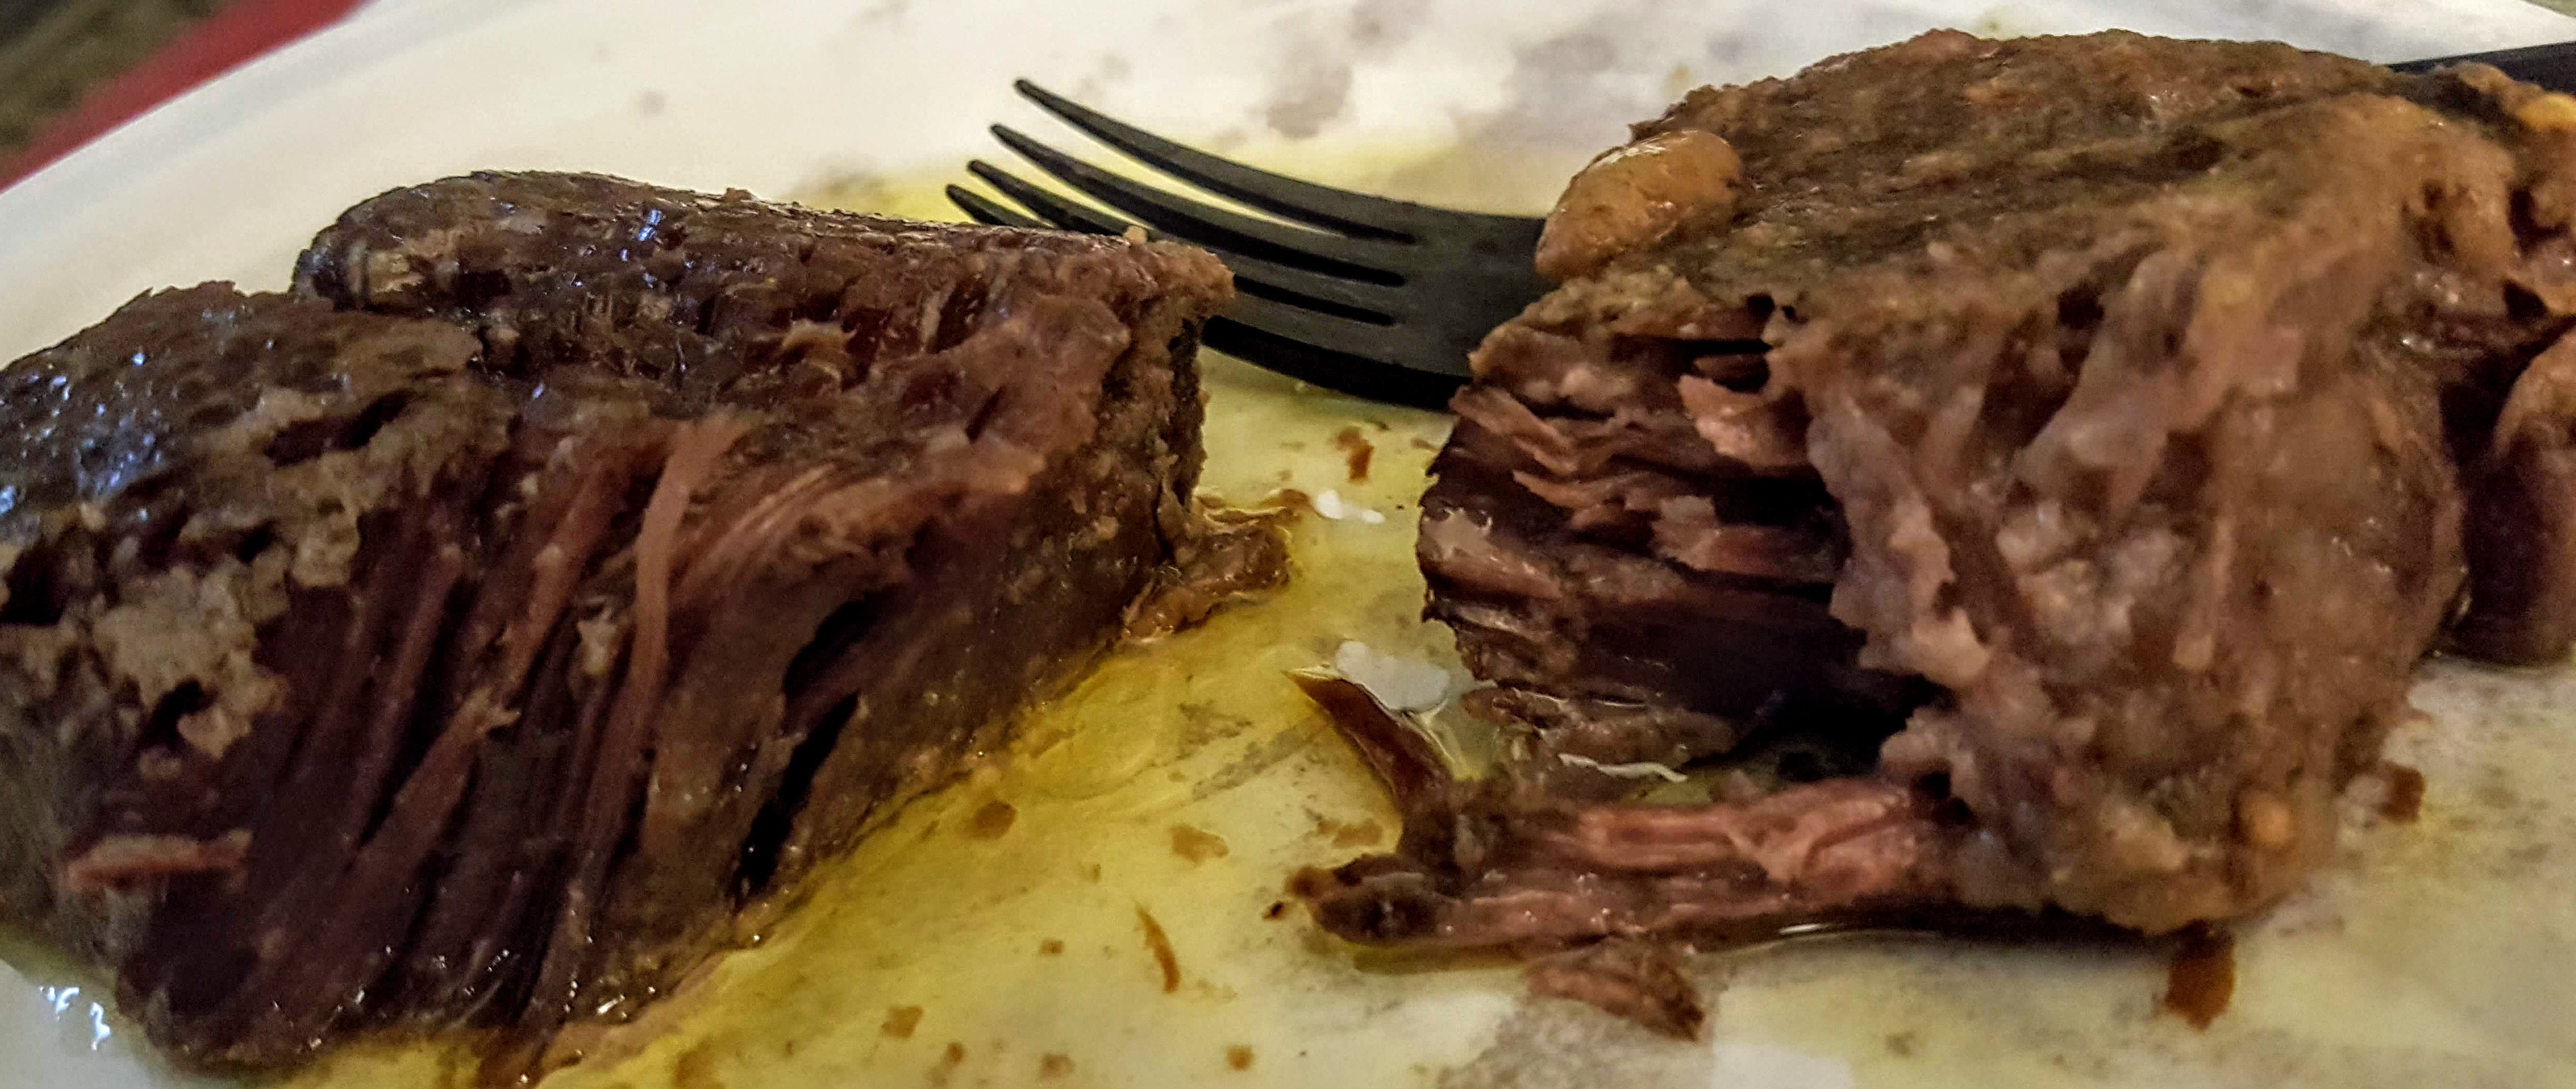
Instant Pot (left) and sous vide (right))
For the taste test, reheated both batches in the sous vide water bath at 140°F for 35 minutes and plopped them onto a plate and dug side by side and dug in. Was there a difference? Yes there was.
After all the descriptions of meat cooked sous vide I wasn’t quite sure what to expect. The seasoning on them was just about the same so they were beefy, onion-y, and garlicky. The appearance was slightly different: the IP ribs were a bit darker. Both were very tender, but the “mouth feel” of the sous vide ribs was much moister than those from the IP.
I really like the sous vide ribs! Am I going to give up cooking them in the IP? Not likely since it’s also hands off, but it’s quick. Will cook more ribs using sous vide? You bet! I’ll certainly want to try some different temperatures, though. I perusing the Sous Vide for Everybody* cookbook from America’s Test Kitchen I found that their suggestion of time an temperature for braised short ribs was 160°F for 20 to 24 hours.
When thinking about sous vide you have to remember we’re talking precision cooking here–not hit or miss, or close. So it’s likely to take a bit to get the feel for just how I like things cooked using sous vide, but it should be an exciting journey.
A son gôut!
—Ô¿Ô—
*Note: If you’re skulking on Amazon for sous vide cookbooks, be sure to look carefully at the author or editors. There is another with the exact title except that it has 2019 appended.
Supper this evening was Chilean sea bass (Patagonian toothfish. or Dissostichus eleginoides if you prefer). I’ve been skulking through cookbooks again–especially those that have sous vide recipes. (No, I haven’t bought anything special for sous vide cooking–yet, though I will confess to looking at immersion circulators and thinking a birthday present to self.)
In The Food Lab: Better Home Cooking Through Science by J. Kenji López-Alt I foud a lot of recipes for sous vide cooking–and a method of doing it without any special equipment (at least for foods requiring only a short cooking time). It’s done with a beer cooler. I do have a beer cooler so this seems like a method to try, as an alternative to the multifunction pot that I used before because I was too lazy to try the beer cooler method.
First I decided to check out the beer cooler to see how well it held temperature. I put about 2-1/2 gallons of hot tap water into it (118ºF) and checked the temperature over several hours. Two hours later, the water temperature was 113ºF, and at four hours, 110ºF. I decided that would certainly do for “short” cooking times. Seems most fish recipes call for cooking times under one hour.
The recommended temperature that I found for Chilean sea bass ranged from 122ºF to 140ºF so I decided to go with 130ºF. Since my sea bass was frozen (individually packaged filets from Costco), I thawed it in cold water, seasoned it lightly with salt and black pepper, a tiny splash of fennel fused olive oil (olives and fennel are crushed together), popped it into a zipper-lock freezer bag, and after squeezing out the air, plopped it into my beer cooler for 45 minutes. (Water temperature was 131ºF when I put the fish into the water and 129ºF one hour later.)
Results? Well, satisfactory. Obviously, the temperature in the cooler held well for the necessary time. The sea bass wasn’t quite as done as I’d prefer–though perfectly evenly cooked (even though this piece had one end that was definitely thinner than the rest). I think for my next–there’s more in the freezer–I’ll go with the 134ºF temperature or maybe just a tad higher.
I’ve also read lots of warnings about over-seasoning for sous vide cooking (and I came close to over-seasoning with the monkfish) this was bordering on under-seasoned. Next time, a bigger pinch of salt, and a bit more fennel oil, and a little lemon zest.
I’ve been thinking about sous vide cooking, reading about it, and I’m finally going to try it, especially since it CAN be done without any fancy equipment–except a beer cooler. That I can handle–in fact, I already have one–I just had not thought of it as a kitchen appliance.
I’ve been wanting to try sous vide cooking, especially reading about it Stefan’s Gourmet Blog posts. Being somewhat budget conscious, I’ve explored alternatives to the water ovens and circulators usually used in sous-vide cooking. I’ve looked at articles on how to turn your slow cooker into a sous-vide machine and discovered that requires some additional equipment and “hacking” to work; that’s also not for me.
There seem to be a lot of reasons for using this technique, not the least of which is to avoid heating up the kitchen and overworking the A/C! There’s also the appeal of the evenness of cooking and not being able to overcook unless you give a lot of attention to the actual cooking. All those advantages and some alternatives to expensive equipment or ones that require engineering know-how at least let me try it. One alternative I discovered was a big pot of water, low oven temperature–not an option in summer for me. I found references on adding external temperature controls to rice cookers and multifunction pots, using the oven, and, of course, lots of ads for sous vide tools.
So what has precipitated this sudden fit of actually doing it? It’s the hot, muggy, humid, steamy weather we have here in the summer and the fact that I’m a serious fresh-air freak. If it’s at all possible I’ll have the doors and windows open–Frankie especially appreciates this. I want to cook without having all the extra heat–so I’m exploring all possible alternatives, including adapting recipes that normally involve using the oven for the slow cooker–looking for ways to beat the heat.
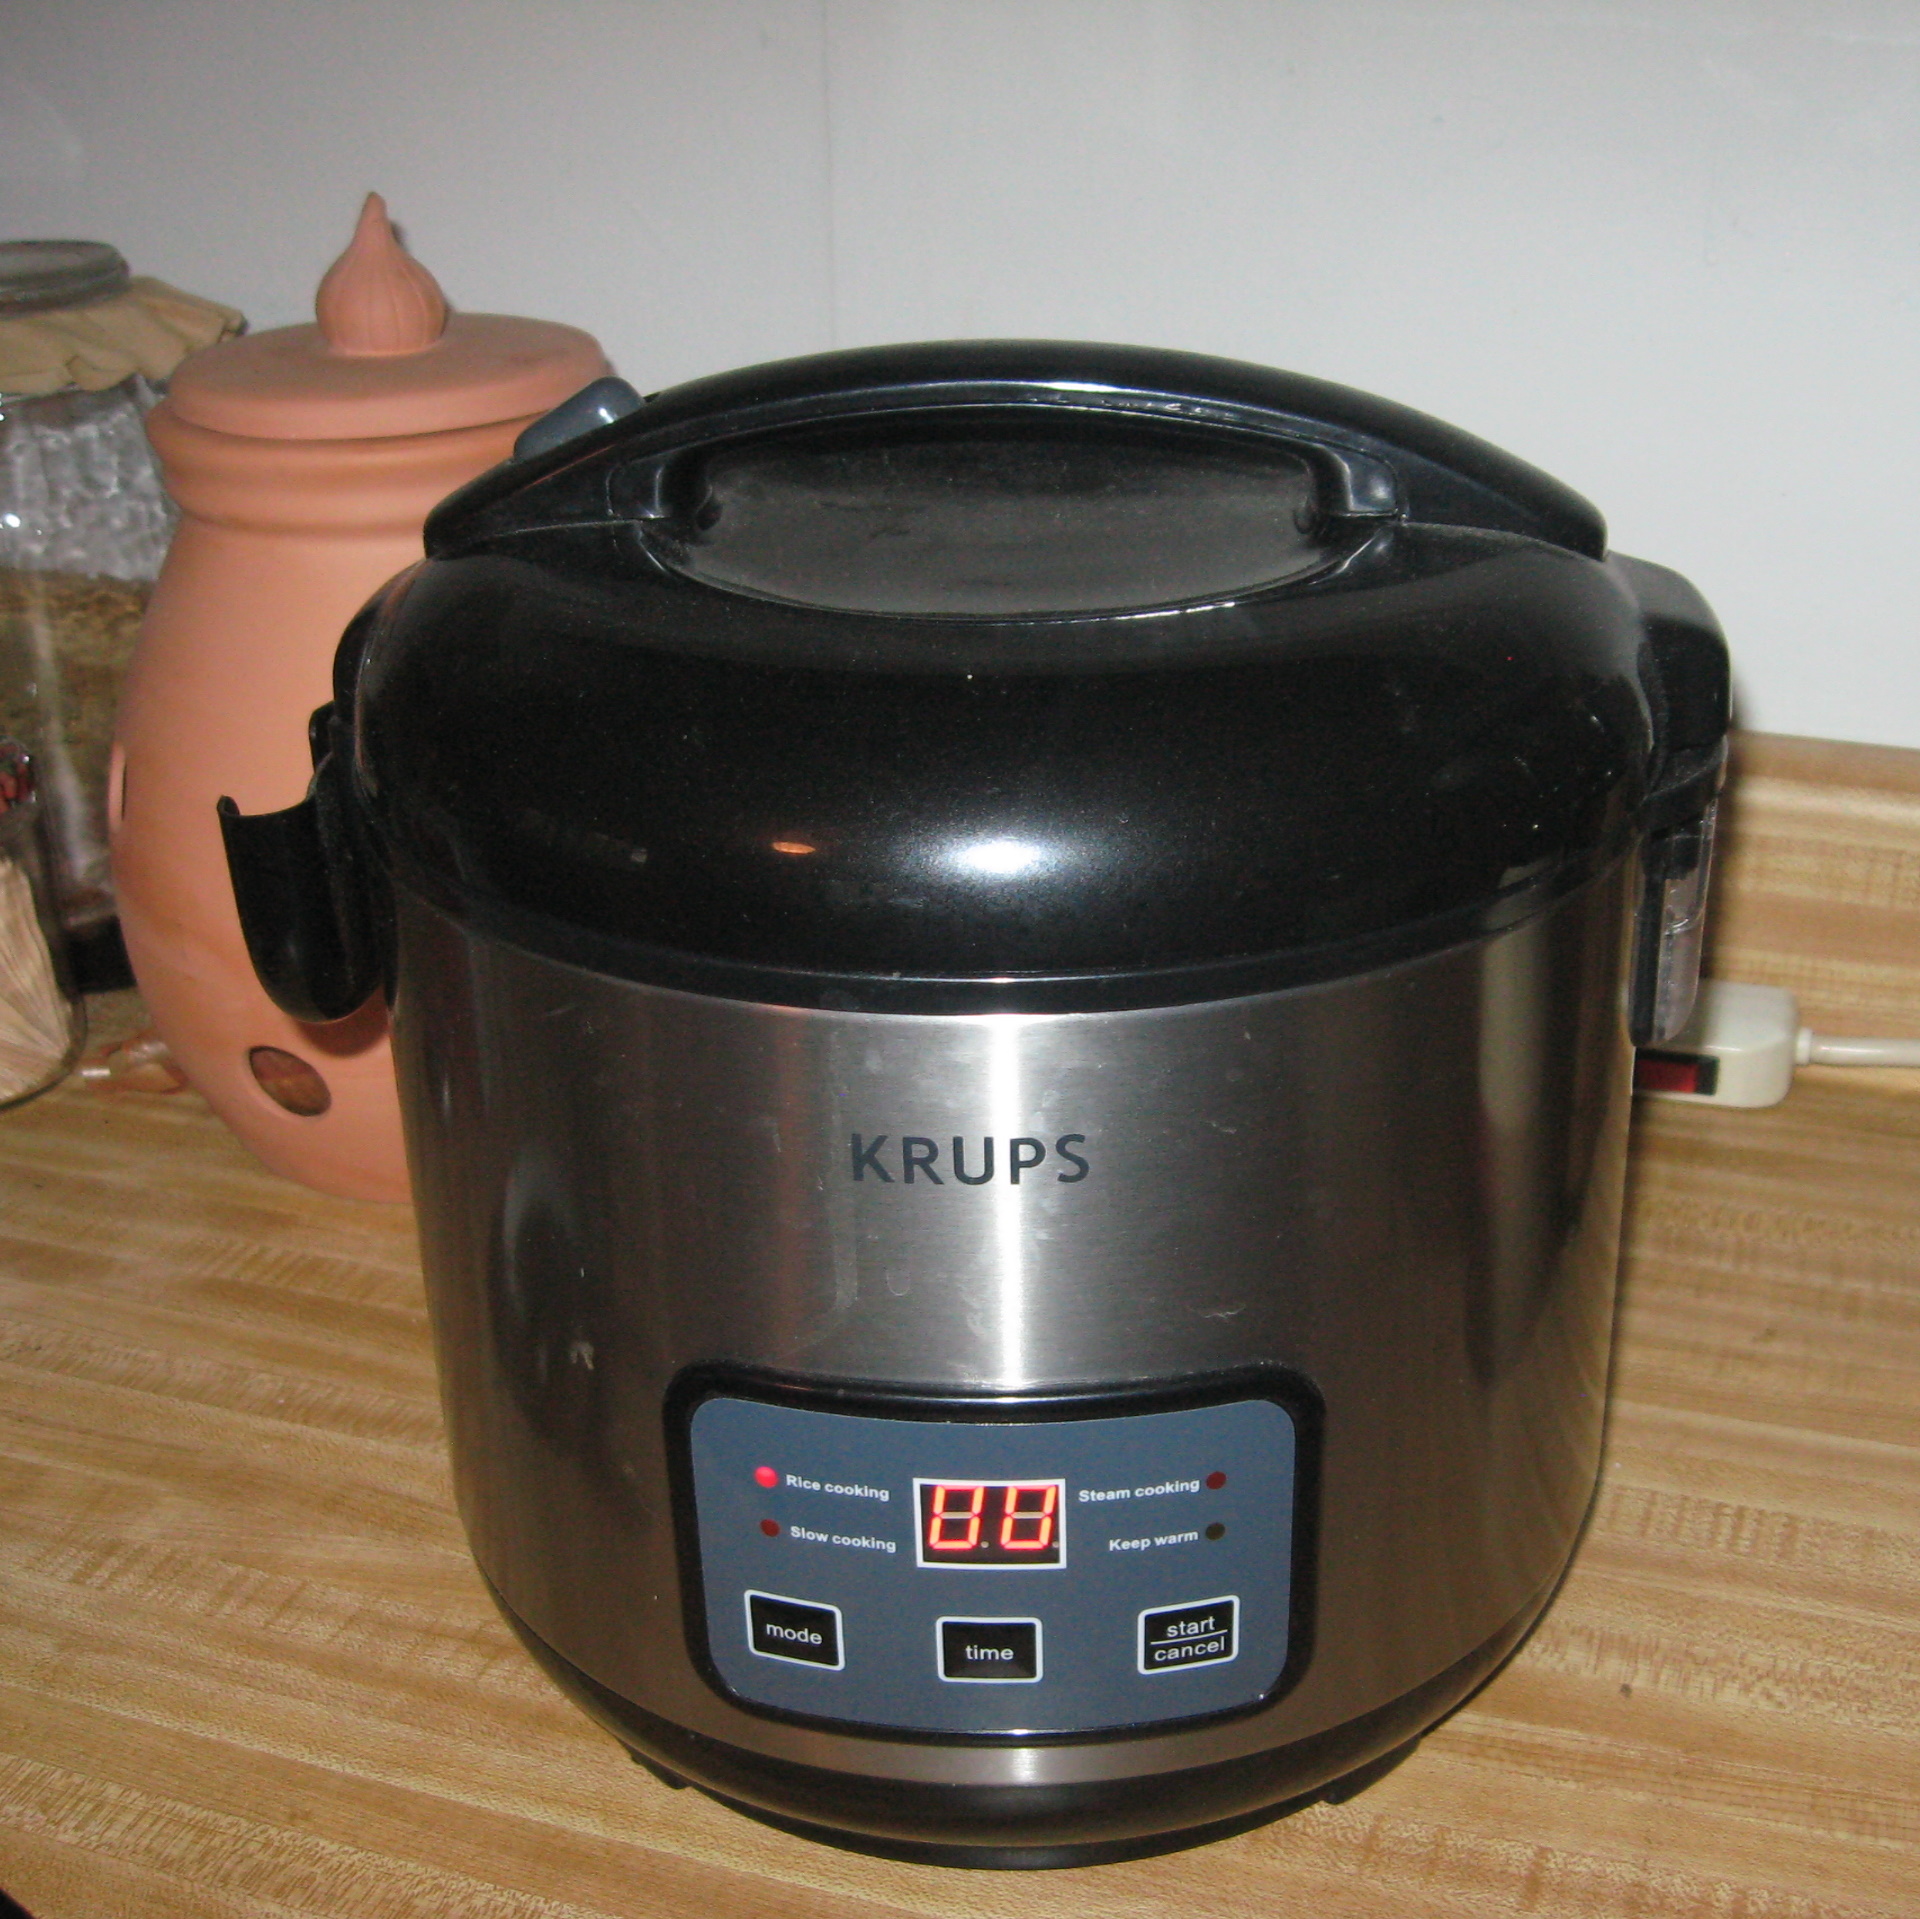
For food safety temperature is important so I looked at lots of articles giving temperatures for various meats and fish, including on that considered using the keep-warm function on the rice cooker or multifunction pot. Next to the beer cooler method this looked like a possible one for me since I do own a Krups multifunction pot. To check that out I filled the pot with and checked the temperature on the slow-cooking setting–the temperature held at 185 ºF which looks as if it might work for some veggies and, perhaps, for tough cuts of meat. Switching to the keep-warm function and doing a temperature check two hours after I had switched to keep-warm function–but the water started at 185 ºF and I had absolutely no information on what the rate of cooling in the closed multifunction pot was. So–more data, please! I started with water at 110 ºF on keep-warm setting to see what happened. What happened was 165ºF.
So the multifunction pot (Krups) is out for just using the warm function, but I’ve discovered that if the pot is hot and then turned off, it hold a steady temperature for about two hours. Since I’m only doing sous vide for one and quick things, I don’t need a huge pot. This is going to take a bit more tending, but it would certainly be easier for quick things than a beer cooler (my laziness is showing, I know).
Searching for the best temperature to use for monkfish sous-vide produced an interesting array of suggestion. Always preferring data, I was glad to see Monkfish sous vide temperature experiment which tested throughout the range of temperatures that I found and gave a description of the fish texture at each.
For my monkfish, I think tender and flaky is a good option; for tuna, I might go for just tender–or even rare, depending on the grade. Now for time specifically for monkfish to be medium the general consensus seemed to be “medium” at 140ºF for 10 to 30 minutes. Since my tap water is at 140ºF with the beer cooler I should be good to go–though it seems strange to not have to be concerned about time but since it won’t go above the water temperature anything in that range should work.
For seasoning? Well, simple seemed good for my first try so I went with salt, freshly ground black pepper, and butter. I used the rice-cooking mode to bring the water up to 140ºF, put the monkfish in, closed the lid and crossed my fingers. It just seems too simple even though I’ve cooked other things by putting them in liquid and then turning off the heat and letting the residual do the cooking.
The results? The best monkfish I’ve ever eaten. Okay, so I’ve not had anyone else’s monkfish cooked sous vide, but it’s the best monkfish I’ve ever cooked. I cooked it at 140ºF for 30 minutes. Temperature check at the end of the cooking was still at 140ºF. The fish was tender and just starting to flake. I’m still trying to find some adjectives for it. If i have to pick one I think it will be just plain luscious!
Now that I’ve done all the temperature experiments on the Krups multifunction cooker (in slow-cooking mode and keep-warm mode), and on how it holds temperature, I see more sous vide in my future.
Andrea is passing close to us and the rain is the kind that makes you want to have quality time with the cat and a good book–so glad to be indoors. But, my unpreparedness did make me venture out (cat litter very low–very serious problem!); fortunately, out and back before the heavy rain started.
tuna
I came home with an impromptu purchase–the local HT had lovely looking tuna (wild caught) on sale. I’m going to make a small batch of tuna confit to use with my summer salads, though I suspect that one of the small “steaks” is going to supplement the grilled or griddled shrimp for supper.
I’m really intrigued by the sous vide cooking technique–and I’m constantly drooling over recipes from Stefan’s Gourmet Blog! Such perfectly cooked meat, and the veggies, too. But, as Stefan points out, it takes equipment! I’d love to try tuna like that as it seems that fish do well that way.
For now, I will settle for the very slow “poaching” as an alternative. It certainly beats the average canned tuna (unless you can get one of the canned variety that is hand packed, and cooked only once.
I keep wondering if there are any low-budget ways of trying the sous vide technique! I think some research is called for here.