Monkfish (real) sous vide

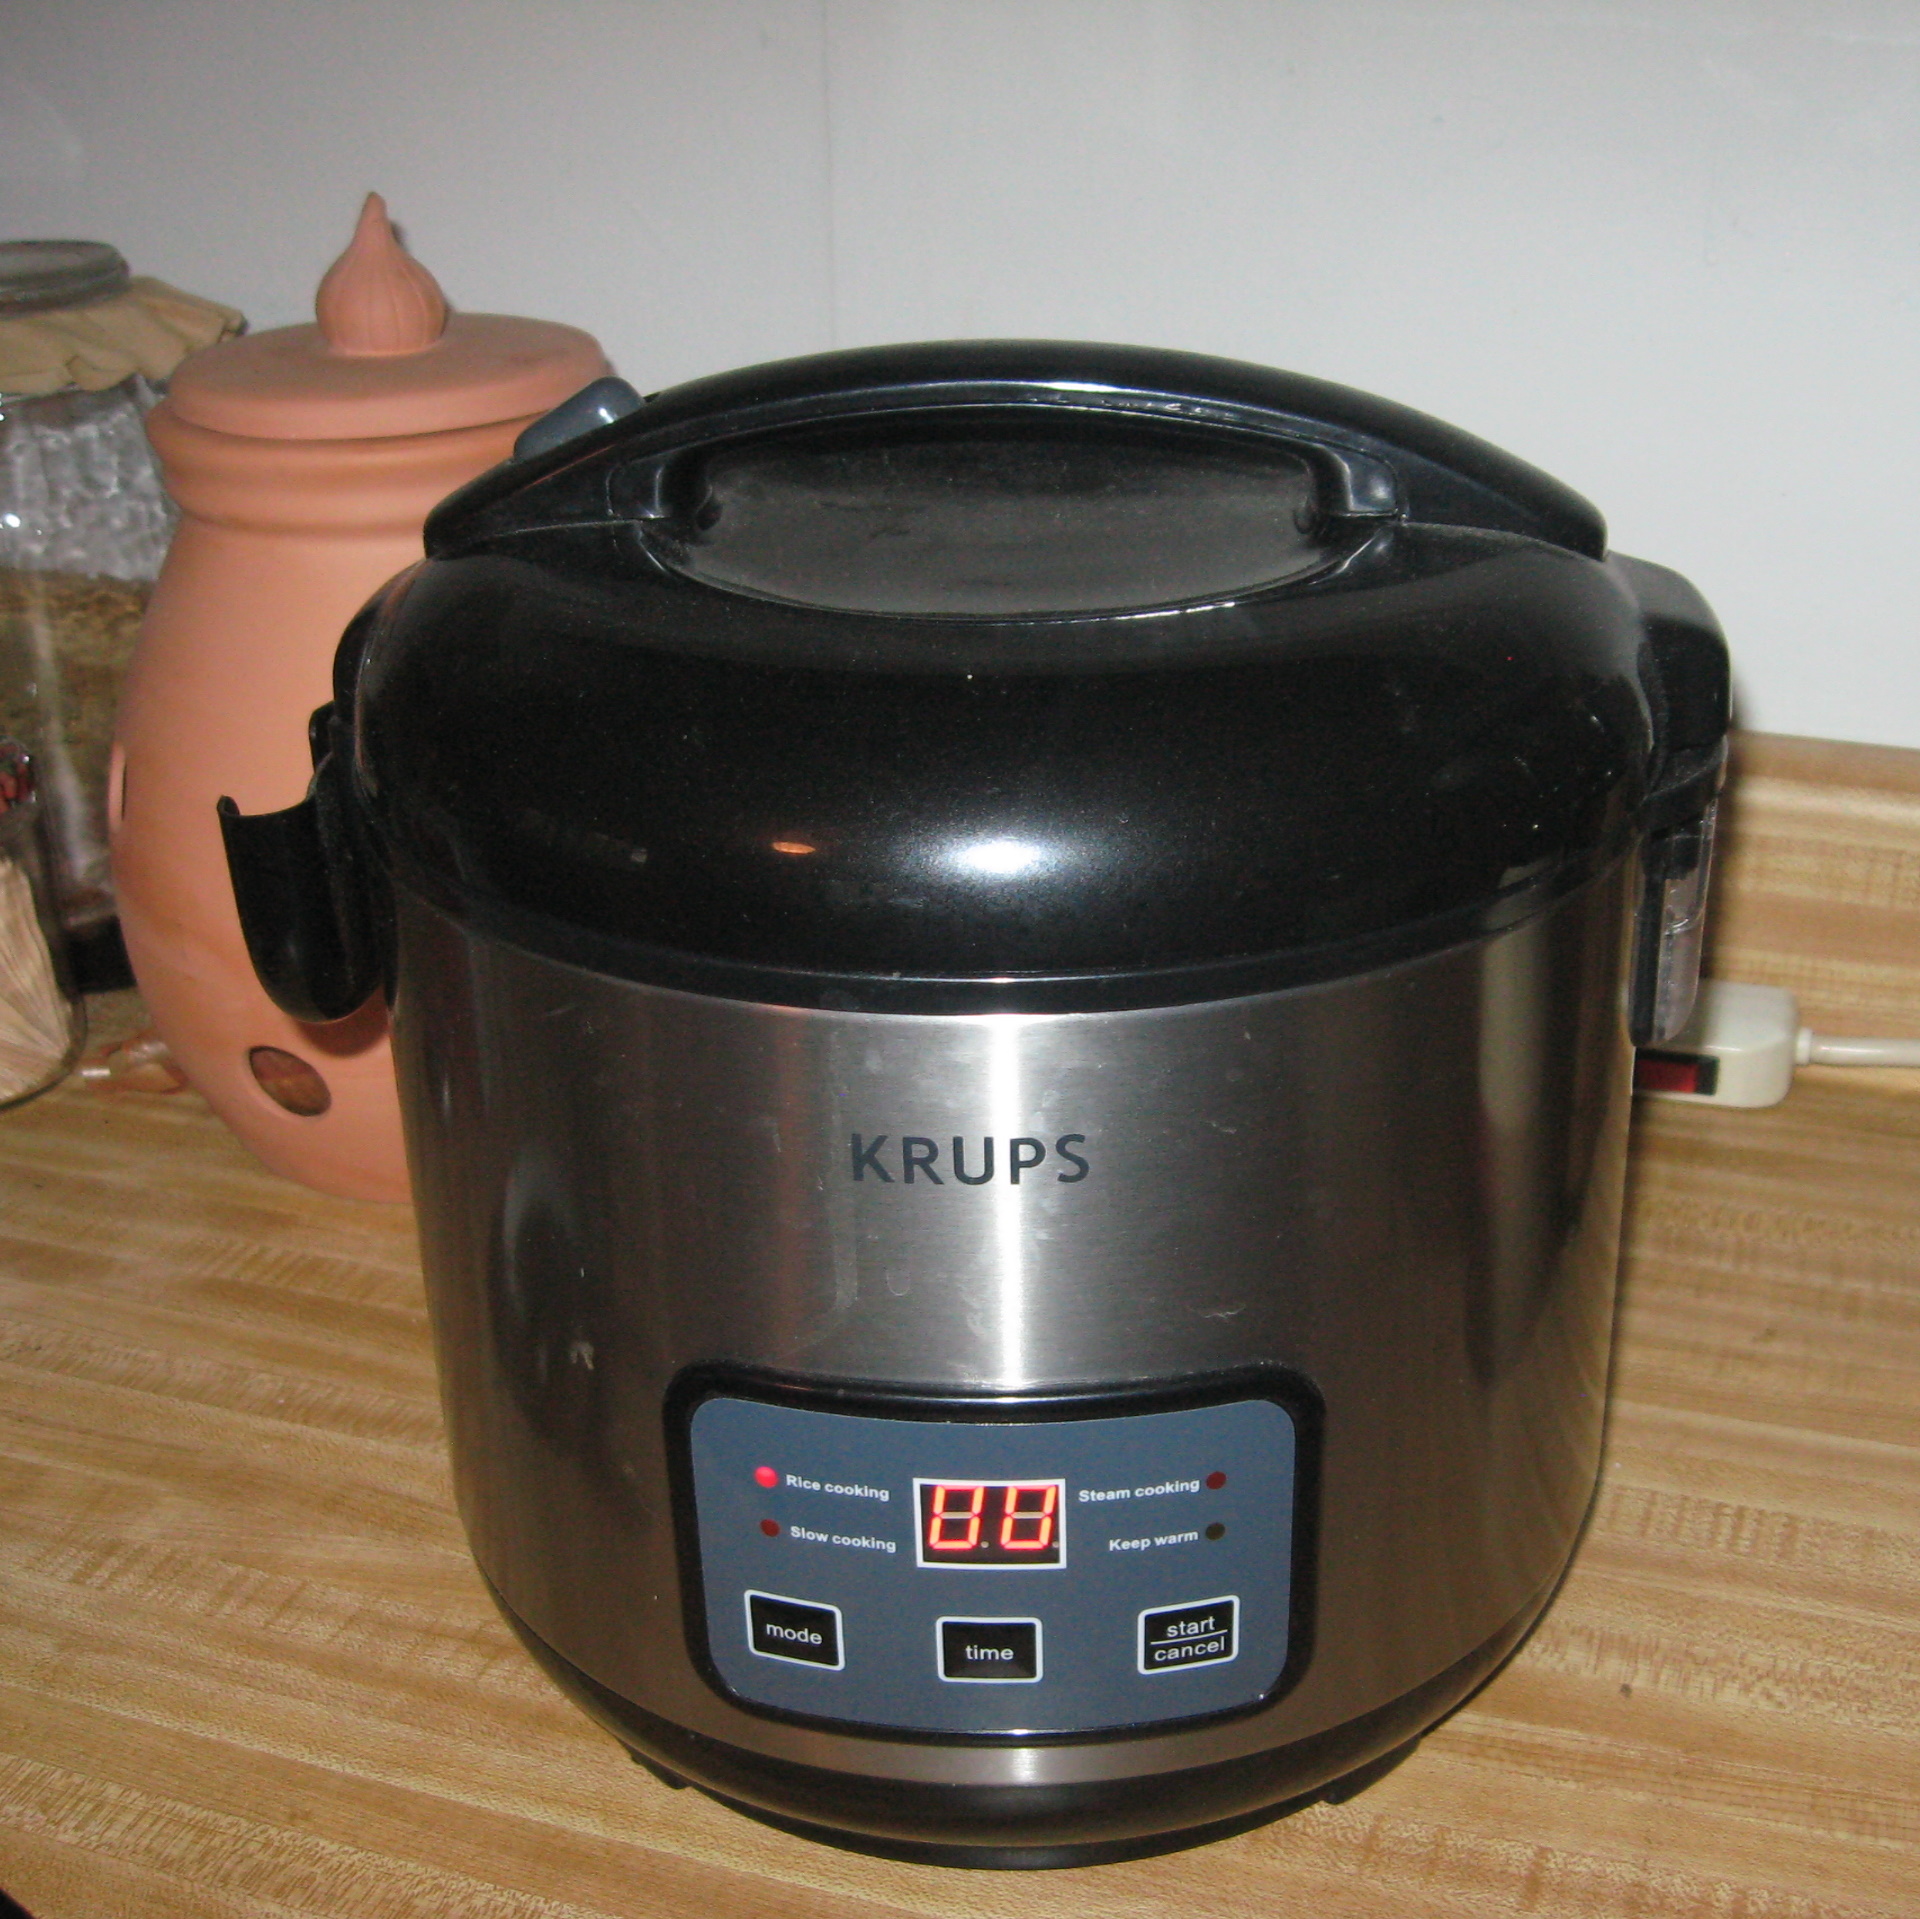
Sous vide cooking has intrigued me for quite some time–so much that I had to do some trials to see if I really wanted to purchase a special appliance for it. One of my early experiments was with monkfish and then Chilean sea bass. Well I’ve finally purchased a thermal circulator–made the leap to real sous vide equipment. I’ve already cooked several things with the real equipment: short ribs, lentils, and some vegetables.

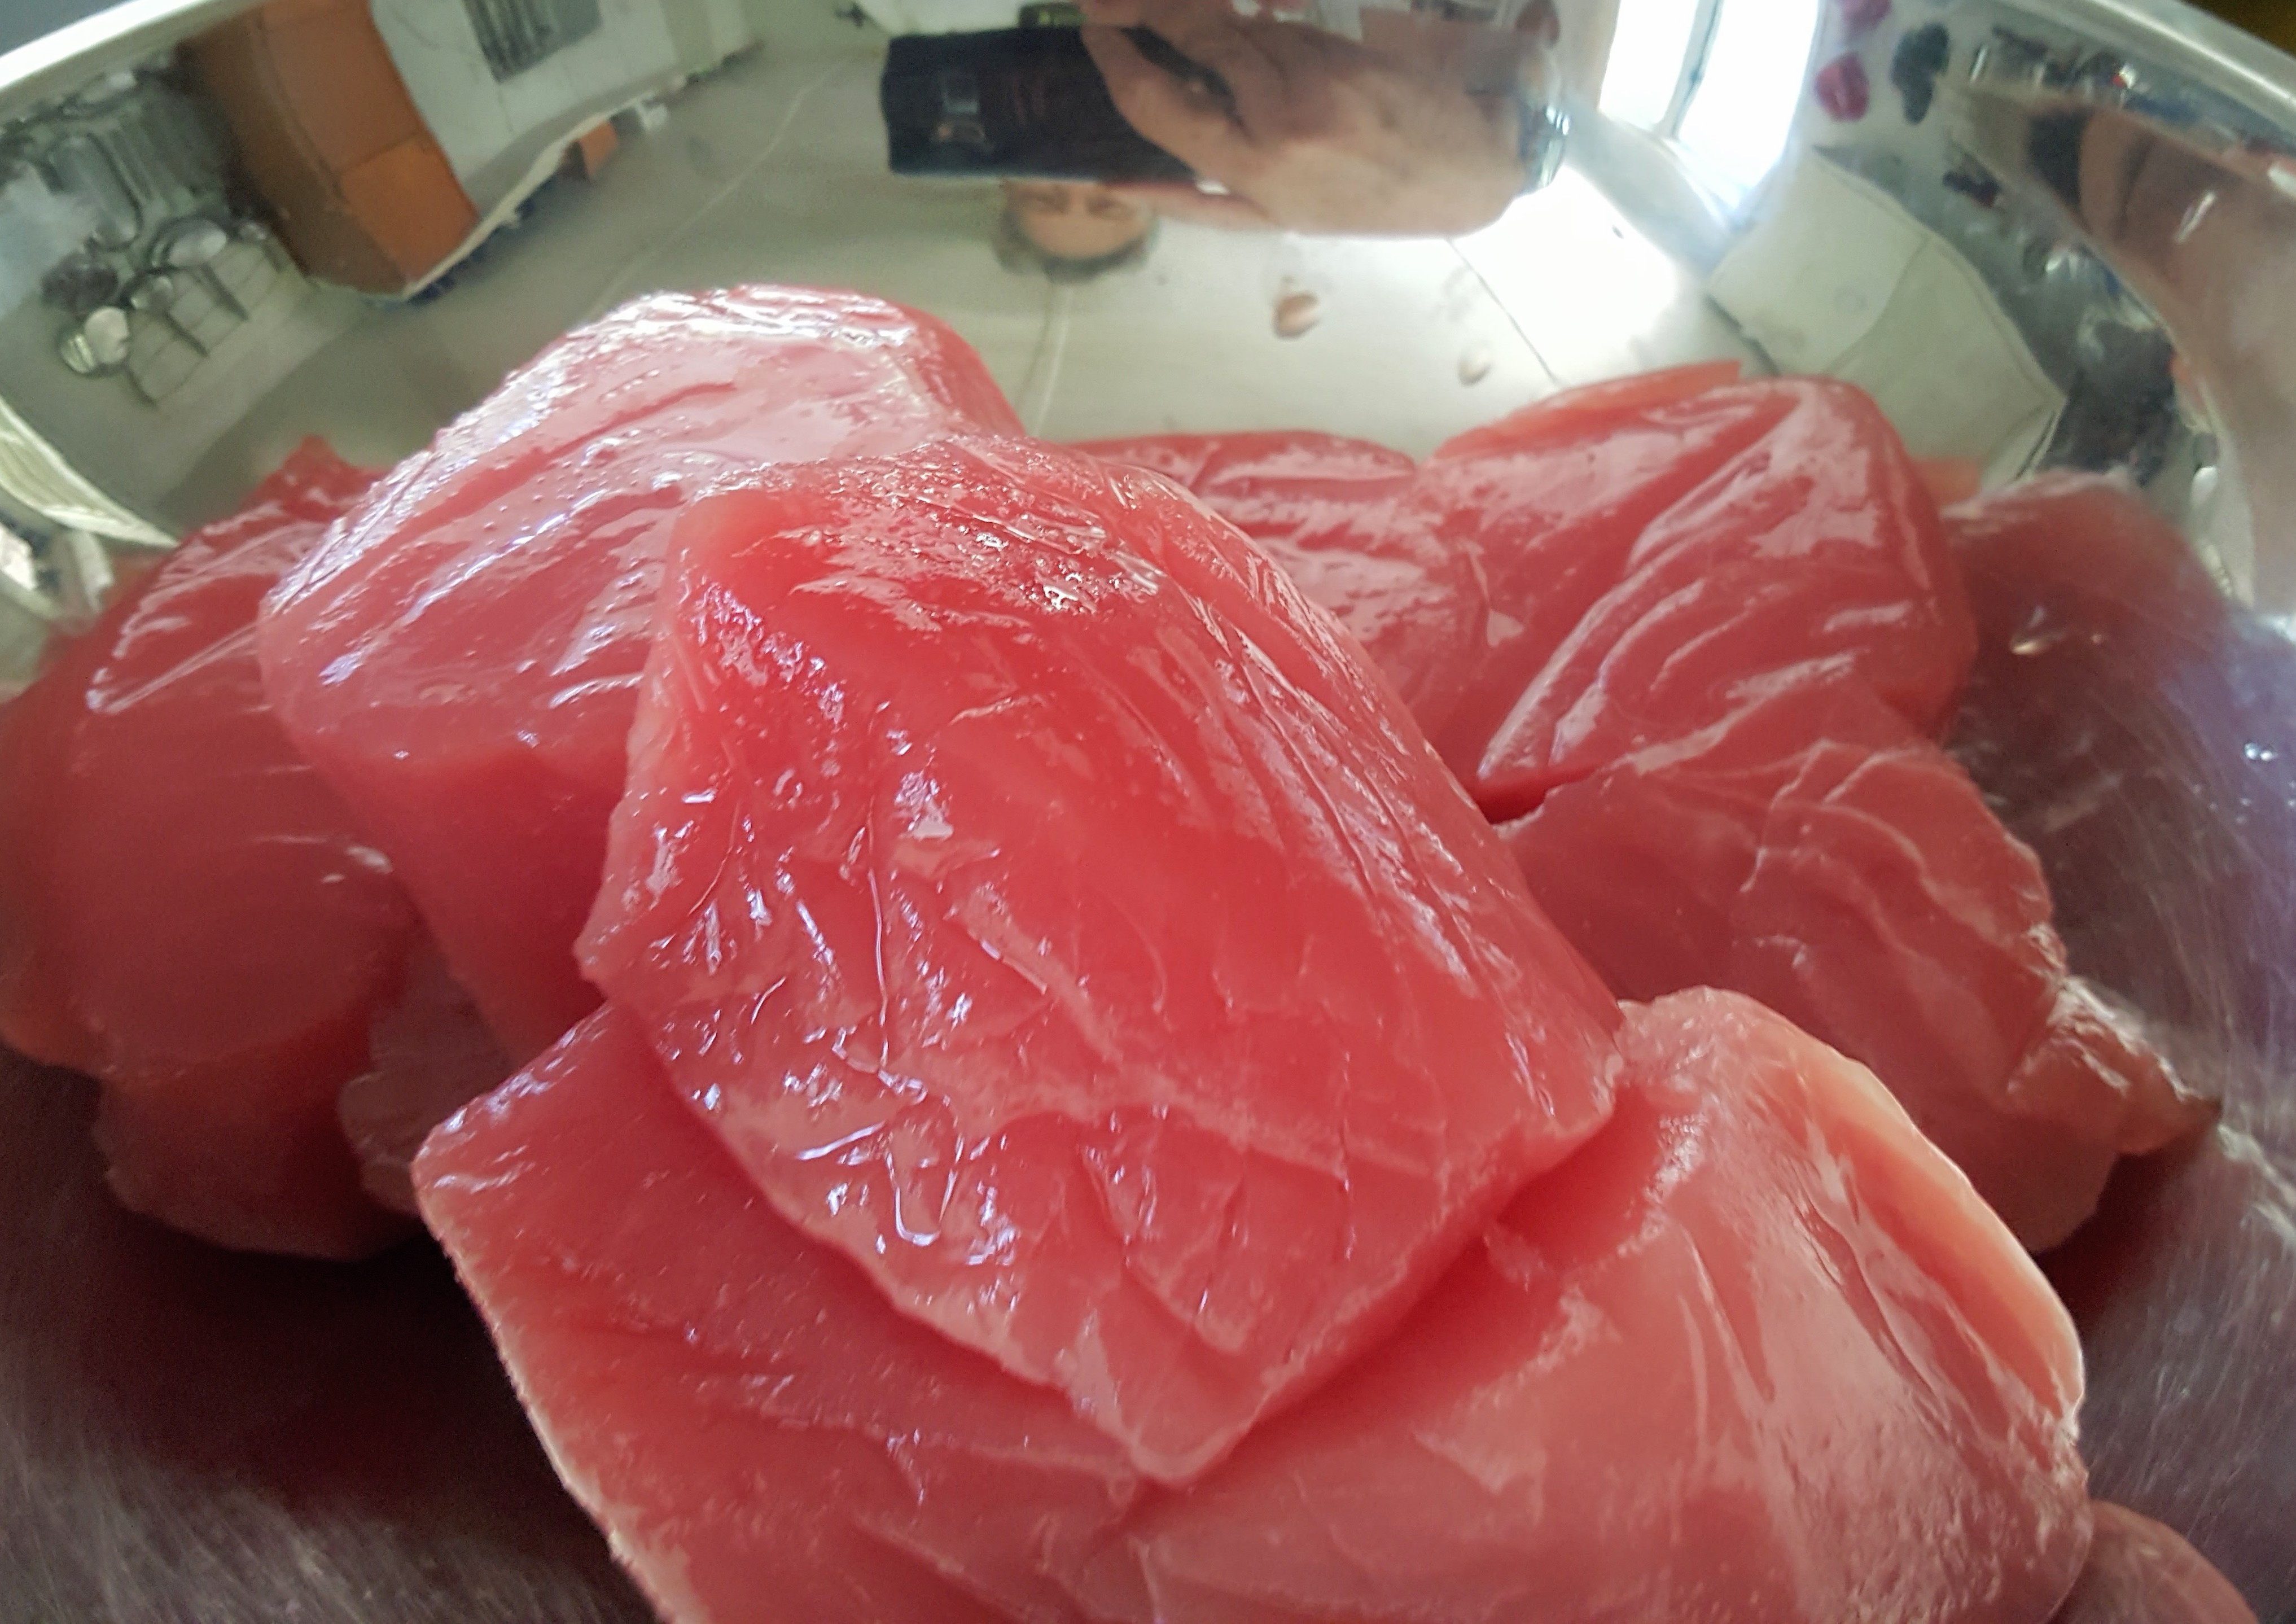
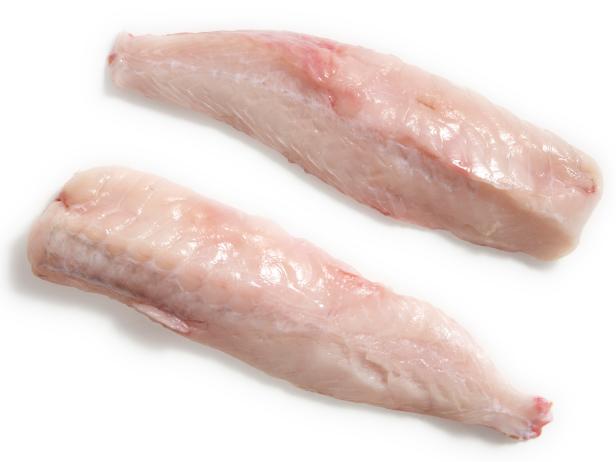
While I was skulking through my local Harris Teeter supermarket yesterday, I made my usual swing past the meat and seafood cases, and there was monkfish. It somehow seemed appropriate that I try it again with the “real” equipment. So I blew my budget on a lovely filet of monkfish. The butcher (or perhaps in this instance he should be fishmonger) removed the membranes so that I don’t even have to do that!

monkfish fillets

While searching for recipes, I found a wide range of temperatures recommended: from 113°F to 144°F (140°F was what I had used in my first trial). After reviewing the post from Stefan’s Gourmet Blog again since there were descriptions of texture for different temperatures. I love sashimi, but I wanted cooked fish here so after perusing other recipes, I decided to go with 132°F–tender and flaky. This is a lower temperature than what I used with my earlier monkfish (which was wonderful). The filet that I had was really more like two servings, so I cut it in half and I’ll see how it reheats for the second serving. (For single-serving cooking it would be wonderful to be able to reheat something like this.)

I read in several places that the tail fillets are the only edible part of this fish; however, online see that it is possible to purchase monkfish cheeks, apparently from larger fish. I’ve eaten cod tongues, and cheeks.

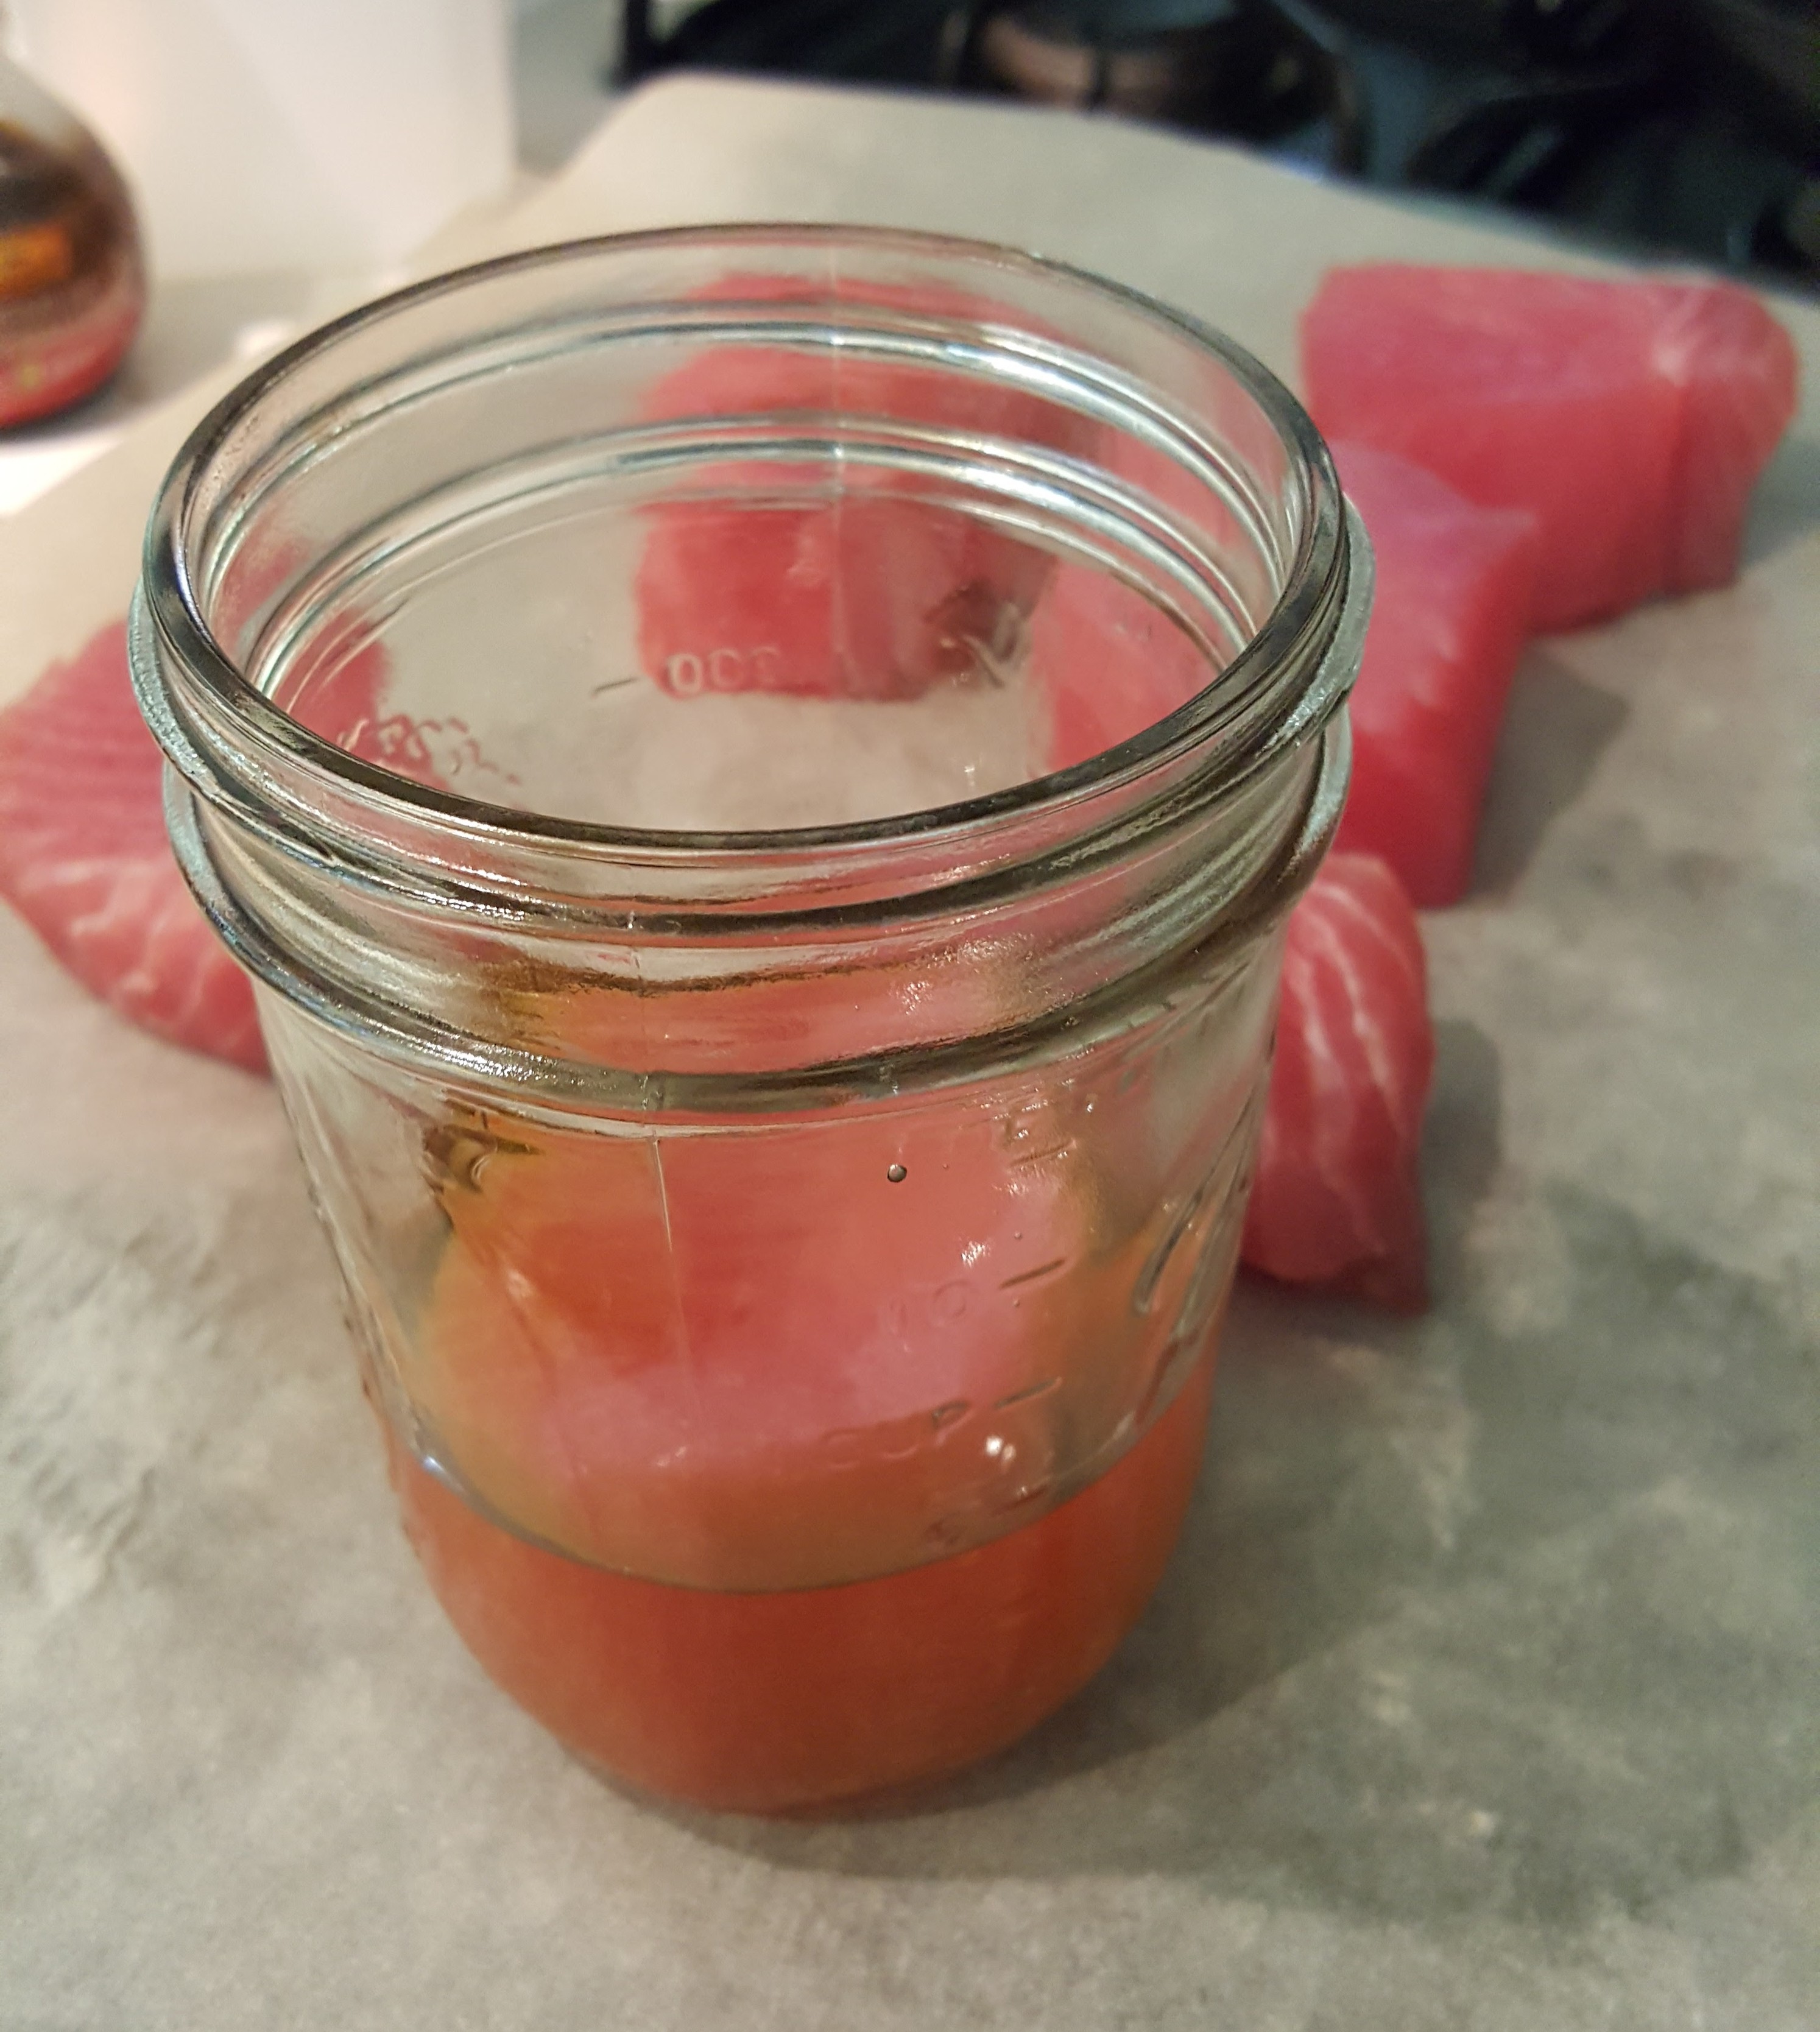
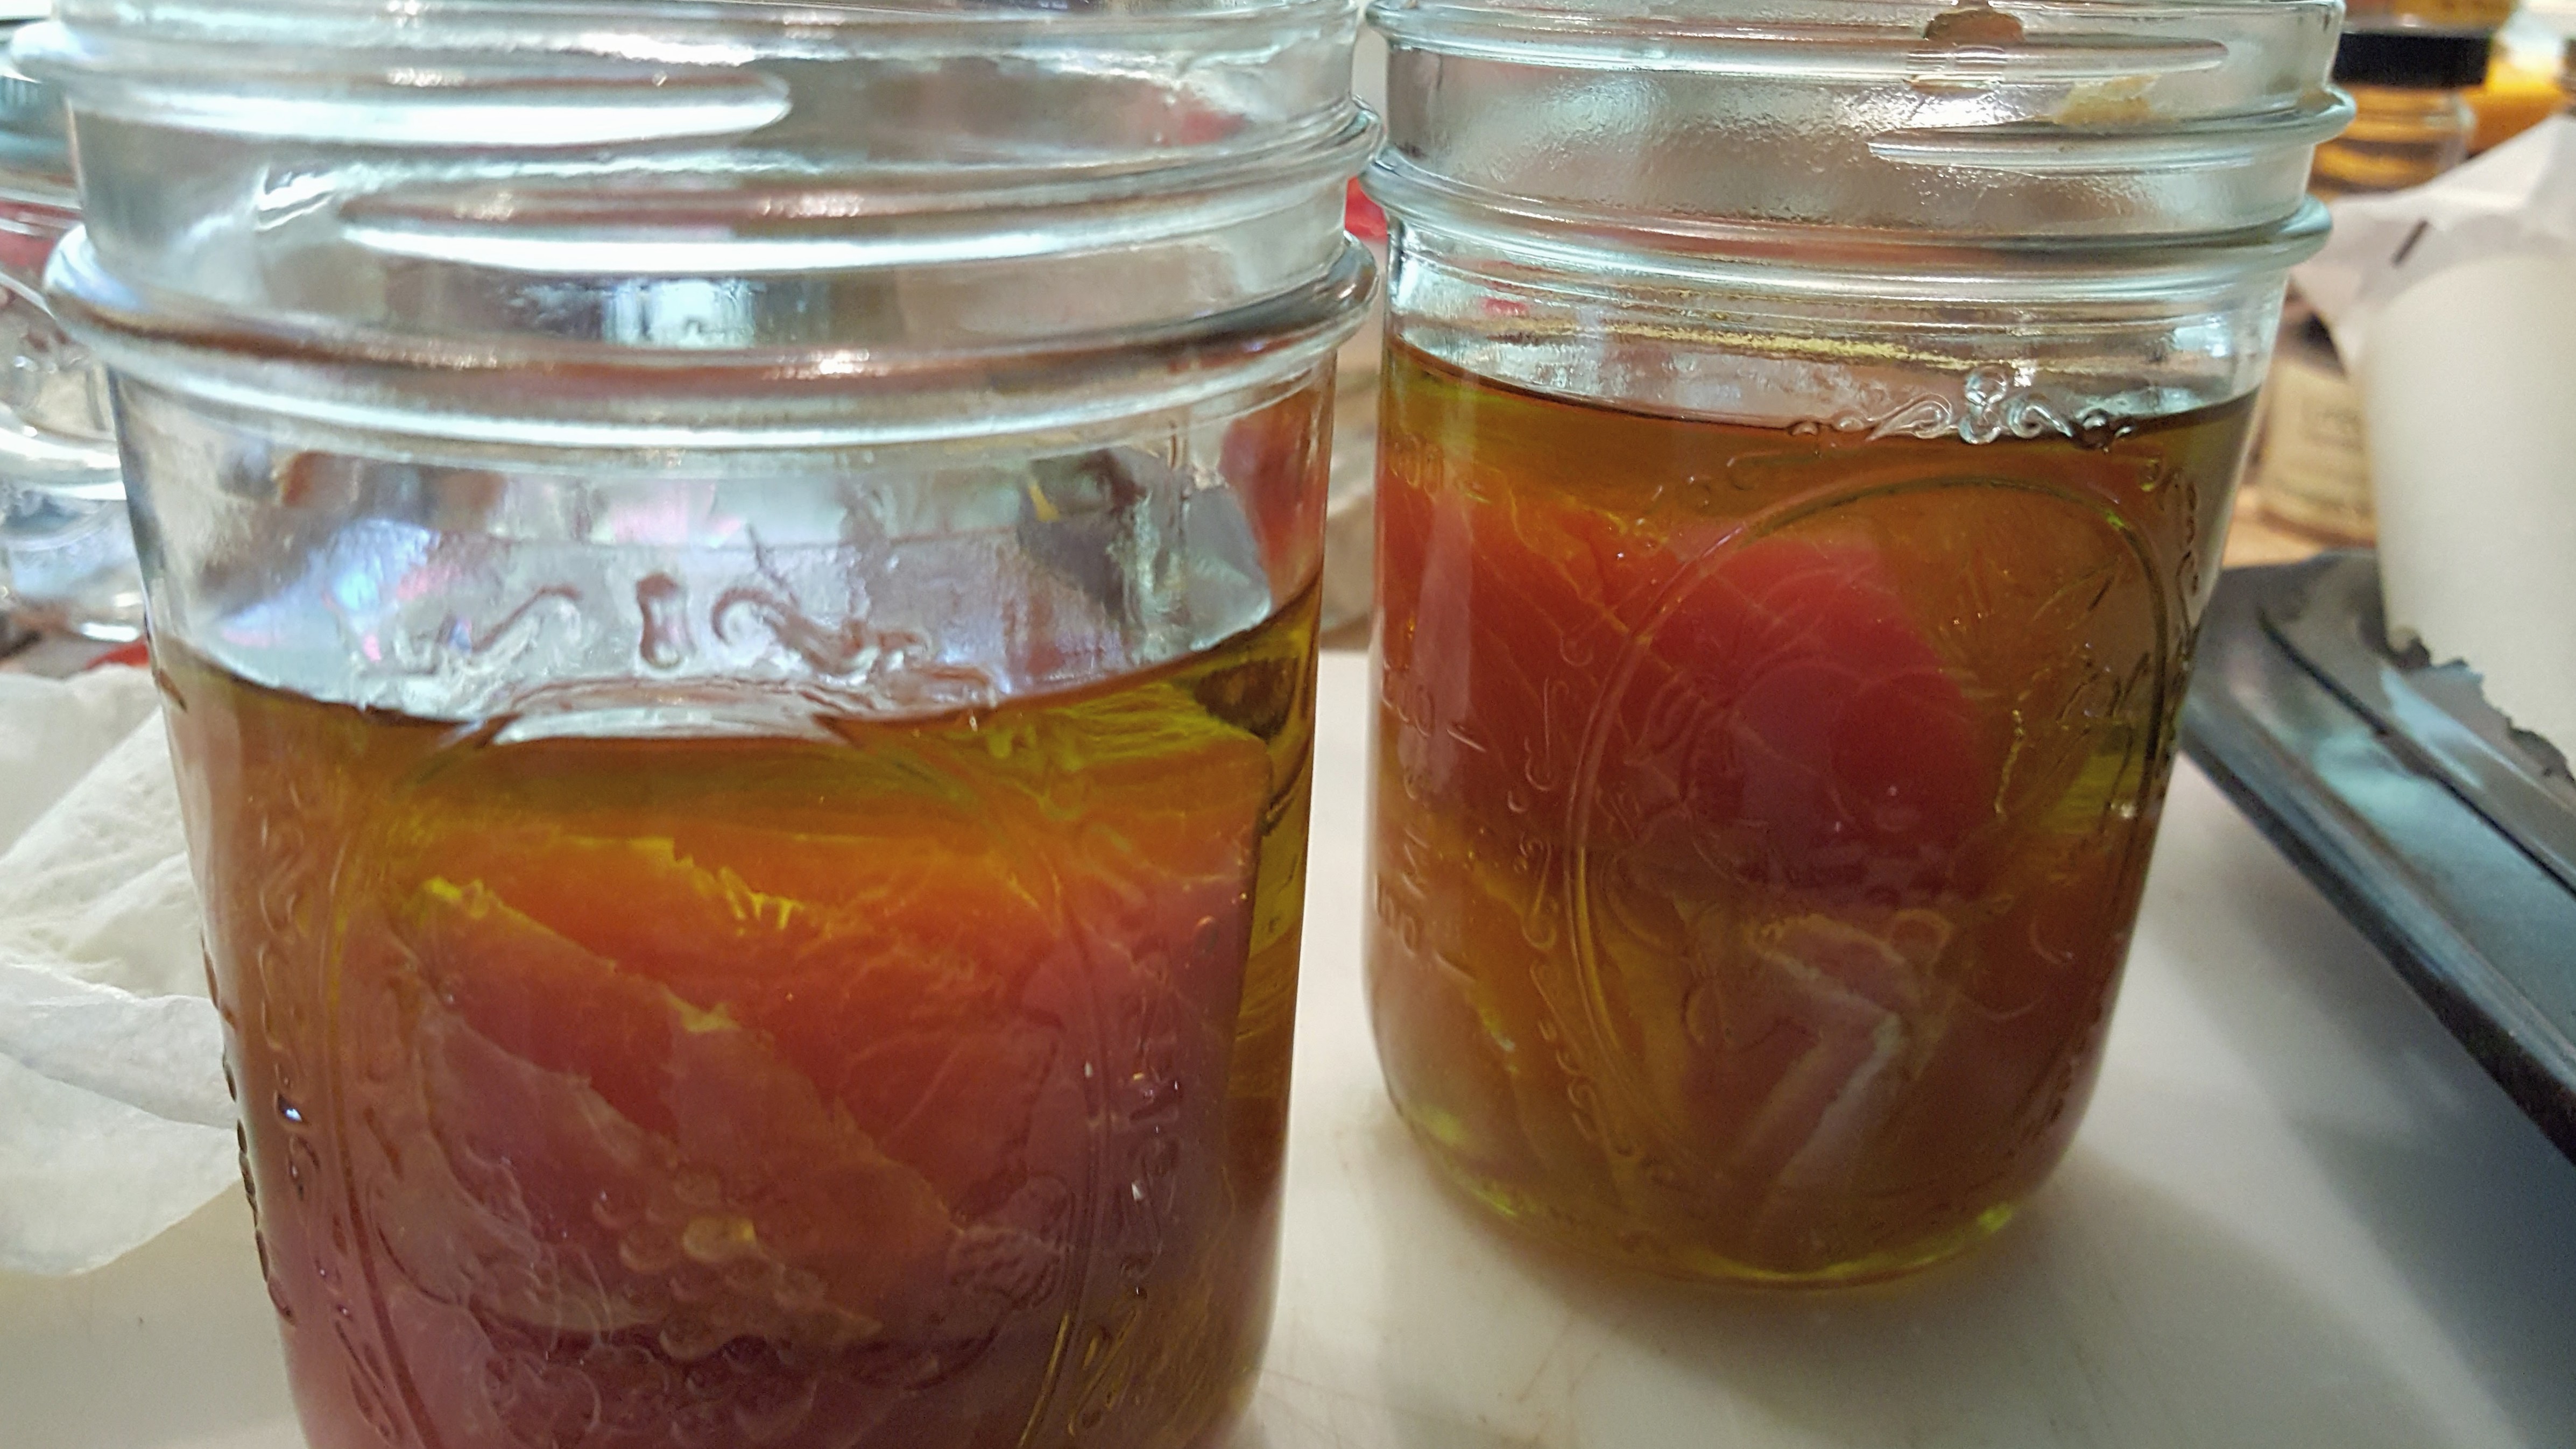
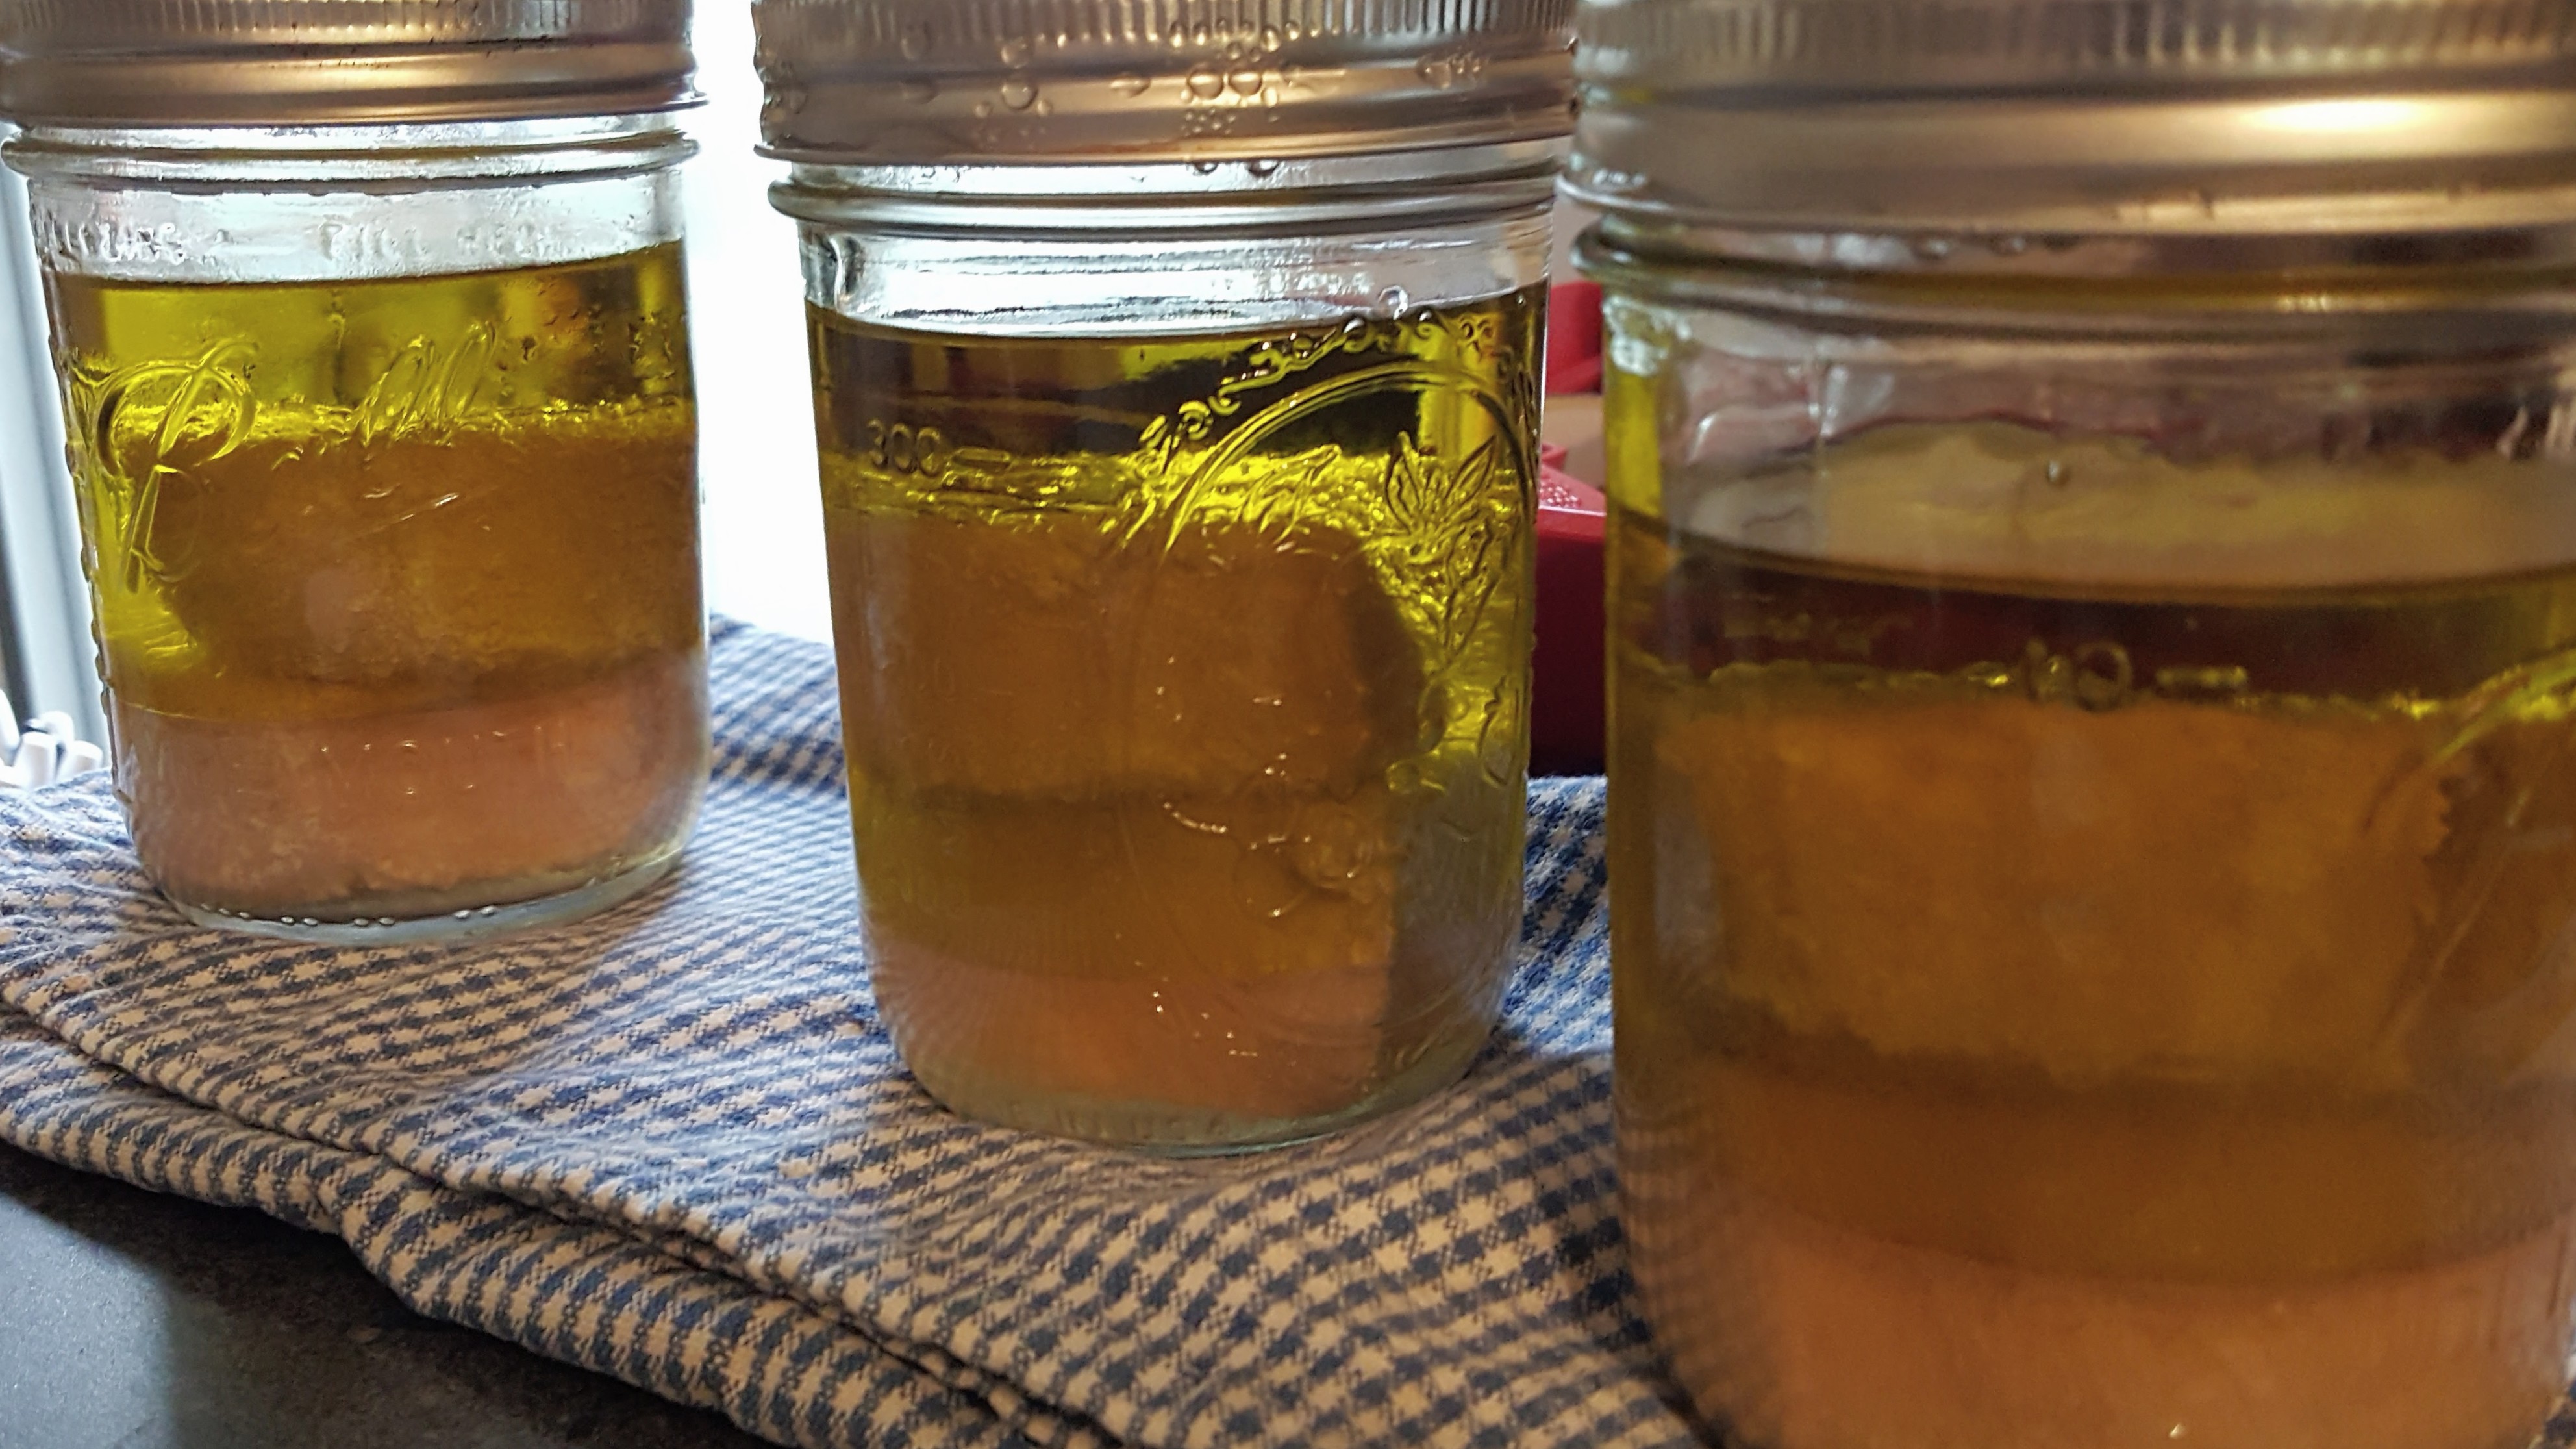
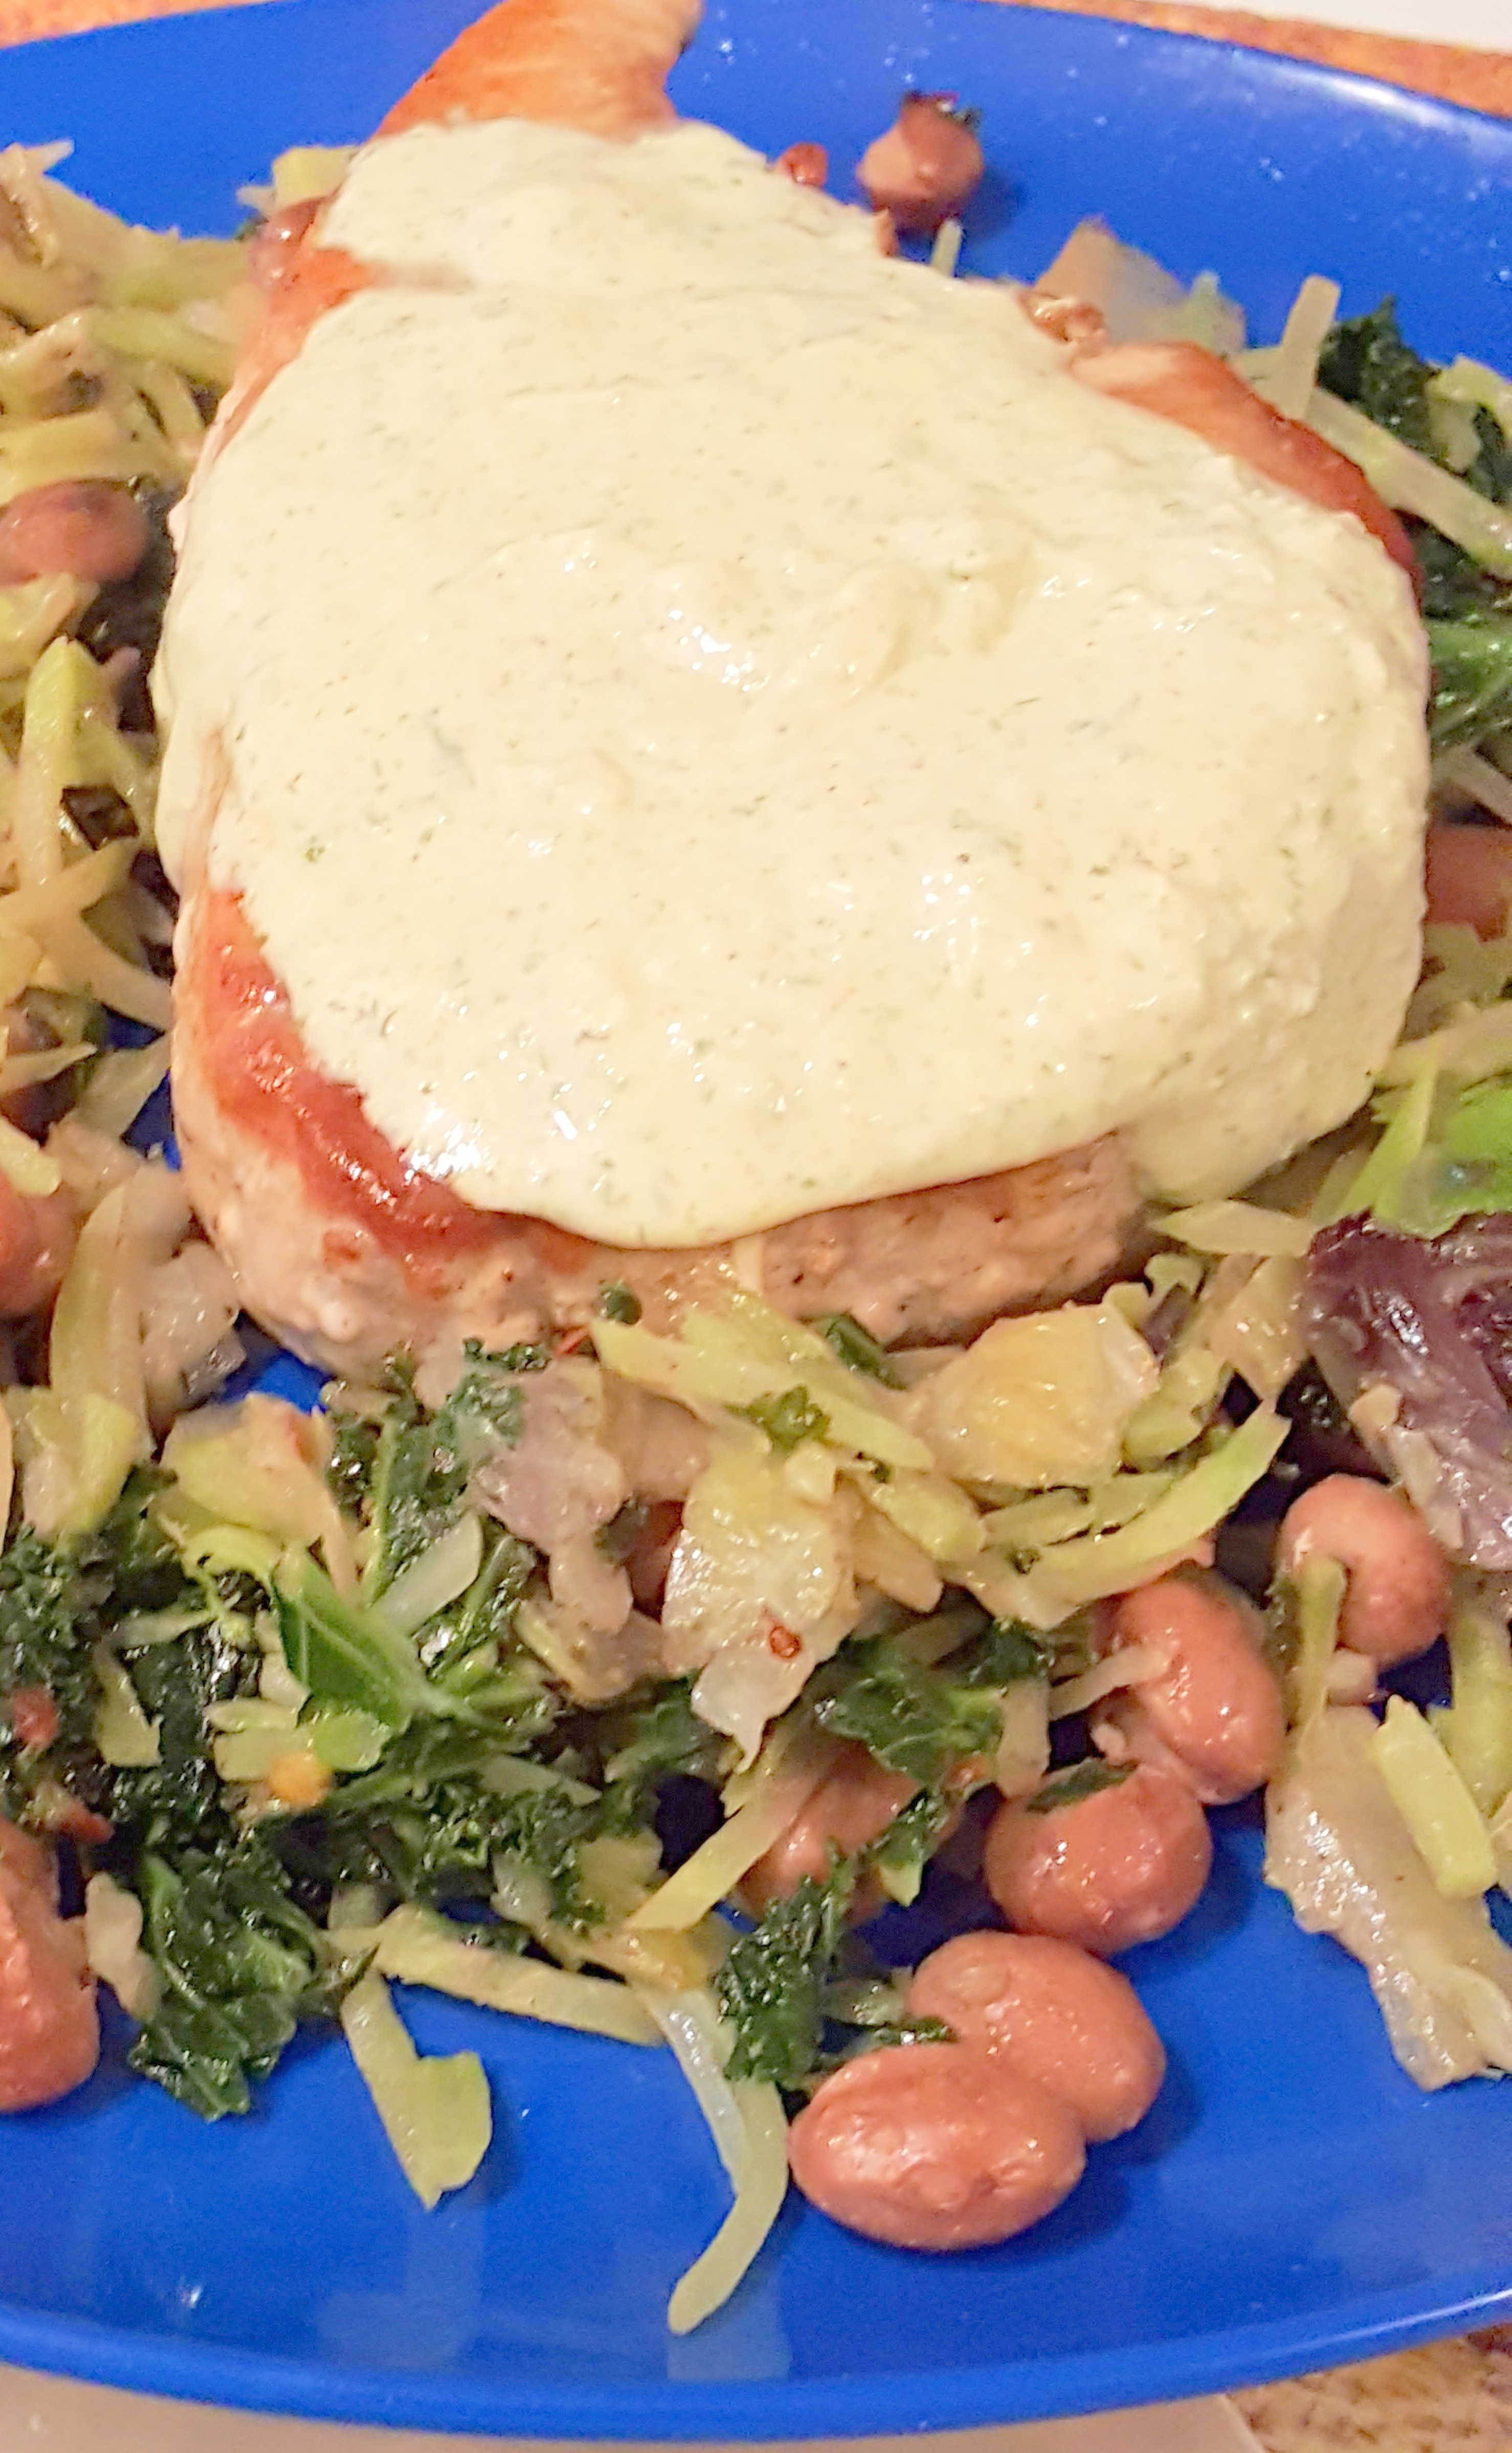
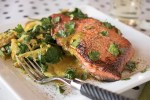
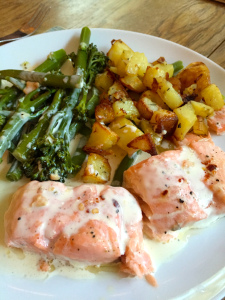
I dry-brined for 30 minutes, and then cooked for 37 minutes with just the salt and some extra virgin olive oil. The result was even better than my first try at the higher temperature. I didn’t try to finish by searing, just added a brown butter sauce with some lemon zest and juice. The taste and texture were wonderful! Next time, although the fish was opaque and just starting to flake, I think I’ll try just a degree or two higher for the next cook–e.g. 133 or 134°F as I’d like the fish to be just a little flakier than this was.

it is not a pretty fish, but so tasty–the poor man’s lobster

Not pretty, but certainly tasty and one of my favorite fish. This precision control of the temperature has lots of possibilities–a son gôut!

I’ll be reporting on how the other half of the filet tasted after cooling and reheating (although reheated fish usually just, despite my best intentions, is headed for the garbage despite the waste.

—Ô¿Ô—

Bouillabaisse–for one or two.

I’ve decided that one of the things that I should always have in my freezer is some good quality frozen fish.I like it packaged in individual servings so that I’m not trying to figure out what to do with the remains of a meal of fish. True, a bit of “leftover” baked, broiled, or even pan-fried fish can be turned into chowder…or tuna or salmon can be “re-purposed” into a salad. However, as much as I like fish, I’m not really into it as a leftover so it’s either get it from the fishmonger/supermarket, or in individual Cryovac packages. I do like variety in my fish so I usually check out the fish counter at my local Harris Teeter or The Fresh Market anytime I’m there–and if lucky, come home with something special like monkfish,  “manager’s special” tuna steaks, or wild-caught salmon. I do bring home the occasional tilapia (though with some thought to the downside of the farm-raised fish).

I love Chilean sea bass but that’s just not in the budget for everyday fish although my freezer does have some that I found at Costco. My favorite standby fish is cod. Firm, tasty white fish that lends itself to cooking in many different ways. Again, my favorite source is Costco.

I’m also fond of reading recipes–if only for inspiration rather than mindless to-the-letter following. Skulking through my inbox today I found an email from Bon Appétit that provided some interesting reading: recipes for cod–an interesting collection that all looked tasty.

One particularly caught my eye was poached cod with tomatoes and saffron–which brought to mind another cool-weather favorite that I don’t make all that often unless I’m making it for friends: bouillabaisse. Looking at this recipe made me wonder why I hadn’t made an effort to make mini-bouillabaisse for myself. It’s really just poached fish in a yummy tomato soup.

Though bouillabaisse typically has lots of different kinds of fish and seafood in it, I could certainly start with a single-serving size piece of cod and add a couple things. My Harris Teeter fishmonger is used to me ordering strange quantities, so probably wouldn’t bat an eye over two shrimp and a scallop–or maybe even a clam or two.

Taking this basic recipe for poached cod, I’d need to add a couple things to recreate the taste of the traditional bouillabaisse: most notably some fennel and pastis (licorice-flavored aperitif).

Mini-bouillabaisse

Ingredients

SERVINGS: 4
  • one 4-5 ounce skinless cod fillet
  • 2-3 shrimp
  • 1-2 scallops, clams, or muscles.
For the poaching liquid (from the Poached Cod with Saffron)
  • 2 tablespoons olive oil
  • 2 garlic cloves, thinly sliced
  • 1 teaspoon Aleppo pepper or ½ teaspoon crushed red pepper flakes
  • 1 14.5-ounce can whole peeled tomatoes (with juice instead of adding water)
  • ¼ cup dry white wine (keeping this instead of using  fish stock)
  • 2 bay leaves
  • Pinch of saffron threads
  • Kosher salt and freshly ground black pepper

Adding for traditional bouillabaisse flavor:

  • scant 1/4 cup diced fennel
  • 2 to 3 teaspoons pastis/Pernod (season to taste)
  • 1/2 medium onion or 1 small leek

Preparation

  • Sauté leek and/or onion in olive oil until softened.
  • Add garlic and sauté until fragrant but not browned.
  • Add tomatoes, wine water, fennel, bay leaves, pepper, and salt and simmer 10 to 15 minutes to let flavors meld. Reduce to a bare simmer.
  • Add cod filet and about 3 minutes later add the shrimp, scallop, clams, or mussels and continue to cook for another 3-4 minutes (until the shrimp begin to curl, the scallop is opaque, and clams or mussels open.

If you want to bulk this up for extra hungry people, add cubed potatoes while the soup base is simmering and cook until almost tender; then add fish and continue as above. There is more soup/sauce here than is needed for one serving. Put it in the freezer for the next time you want bouillabaisse for one–you’ll have a quick meal–even if it is only a fish filet without the extra seafood.

A rather traditional accompaniment to bouillabaisse rouille, a garlicky “mayonnaise” to dollop into your bowl but I don’t always make it. Bouillabaisse can be eaten without it.  My favorite is the version by Anthony Bourdain with the roasted red peppers, egg yolk, and lemon, and lots of garlic. My most often-used version of  rouille uses a mayonnaise base as it’s faster and easier (from Saveur). Traditionally this would be made with soaked breadcrumbs or egg yolk and  other ingredients into which olive oil is emulsified–like mayonnaise. The mayonnaise version is easier for single-serving, solo cooking. (If there’s any left over it’s good on a sandwich or with other meat since I don’t use the fish stock in it.)

Rouille (my version)

Ingredients

  • 2 cloves garlic mashed to paste with pinch salt
  • 1/4 teaspoon sweet paprika
  • 1/3 cup mayonnaise
  • pinch of saffron threads
  • pinch of cayenne pepper
  • a squeeze of lemon juice, to taste

Preparation

  • Blend garlic, paprika, saffron to a paste with a few drops of water if necessary.
  • Add to the mayonnaise
  • Add the squeeze of lemon juice to taste, and salt to taste.
  • Thin with a few drops of water if necessary.


Tuna, lovely tuna!


Tuna_20170709_140604

those lovely tuna medallions

Wow! While skulking through Harris Teeter supermarket I noticed that they had beautiful tuna “medallions” for only $6.99 per pound.  The chunks are not a problem for me since if it were steaks I’d need to cut them up anyway. The main thing is the quality and the price. It’s time replenish my supply of tuna confit.

Since my last post on tuna confit, the recipe from that post, which was from Fine Cooking, I’ve been perusing sous vide recipes and have come up with some modifications for the seasonings, and the method. I’m using the method from ChefSteps this time around (with a little modification of seasoning and cooking time and temperature). One modification was to infuse the oil with some additional herbs suggested in other recipes, and then straining/filtering the oil before packing the confit (in Mason jars).

Tuna Confit (2017)

Ingredients

  • tuna (about 2 pounds)
  • salt and sugar (4:1 ratio) for the dry cure/dry brine
  • extra virgin olive oil, about 4 cups (enough to cover) the tuna

Infused oil ingredients

  • extra virgin olive oil (about 4 cups)
  • Turkish bay leaves (2 or 3 depending on size)
  • sprig of thyme
  • sprig of rosemary
  • smashed garlic cloves (about 3)
  • black peppercorns (about 2 teaspoons)
  • red pepper flakes (just a dash)
  • zest of one lemon (removed with a vegetable peeler)

Preparation

  • Infused oil:
    • Place the oil in a slow cooker or multifunction pot on the warm setting and add all seasonings.
    • Allow oil to infuse for several hours (a temperature of about 150°F) then cool the oil to room temperature.
  • Tuna:
    • dry cure/dry brine the tuna for about 30 minutes then rinse, transfer to plate and let it dry.
    • put the tuna into 500  mL jars, pouring oil around each piece, adding enough to cover the tuna in the jar
    • cook in a multifunction pot on the warm setting for two hours
    • cool tuna and refrigerate

__Ò¿Ó__

When I tasted the oil, the flavors were a bit strong so I diluted it with an additional cup of extra virgin olive oil before using it to pack the tuna. Since the oil had lemon zest added during the infusion–I didn’t add lemon zest to the cans as the ChefSteps recipe had suggested. I think that would have been just too much lemon for even me–and I do like lemon!

My “medallions” were a just little thicker than the usual tuna steak so I allowed them just a bit of extra time with the dry cure (about 45 minutes) before rinsing and allowing them to air dry. There was a big difference in the firmness after that short period of dry cure.

After rinsing and patting dry with paper towels, I left them sitting on parchment paper for about 30 minutes to air dry, turning them over just once, then packing them in 500 mL Ball/Mason jars, adding oil to the bottom of the jar, and then after each piece of tuna

__Ô¿Ô__

The ChefSteps recipe suggested cooking the tuna at 113°F  for 1 hour and 30 minutes. My experience has been that, even though I love sashimi, I like my cooked fish cooked just a bit more. Part of the reason for making confit is not to eat it immediately but to be able to keep it longer as my replacement for “canned tuna”–so I’ve opted for a higher temperature–actually a lot higher temperature–more in keeping with the original recipe.

The jars of tuna in olive oil were put into the slow cooker on the warm setting which should give me about 160°F. I know that’s not going to be as lush and velvety as if it were cooked at a lower temperature. But preservation is part of the objective here (I mean, that was certainly the original goal of confit). I want this to last (in the fridge) for a bit.

Jar size was a bit of a problem–three of the medallions were simply too large to be sure that they would remain submerged under the oil, even allowing for shrinkage with cooking. Since the jars were going to be sealed, I didn’t want to take the chance of having to open them to add more oil. So–extra room in the jar with only two medallions in each.

No matter how this turns out it will be hands down better than most canned tuna (unless you spring for the really expensive stuff) and a lot easier than doing it on the stovetop or even in the oven.


Dry_cure_20170709_141321

dry curing

post_dry _cure_20170709_145716

air drying after curing

Packing_20170709_153235

starting with oil in the jar

Packing_2_20170709_153301

add tuna

Packing_3_20170709_153704

leaving some headroom in the jars

cooked_20170709_183505

it’s tuna confit!


__Ò¿Ó__

Chilean sea bass (sous vide)

Supper this evening was Chilean sea bass (Patagonian toothfish. or Dissostichus eleginoides if you prefer). I’ve been skulking through cookbooks again–especially those that have sous vide recipes. (No, I haven’t bought anything special for sous vide cooking–yet, though I will confess to looking at immersion circulators and thinking a birthday present to self.)

In The Food Lab: Better Home Cooking Through Science by J. Kenji López-Alt I foud a lot of recipes for sous vide cooking–and a method of doing it without any special equipment (at least for foods requiring only a short cooking time). It’s done with a beer cooler.  I do have a beer cooler so this seems like a method to try, as an alternative to the multifunction pot that I used before because I was too lazy to try the beer cooler method.

First I decided to check out the beer cooler to see how well it held temperature. I put about 2-1/2 gallons of hot tap water into it (118ºF) and checked the temperature over several hours.  Two hours later, the water temperature was 113ºF, and at four hours, 110ºF. I decided that would certainly do for “short” cooking times. Seems most fish recipes call for cooking times under one hour.

The recommended temperature that I found for Chilean sea bass ranged from 122ºF to 140ºF so I decided to go with 130ºF. Since my sea bass was frozen (individually packaged filets from Costco), I thawed it in cold water, seasoned it lightly with salt and black pepper, a tiny splash of fennel fused olive oil (olives and fennel are crushed together), popped it into a zipper-lock freezer bag, and after squeezing out the air, plopped it into my beer cooler for 45 minutes. (Water temperature was 131ºF when I put the fish into the water and 129ºF one hour later.)

Results? Well, satisfactory. Obviously, the temperature in the cooler held well for the necessary time. The sea bass wasn’t quite as done as I’d prefer–though perfectly evenly cooked (even though this piece had one end that was definitely thinner than the rest). I think for my next–there’s more in the freezer–I’ll go with the 134ºF temperature or maybe just a tad higher.

I’ve also read lots of warnings about over-seasoning for sous vide cooking (and I came close to over-seasoning with the monkfish) this was bordering on under-seasoned. Next time, a bigger pinch of salt, and a bit more fennel oil, and a little lemon zest.

Ò¿Ó


Monkfish sous vide

I’ve been thinking about sous vide cooking, reading about it, and I’m finally going to try it, especially since it CAN be done without any fancy equipment–except a beer cooler. That I can handle–in fact, I already have one–I just had not thought of it as a kitchen appliance.

I’ve been wanting to try sous vide cooking, especially reading about it Stefan’s Gourmet Blog posts. Being somewhat budget conscious, I’ve explored alternatives to the water ovens and circulators usually used in sous-vide cooking. I’ve looked at articles on how to turn your slow cooker into a sous-vide machine and discovered that requires some additional equipment and “hacking” to work; that’s also not for me.

There seem to be a lot of reasons for using this technique, not the least of which is to avoid heating up the kitchen and overworking the A/C! There’s also the appeal of the evenness of cooking and not being able to overcook unless you give a lot of attention to the actual cooking. All those advantages and some alternatives to expensive equipment or ones that require engineering know-how at least let me try it. One alternative I discovered was a big pot of water, low oven temperature–not an option in summer for me.  I found references on adding external temperature controls to rice cookers and multifunction pots, using the oven, and, of course, lots of ads for sous vide tools.

So what has precipitated this sudden fit of actually doing it? It’s the hot, muggy, humid, steamy weather we have here in the summer and the fact that I’m a serious fresh-air freak. If it’s at all possible I’ll have the doors and windows open–Frankie especially appreciates this. I want to cook without having all the extra heat–so I’m exploring all possible alternatives, including adapting recipes that normally involve using the oven for the slow cooker–looking for ways to beat the heat.

Krups rice cooker IMG_3796

For food safety temperature is important so I looked at lots of articles giving temperatures for various meats and fish, including on that considered using the keep-warm function on the rice cooker or multifunction pot. Next to the beer cooler method this looked like a possible one for me since I do own a Krups multifunction pot. To check that out I filled the pot with and checked the temperature on the slow-cooking setting–the temperature held at 185 ºF which looks as if it might work for some veggies and, perhaps, for tough cuts of meat. Switching to the keep-warm function and doing a temperature check two hours after I had switched to keep-warm function–but the water started at 185 ºF and I had absolutely no information on what the rate of cooling in the closed multifunction pot was. So–more data, please! I started with water at 110 ºF on keep-warm setting to see what happened. What happened was 165ºF.

So the multifunction pot (Krups) is out for just using the warm function, but I’ve discovered that if the pot is hot and then turned off, it hold a steady temperature for about two hours. Since I’m only doing sous vide for one and quick things, I don’t need a huge pot. This is going to take a bit more tending, but it would certainly be easier for quick things than a beer cooler (my laziness is showing, I know).

Searching for the best temperature to use for monkfish sous-vide produced an interesting array of suggestion. Always preferring data, I was glad to see Monkfish sous vide temperature experiment which tested throughout the range of temperatures that I found and gave a description of the fish texture at each.

From ChefSteps I also found the following temperature guide for fish and from Amazing Food Made easy temperatures and times in the range of 10 to 30 minutes:

  • Tender  40ºC/104ºF
  • Tender and flaky 50ºC/122ºF
  • Well done 60ºC/140ºF

For my monkfish, I think tender and flaky is a good option; for tuna, I might go for just tender–or even rare, depending on the grade. Now for time specifically for monkfish to be medium the general consensus seemed to be “medium” at 140ºF for 10 to 30 minutes. Since my tap water is at 140ºF with the beer cooler I should be good to go–though it seems strange to not have to be concerned about time but since it won’t go above the water temperature anything in that range should work.

For seasoning? Well, simple seemed good for my first try so I went with salt, freshly ground black pepper, and butter. I used the rice-cooking mode to bring the water up to 140ºF, put the monkfish in, closed the lid and crossed my fingers. It just seems too simple even though I’ve cooked other things by putting them in liquid and then turning off the heat and letting the residual do the cooking.

The results? The best monkfish I’ve ever eaten. Okay, so I’ve not had anyone else’s monkfish cooked sous vide, but it’s the best monkfish I’ve ever cooked. I cooked it at 140ºF for 30 minutes. Temperature check at the end of the cooking was still at 140ºF. The fish was tender and just starting to flake. I’m still trying to find some adjectives for it. If i have to pick one I think it will be just plain luscious!

Now that I’ve done all the temperature experiments on the Krups multifunction cooker (in slow-cooking mode and keep-warm mode), and on how it holds temperature, I see more sous vide in my future.

Related links:

Always Hungry? An improvised meal

One of the problems I have with rigorous meal plans is that I refuse to shop for my food according to a menu! Even though I’m shopping in the supermarket, I want the freedom to buy what looks good–not what I need for a menu. When I find lovely ahi tuna for a measly &7.99 per pound, you be I’m having that for a meal. That was what I found on Friday, so I had an ad lib meal constructed from the simplified meal plan (page 152).

My high-quality protein was the tuna–pan seared to medium rare. The carbohydrate and vegetable were spicy mixed greens (a mix of radicchio, shredded broccoli stems, kale, and a few other robust greens) steam-sautéed with borlotti beans, seasoned with just a dab of bacon fat and red pepper flakes. Since tuna is not as oily/fatty as sardines, salmon, or mackerel, I followed the “pour on the fat” instruction by adding with a dollop of the lemon dill sauce.  YUM! Dessert? Raspberries and heavy cream (though these were not on the menu for today  either but I used the quantities suggested in the meal plan elsewhere.

(The dill sauce thins and spreads quickly when it hits something hot–next time it will go on the side!) The tuna steak that I had was close to a half pound, so there will be some for a lettuce wrap or salad tomorrow.

20160319_161611

Ò¿Ó

Salmon with asparagus in an Epoisses sauce

Epoisses is one of my most favorite cheeses–not necessarily easy to get. I don’t usually think of cheese with fish, but I want to give this a try. Now to find some Epoisses. . . .

From Alfredo's With Love

IMG_5765

What I want to prove here is how well you can pair a cheese sauce with fish. The EpoIsses sauce is lighter than the one I would normally have with meat – and the flavour really enhances the flavours of the salmon. I used 100gm of Epoisses cheese chopped up and melted slowly in a dry pan. Then sprinkle with a grind or two of black pepper, and then add 150 ml of single cream. Gently warm through – it will thicken a little but not too much.

I served it with poached salmon, asparagus and oven cubed potatoes roasted with thyme and garlic.

If you have never thought to try this – you must. Not an obvious pairing but …..IT WORKS!

View original post

Poached fish

This is so simple, and so easily adapted to cooking for one that I just had to share it.

Rufus' Food and Spirits Guide

Poaching fish is my favorite way to cook fillets. The liquid used can be very simple or very complex. Sometimes I will reduce it into a sauce afterward, and sometimes I like to leave it as a thin broth. This recipe is very quick and is perfect for a nice weekday meal or second course in a large dinner party. Always use fresh fish with firm flesh.

I like to buy whole fish and fillet them myself. Then I use the bones and heads to make a quick fish stock. The butcher should be able to cut the fish into fillets for you if that is too much work.

Poached Fish

  • 1 1/2 lbs fish fillets, skin still on
  • 3 cups fish stock
  • 4 garlic cloves sliced into long slivers
  • 2 tbsp chopped fresh cilantro
  • Salt/pepper
  • 1 tbsp olive oil

Season fillets with salt and pepper. In a saute…

View original post 102 more words