Today I absolutely HAD to go to the grocery store to retrieve some “paper products”…just no way to put it off any longer. Procrastination was definitely not an option. So, after giving my lecture this morning, I had a bowl of oatmeal (I try not to go to the grocery store when I’m hungry), and headed out to the store for one item.
Well, while I don’t like shopping for some things, I do find it hard to go through the grocery store without meandering around through the produce, fish, seafood, and meat counters, and occasionally (especially around the holidays when they have chocolate cherry bread) the bakery.
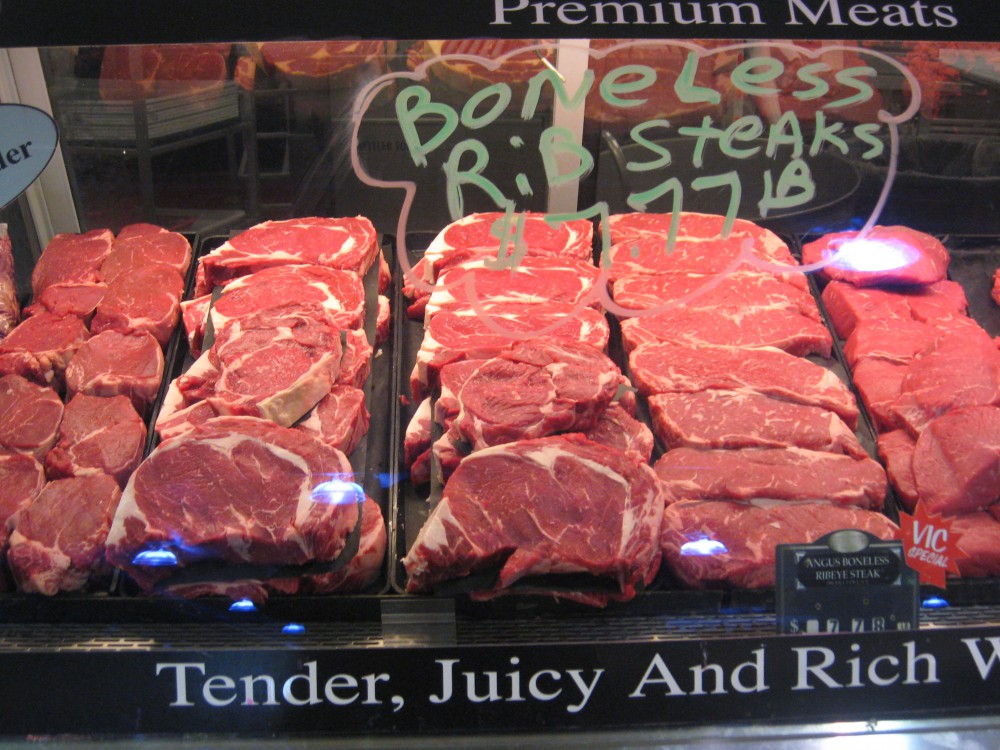
Today my meandering took me past the meat counter. I usually do check what might be on special–especially when I’ve not decided on that night’s supper–I might well find something that’s not usually in the budget marked down because, while it’s still fine, it’s sell-by date is approaching. Today is wasn’t a “need to move it” but a “manager’s special”.
I found a lovely veal rib chop (bone in and thick) as a store special (read cheap for veal). My oatmeal just was not enough to allow me to pass that up–so I came home with a veal chop–since chops of any kind are always wonderful for single-serving cooking. Now, what to do with this chop?
 As comfortable as I am with improvising, I do sometimes want a recipe. I know that some where in all my cookbooks there is a recipe for “sage-sage scented veal chops” that I just want to look at. How do I find that recipe? Off to Eat Your Books. (I know I’ve mentioned it before, but Eat Your Books is wonderful if you’ve got cookbooks and want to find recipes–and they are now indexing magazines and blogs as well as books.)
The recipe is from Every Night Italian (p. 127) by Giuliano Hazan was the inspiration for this (but could not remember who or where to find it). Thank you, www.EatYourBooks.com! This is so simple that you really don’t need a recipe.
Sage-scented Grilled Veal Chops
Ingredients
- one veal chop (at least 1 inch thick, and I prefer about 1-1/2-inch thickness)
- fresh sage leaves cut into strips or chopped
- olive oil
Preparation
- Cut the sage leaves into strips (chiffonade)
- Pat the sage, with the olive oil, all over the chop
- Let stand (at room temperature) until your grill is ready–about 30 to 40 minutes.
- See Ready to Cook (below) for cooking method
Ò¿Ó
I’ve followed these directions, but I’m a sage lover and I want a bit more sage flavor (even with mild veal) than I get with that standing time, so I’ve tried to find ways to bump up the sage.
I’ve tried processing the sage leaves with some olive oil into a nice green slurry and rubbing that on the chop. That works well in you have only a short time to get your sage flavor into the chop–but don’t leave that one more than about an hour or you’ll totally over-sage your chop. Sage is potent even as a
fresh herb, some varieties more than others. I would not cook a chop this way if I did not have fresh sage.
I’ve gotten the flavor that I want by very coarsely chopping the sage or even just thoroughly bruising the leaves and patting them over my chop, wrapping it in plastic film, and letting it sit in the refrigerator at least over night, or up to one day, and then cooking it.
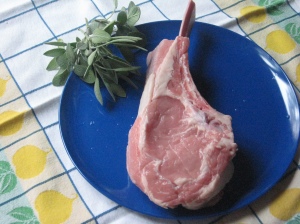
So here’s my chop, rubbed with olive oil covered with the sage leaves, ready to go into the refrigerator until I’m ready to cook in tomorrow evening. Depending on the weather, it will be ready to
charcoal grill it, or
griddle it, or even
pan-sear it.
Ready to cook…..
When you’re ready to cook the chop, wipe off the sage leaves. The high heat doesn’t improve the flavor of sage, and can actually burn them, so I like to remove them. You’ll want to salt and pepper the chop as you start to cook it. You want to cook the chop to an internal temperature of 130 ° F (medium rare–for my taste) or a bit longer for medium.
- If you’re cooking on a gas or charcoal grill, you will want to have two-levels of heat–high to start brown the chop, and a lower temperature to finish the cooking since it’s a thick chop.
- If you are pan-searing you’ll need about 2 tablespoon of oil. Heat the oil over medium-high heat until it starts to smoke, and put your seasoned chop in the pan. Let it cook without moving it for 4 to 5 minutes when it should be browned on one side. Using tongs, flip the chop and reduce the heat to medium and continue cooking until it’s at 130 ° F (or desired doneness).
- For griddling, I use a cast-iron griddle that fits over two burners–so I can kind of have “two-level” heat with the two burners at different levels. Again, let the chop cook for about 5 minutes without moving it. Once I’ve turned the chop and moved the chop to the somewhat cooler end, I can put veggies on to cook while the chop finishes. (If you’re working on a grill-pan, then adjust the heat as you would for the pan searing, but with the heavy cast iron it does take a bit for the heat to adjust.
So quick and easy!
Õ¿Ô
 I ended griddling my chop because it was a damp, rainy day–it was still wonderful. Added a few steamed fingerling potatoes and some sautéed broccoli raab (with garlic and red pepper flakes). It was a fine meal.
(I’m sure I won’t do this again until there’s another special as it’s a splurge even then, but worth every penny!)
A son goût!

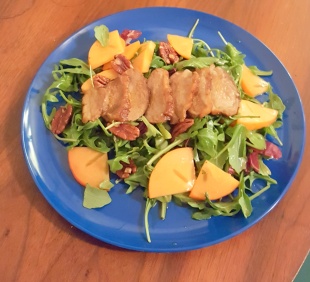 eaten part of the second one. So leftovers–just enough for a salad.
 I had thought that perhaps just a drizzle of one of the infused vinegars would be good, but after tasting the vinegars with a piece of breast that was loose in the package, I decided it needed more complexity, so I started with extra-virgin olive oil infused with mushroom and sage–awesome as a condiment in its own right, but for nice fatty duck it needs to be brightened a bit with one of the infused balsamic vinegars. Decisions, decisions!
 To prep the breasts I patted them dry and scored the skin side, careful not to cut into the meat–just to help the fat render while pan-searing. You need a very sharp knife so that just the weight of the knife pulled across the skin will cut into it. Then I salted the meat side of the breasts and let them sit for about 20 minutes to season.