Cast iron cooking

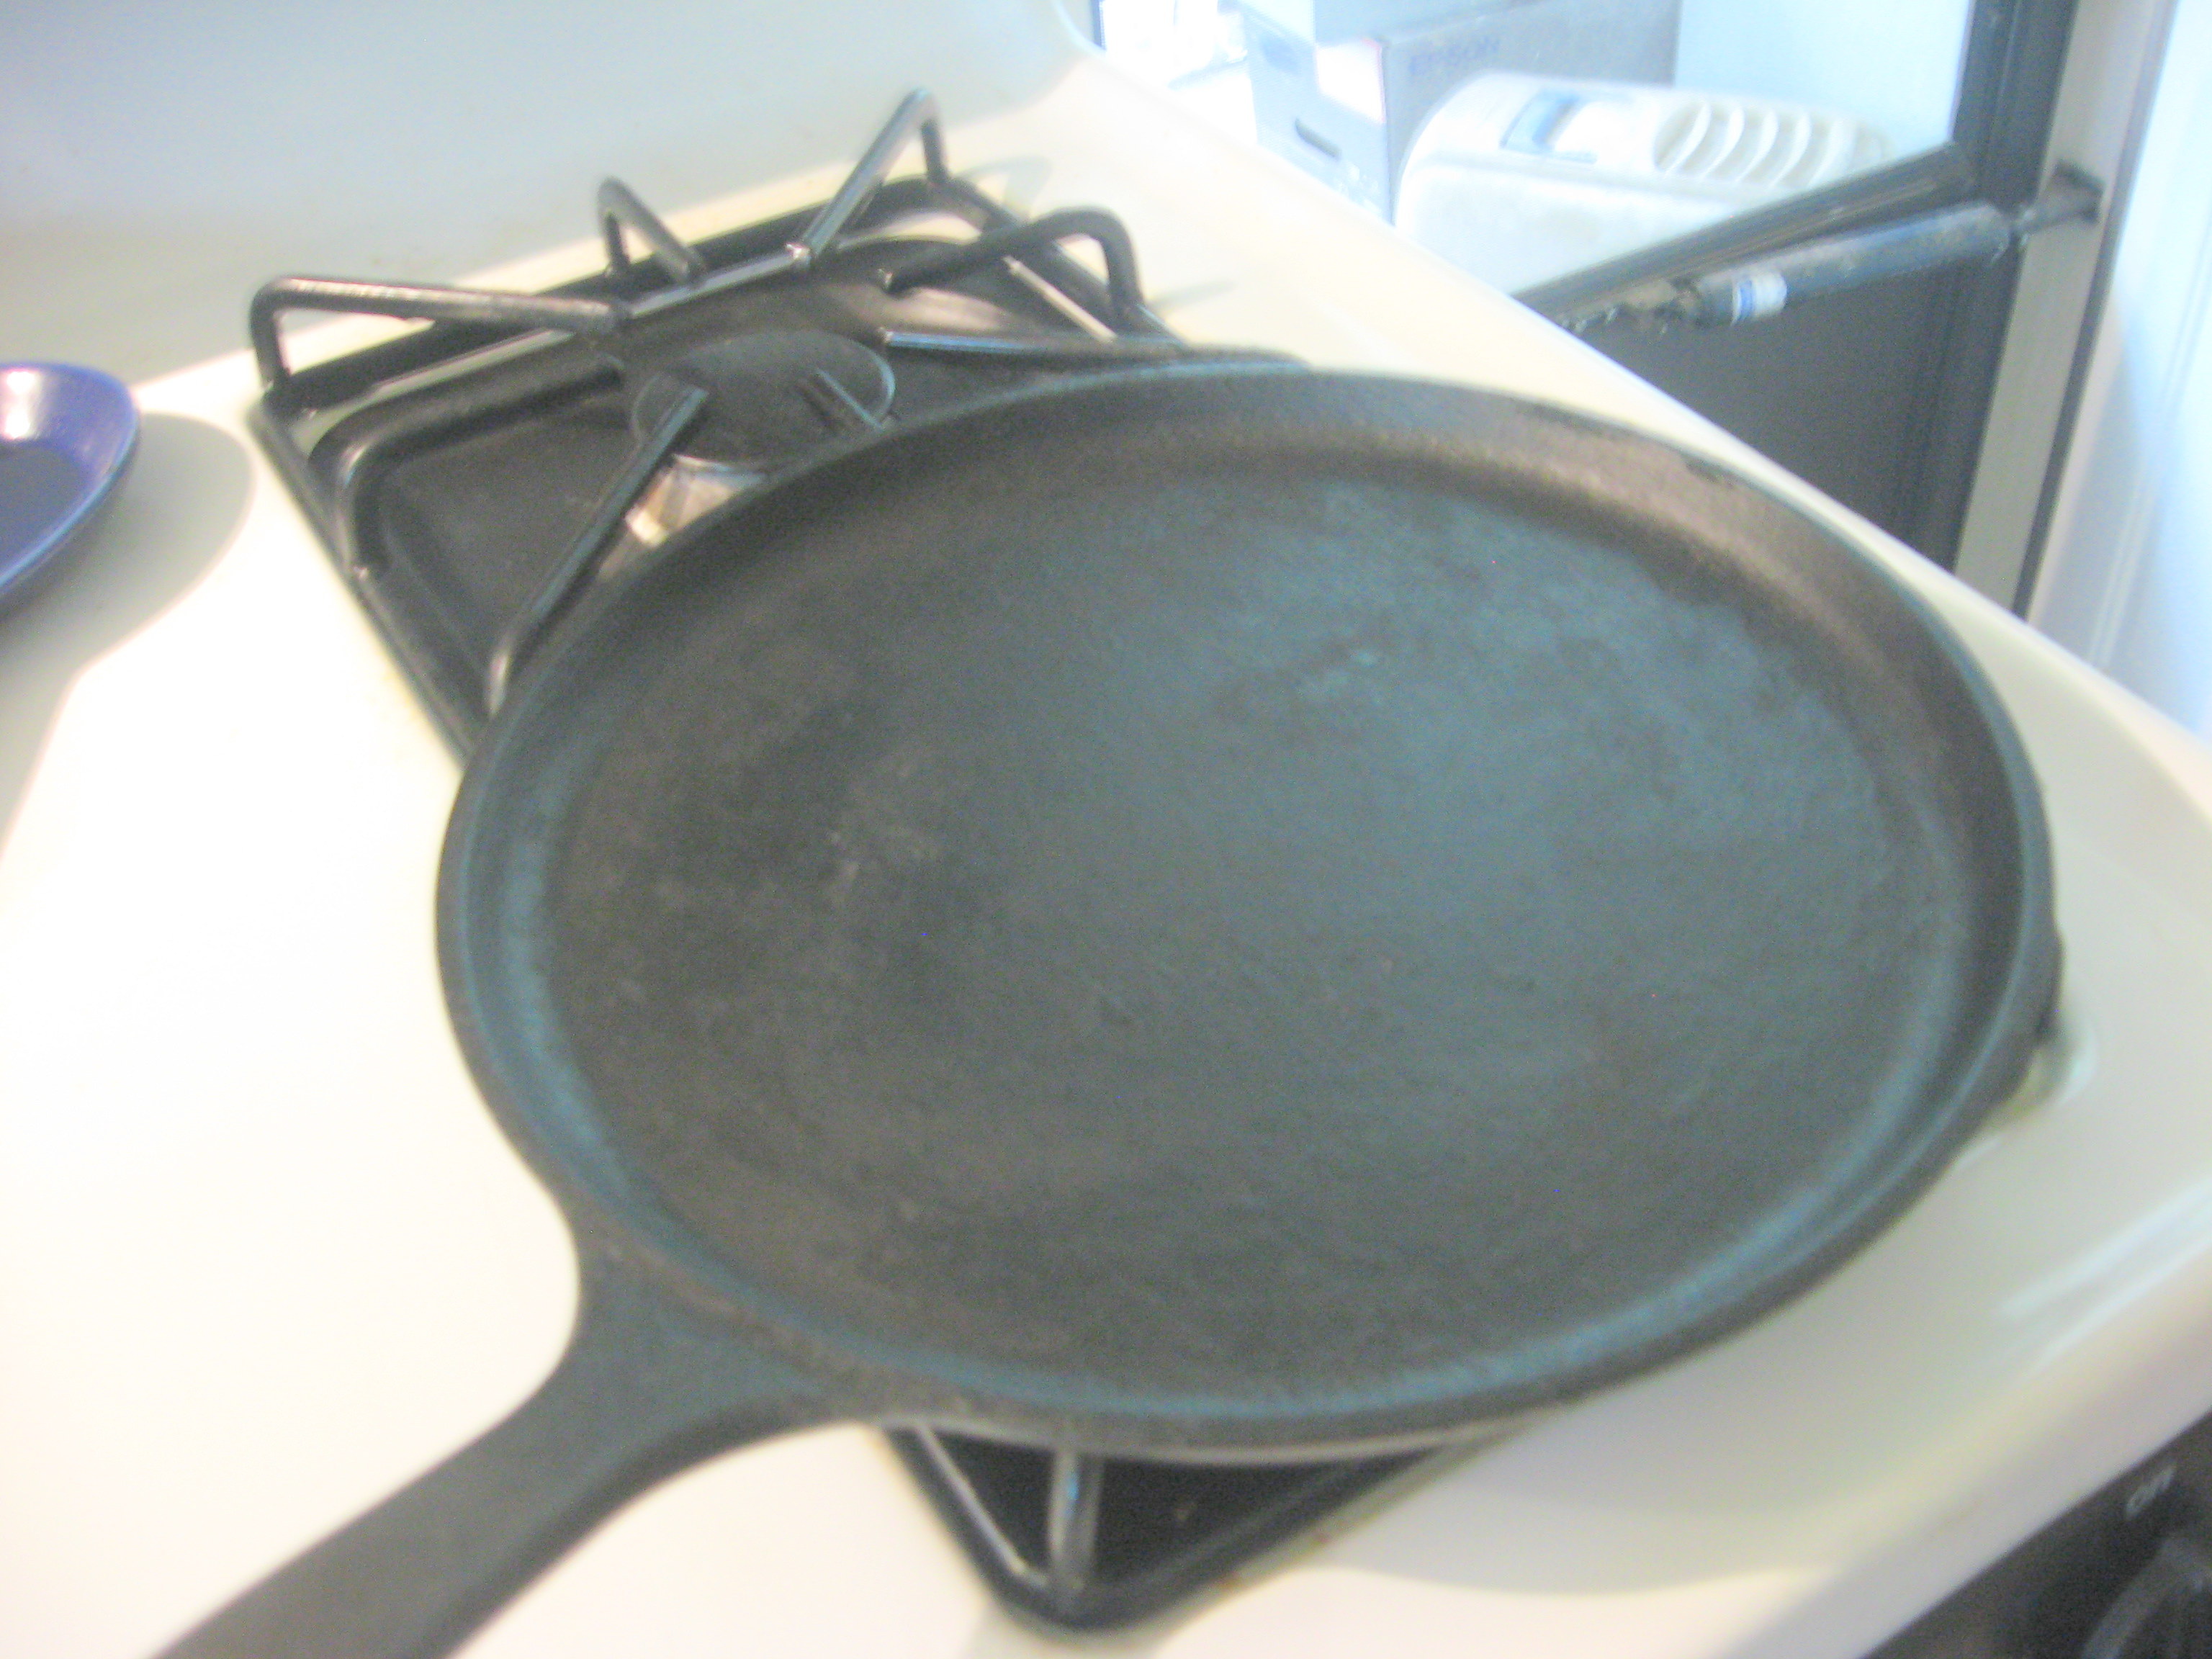
I grew up with cast iron–and I still love it. I have some enamel cast iron cookware (Le Creuset), but I also use the plain black cast iron stuff that is a workhorse in the kitchen, for example, my griddleLodge is a readily available brand., likely even at your local hardware store.

Plain black cast iron is a great way to add some useful items to your batterie de cuisine inexpensively.  Sure, it does have some limitations, but lots of advantages, too. Sure, Le Cruset enameled cast iron is wonderful, colorful, but not an inexpensive way to get the advantages in your kitchen (and it also has some disadvantages).  One thing about cast iron: it is heavy! Seriously heavy–that’s part of what makes it desirable, but can make it difficult to handle; skillet-shaped pans can with dual handles rather than the long handle of the skillet can be a good idea if you are concerned about the weight.


There seem to be some misconceptions and myths surrounding this versatile cookware. The concept of “seasoning” seems to induce a particular hesitancy for some. Even though I’ve used it for a long time (not willing to give away how long) and feel comfortable with it, there is an online course with Clifford A. Wright (a favorite food person of mine) on cooking with cast iron (through Craftsy).

One of the things I’ve always liked about Clifford Wright’s recipes is the focus on flavor, without a bunch of frou-frou stuff–it’s like black cast iron–just the basics. He also stresses looking and tasting as part of the cooking so that you can learn to improvise as you cook what you want to eat as you like it. This orientation carries right into this course. If you need an introduction to the care and feeding of cast iron, this is worth every penny.  The recipes that are demonstrated are available to download as PDF document.

This really gets to the heart of single-serving, simple, delicious, easy cooking for one! One of my favorite “helpers” for this kind of cooking has become fused and infused olive oils.  I especially like Bull City Olive Oil as a source since I can taste the oils before I bring them home. If I’m unsure how I’ll like it in actual cooking, I’ll get a “mini”–just enough to try a few different ways in my kitchen: new addition for me is dill infused oil. I like dill, but it’s not a flavor that’s at the top of my list–so it will be interesting to see if I want (need) a bigger bottle of the oil–(I’m thinking just a drizzle to finish off griddled salmon).

Another thing I liked that there is no focus on high-tech equipment–the recipes are demonstrated using kitchen equipment like an old-fashioned, hand-cranked egg beater. You won’t watch the videos and then feel you need to run to the cookware store for equipment!

Basic techniques are explained and demonstrated very well, and recipes that are easy to adjust for cooking for one.  There are recipes from around the world to bring some adventure to your cooking for one–all this with inexpensive black cast iron.

(Disclaimer: no affiliation or monetary considerations from anything mentioned here–just personal opinion and my (opinionated) preferences here).

Improvise! A son gôut!


Always Hungry? Another improvisation

Pork is one of my favorite meats, and it is not on the list of approved protein sources, although I assume it is in the category of “game and other meats” so I’m improvising a Phase 1 meal with a pork chop this evening. After reading a recipe from The Kitchn for 20160322_163300“Sweet and Spicy Braised Cabbage” my mouth was set for pork. The sweet part is going to prevent me from having that to go with my pork chop this evening (save this one for Phase 2 or 3).

I thought about taking  the lazy way out for vegetables and carbohydrate–use some of the mixed greens and borlotti beans that I had with my tuna steak, with  an addition of a little extra seasoning for the second time around, but that just did not tingle my taste buds today. So, sautéed kale this evening. I have a large bag of kale that I’m first going to sauté  simply with olive oil and then add seasonings to what I’m going to have with the pork chop–leaving the “extra” for later use to season differently  for later use. (I do quite often to avoid wasting food because I’m a picky eater who doesn’t want the same thing over and over.)

Supper this evening was part of this pork chop cooked on my cast iron griddle as described for pork neck steak–smoking hot griddle, first two minutes on each side, then turned at minute intervals until it reached an internal temperature of 130 degrees to allow for continued cooking while resting. Kale sautéed with black-eyed peas, and a side of sautéed apple (not good enough to eat out of hand, but fine when cooked). The sautéed apple replaced dessert with this meal. The contrasts of the slight bitterness of the kale, the earthiness of the black-eyed peas, and the sweetness of the apple with the pork did make my taste buds sit up and take notice.

20160322_171559

Ò¿Ó

This slideshow requires JavaScript.

Lamb leg steak

IMG_8327I’m an omnivore–and that definitely includes meat in judicious amounts. Lamb shoulder chops get frequent use in my kitchen since they are readily available, relatively inexpensive, and tasty. Lamb chops or a rack appear seldom, unfortunately, since they are expensive; braised shank will appear occasionally, but leg of lamb almost never–unless I’ve organized my self to invite lamb-loving friends to share.  Even a half leg is just not in the single-serving category, so much as I like it, I don’t get it very often.

On a recent quick stop at the grocery store, I found a lamb leg steak! Fortuitous since I just happen to have made a batch of  ratatouille (slow-cooker testing of a recipe) and somehow those two thing are appealing together.  That lovely steak is going to be cooked indoors since it’s grey outside with spatterings of rain off and on–comforting sound on the metal roofing, suggesting a lazy day.

ÒσÓ

single-burner griddleThe omnipresent cast-iron griddle is my instrument of choice for cooking steaks or chops indoors. For steaks or chops that are up to an inch in thickness–or perhaps just a tad more–I like to cook them with the method described by Jamie Oliver for pork neck steak.

This 1-inch steak weighs in at just under a pound, so there will be leftovers, but as with beef steaks this isn’t a problem–easy to find uses for the leftovers before they spend enough time in the refrigerator to taste like something that has been in the refrigerator. Though this steak could be cooked right out of the package without any preparation, I’m going to give it just a bit of pretreatment.

Cook’s Illustrated (and America’s Test Kitchen) have repeatedly demonstrated that brining or salting improve texture and taste of meats. Salting has the advantage of not requiring planning–and it’s easier.  The usual procedure is to sprinkle with lamb leg steak saltedkosher salt and allow to stand at room temperature for an hour. I’ve found that salting and allowing to stand in the refrigerator overnight works well–I can prep my chop or steak immediately on bringing it into to the kitchen and it will be ready for later. The suggested amount of salt is 3/4 teaspoon for each 8 ounces of weight.

(This doesn’t call for a measuring device at all;  two good three-fingered pinches, sprinkled from way above so that it spreads out evenly.  When you see chefs sprinkling something from shoulder height, that’s not showmanship. Sprinkled from that height, the salt crystals have a chance to spread out and not just plop on the steak in one spot.)

Cooking instructions

lamb leg stteak on griddleNotes:  I prefer a griddle (or griddle pan), not a grill pan that has the ridges on it. The griddle will give you browning all over the surface of the meat, not just stripes on it. Stripes are pretty, but all-over sear really tastes better to me.

  • Deactivate the smoke alarm–probably means taking out the battery. This is necessary before you start cooking because you need to be paying close attention while cooking.  (You see the smoke in the picture, right?) There’s no way to do this without it smoking. If you try to do this without smoking, you won’t get the same results.
  • Heat cast-iron griddle (or skillet) over high heat until it’s very hot–you want really high heat. This is why you deactivated the smoke alarm. Test heat by flicking a drop of water onto the griddle–it will sizzle and skitter around hectically, kind of like one of the really supper bouncy balls that my cat plays
  • Pat steak dry and rub with a little oil (not extra-virgin olive oil–the heat will destroy flavor) on both sides.
  • Put steak on the griddle–it should make some noise or the griddle is not hot enough, and cook for two (2) minutes without moving it. Don’t turn the heat down.
  • Turn and cook the other side for two minutes.
  • Return to the first side, and cook for one minute; turn over and cook that side for one minute.
  • Repeat the one-minute cook-and-turn until the steak has been cooked for about 8 to 10 minutes total time. Check with an instant-read thermometer if you  need to (insert through the side of the steak or simply press the surface with a finger. For medium it should feel the same as pressing on the palm of your hand at the base of the thumb).
  • Let rest for 10 or 15 minutes for juices to distribute evenly, then eat!
  • A dollop of gremolata would be a nice touch; you might even add a bit of mint when making the gremolata.

ÒΔÓ

lamb leg steak on plate with ratatouilleEver since I discovered this technique of cooking 1-inch chops or steaks, it’s all I’ve used for meats. For thicker steaks, I’ll use a combination of pan-searing and oven. I’m sure there’s a good food-science explanation for why this works so well, but I haven’t gone looking for it–I suspect that the heat transfer to the interior of the steak or chop is different than cooking one side at a time, as well as the extremely high heat.

True, the stove will need cleaning after you’ve done this, but the result is well worth it. There is no “overcooked” grey area to this steak. This works well with pork, veal, beef, and the lamb.

. . . don’t forget to put the battery back in the smoke alarm!

lamb leg steak cut to show pink interior

Veal chop

Today I absolutely HAD to go to the grocery store to retrieve some “paper products”…just no way to put it off any longer.  Procrastination was definitely not an option.  So, after giving my lecture this morning, I had a bowl of oatmeal (I try not to go to the grocery store when I’m hungry), and headed out to the store for one item.

Well, while I don’t like shopping for some things, I do find it hard to go through the grocery store without meandering around through the produce, fish, seafood, and meat counters, and occasionally (especially around the holidays when they have chocolate cherry bread) the bakery.

Today my meandering took me past the meat counter.  I usually do check what might be on special–especially when I’ve not decided on that night’s supper–I might well find something that’s not usually in the budget marked down because, while it’s still fine, it’s sell-by date is approaching.   Today is wasn’t a “need to move it” but a “manager’s special”.

I found a lovely veal rib chop (bone in and thick) as a store special (read cheap for veal).  My oatmeal just was not enough to allow me to pass that up–so I came home with a veal chop–since chops of any kind are always wonderful for single-serving cooking.  Now, what to do with this chop?

veal rib chop with whole fresh sage leavesAs comfortable as I am with improvising, I do sometimes want a recipe.  I know that some where in all my cookbooks there is a recipe for “sage-sage scented veal chops” that I just want to look at.  How do I find that recipe?  Off to Eat Your Books. (I know I’ve mentioned it before, but Eat Your Books is wonderful if you’ve got cookbooks and want to find recipes–and they are now indexing magazines and blogs as well as books.)

The recipe is from Every Night Italian (p. 127) by Giuliano Hazan was the inspiration for this (but could not remember who or where to find it).  Thank you, www.EatYourBooks.com!  This is so simple that you really don’t need a recipe.

Sage-scented Grilled Veal Chops

Ingredients

  • one veal chop (at least 1 inch thick, and I prefer about 1-1/2-inch thickness)
  • fresh sage leaves cut into strips or chopped
  • olive oil

Preparation

  • Cut the sage leaves into strips (chiffonade)
  • Pat the sage, with the olive oil, all over the chop
  • Let stand (at room temperature) until your grill is ready–about 30 to 40 minutes.
  • See Ready to Cook (below) for cooking method

Ò¿Ó

I’ve followed these directions, but I’m a sage lover and I want a bit more sage flavor (even with mild veal) than I get with that standing time, so I’ve tried to find ways to bump up the sage.

I’ve tried processing the sage leaves with some olive oil into a nice green slurry and rubbing that on the chop.  That works well in you have only a short time to get your sage flavor into the chop–but don’t leave that one more than about an hour or you’ll totally over-sage your chop.  Sage is potent even as a fresh herb, some varieties more than others.  I would not cook a chop this way if I did not have fresh sage.

veal chop covered with coarsely chopped sage leaves

I’ve gotten the flavor that I want by very coarsely chopping the sage or even just thoroughly bruising the leaves and patting them over my chop, wrapping it in plastic film, and letting it sit in the refrigerator at least over night, or up to one day, and then cooking it.
So here’s my chop, rubbed with olive oil covered with the sage leaves, ready to go into the refrigerator until I’m ready to cook in tomorrow evening. Depending on the weather, it will be ready to  charcoal grill it, or griddle it, or even pan-sear it.

Ready to cook…..

When you’re ready to cook the chop, wipe off the sage leaves. The high heat doesn’t improve the flavor of sage, and can actually burn them, so I like to remove them.  You’ll want to salt and pepper the chop as you start to cook it.  You want to cook the chop to an internal temperature of 130 ° F (medium rare–for my taste) or a bit longer for medium.

  • If you’re cooking on a gas or charcoal grill, you will want to have  two-levels of heat–high to start brown the chop, and a lower temperature to finish the cooking since it’s a thick chop.
  • If you are pan-searing you’ll need about 2 tablespoon of oil.  Heat the oil over medium-high heat until it starts to smoke, and put your seasoned chop in the pan.  Let it cook without moving it for 4 to 5 minutes when it should be browned on one side. Using tongs, flip the chop and reduce the heat to medium and continue cooking until  it’s at 130 ° F (or desired doneness).
  • For griddling, I use a cast-iron griddle that fits over two burners–so I can kind of have  “two-level” heat with the two burners at different levels. Again, let the chop cook for about 5 minutes without moving it.  Once I’ve turned the chop and moved the chop to the somewhat cooler end, I can put veggies on to cook while the chop finishes.   (If you’re working on a grill-pan, then adjust the heat as you would for the pan searing, but with the heavy cast iron it does take a bit for the heat to adjust.
So quick and easy!

Õ¿Ô

I ended griddling my chop because it was a damp, rainy day–it was still wonderful.  Added a few steamed fingerling potatoes and some sautéed  broccoli raab (with garlic and red pepper flakes). It was a fine  meal.

(I’m sure I won’t  do this again until there’s another special as it’s a splurge even then, but worth every penny!)

A son goût!

King klip

I went to Harris Teeter (affectionately known as the Teeter or HT) this morning looking for something to cook for  dinner (or supper if you prefer).  I was scoping out the fish contemplating salmon, tuna, or one of the standbys when  saw something that I was not familiar with, but look great.  The sign said it was  King klip.  My cooking curiosity being what it is, I had to bring some home with me, particularly as it  was inexpensive.

The fishmonger told me it was sort of like grouper and would do well grilled.  The heat being what it was this afternoon (my thermometer in the shade said 97 ° F ), I thought that grilling was out of the question so I opted for the cast-iron griddle –my standby.

I portioned my fish (I was a little overzealous when I said how much to cut so I have King klip filet portionedanother portion to try cooking a different way tomorrow), patted it dry, and rubbed itwith a tiny bit of olive oil.   Then I started wondering what I was going to have with this lovely fish…looking around the kitchen I saw the kaboka squash that I’d brought home from the Compare market the other day and decided that was going to be part of dinner tonight.  (I now have to figure out what to do with the rest of this thing as well, since I used only about a quarter of it.)  I attacked it with my chef’s knife, halved it, seeded half, and then took off several slices to use this evening.

I decided that I needed some green stuff with this as well, so I make a trip to a neighbor’s garden(yes, she had previously offered)  for some of  the last of the snow peas–it’s really the last–the heat has gotten to them for sure.

I decided that I’d steam sauté the squash, extravagantly with a bit of butter since the rest of the meal would be “lean”.  I used a paring knife to remove the skin and cut it into chunks so it would cook fairly quickly.

I topped and tailed my snow peas and since they were feeling the heat I put them into some cold water until I was ready to cook them.  I started the  squash in my small sauté pan with a bit of butter and about a tablespoon of water, covered tightly.  It was time to heat up the griddle.  Once it was hot, I rubbed just a light coat of oil onto the surface and put my filet on to start cooking.

Meanwhile, a quick check on the squash–not quite ready to let the water evaporate yet, but close.  Back to the fish–not quite ready to turn yet–still resisted my sliding the spatula under the edge, so it needed a bit more browning to “release” by itself.   It was smelling really good by now.  About the time it was ready to turn, the squash should be read to be uncovered to finish cooking while the water evaporated, and then to start sautéing to finish.

   The fish released and turned easily on the griddle.  I removed the lid from the squash and let the water evaporate from the pan; turned the heat down to hold while the fish was finishing.  I could see the opaque line moving toward the middle.

I put the snow peas into the pan on top of the squash and put the lid back on so that they would get just a bit of steaming .  By the time this thick filet was opaque to the center, the squash and peas were ready to eat as well.

I warmed my plate under hot water and dried it, and put my dinner on it!  Simple, and really pretty healthy–I did put just a small pat of butter on top of the fish to finish it off with the lemon.  That was about 30 to 40 minutes start to finish.  Since this was my first time with this fish, I wanted to cook it as simply as possible to get to know its basic taste.  It was a very mild fish, but it held together well during the grilling.  It’s going in my “standby” category with tilapia for a good all-purpose white fish.  (It’s line-caught, by the way; I was pleased to see that HT signs indicated how all of the fish in the case had been caught)!   It was a simple, but good, quick, healthy meal!

I think that I’ll try baking the other half of that filet in foil with some veggies.  As for the rest of that kaboka, I have a neighbor  who I’m sure will be able to make use of at least part of the other half.  (If you’re doing single-serving cooking, it’s always good to find out what your neighbors like to eat–so you can share when you get really big things like winter squash or watermelons.)  I’ll share, and still have a bit more of the squash for me.  The second portion of fish will probably be a hobo pack with some fresh tomatoes and herbs–maybe tarragon. The rest of the kaboka squash is likely going to get a “classic” treatment:  baked with some butter and brown sugar.

One of the good principles of single-serving cooking is to share the big stuff.  Most of my single (or cooking for two) neighbors always seem really please to be able to get a portion of something like the kaboka–especially if you give cooking instructions if it’s unfamiliar to them.)

Griddled dinner

I was recently scanning through my e-mail update from CliffordAWright.com and I saw “Griddled Broccoli”.  It was one of those keep-scanning moments, and then (when the brain caught up with the eyes)–back up and look again, and read carefully.  This looked like something that would be great for single-serving cooking .  I set out to cook my whole meal as a griddled dinner.  The house supervisor was on duty, approved  and was waiting anxiously to see how this was going to turn out.

A favorite cooking tool in my kitchen is my cast iron griddle which goes across two burners of my gas stove.  It’s not a pre-seasoned one–but that’s really easy to do.  I got it from mycast -iron griddle
local garden store which also carries Lodge cast iron.  Sometimes I contemplate getting a grill-pan, but I, despite needing two burners, I really like the flexibility of being able to have the grill/griddle combination.  It’s certainly not a glamorous piece of cookware, but it’s functional and not all that expensive either.

I have found that trying to use it with only one burner lit really does not let it heat well.  It does not have a non-stick finish since I’m concerned about the effects of high heat on that, but it’s well seasoned and non-stick in effect.  Besides I also has doubled as a broiler pan too, and I certainly could not do that with non-stick coatings.

I’ve got a lovely rib-eye steak for a red-meat splurge.  I could do on my Weber Kettle Grill, but given the uncertainty of the weather now and finding the griddled broccoli recipe, I decided I’d try my whole meal on the griddle.

The griddled broccoli recipe calls for parboiling the broccoli for a few minutes before the actual griddling, but that seems simple enough, even for a quick meal.   I want some other vegetables as well as the broccoli with my steak, so I though I’d add some mushrooms, some sweet potato slices, and maybe some red bell pepper to my griddling.

I started by salting the steak as recommended in Cook’s Illustrated; it’s really worth the time to do this.  While the steak was Rib-eye steakresting with the salt, I prepared broccoli almost according to Wright’s instructions,  sliced the mushrooms, part of  a yellow bell pepper (the red ones at the market just didn’t look or feel really good), peeled and sliced the sweet potato into 1/2-inch thick cross-sections.  Because I wanted a variety of vegetables, with two of them that needed a bit of pre-cooking, I opted for steaming instead of blanching for the par-cooking. I steamed the broccoli for only about two minutes since it was cut in fairly small pieces.  I steamed the sweet potato slices for about three minutes and then set these aside for griddling a bit later.  Because I wanted to cook the whole sweet potato and the more of other vegetables for some planned leftovers, I started on the vegetable a bit before I put the steak on the griddle. I preheated the griddle until I got a good “bounce and sizzle” when a drop of water was flicked on the surface; we were good to go.

I thought that the mushroom and peppers could be easily reheated while my steak was resting and the broccoli was finishing, so I started with those and the sweet potato slices which were still firm.  I patted the sweet potatoes dry, since they had been put into cold water to stop the cooking after steaming.  I tossed the vegetables with a bit of  olive oil, and put them on the hot griddle.

Once the mushrooms and peppers were nice and brown, I removed them from the griddle, moved the sweet potatoes to the front since they would require more attention than the steak.

I patted the steak dry (a little moisture accumulates while it is stand with the salt, and I put the steak on the griddle to start cooking.  Since the broccoli has been steamed and put into cold water, I drained it and let it rest on paper towels to dry a bit.  While the steak was browning on the first side, I attended to the sweet potatoes and sliced some zucchini which I had decided to add as last-minute addition while looking in the refrigerator for something else.   After about  seven minutes, I peeked at the underside of the steak.  It was a lovely brown, so I turned it over and continued cooking it.  Since I like my steaks on the rare side of medium rare, I thought it would take about another five or six minutes, so I put the now-drained broccoli into a bowl and tossed it with a little olive oil.  I wanted the steak to rest for about five minutes after coming off the griddle to let all those lovely juices redistribute–evenchecking temperature that short of a rest does make a difference.

Now for the broccoli.  I put that on the griddle to finish the cooking, and I used an instant-read
thermometer to check the temperature of the steak since it was a very thick one.  It showed 115 ° F  on the thermometer, so I turned the heat down under the griddle and  put all the vegetables back on to rewarm.  I took the steak off and set it aside on my plate to rest.  After a five-minute rest the vegetables were reheated, and it was time to eat.

Even allowing for the salting time for the steak, I was sitting down to eat in about an hour and twenty minutes.  I spent some extra  time cooking veggies while the steak was “salting”, but I have plans for those–some can be reheated, and some can go into a salad for another meal.   And…yes, there is left-over steak–that thing was huge! That will be good in a sandwich for lunch with some horseradish, or perhaps in a salad; but I won’t try to reheat that.

Had I not wanted the extra vegetables for planned leftovers, all this could easily have been prepared on the griddle at the same time and easily tailored to provide even a mix of vegetables in a single-serving quantity.

The clean-up was really minimal–the steamer, two small bowls, and the plate!  The griddle, when cooled just needs a quick rinse under hot water, and drying over  flame for a few minutes.  It really is non-stick, and it’s easy to keep it properly cured.  It does get a lot of use: grilled cheese sandwiches, grilled chicken or pork chops.  The red meat aside (and that is a rare splurge) it was a pretty healthy meal: lots of veggies, and very little oil involved in the cooking…but it was really good.  I’m definitely a fan of griddled broccoli.

Empty plate