Many of us are in lockdown–or under stay-at-home orders. Same here, but I still have my Kindle and internet access. So I gave in to my weakness for cookbooks–as usual (especially with the lower prices for e-books).
Long a fan of Christopher Kimball through Cook’s magazine, Cook’s Illustrated, Cook’s Country, and America’s Test Kitchen, I’ve followed to Milk Street. I’ve always been successful with recipes from those sources (although sometimes finding things a little under-seasoned for my tastes).
I’m also a lover of my Instant Pot, although I’ve yet to use the slow cooker function on it. Always on the lookout for recipes (at least for inspiration if not the religious following of them), I was happy to discover this book on my “recommended” list. Awesome to see both the pressure function and the slow cooker function covered in one book. (Maybe I’ll get around to trying the slow cooker function sometime–someday.)
What better thing to do when you’re forced to stay at home than cook something. My first venture was determined by foraging in the refrigerator and the freezer, so it’s not exactly like the recipe, but enough to get a feel for the book, and to have a queue of bookmarked recipes to follow for my vicarious travels.
The “Spicy Collard Greens with Tomatoes and Peanuts” (a version of muriwo unedovi) was up for trial with the caveat that I was not going to the grocery store and that I was definitely in need of some green stuff. The freezer yielded frozen collard greens, and there were canned tomatoes in the pantry. The recipe called for chunky peanut butter, but my pantry gave up only a jar of creamy–so I had to do without the crunch. Whole habanero chilies also weren’t lurking in the fridge, so I had to sub in a serrano chile pepper lurking in the crisper. Overall very favorable result for not making a grocery run. Since I’m cooking only for me, I did halve the recipe and everything worked well–not too much in my category of “leftovers”.
In the queue for trying whilst I’m hiding at home is the German-inspired “Braised Red Cabbage with Apples” (one apple lurking in the fridge along with the cabbage), and the “Lentils and Bulgur with Caramelized Onions” which is a riff on my beloved mujaddara (only with bulgur instead of rice).
I love fresh herbs. Ideally, I would have herbs growing on my deck so that it’s just a matter of walking out and snipping what I need for anything I cooking–well, excluding some that are best grown in some semblance of shade. In reality that’s not the case; work and hot weather have gotten in the way of my on-deck herb garden, sadly. So that leaves me foraging for herbs in the produce department of my local supermarket, usually pretty successfully for the basics.
There’s a problem with single-serving cooking and supermarket foraging for herbs: those expensive little plastic clam shells often end up languishing in the crisper until they turn to something disgusting.
I’ve seen the recommendations to keep them on your counter-top like a bouquet, and seen the ads for special containers for storing them in the refrigerator. Those packages, or even the bunches of parsley and cilantro, are still a lot of herbs if you’re cooking only for one. The on-the-counter method has some drawbacks–little short sprigs don’t fit well in to a container without some work–stripping leaves, changing the water, and being devoured or designated as toys by the cat. Even so the “leftovers” usually end up discarded from terminal wilt after I’ve let them run out of water, so I revert to the fridge.
Yes, I’m also cognizant of the ice-tray-water suggestion, or storing in oil, too. But if you’re still searching, here a list of some of the best sources I’ve found.
I’m glad I can get fresh herbs at the market, but you simply can’t beat having them growing close to the kitchen door–even if it’s just in pots on the deck to pick just what you need when cooking, or just to rustle around in them for the joy of smelling them and maybe changing your mind about how to season what’s cooking now. A son gôut!
I wasn’t surprised to find differences in how meat cooks with sous vide and pressure cooking. I want to know more about the best way to cook other things that I use frequently: beans, cabbage, rice, etc. so I decided to do another comparison. Lentils are something that I do use quite often so I thought that a pressure cooker/sous vide test was in order here too.
I was inspired to try cooking lentils with the Joule app on my smartphone. There was a section on “batch cooking.” Normally, since I’m always trying to do single-serving cooking and don’t do well with leftovers, I’d blow right by a suggestion like that, but I noticed that those batch-cooked lentils could be stored in the refrigerator for 7 to 10 days. That made sense since they would essentially be pasteurized. An interesting possibility for something that I use in as many ways as lentils!
Lentils are so quick to cook on the stovetop that you might wonder why you should use a pressure cooker or sous vide (particularly with the time required). One reason is hands-off. In the pressure cooker, it’s set-and-forget until done. The same is true of sous vide; for me, that can be an advantage when I’m engrossed in writing and indexing. So, here is a comparison of the two methods.
Another thing that made me curious about cooking lentils this way was that they were cooked in pint jars. With the brown lentils I had in the house at 185°F for the recommended 90 minutes, plus the additional recommended 30 minutes I still didn’t have cooked lentils. But I thought this deserved further investigation, so I searched for other recipes with suggestions for time and temperature.
My first task was to look at American’s Test Kitchen’s Pressure Cooker Perfection to see how to cook lentils in the pressure cooker other than just pushing the “beans/chili” button on the Instant Pot (IP). Much to my surprise, lentils weren’t listed as an ingredient. So, I went to other reliable sources for cooking time suggestions: From the Forks over Knives website, 20 minutes; from Kitchn, 15 minutes. Both recipes call for natural pressure release.
For sous vide (precision cooking), I did find lentils as an ingredient and, thus, instructions for cooking in Sous Vide for Everybody (location 3646). The recipe called for black lentils (sometimes called beluga lentils). Most often, I use French green lentils (lentilles du Puy), but I occasionally use brown lentils, so I opted to use those. At least I felt I was comparing apples to apples regarding cooking times and temperature since both were for black lentils.
The experiment
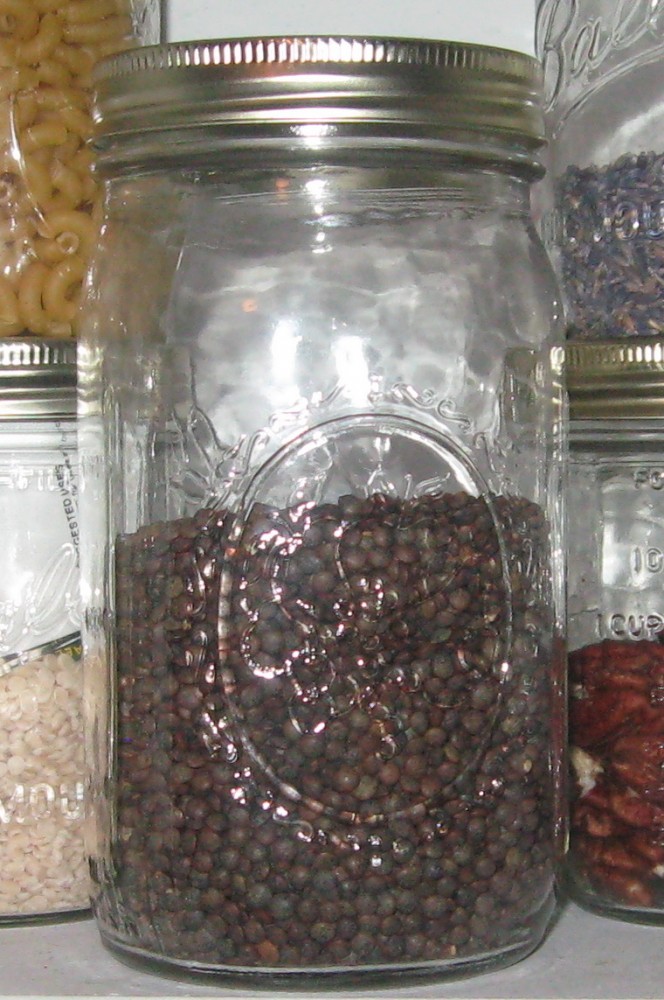
I had already tried using Mason jars in the water bath and in the IP, so I decided to use a pint Mason for both cooking methods. Although I believe that Ziploc freezer bags are probably safe, I think about using as little plastic as possible for environmental reasons if I can use recyclable containers like the Mason jars.
As with the meat, I decided to season both batches the same so that the only difference was the cooking method so the lentils were cooked with only salt as seasoning; it’s the texture I wanted to know about. From reviewing recipes from several sources for both electric pressure cooker and sous vide I prepared two pint jars each with 4 3/4 ounces of brown lentils, salt and 8 3/8 ounces of water–one for the pressure cooker and one for the sous vide water bath. The pressure cooker was set for 15 minutes, normal pressure release, and the sous vide for 194°F and 3 hours (range 3-5 hours). Then, the wait began.
The jar from the pressure cooker was cooled (it was sealed) and refrigerated until the sous vide lentils were cooked. That jar was also cooled (it was also sealed) and refrigerated.
The results:
For the taste and texture tests, both jars were removed from the refrigerator and unsealed to look at the lentils before reheating. The cold jars were placed in a cold water bath to reheat to 145°F (1 hour and 30 minutes).
Just looking at the two, there was an obvious difference in how some of the lentils cooked in the IP were “blown out”–i.e., exploded, burst open, etc.- not great for use in a salad. This is no surprise, given what I’ve read about the differences in other legumes cooked in either of these ways.
the sous vide lentils
pressure cooked
When tasted before reheating (cold), lentils cooked in the IP were much softer, almost mushy. This was OK in soup, especially if you wanted to puree some to thicken it a bit. The sous vide lentils were firm but tender—just what I’d like for a salad or a side. After reheating, there were still the same differences.
The flavor? I’m struggling to describe the differences in flavour–there definitely was a difference. I think part of it was that the IP lentils you started tasting immediately when they hit you mouth; with the sous vide lentils you didn’t really taste them until you start chewing them. Then, this burst of flavour seemed to me to be more intense than with the IP lentils. I found it very difficult to separate flavour from the “mouth feel” of the two batches–I think the texture differences affected my reactions.
After this experiment, I think I’ll be cooking a lot of lentils with the sous vide method. If I want lentil soup, I’ll turn to the IP. I’ll also add more salt to both.
Cooking pork spare ribs to that point where they are extremely luscious and tender is usually a long process, usually involving the oven (at least for me). Even in the cooler weather this didn’t seem to be an option even with windows and doors open; however it occurred to me that I had another option: the Instant Pot. So despite the rather humid (even if cool) weather and the prospect of hotter weather imminent, that package of spare ribs went home with me.
I’ve cooked other meat (e.g. beef short ribs) in my Instant Pot with wonderful results so that was my plan. Realizing that i was going to have an abundance of pork I started thinking of ways to deal with it: some for the freezer perhaps since there are lots of things to do with good cooked pork.
My favorite way of cooking many things in the Instant Pot (IP) is the pot-in-pot method*–a container with a lid inside the Instant Pot. My reason for using this method so often is that in cooking for one I’m often using rather small quantities in a six-quart IP. Often I don’t want to add as much liquid as would be necessary cooking directly in the container of the pot itself.
I like this method especially for meats. The broth that you collect is undiluted by water so you have broth that is flavorful and will gel nicely. So that is how the spare ribs were cooked. The only “disadvantage” to this method is that you may need to increase the cooking times but since I use the IP mainly because of hands-off method and flavor I don’t find that to be a problem.
It really isn’t possible to give quantities for things like the peppercorns or precisely for the salt–you’ll have to judge by your taste.
Ingredients
about 2 to 2-1/2 pounds boneless pork spare ribs
2 bay leaves
whole black peppercorns (a lot–about a generous teaspoon or more if you like pepper
4 or 5 cloves of garlic
salt (more than you would think)–about 2 or 3 teaspoons
Preparation
The day before or at least three or four hours ahead of cooking, sprinkle the spare ribs generously with kosher salt.
When ready to cook, rinse if there is still salt visible and pat the meat dry.
Cut the strips into 2- or 3-inch chunks (to fit into your bowl).
Add 1 cup of water to the IP container, place the trivet, and set the covered bowl on the trivet.
Close the IP and set to “meat”. These took about 90 minutes at high pressure.
I removed a healthy serving of the cooked spare ribs for my supper on that cool, rainy evening (with sides of cabbage and some rice) and then cooled the remaining in the broth (and the fat) for another use.
Cooks notes: *This is a rather long video but it introduces the pot-in-pot method and containers suitable for this. I almost always use a cover on the inner pot so that additional liquid doesn’t collect in it. For more on containers see this link, this link, or here.
My Instant Pot (IP) is now a kitchen fixture (as was my multicooker before)–it has a special spot on the counter since it is in almost daily use. The more I use it the better I like it. It’s a great addition to the kitchen and has replaced several other small appliances; however, that does not mean I’m ready to give up the dutch oven for some slow cooking in the oven on winter days. That kind of braise is not something that I expect the IP to replicate.
I’m working on a list of credible recipe sources for it. By credible, I mean those that seem to be aware of what this appliance can really do, without unrealistic expectations. Some books that I’ve looked at seem to suggest that the IP can replace any other way of cooking, so I’d not judge them to be useful recipe sources.
My inbox popped up useful information from a favorite source (Kitchn): a whole gallery of different things that are kind of IP basics like rice, steel-cut oats (important breakfast stuff here), cooking dried beans (one of the main reasons for getting the IP), stock-making (pressure and slow cooker), and not-so-basic: risotto, braised cabbage, plus a lot more. This gallery includes the slow-cooker function of the IP (which seems to be somewhat ignored in many books and online groups).
Cookbooks by authors that I’ve found useful while adapting to the way the Instant Pot works include:
The Essential Instant Pot Cookbook: Fresh and Foolproof Recipes for Your Electric Pressure Cooker by Coco Marante, 2017, Kindle or hardcover.
Comfort in an Instant: 75 Comfort Food Recipes for Your Pressure Cooker, Multicooker, and Instant Pot®, by Melissa Clark, 2018, Kindle or hardcover.
Dinner in an Instant: 75 Modern Recipes for Your Pressure Cooker, Multicooker, and Instant Pot® by Melissa Clark, 2017, Kindle or hardcover.
Indian Instant Pot Cookbook by Urvashi Pitre, 2017, paperback, and free to read via Kindle Unlimited.
The Essential Indian Instant Pot Cookbook: Authentic Flavors and Modern Recipes for Your Electric Pressure Cooker by Archana Mundhe, 2018, Kindle and hardcover.
The Ultimate Instant Pot Cookbook: 200 Deliciously Simple Recipes for Your Electric Pressure Cooker by Coco Marante, 2017, Kindle and hardcover.
The Keto Instant Pot Cookbook: Ketogenic Diet Pressure Cooker Recipes Made Easy and Fast bu Urvashi Pitre, 2018, Kindle and paperback.
Instant Pot Miracle: From Gourmet to Everyday, 175 Must-Have Recipes by The Editors at Houghton Mifflin Harcourt, 2017, Kindle and paperback.
There are a couple others coming out in 2019 that I’m looking forward to taking a look at:
Madhur Jaffrey’s Essential Indian Instant Pot Cookbook by Madhur Jaffrey, to be released May 2019, Kindle and hardcover.
Instant Pot Fast & Easy: 100 Simple and Delicious Recipes for Your Instant Pot by Urvashi Pitre, January 2019
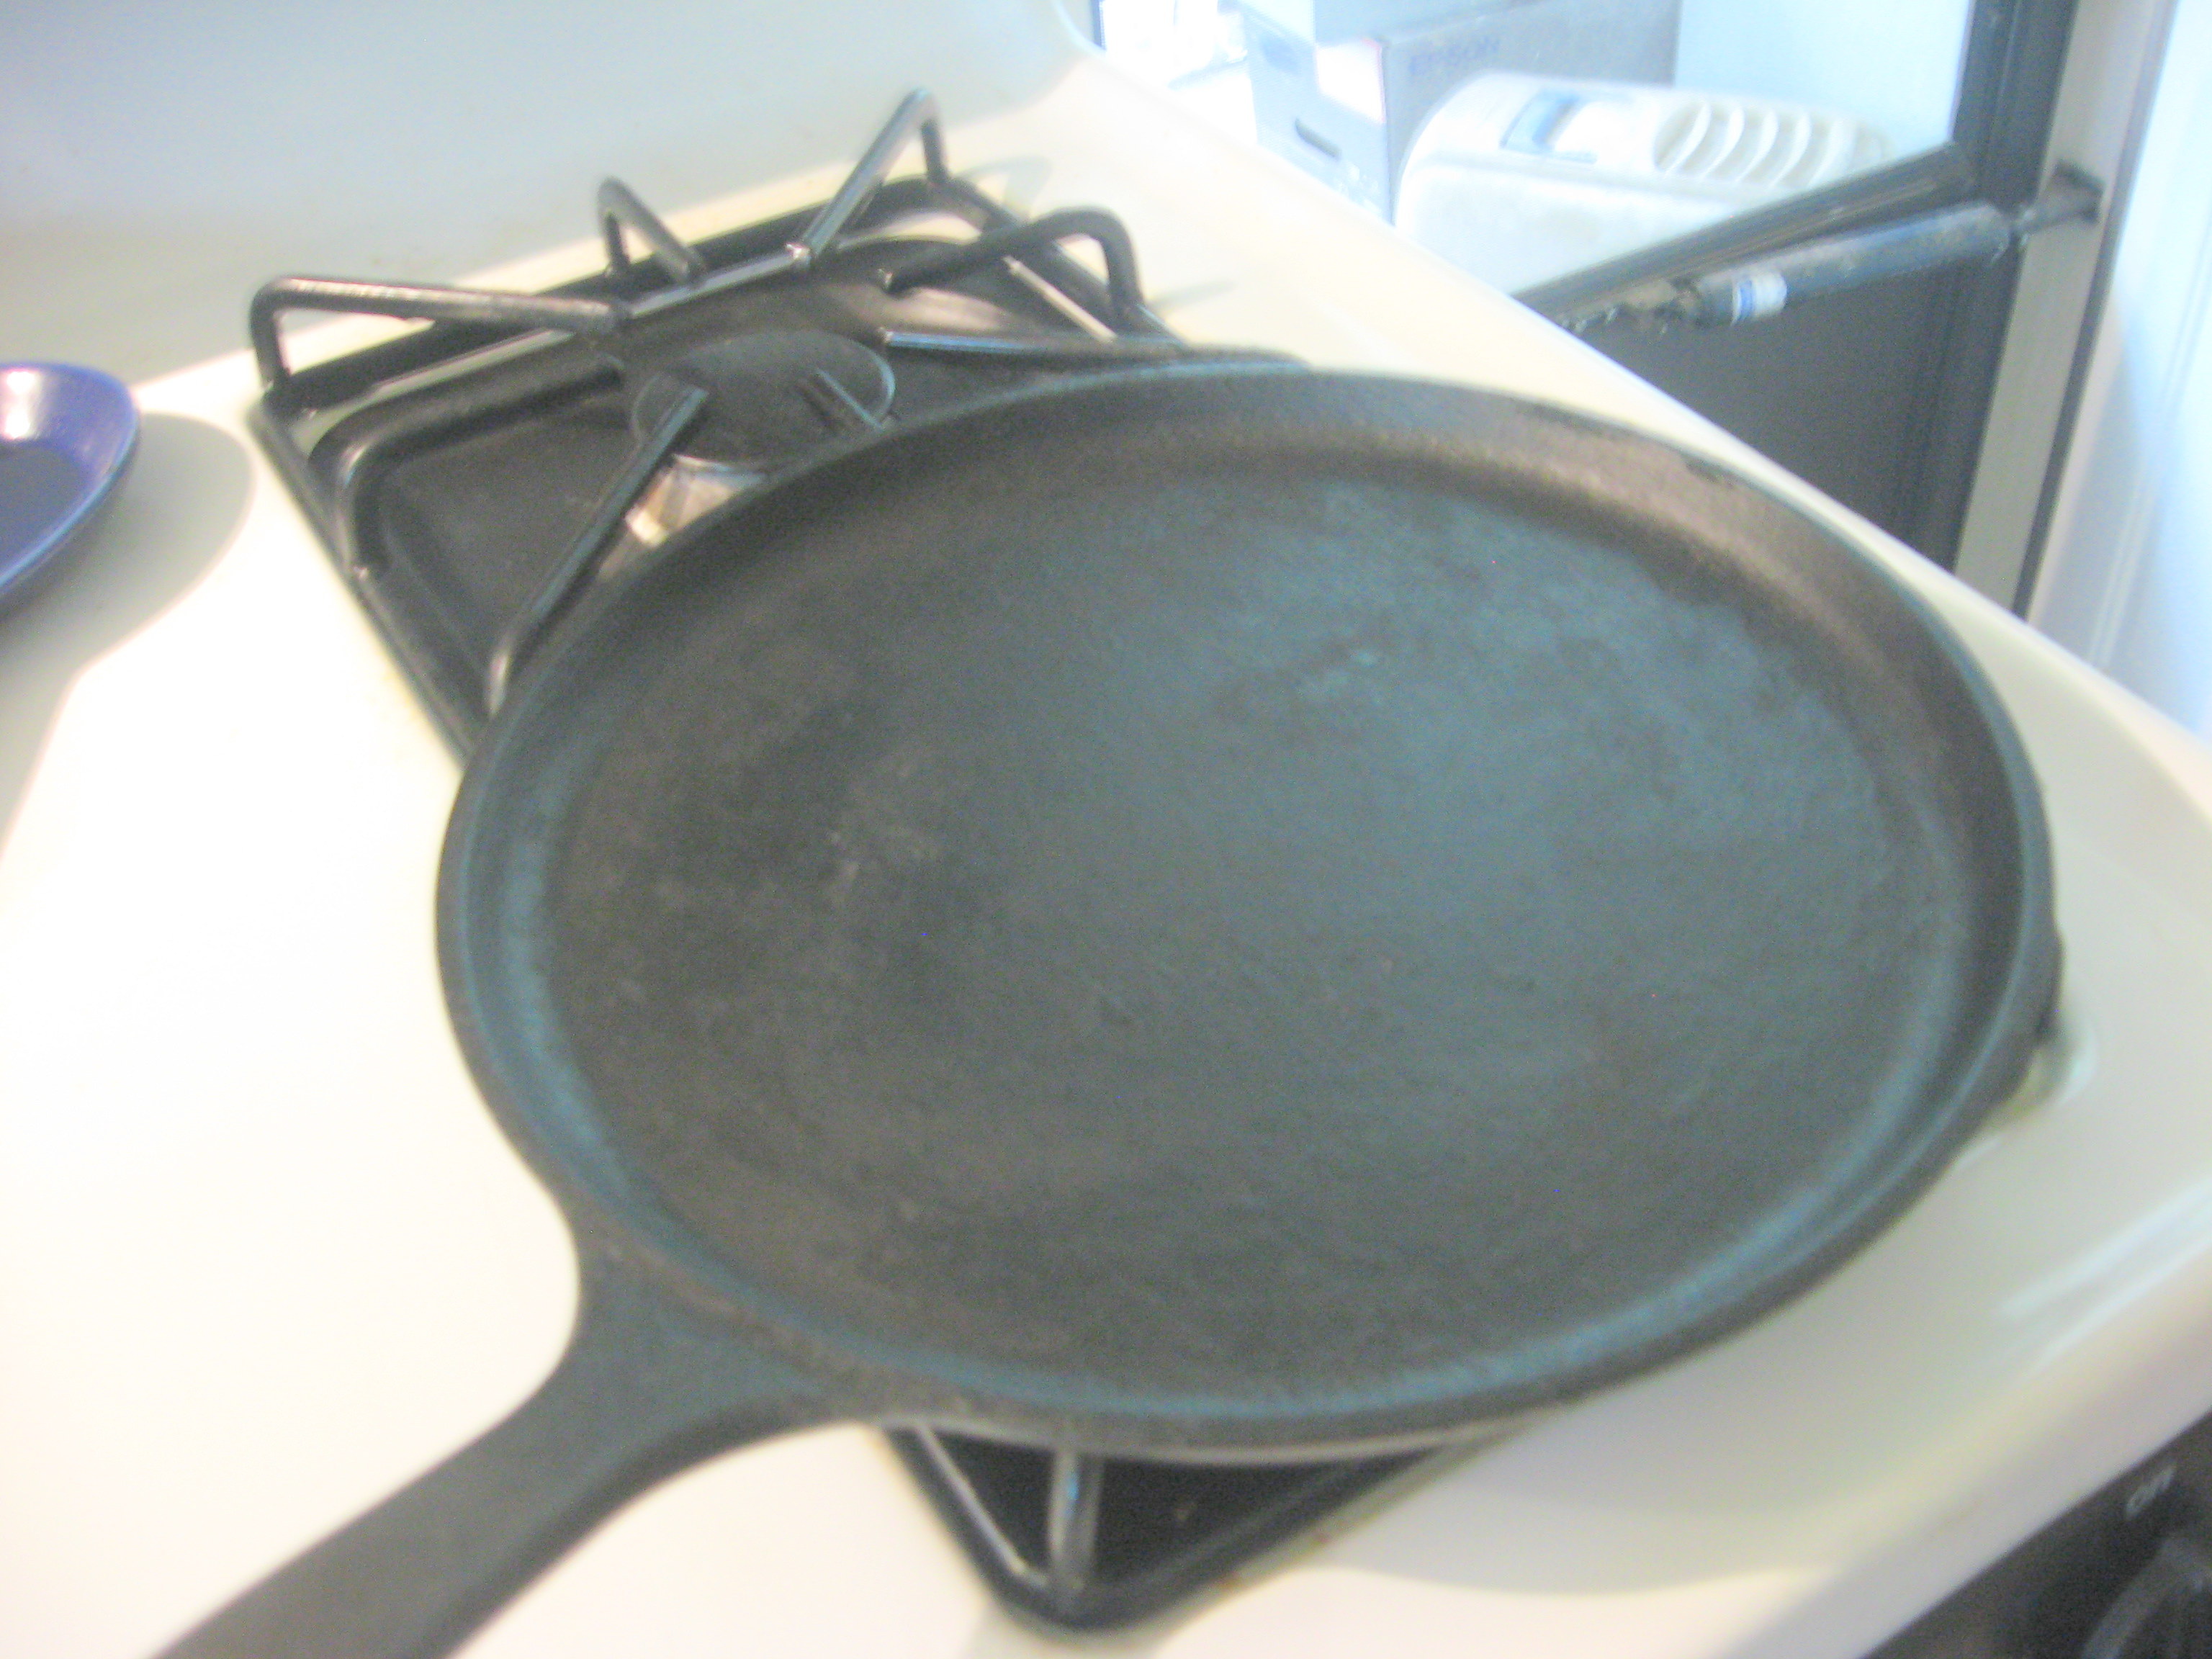
I have cooking equipment in my kitchen that needs seasoning: double-burner cast iron grill/griddle, a round single-burner griddle, two small skillets (the two-egg size), and a carbon steel skillet. Once seasoned these take little care.
I’ve always used vegetable oil to season mine. I was interested to find an article recommending beeswax. Now that I have bees, perhaps I will try that next time my seasoning needs refreshing. It seems as if it might have some advantages.
I’m one of those people who grew up with homemade cottage cheese and everything out of the grocery store is a real washout after that. I’ve made it at home occasionally, on the stovetop, but that takes more attention than I’m sometimes ready to give to it.
I just got my email from Taste magazine and there was an article on cottage cheese. It’s from the point of view of a “life-long southerner” (which I’m definitely not) but even some northerners did the homemade cottage thing. Somehow I missed the concept that with the Instant Pot yogurt cycle I could make cottage cheese easily until I saw this article and the recipe.
It’s really no secret that I don’t like washing dishes–I know some people say that they do, but I simply don’t believe it (I can kind of understand liking ironing, but…). It’s not as though I’ve never mentioned “one-pot meals” here and it’s pretty obvious that I don’t feel a huge need for recipes, but sometimes some guidelines are nice.
In perusing the internet I see lots of recipes that can be done in one pot–or maybe a sheet pan. These are so easily adaptable for single-serving cooking, use things that come in “chunks”, and that it’s possible to buy in appropriate quantities. For winter cooking I’ve got no problems using the oven as it simply contributes to heating the house. I’ve bought a one-quarter (9 x 13 inch) sheet pan to prepare for winter meals.
Summer is another matter–no oven use for this person. I don’t want to add any extra heat, but cooking on a single burner would be within my limits (maybe actually doing it on an induction unit, too.) Today, I found an article in Bon Appetit Basically that provided some guidelines for building a one-skillet meal that seems very amenable to improvisation–in other words a how to approach.
I’d suggest you take a look at the full article, but in summary:
Cook your protein first. For quick-cooking things like shrimp, etc be sure to undercook just a tad.
Add aromatics of your choice.
Deglaze with your choice of liquid.
Add vegetables; quick-cooking ones are best but that leaves a lot of options.
Add pre-cooked grains if you wish.
Return to protein to the skillet, to reheat if necessary.
Serve!
If you do this in a well-seasoned cast iron skillet the cleanup is going to be really simple. Even better, if the skillet can also go in the oven you’ve even more flexibility in finishing off you one-skillet meal. (Tonight, my skillet will contain some good onion sausage and kohlrabi leaves with a few aromatics–onions and garlic.)
I hadn’t really thought much about “dish” gloves even though I don’t have a dishwasher until I saw this article from thekitchn.com on “5 Surprising Things I Learned from Using Dish Gloves”. I do have gloves in my kitchen–True Blues. Since I’m washing dishes only for myself most of the time I don’t usually put them on–I either get my hands wet or use a brush: however, I do have some “rubber” (actually probably neoprene), lined, heavy gloves that offer heat protection and that I use in place of “hot pads” for a lot of things. They have textured “hands” so it’s easy to get a good grip.
These gloves are not really “dish” gloves–they are closer to safety gloves and were likely intended for a restaurant dishwasher. I can wash dishes in them, but they have a lot of other uses, too. They are great for handling very hot dishes or pans. Since I can put them on and wash them just like I would wash my hands before handling food, they are great for flipping that chicken or turkey easily or get hot dishes out of the Instant Pot.
These are kitchen gloves–though they would be suitable for cleaning anywhere and even with harsh chemicals,–these are cooking gloves. These are machine washable and heat safe up to 185°F. You can get small, medium, or large–and they are latex free. Though not cheap–probably $12-$16, they are a bit like the energizer bunny. Found in high-end kitchen stores like Williams-Sonoma or Vermont Country Store.
I am a big fan of popcorn. I’ll take that over potato chips, or any other variety of chips almost any time. It’s just the thing to go with a good book while you’re having a duvet day.
You can probably even make a case that it is at least “healthy-ish”–compared to most other snacks that come in bags from the grocery store–and it’s more fun. You can custom tailor the seasoning to fit your mood. At least I know what’s in it if I’ve popped and seasoned it myself.
I’ve gotten very fond of my Lékué PopCorn Maker for making popcorn in the microwave (and that’s about the only thing I do in the microwave). I will admit to using oil (usually about 1-1/2 tablespoons of olive oil for about 1/3 cup popcorn) when popping popcorn. For some awesome popcorn, use just a little Baklouti chili pepper(fused) olive oil (about 1 teaspoon) with the regular olive oil. Wow!
While I don’t often do stove-top popcorn, I did find some interesting suggestions for other flavorings to try from Taste in “Really Good Popcorn“: brewer’s yeast, dulse flakes (I know I like other seaweed seasonings), and Urfa biber (described as in that article as “a dried Turkish chile pepper with a raisin-like sweetness, a subtle spice, and the gentle acidity of a lightly roasted Ethiopian coffee”–that sounds totally great. Since I’ve used Aleppo pepper on popcorn and that makes this sound very interesting to me.


 though I’ve never mentioned “
![71NNQBEEKxL._SL1500_[1]](https://a-single-serving.com/wp-content/uploads/2018/05/71nnqbeekxl-_sl1500_1.jpg)
 You can probably even make a case that it is at least “healthy-ish”–compared to most other snacks that come in bags from the grocery store–and it’s more fun. You can custom tailor the seasoning to fit your mood. At least I know what’s in it if I’ve popped and seasoned it myself.