Pork spare ribs

Cooking pork spare ribs to that point where they are extremely luscious and tender is usually a long process, usually involving the oven (at least for me). Even in the cooler weather this didn’t seem to be an option even with windows and doors open; however it occurred to me that I had another option: the Instant Pot. So despite the rather humid (even if cool) weather and the prospect of hotter weather imminent, that package of spare ribs went home with me.

I’ve cooked other meat (e.g. beef short ribs) in my Instant Pot with wonderful results so that was my plan. Realizing that i was going to have an abundance of pork I started thinking of ways to deal with it: some for the freezer perhaps since there are lots of things to do with good cooked pork.

My favorite way of cooking many things in the Instant Pot (IP) is the pot-in-pot method*–a container with a lid inside the Instant Pot. My reason for using this method so often is that in cooking for one I’m often using rather small quantities in a six-quart IP. Often I don’t want to add as much liquid as would be necessary cooking directly in the container of the pot itself.

I like this method especially for meats. The broth that you collect is undiluted by water so you have broth that is flavorful and will gel nicely. So that is how the spare ribs were cooked. The only “disadvantage” to this method is that you may need to increase the cooking times but since I use the IP mainly because of hands-off method and flavor I don’t find that to be a problem.

It really isn’t possible to give quantities for things like the peppercorns or precisely for the salt–you’ll have to judge by your taste.

Ingredients

  • about 2 to 2-1/2 pounds boneless pork spare ribs
  • 2 bay leaves
  • whole black peppercorns (a lot–about a generous teaspoon or more if you like pepper
  • 4 or 5 cloves of garlic
  • salt (more than you would think)–about 2 or 3 teaspoons

Preparation

  • The day before or at least three or four hours ahead of cooking, sprinkle the spare ribs generously with kosher salt.
  • When ready to cook, rinse if there is still salt visible and pat the meat dry.
  • Cut the strips into 2- or 3-inch chunks (to fit into your bowl).
  • Add 1 cup of water to the IP container, place the trivet, and set the covered bowl on the trivet.
  • Close the IP and set to “meat”. These took about 90 minutes at high pressure.

I removed a healthy serving of the cooked spare ribs for my supper on that cool, rainy evening (with sides of cabbage and some rice) and then cooled the remaining in the broth (and the fat) for another use.

Cooks notes: *This is a rather long video but it introduces the pot-in-pot method and containers suitable for this. I almost always use a cover on the inner pot so that additional liquid doesn’t collect in it. For more on containers see this link, this link, or here.

Spring is here?

20170307_115628

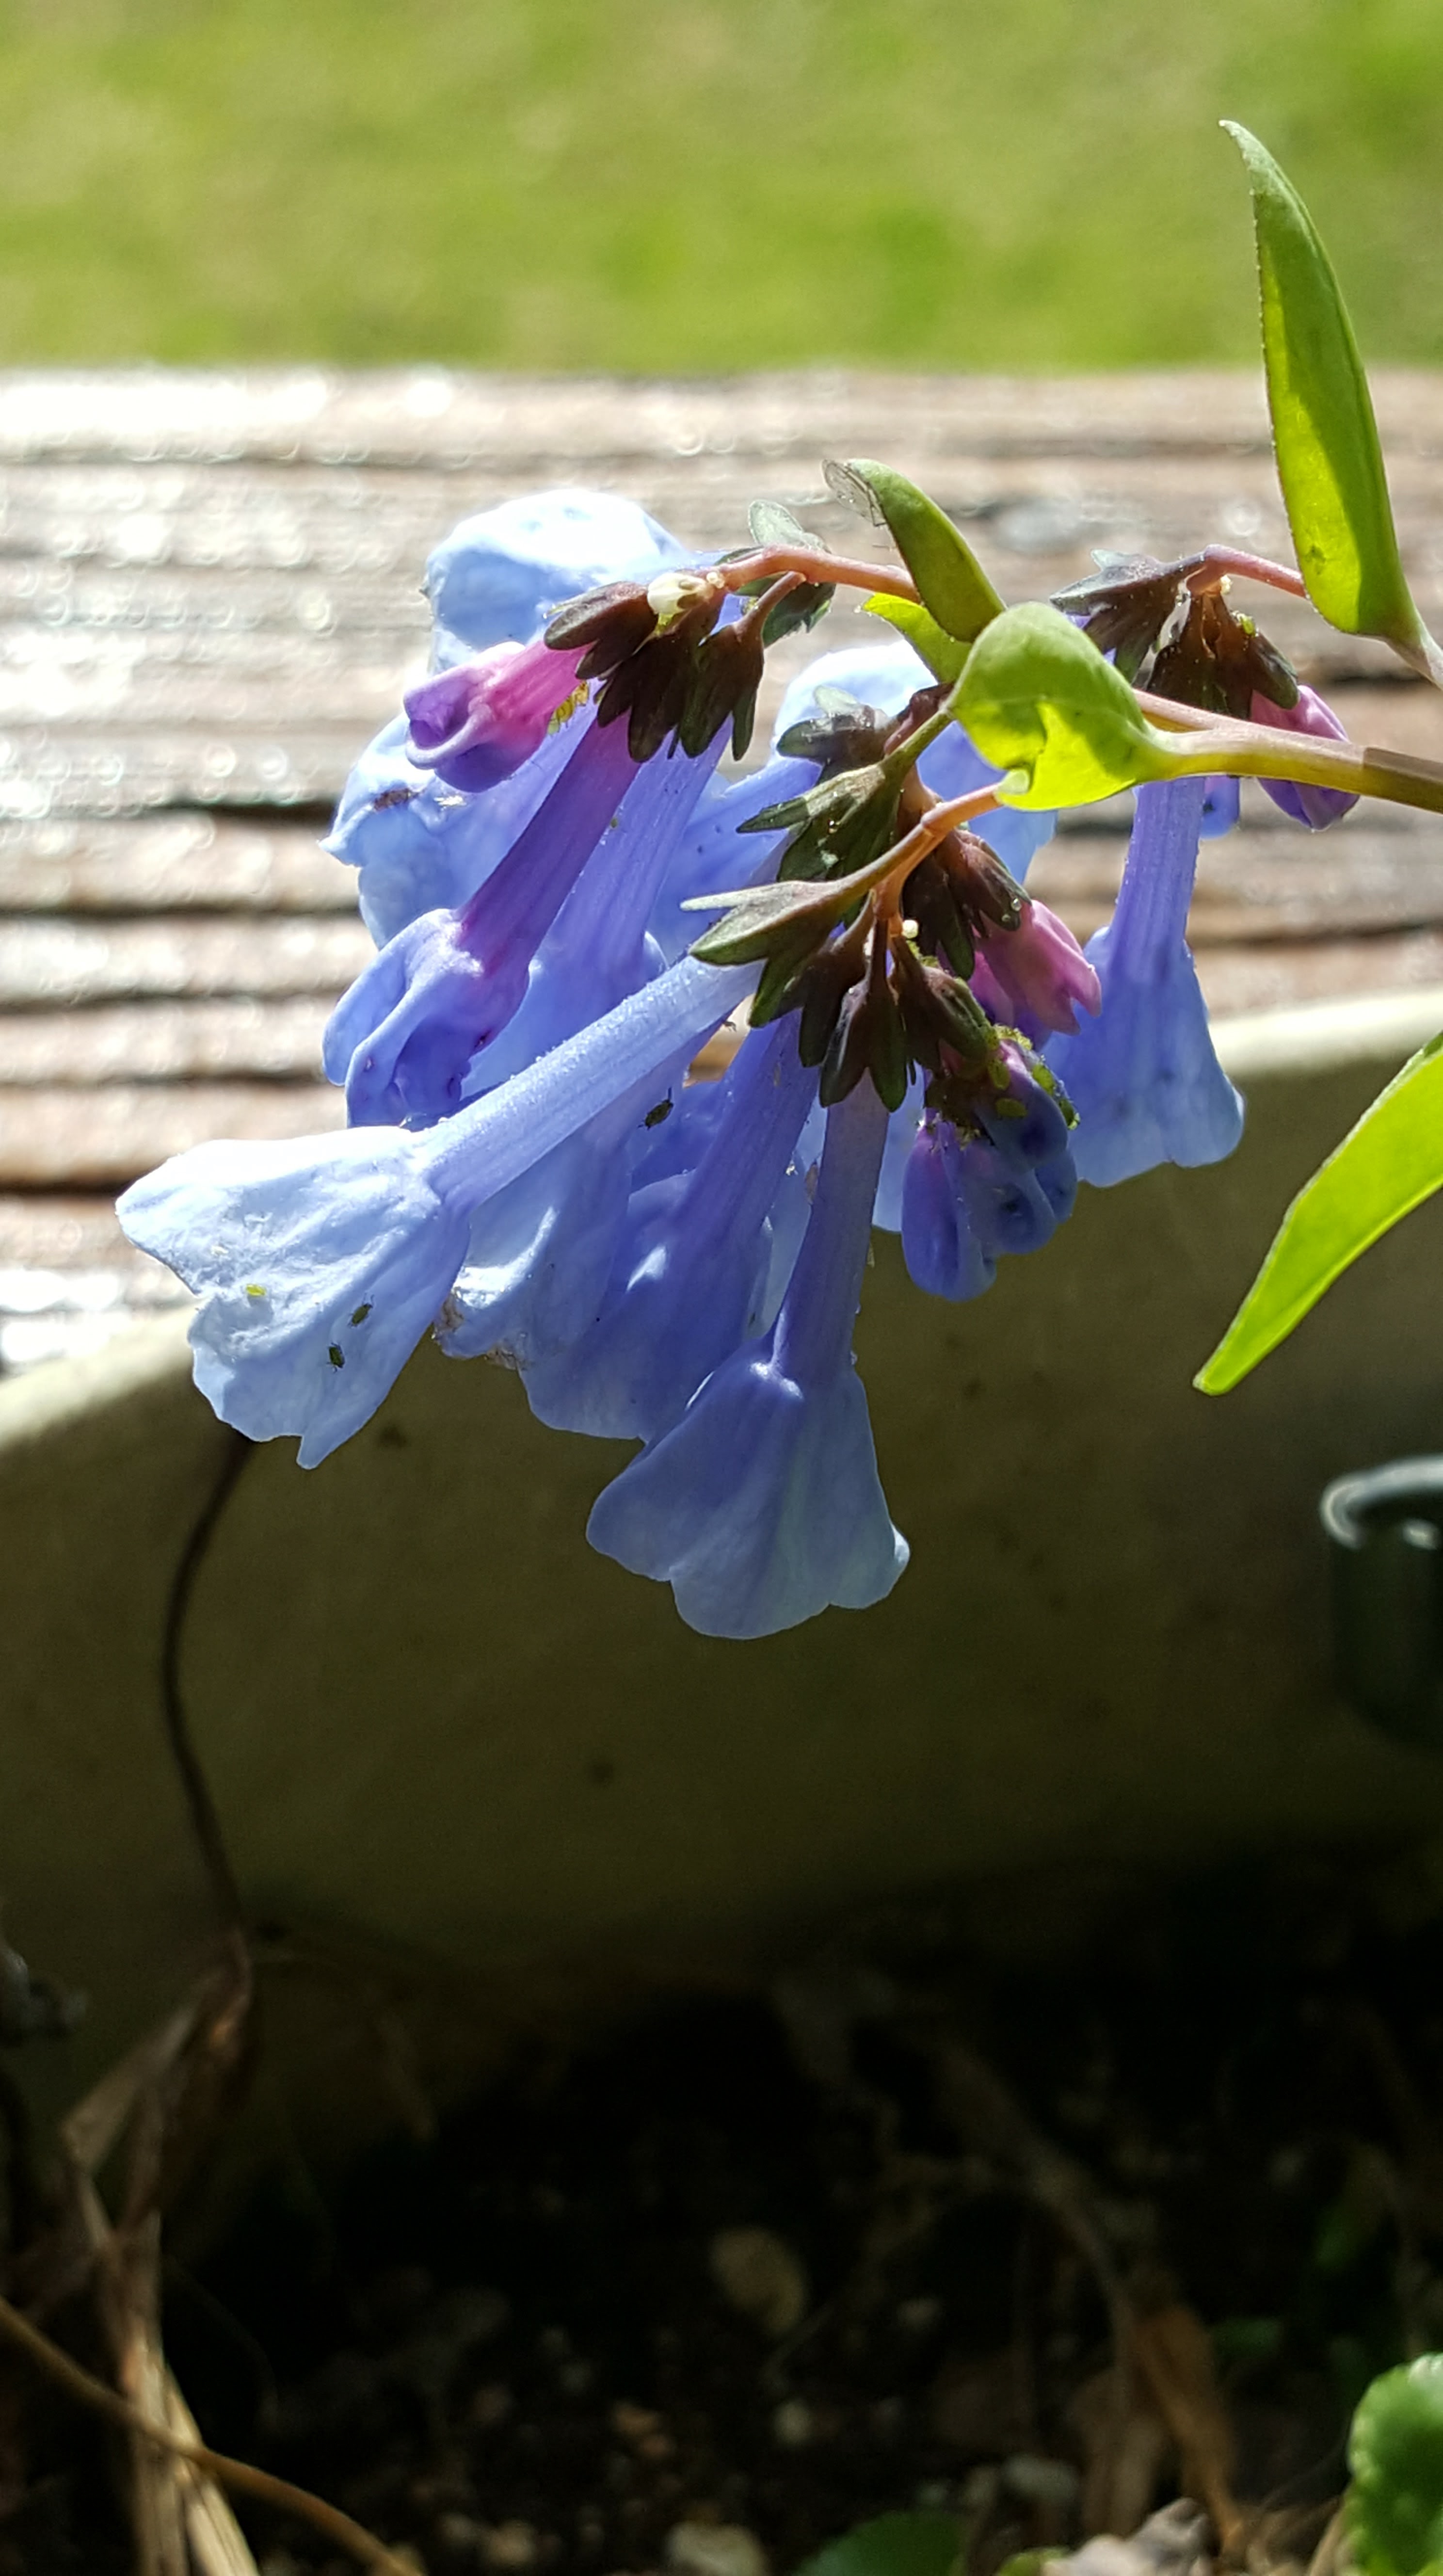
Mertensia virginicia

Here in NC it’s beginning to feel a lot like spring! The maple outside my house is well into bloom; on my deck there are Virginia bluebells or cowslip (Mertensia virginica) blooming, and other green shoots (including the sorrel) are starting to peek out of the ground.

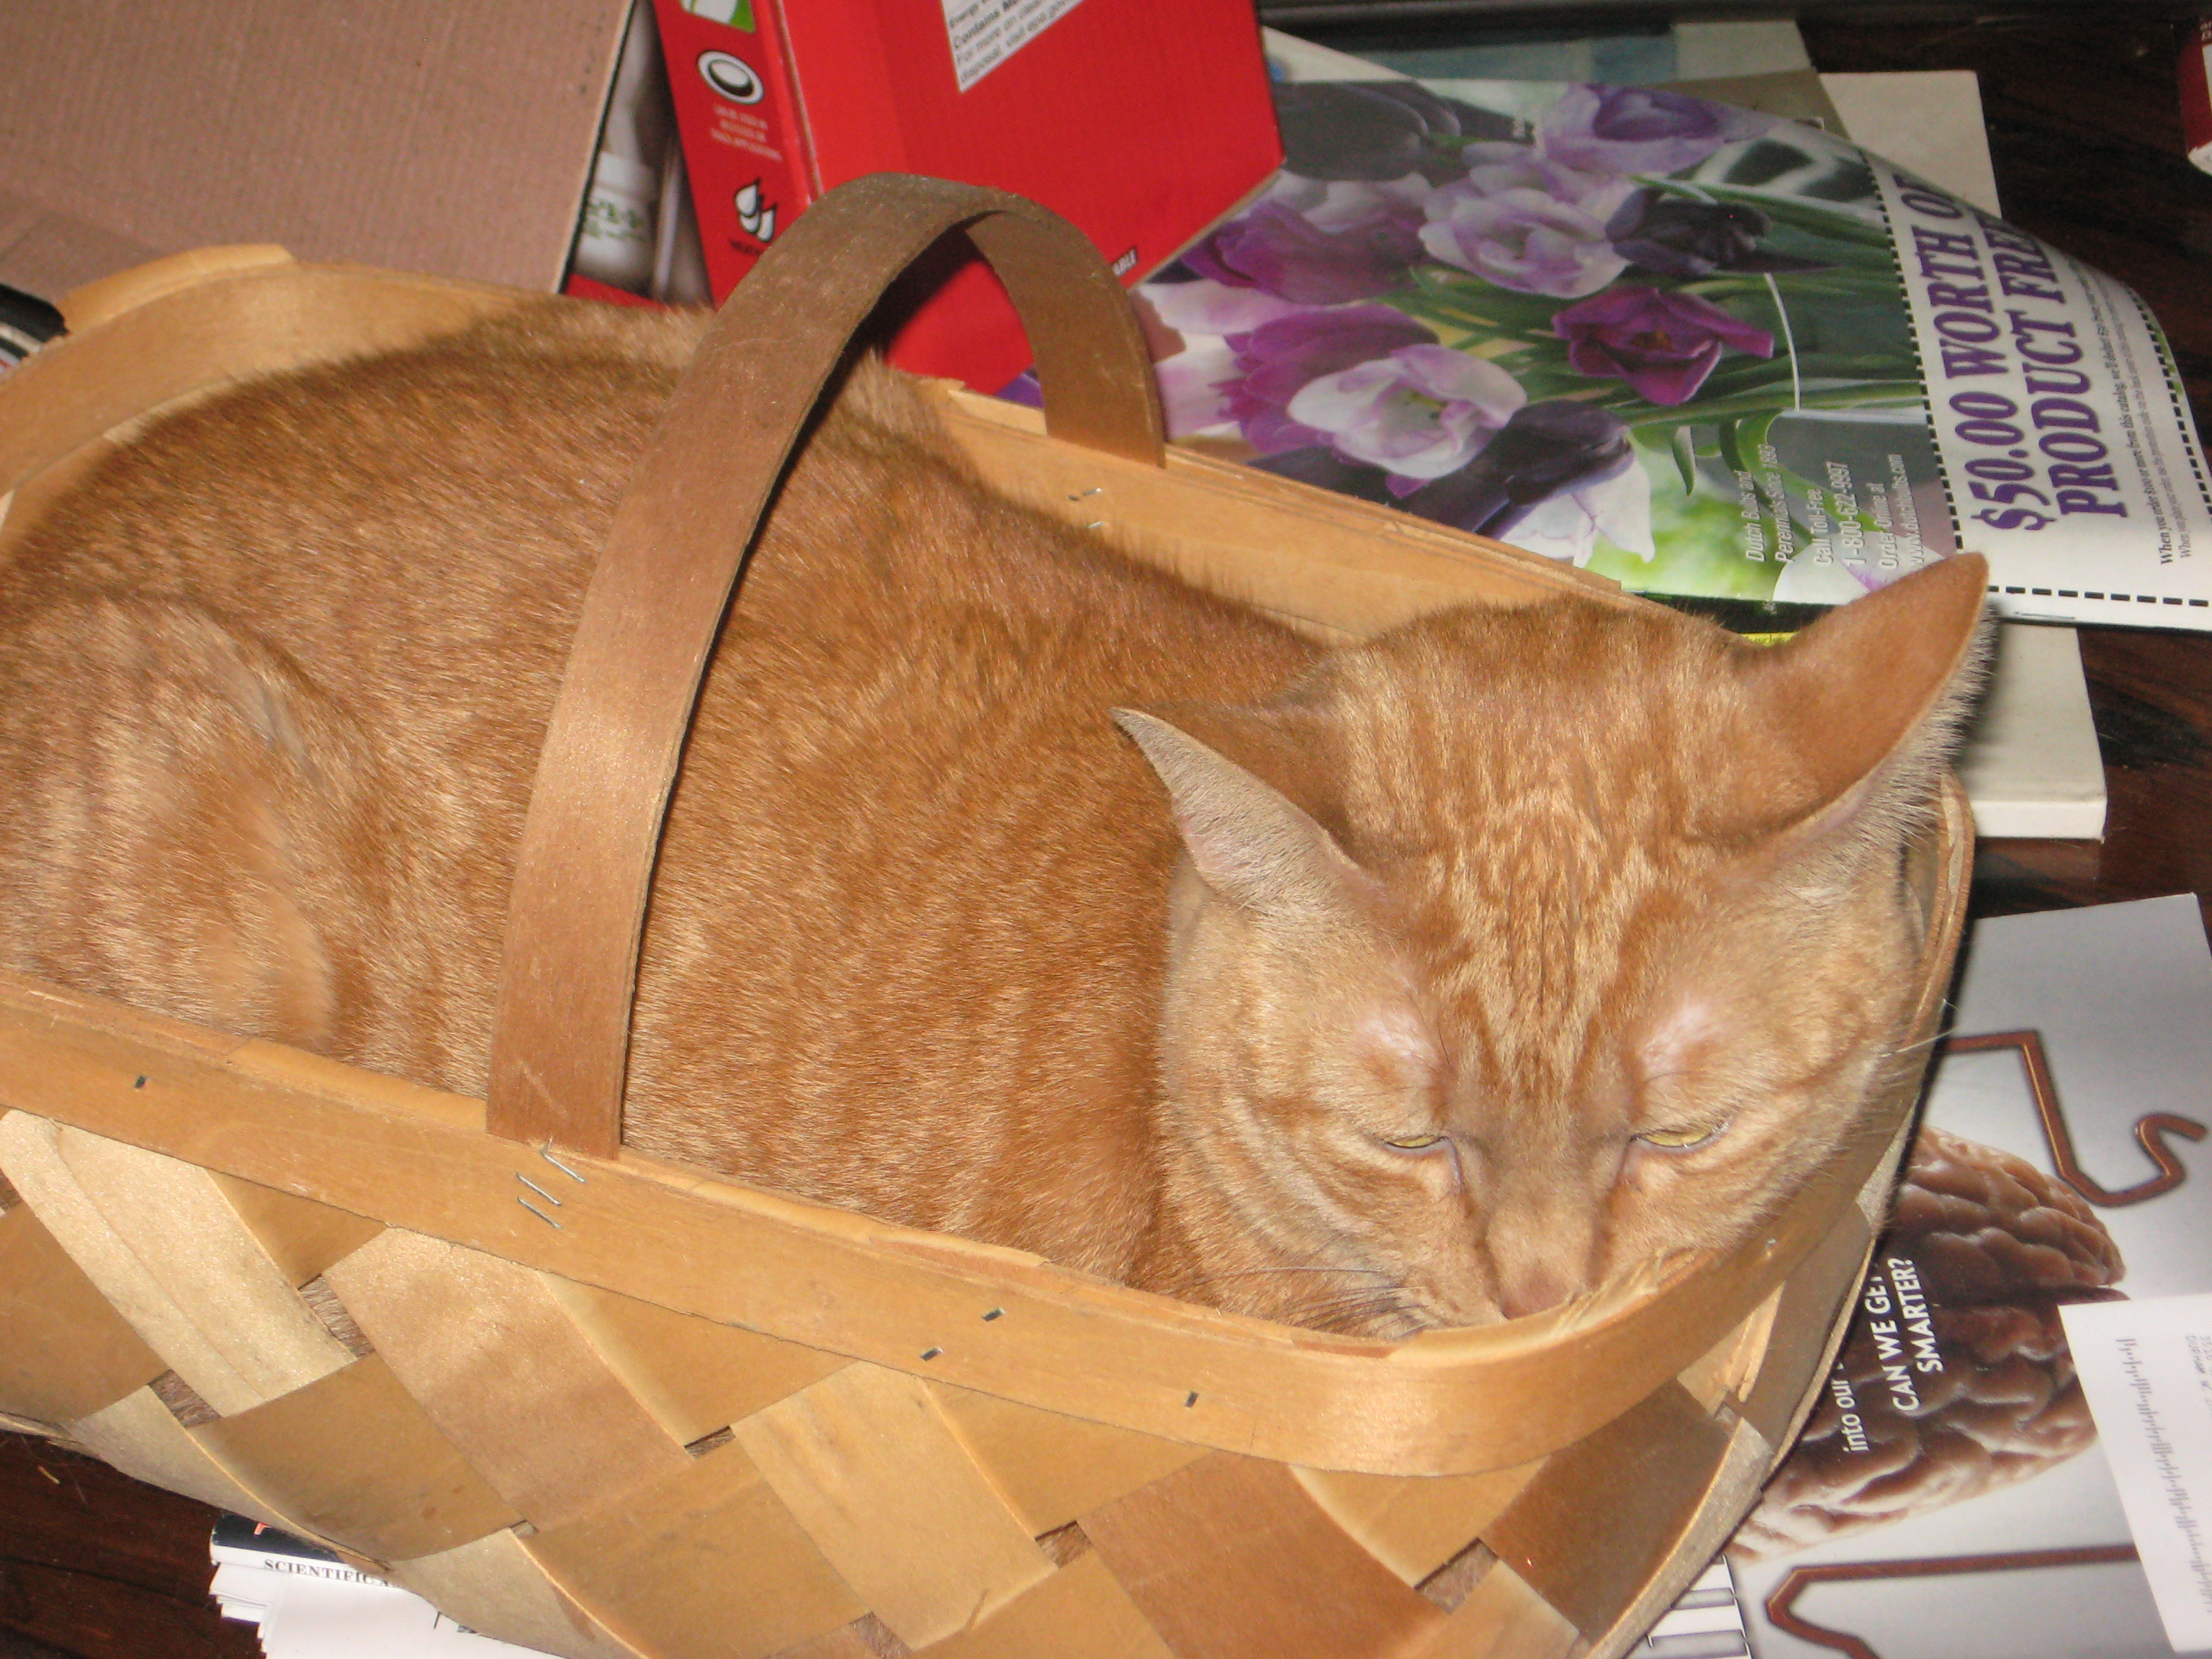
The birds are acting like it’s springtime, too; the Pine, and the Yellow-rumped Warblers that suddenly appeared (just in time for the Great Backyard Bird Count) seem to have disappeared as quickly as they appeared, and as I write I’m listening to a juvenile Red-tailed Hawk calling close by . Other harbingers of spring, catalogs from Johnny’s Selected Seeds, Brushy MountainBailey Bee Supply, and Dadent, have arrived, too (and I’ve ordered my package of bees to restart by beekeeping career).

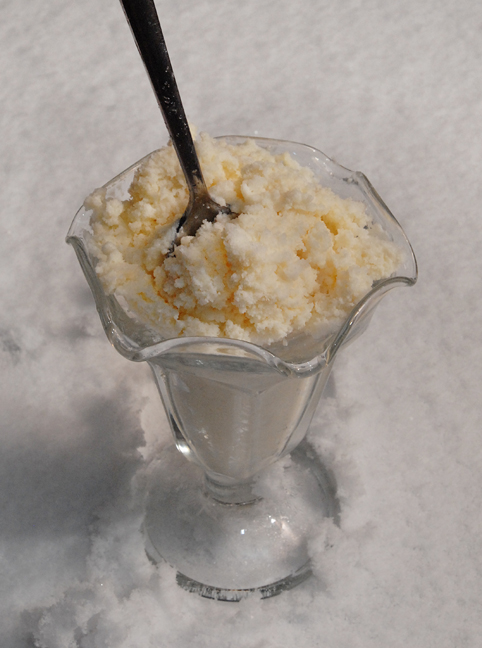
I’ve been happily indexing with the doors and windows open on some days (like today) when the temperature rose into the 70s, and my cooking thoughts have turned to more spring-y things–like shad roe, fresh garden peas, and asparagus–instead of things like pot roast, chicken and dumplings that are so comforting in cold, winter weather. That was until I looked at the weather forecast this morning while I was imbibing my morning quota of caffeine. On my second cup of café au lait, doing my Facebook catch-up, I spotted a post from a friend about possible snow on Sunday–that’s right on 12 March 2017–after days of warm weather and blooming flowers!

Ever on the lookout for “fake” news these days, I pulled up the Weather Channel, and WRAL for local forecasts–sure enough–after daytime temperatures of 70 to 75ºF until Friday the forecast highs plummet to mid-40 to 50ºF for the weekend–and freezing (to below freezing) nighttime lows for the weekend and Monday. Yes, there were those cute little snowflakes in the graphics with the raindrops!  Here’s hoping that whatever we get, it’s not one of the infamous “ice storms” with freezing rain and all its complications.

That shifted my cooking thoughts in a rather abrupt manner: one last fling of winter food before we get to the kind of weather that makes me cringe at the thought of things like beef stew, pot roast, or beef and barley stew just because it hot and humid.

9780393081084Those specific things came to mind because I’ve just been reading  The Food Lab: Better Home Cooking Through Science by J.Kenji Lopez-Alt. Yes, food science with attached recipes (and experiments to demonstrate his points)–a good book to get you started with cooking by understanding the science (without too much science detail to bore you).

Considering that my freezer is already pretty well stocked with pot roast to get me through the damp, drizzly spring weather, I decided that wasn’t my option for my last winter cooking fling.

(So you’re asking why I’m doing one last bit of winter cooking instead of just pulling some pot roast out of the freezer? Well,  for me, part of the satisfaction of winter cooking is all about the the aroma of whatever is cooking in the oven (that’s also helping make the kitchen warm and cozy). It’s not all about putting stuff in the freezer for later although that’s good–it’s about the immediate experience, too. That’s what I mean by “comfort food”!).

Õ¿Õ

I’ve decided that I’ll try the recipe for Beef and Barley Stew. This may be the first time that I’ve ever used a recipe for it but this one looks interesting, and maybe, an improvement on my usual throw-together version. So–from The Food Lab (Kindle location 3875), here’s what I’m going to try (though I’ll adjust the quantities since it’s to serve only me–and the cat). The recipes in this book are very easy to follow–instructions complete, and the science explained before the recipe, thought it’s easy reading and not so tedious as some food science can be. The recipe below is a good example of what’s in this book.

Beef and Barley Stew

from The Food Lab (Kindle location 3875-3896)

Ingredients

  • 2 pounds boneless beef short ribs, cut into 1-inch chunks
  • Kosher salt and freshly ground black pepper
  • 2 tablespoons canola oil
  • 2 medium carrots, peeled, split in half lengthwise and sliced into 1/2-inch pieces (about 1 cup)
  • 2 medium stalks celery, split in half lengthwise, and sliced into 1/2-inch pieces (about 1 cup)
  • 1 large onion, finely diced (about 1-1/2 cups)
  • 1/2 teaspoon Marmite
  • 1 teaspoon soy sauce
  • 2 medium cloves garlic, minced or grated on a Microplane [grater/zester] (about 2 teaspoons)
  • 1 tablespoon tomato paste
  • 4 cups homemade or low-sodium canned chicken stock
  • one 14-1/2 ounce can whole tomatoes, drained and roughly chopped
  • 1 cup pearl barley
  • 2 bay leaves
  • 4 cups loosely packed roughly torn kale leaves

Preparation/assembly

  1. Toss the short ribs in a large bowl with salt and pepper to coat. Heat the oil in a Dutch oven over high heat until smoking. Add the beef and cook without moving it, until well browned on first side, about 5 minutes. Stir and continue cooking, stirring occasionally, until browned all over, about 10 minutes total; reduce heat if necessary to keep from scorching. Return the meat to the bowl and set aside.
  2. Return the pot to medium-high heat. Add carrots, celery, and onion. Cook, stirring frequently, until the vegetables begin to brown, about 4 minutes. Add the Marmite, soy sauce, garlic, and tomato paste and cook, stirring, until fragrant, about 30 seconds.
  3. Add the stock and scrape up the browned bits from the bottom of the pot with a wooden spoon. Add the tomatoes, barley, and bay leaves, then return the beef to the pot, increase the heat to high, and bring to a boil. Reduce to the lowest possible heat and cover the pot, leaving the lid slightly ajar. Cook, stirring occasionally, until the beef is completely tender and the barley is cooked through, about 2 hours.
  4. Stir in the kale and cook, stirring constantly, until wilted, about 2 minutes. Season to taste with salt and pepper. Serve, or, for best flavor, cool and refrigerate in a sealed container for up to 5 days before reheating and serving.

ô¿ô

Why did I decide to try this recipe? Well, in a word, umami. Good food is all about flavor–and I’m investigating an ingredient that I’ve never tried before: Marmite. I’ve read that it’s a love-or-hate thing with Marmite, but it’s supposed to enhance umami. I don’t think I’ll hate it–after all I’m not going to eat it straight, and I do use anchovies and nam pla (fish sauce) so why not try this one?

I’m not dissatisfied with my usual beef and barley stew or soup (which does contain most of the ingredients here except for tomatoes and Marmite), but I’m feeling adventurous–my ever-present curiosity about ingredients that I haven’t tried rears its head.

However, I’m thinking of one modification here–depending on my work schedule for Sunday. If an anticipated manuscript arrives for indexing, ending my hiatus of goofing off and spending quality time with the cat–meaning I’ll actually be working–the 2-hour cooking may take place in a slow (275 ºF) oven–with the lid slightly ajar as suggested in this recipe since it reduces the watching necessary with stove-top cooking; it’s usually my preferred method because it eliminates the possibility that I’ll get involved and not give the pot proper attention; nothing worse that a scorched pot to clean up–not to mention ruining good food!

There’s one other deviation that I’ll use with this recipe–because I’m only cooking for one and bunches of greens tend to be a bit overwhelming (read just too damn much of even a good thing), I’ll be getting my kale out of a freezer package (my usual  Stahlbush Island Farms chopped curly kale) so that I don’t have to deal with the excess. Since I’ve got a few “winter” veggies in the crisper that need to be used I’m planning  different vegetable sides for the week–something with rutabaga, and kohlrabi.

.

Õ¿Õ

..


Winter oyster tradition continues

As I’ve posted before, oysters with special wine are a Christmas and New Year’s tradition in my home. When I finally got it back together from the C. difficile, it was way past prime oyster season. But it is again prime oyster season so my thoughts are turning to oysters and wine. Eating oysters on the half-shell recently at Burger Bach (yes, they “do” excellent burgers, and oysters) really got me thinking about oysters in a very serious way. Even though I’ve not made it for either Christmas eve or New Year’s eve, I still intend to have my winter oysters. I’d arranged to share with two good friends who are also oyster lovers–but we had to reschedule first because of snow and horrendous cold, and then, again, because all the snow and cold left Durham essentially without oysters!

I’ve done some fun things with oysters: oyster and corn chowder, and a in 2013-2014, with black truffle (good friend gave me truffles) and experimented with some wines.  I liked the “surf & turf” combination so well that I’m continuing it this year as well.

I’ve started the hunt for wine for this winter’s oyster feast. So far the wines recommended are:

2011 Pouilly-Fuisse (Gilles Noblet, France)

“Gilles Noblet, Pouilly-Fuisse, Burgundy, France, 2011{sustainable} 100% Chardonnay EXOTIC FRUITS, DRIED CITRUS & WHISP OF VANILLA Thirty year old Chardonnay vines provide the heart and soul of Noblet’s Pouilly Fuissé, right from the village of Fuissé. This area was originally comprised of negociant producers and Gilles Noblet was the first in his region to independently bottle his wine under his own name. This style is racy, rich and elegant with hints of kiwi and pineapple fruits. The finish goes on and on and on… Serving Suggestion: White Burgundy is the home of Chardonnay and this one is extremely versatile. A perfect match for dishes with heavy cream sauces.”  From Wine Authorities.

2013 Macon-Peronne (Gandines, Domaine des, France)

domaine-des-gandines-macon-peronne-burgundy-france-10338034
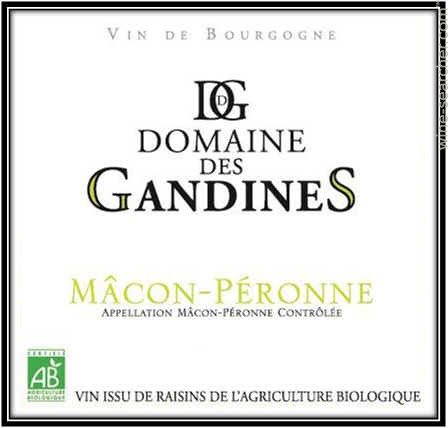
“100% Chardonnay FULL & FLAVORFUL, LEMON, HAZELNUT, CARAMEL. SERIOUS! Gandines really surprised us with this compelling, and serious White Burgundy. Fully ripe and lush, but with juicy acidity and complex minerality. This kind of power usually comes from the big boys north of the Macon in the Cotes de Beaune. Aged in enormous 3000 liter old oak barrels that soften the wine without giving it any oak flavor, it is possibly the most impressive Chardonnay available at this price! Serving Suggestion: Steamed or raw oysters. Black sea bass poached in olive oil with fresh thyme. Roast turkey with truffles or chanterelles.”  From Wine Authorities.

Tenuta del Cavaliere, Verdicchio dei Castelli di Jesi, Marchetti, 2013 

385762
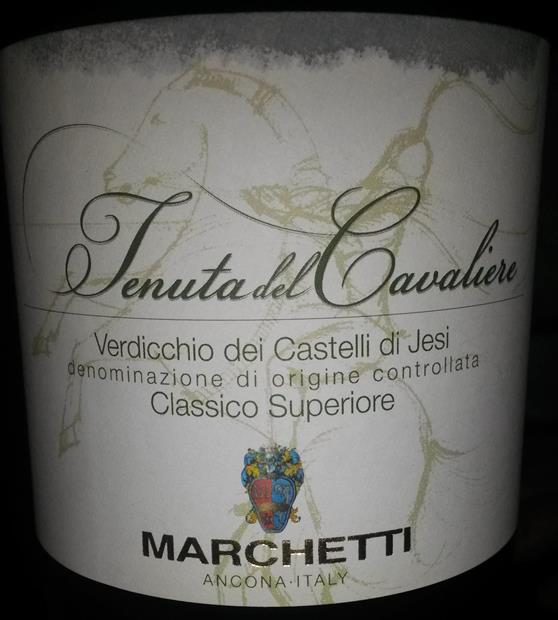
“Verdicchio is central Italy’s most distinctive white varietal. The mineral-rich soils of the Classico Superiore sector of the Marches’ Castelli di Jesi zone – just a few miles from the Adriatic Sea – imbues the finest Verdicchios with extra complexity and a deeply etched soil signature. A radiant green-gold in the bowl, Marchetti’s Verdicchio shows all the minerally snap pea and smoky white pepper notes that we so love in the very finest Verdicchios. The wine’s smoky mineral expression yields to a fleshy core of pear and melon fruit backed by riveting acidity, a tactile mineral expression, and suggestions of green tea, grapefruit zest and sappy dried herbs. Full bodied yet balanced and elegant, Marchetti’s Verdicchio begs for rich vegetarian recipes and fish steaks. Pair it now and over the coming five years with hearty fare that calls for a bold white wine, like swordfish, fresh albacore tuna, rabbit, zucchini casseroles, white pizzas, and pastas dressed with olive oil, garlic and seasonal vegetables. Impressive Verdicchio! ” Found this one at Hope Valley Bottle Shop.

Finally, the weather is cooperating, and I’ll be eating oysters on Saturday evening. I haven’t yet decided which wine will accompany this round of oyster stew with black truffles!  I keep reading the descriptions of each and just can’t decide, but I do know that three is too many–I have to make a decision.


Snow day. . .

Well, not really a snow day (I wish!), but an ice and wind day, the second in a row here. It’s a grey day with a few snowflakes fluttering around. It’s not so far been a productive day. I’ve been wandering from room to room, fighting the urge to take a lesson from the cat. Neither did he go with me to make morning coffee nor did he get out of bed when I started rattling around in the kitchen. He simply got under the duvet instead of on top.

Cat looking into refrigeratorSo I’ve resisted the lure of book and duvet to try to accomplish something, even if not useful or productive, just something I can say that I did. The motif today seems to be opening, peering inside, and closing doors, figuratively and literally, including internet browsing–opening a site and then just passing on to another. I’ve peered into the cabinet where all the plastic storage containers live and close the door tightly and firmly, then opened the internet door (Google search) on organizational ideas for empty containers.

Peering into the refrigerator led to the conclusion that I didn’t want to eat anything that was already in there. The threat of power outage led me to follow a link on what foods were safe after a power outage, but that didn’t catch my interest either (no new information, and no power outage here yet). My list of blogs that I follow l did provide something that held my attention: posts on one taste at a time caught my interest–food waste and eating mindfully. After reading (and reblogging those) my meandering led me back to the kitchen with thoughts of something warm and cozy to eat this afternoon.

This recurring theme eventually led to the freezer compartment of the refrigerator which has been needing organization and sorting for a while. Gazing at a container of stock finally got my interest. What better way to start sorting and organizing that to make something from what I found in the freezer that was approaching its end-of-life-even-if-frozen state.  Thus: mostly freezer soup happened–with additions from the crisper drawer.

Ingredients

  • pulled pork (from a large pork butt, slow-roasted in the Schlemmertopf)
  • two packages of stock (one pork, one chicken)
  • the last package of sofrito (a staple, but needing to be used and replaced)
  • carrots (the last of a bag that had been vacuum packed for later use)
  • 1/2 small rutabaga, diced
  • two handsful of cabbage, in bite-size pieces (a crisper staple)
  • about 1 cup yellow split peas
  • about two teaspoons Hatch red chili powder
  • a dash of dried oregano
  • (a retained bay leaf from the pulled pork)

Preparation

  • thaw and sauté the sofrito to brown lightly (frozen with olive oil)
  • add chili powder and oregano to bloom in olive oil
  • add frozen stock
  • add pork
  • add rutabaga, cabbage, and split peas
  • simmer until rutabaga and split peas are tender (about 40 minutes)

Supper is on! IMG_8880

As is typical of all soup making, there is more than I’m going to eat, but some will go back into the freezer for a quick meal on another grey day–carefully labeled, and dated.

Ò¿Ó

.

Jabberwock

Jabberwok liqueur
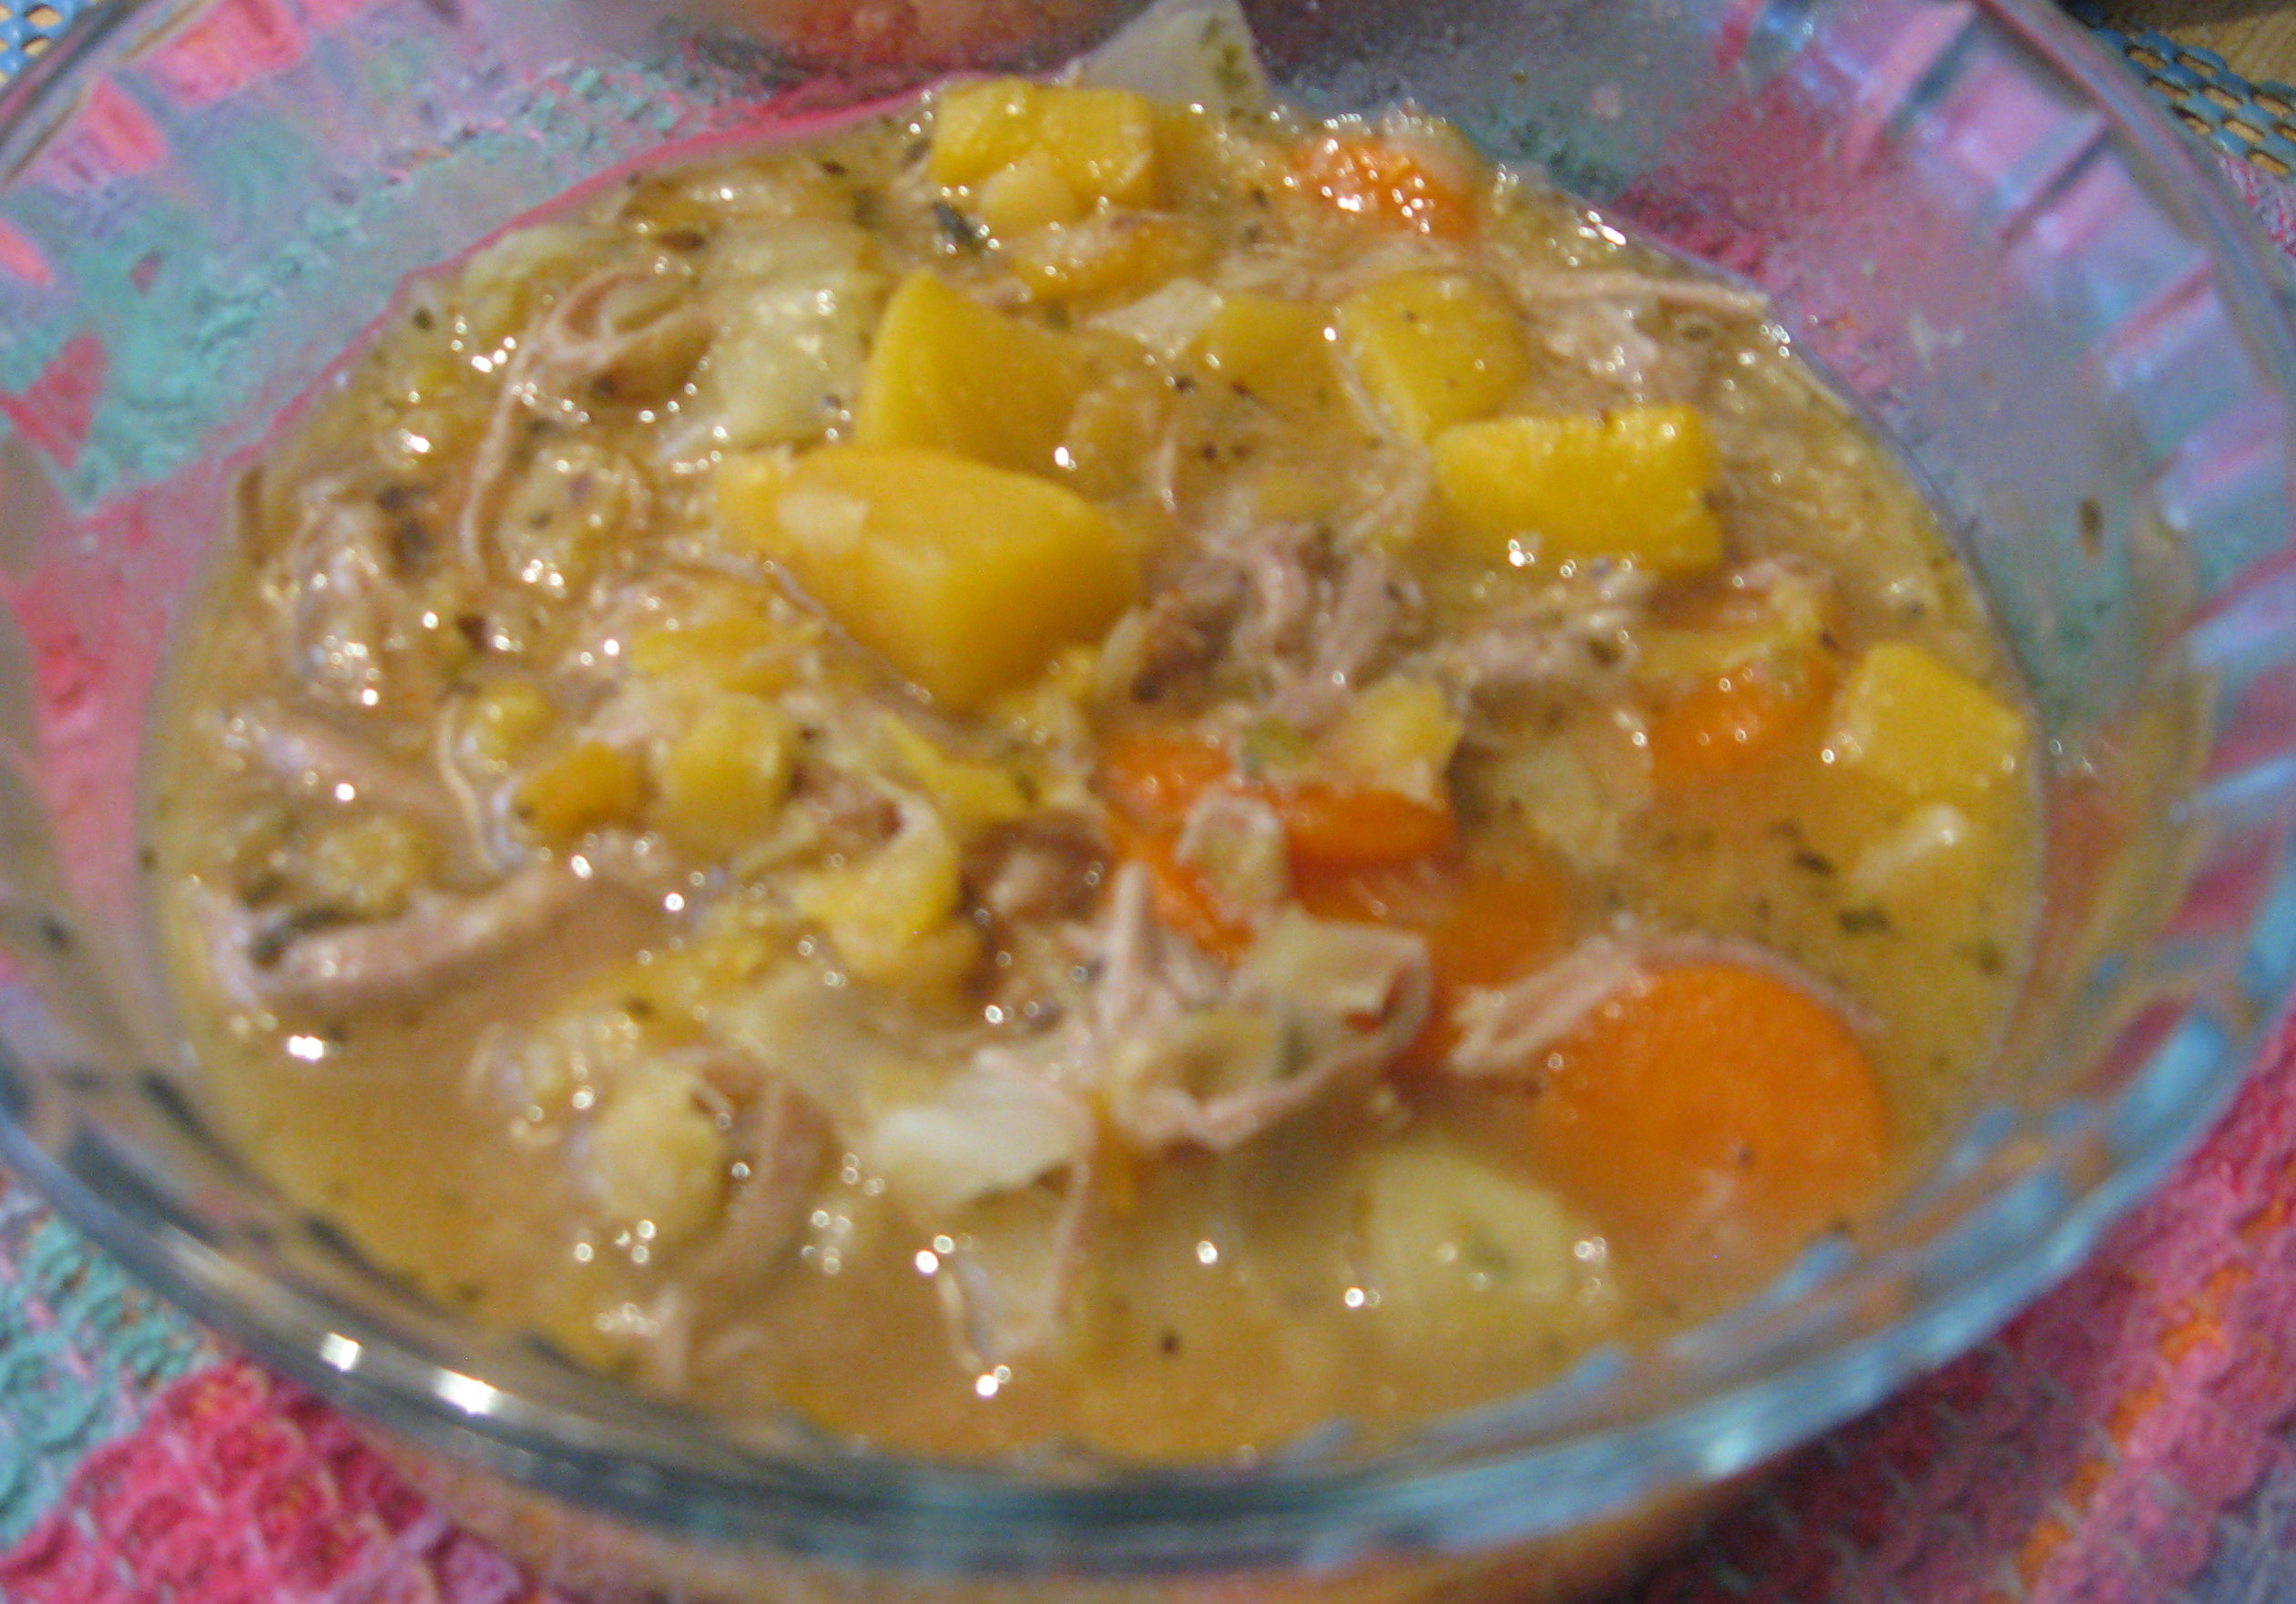
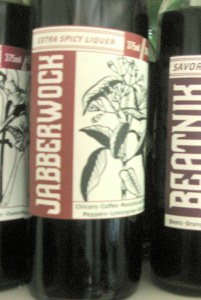
I love the names of the liqueurs from the Brothers Vilgalys. Jabberwock conjures up some interesting images for me–something dark, smoky,  and exciting, and maybe just a tad bit scary.

I can’t say which of these liqueurs I like best–they are all so different, so I  have them all, but this one is close to the top of the list–partly because I love strong, black coffee and I like the spice of chilies.

The ingredient list for this one includes coffee, chicory, lemongrass, eucalyptus, manzano & chipotle peppers. Just like the other liqueurs from Brothers Vilgalys the flavors just unfold as you sip. There is definitely some heat–it’s going to make your mouth feel warm. With the first sip there is the “brightness” of the lemongrass and the eucalyptus, then the heat starts to build, but the heat doesn’t hide the “dark” coffee and chickory. The lemongrass and the eucalyptus come through in the nose. There’s a long, warm finish where the smokiness of the chipotles lingers, even as the heat fades. Another winner!

(It’s a fantastic addition to hot drinking chocolate–the coffee and the chickory enhancing the chocolate flavor and the chilies adding some spice.)

Hot Cocoa

It’s been a chilly, damp, drippy Monday–the kind of day that takes an inordinate amount of caffeine to achieve a minimally functional state. The day’s to-do list included taking the cat to the vet. Of course it was raining  when I toted Frankie out to the car, and it was raining when we came out of the veterinarian’s office. Frankie was lucky–he was in the carrier and dry (not that he was at all appreciative of that).  Now we’re back indoors.  It’s still chilly, damp, drippy Monday–but now dark.  It’s time for a warm beverage that must have chocolate in some form in it–but there must be lots of if.  That means hot coca!

The hot chocolate is sipping chocolate–thick, rich, creamy–for when you feel truly decadent and in need of something sensuous as well as chocolate. There are times when chocolate is required–after a long walk in the snow, or after you’ve finished all the errands that made you go out on a cold, damp, grey, and miserable day. Those are the times when I want hot cocoa–a lighter beverage that comes in a BIG mug (and maybe even whipped cream) to warm me up. It has to be lighter than drinking chocolate because I want to drink more just because. I don’t want the stuff from the grocery store shelves that is supposedly “hot cocoa” but is usually too sweet and lacking in cocoa/chocolate flavor (e.g. Swiss Miss or Nestle’s).

Some chocolatiers have cocoa or drinking-chocolate prepared mixes that are very good–Chuao chocolate Spicy Mayan (expensive and really drinking chocolate), Starbucks, Ghiradelli, to mention a few of the up-scale ones. Even with these, I feel that the cocoa flavor is a bit lacking–I end up using more than suggested on the package,  and they are often sweeter than I like–I’m paying for lots of sugar and powdered milk. For a review of a hot cocoa mixes see Serious Eats.

Scharffen Berger does have sweetened cocoa powder–though more flexible, you’re paying for sugar (that you can get at the grocers inexpensively and you probably already have it in the kitchen).  So, how do I get my great big, steaming, warming mug of hot cocoa?

I’ll start with a premium cocoa: Valrhona is a favorite, Ghiradelli but  you can use the cocoa powder of your choice. The basic recipe for hot cocoa for one is from Epicurious. (On particularly miserable days, I recommend doubling the recipe even if it is just for one.)

Simple Hot Cocoa for One

Ingredients

  • 2 tablespoons unsweetened cocoa powder
  • 1 to 2 tablespoons sugar (depending on how sweet you like it
  • Pinch of salt
  • 1 cup milk or any combination of milk, half-and-half, or cream
  • 1/4 teaspoon vanilla extract

Preparation

  • Whisk together the cocoa, sugar, salt, and about 2 tablespoons milk in a small saucepan over medium-low heat until cocoa and sugar are dissolved.
  • Whisk in the rest of the milk and heat it over medium heat, whisking occasionally, until it is hot.
  • Stir in the vanilla and serve.
  • If you like it frothy, blend it in the blender
  • This recipe multiplies easily. When you get up to a quart of milk, use 1/4 teaspoon salt

For a bit more oomph, you can use both chocolate and cocoa together–and if you don’t want to do more that heat milk to get you cocoa and chocolate fix, here is a recipe for The Best Hot Chocolate Mix from Cook’s Illustrated, November/December 2014, page 23 that makes enough mix for 12 one-cup servings. Frankly, I get less than 12 since I usually use a big mug.

The Best Hot Chocolate Mix

Ingredients

  • 1 cup (7 ounces) sugar
  • 6 ounces unsweetened chocolate, chopped fine
  • 1 cup (3 ounces) unsweetened cocoa powder
  • 1/2 cup (1-1/2 ounces) nonfat dry milk powder
  • 5 teaspoons cornstarch
  • 1 teaspoon vanilla extract
  • 3/4 teaspoon kosher salt

Preparation

  • Process all the ingredients in food processor until ground to powder (30 to 60 seconds, or as needed)
  • Store in airtight container at room temperature for up to 2 months.

Making hot chocolate

For 1 serving:

  • Heat one cup milk (whole, 2%, or 1% low fat) over medium heat until steaming and bubbles appear around the edge of the pan.
  • Add 1/4 cup (4 tablespoons) hot chocolate mix
  • Continue to heat, whisking constantly, until simmering (another 2-3 minutes)
  • Pour into a heated mug and serve

Ò¿Ó

Hot chocolate or hot coca sometimes begs to be dressed up with some additions like Krupnikas or perhaps Jabberwok. If you’re going to add a sweetened liquor like Krupnikas, you may not want to use a mix (as above) that contains sugar. You can only tell by tasting.

Other liqueurs that to dress up hot chocolate or cocoa beverages:

Ò¿Ó

It’s always fun to dress up your hot cocoa–but for me, forget the marshmallows (unless they are homemade), and the whipped cream (unnecessary when you use at least part half-and-half), but adding some spices or other flavors can be fun. Sometimes I make hot chocolate with favorite chocolate bars:  Chuao Spicy Mayan bars, and I sometimes use that to make hot chocolate. My local Harris Teeter has a “house” dark chocolate with orange that makes a great cup of hot chocolate, and the pear and dark chocolate is a way to get a boost if your bar doesn’t include the liqueurs.

Ò¿Ó

Sunday with simple pleasures. . .

Not doing much at all today–just enjoying the October weather, fall and the color that’s starting to show.

I’ve been out to the hive to see what’s happening–so relaxing to sit there watching, with the bees buzzing by (and around me).  They are carrying in pollen and nectar at a great rate–they’ve not taken much of the sugar syrup from the feeder.  They know where the good stuff is. IMG_7250

Made a comfort food lunch: grilled cheese sandwich and tomato soup.  But–not the American processed cheese and Campbell’s Cream of Tomato soup.  I still like the combination, but I’ve kicked it up a notch.  Today the grilled cheese was Vermont extra sharp cheddar and pumpernickel bread.  The soup?  No, I didn’t make it myself. My local Harris Teeter had a BOGO on their “chef’s recipe” soups so I indulged.  Their tomato basil is a favorite: it’s not overwhelmed with basil, it’s not too salty, and it has chunks of tomato in it. (It’s not cheap, but reasonable at BOGO, and it can be frozen! It’s good, and easy.  Sometimes easy is necessary–but can’t give up good for easy!

Nice comfort lunch, lazy day…the cat approves!

Ö¿Ô

Sunday Suppers: Winter Whites

Great soups for suppers in the winter; all my favorites so I need to share this–white can be wonderful!

Rufus' Food and Spirits Guide

The kidneys make this What our garden looks like these days

We’ve been spared the snow that’s blanketed much of the country, but early this week a layer of ice made our landscape more than a little frosty. Instead of making us feel a little blue, we’re craving food that warms us up. But of course we’re all about coordinating our colors. Here are some of our favorite winter whites:

Cream of Potato Soup (above) and Potato Leek Soup (below)

That there is perdy I’m gonna need a bigger bowl

White Bean Soup with Farro

Drizzle more olive oil if you want Drizzle more olive oil if you want

Cream of Potato Soup with Roasted Garlic

Campbell's eat your heart out Campbell’s eat your heart out

If only we’d get a little snow instead of ice we could whip up some of this:

Tastes like vanilla icecreamSnow cream

View original post

A “roast” beef sandwich

Sandwiches are not just something to be thrown together without thought–definitely NOT two thin slices of baloney and Wonder bread!  They are a special kind  of meal–sometimes comfort food (like grilled cheese sandwiches) and sometimes even need planning when cooking for one person.  I’m always on the lookout for good “recipes”–or maybe inspirations–for sandwiches–particularly roast beef.

As much as I like cooking for one, there are a few drawbacks. One is that  realistically you can’t do real roast beef.  One of the things I miss is a good roast beef sandwich–it’s just not the same when the roast beef comes from the deli–no matter how good the deli.

image from Lemony Thyme

roast beef sandwich

One of the ways to satisfy my craving for roast beef sandwiches is with the planned  “leftovers” from my  thick-cut  steak–intentional leftovers of nice rare, pink, juicy  steak to slice  thinly and make a sandwich.  Then the fun begins–it’s a happening.

  •  Start with good bread (my oat bread , if possible),
  • Add some  flavorful, spicy greens:  radish sprouts or possibly arugula, or endive.
  • Maybe tomato,  if in season.
  • Cheese:  something “bleu”– gorgonzola dolce, Cabrales,  or Danablu–is one of my favorites with beef, though nothing wrong with a good cheddar or Swiss.
  • Maybe some thinly sliced red onion (or Walla Walla, Maui, or Vidalia,   sweet onions, if those just happen to be lying around).
  • Maybe a good “smear” of horseradish or horseradish sauce, instead of onion.
  • Finally,  a thin film of butter, preferably European style cultured (salted or unsalted)!
  • The final touch would be a sprinkle of fleur de sel.

Now choose a beverage–beer, cider, or even a glass of wine. Enjoy.

Grilled cheese sandwiches

A grilled cheese sandwich is often a quick meal, and perhaps the ultimate in comfort food–with or without the tomato soup.  I love grilled cheese sandwiches and want to pass on this link for any of you who also love grilled cheese sandwiches.

It’s very easy to make a “plain” grilled cheese sandwich, but you can do so much more with them.  I found some wonderful suggestions at Spoon, Fork, Bacon. If you love grilled cheese here is a great place to find some exciting ideas.