Hot Chocolate–with Krupnikas

In anticipation of National Chocolate Day–drink up!

I love chocolate, and I would be unlikely ever to turn down good hot chocolate or cocoa. I’m glad fall is finally here with relief from the hot humid, muggy weather; however, today is the ninth day of measurable rain in a row, and what with hurricane Joaquin making its way north along the coast, we’ve got several more days of gray, rainy weather coming–maybe a record-breaking string of rainy days. Well, after a brief lull this afternoon, the rain is back. As I listen to the rain on the metal roof, what better to do on chilly, grey, soggy, damp, rainy days than make hot chocolate or hot cocoa?  A real comfort beverage even if you don’t enhance it with spirits. So start with a good cup of hot chocolate or hot cocoa. . . .

First, let’s be clear about the definitions of hot cocoa, and hot chocolate. These terms are often used interchangeably by Americans and use the terms to apply to some really atrocious mixes. If you’re really “into” this beverage there’s a whole lingo you should know. however there is a difference (Amano chocolate page). In a nut shell: hot cocoa is made with cocoa powder, milk and/or water. It’s a thinner beverage. Hot chocolate (also called drinking, or sipping, chocolate) is made with chocolate (often shaved or ground to melt faster) which, because of the natural fat in chocolate makes it a richer beverage.

So, when I say hot chocolate that’s what I mean–and I do distinguish that from hot cocoa–not that I don’t like both in different situations. (This really excludes most ready-packaged mixes–especially the “grocery store shelf” ones.)

So first you must make hot chocolate:

Simplest creamy hot (sipping) chocolate

Ingredients (1 serving)

  • 2 ounces of premium chocolate dark chocolate (unsweetened and/or semisweet) pieces
  • 1 cup half-and-half
  • pinch salt
  • vanilla to taste (optional)
  • honey to sweeten to taste

Preparation

  • Place chocolate (cut if in large block) into microwave-save container. The container needs to be large enough to allow you to whisk the warmed mixture vigorously.
  • Add honey and pour half-and-half over.
  • Microwave for about 2 minutes–until milk/half-and-half is steaming, but not boiling.
  • Add pinch of salt, and whisk vigorously until the chocolate is emulsified and mixture is slightly thickened.
  • Taste and add more honey if needed, and vanilla if desired.
  • Pour into a carefully warmed mug, sit back, and enjoy.

Ò¿Ó

Don’t serve this in a thin, fancy cup–even though it’s rather decadent. I use a mug warmed thoroughly with almost-boiling water so that this creamy, sensuous beverage will stay warm while i sip it slowly. Don’t bother with whipped cream–it’s rich enough without.

Ò¿Ó

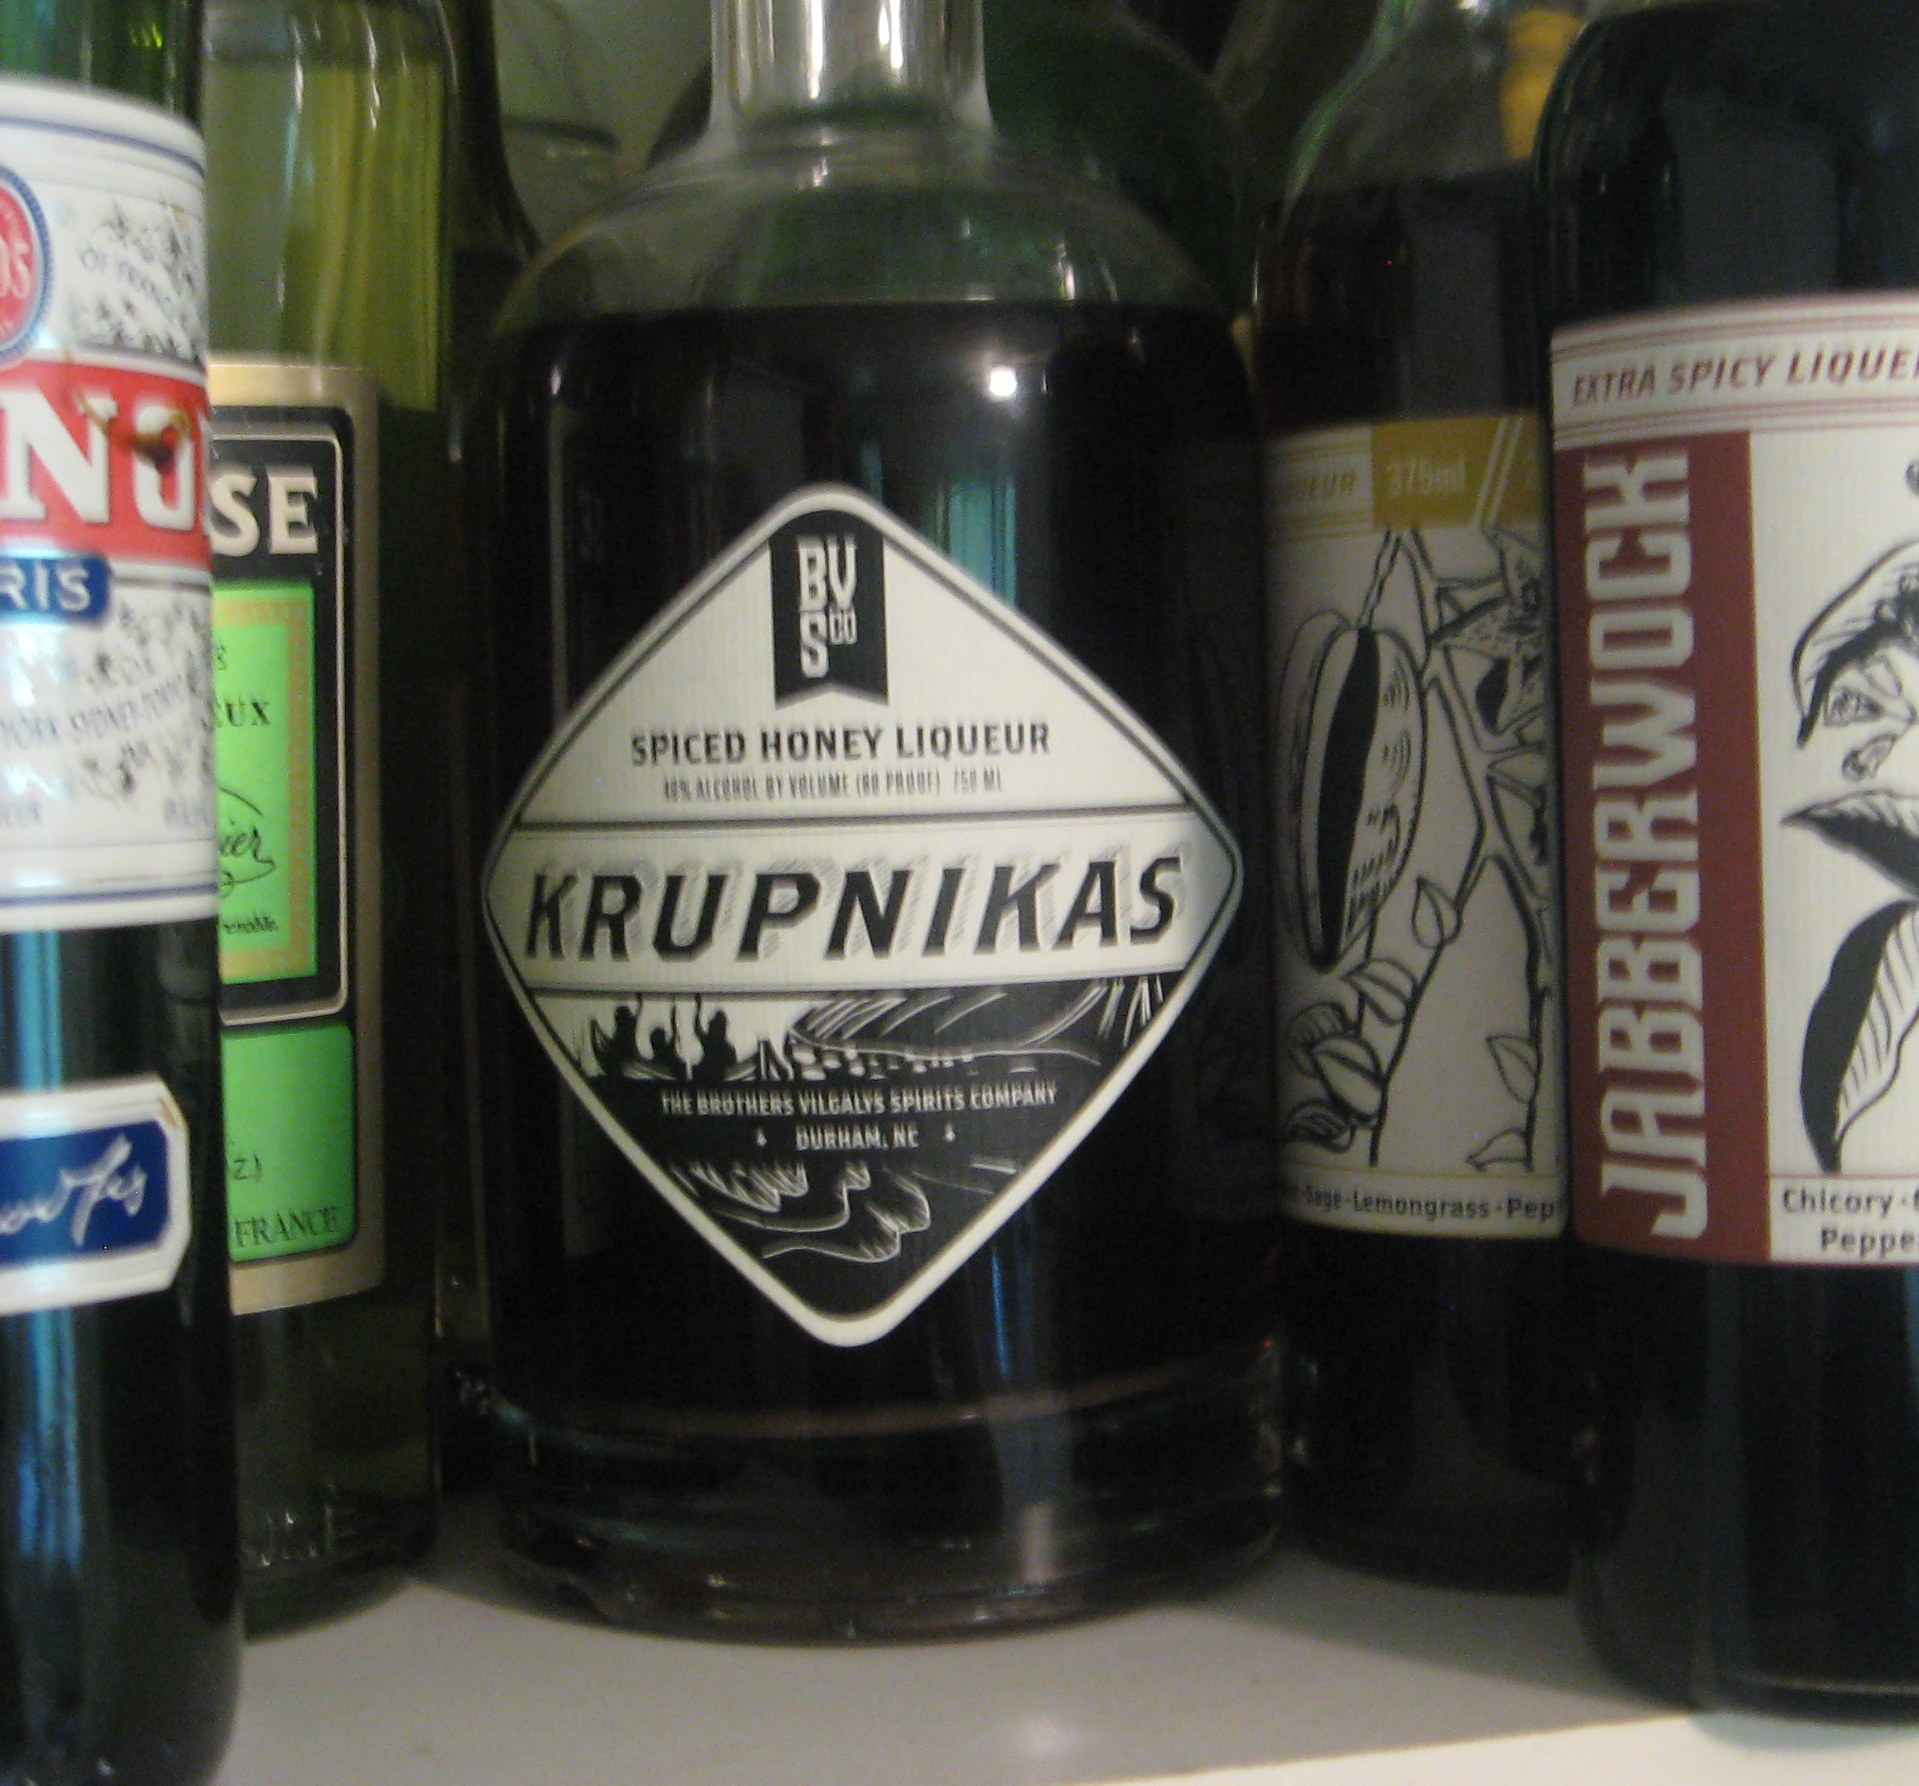
Now you have a very dark creamy cup of chocolate. Good as is, but it’s fun to add some different flavors. With all this cold rainy weather, I’ve been experimenting with additions. One of my favorite inspirations was to add a splash of Krupnikas–a spiced honey liqueur. Awesome!

Another liqueur from the Vilgalys Brothers Jabberwock–a very spicy–with coffee, chicory, lemongrass, eucalyptus, manzano and chipotle peppers–makes a spicy cup of hot chocolate–probably my favorite so far.  A splash of Chambord would not be amiss either! if you want fruit rather than spice.

Ò¿Ó

Kupnikas_crop_IMG_8320

Ò¿Ó

Cabbage with juniper berries

I’ve always liked cabbage–slaw, steamed, and even boiled if it was not cooked to mush. I’ll even just nuke a wedge with a little olive oil and salt sprinkled over it and call it a vegetable dish. It’s a good keeper that doesn’t get foul if it stays in the crisper for a while–especially if you just peel off the leaves from the outside of the head as you need them, instead of cutting the head in pieces.

Cover of book

Nigel Slater’s “Tender”

I’ve read a lot of Nigel Slater lately (Kitchen Diaries, Ripe, and Tender). I like his style: very descriptive of the garden, and the kitchen–almost makes me feel that I’m right there with him. I’m anticipating the followup volumes for Tender and Kitchen Diaries; his website is also well worth checking out.

Tender is a vegetable cookbook (as well as a gardening book)–not a vegetarian cookbook, though most recipes could be pretty easily adapted if you’re of the vegetarian persuasion.  The discussion of each vegetable includes cooking as well as growing information, and most delightfully, a discussion of seasonings for the vegetable.

His recipes are simple, designed to make the most of excellent fruits and vegetables without being at all fussy.  Quantities are rather loosely given, which makes it ideal for my improvisational style of cooking for myself (and the cat). I’ve found all sorts of thing I want to try, but here is one that particularly caught my fancy–perhaps because it’s fall, or maybe just because I had a head of cabbage in the crisper.

One of the seasoning he mentioned for cabbage was juniper berries. I’ve used juniper berries for other dishes, but can’t honestly say that I’d ever thought of trying them with cabbage.  Here’s what I did to try this out.

Cabbage with juniper berries

Ingredients

  • About 6 leaves from a medium head of cabbage
  • 3 juniper berries
  • dash of red pepper flakes if desired for spice
  • dash of salt to taste
  • small pat of butter

Preparation

  • Flatten the leaves on a cutting board and cut into bite-size pieces
  • Add crushed juniper berries, (see note below.), chili flakes if desired, and salt.
  • Toss the cabbage to distribute seasonings.
  • Add butter and 1 tablespoon of water.
  • Cover and microwave for about 4 to 6 minutes, until cabbage is still bright green, but tender (See NOTE).
  • Serve.

Cook’s notes

  • Though I used white cabbage, I’m sure this would be fine with red or savoy cabbage as well.
  • The juniper berries are very oily, so I did not put them in my spice grinder–I used a mortar and pestle that could be cleaned easily.
  • The microwave really seems to bring out the heat in the chili peppers, so add less than you might were you just going to sauté the cabbage.
  • The amount of water needed will depend on whether the cabbage is just washed and still wet, and/or how tight the cover is. I don’t usually use plastic wrap, but Pyrex bowls with vented covers, so I do lose some steam.
  • Sauté or steam-sauté would work as well–I just didn’t want to wash another pan when I was preparing this after a day of indexing work.

I’ve tried it now–right up there with caraway seeds.The combination is a winner–I’m not sure I can easily describe what the juniper berries do for the cabbage, but it certainly puts it in a different class from “boiled” cabbage that I grew up with and what is typical of “southern” cooking. I think it adds background earthiness and complexity to the flavor. It was no longer “just” cabbage!

It was a side for roast turkey thighs, but I can easily see this as a great side for pork, or most particularly for duck legs or duck confit.  I’ll certainly make it again–probably on many occasions.

I didn’t use extra virgin olive as I normally might with cabbage because I just could not get the flavors of that and the juniper berries together in my head. (Cabbage with a little extra virgin olive oil is excellent, though.) If I were making this to go with duck, I make it with duck fat instead of butter.

bowl of cooked cabbage

cabbage with juniper berries

<>^<>

These links are to The Regulator Bookshop, my local, independent bookstore. I like to use them whenever possible–though I do sometimes go to Amazon.com. I have no connection with The Regulator Bookshop, such as an affiliate status–I just support local independent business when I can.  They are very efficient in processing orders, even if the book you want is not in stock.

$36.00

ISBN-13: 9781607740377
Availability: Usually Ships in 1-5 days
Published: Ten Speed Press, 4/2011

$36.00

ISBN-13: 9780670026418
Availability: Usually Ships in 1-5 days
Published: Studio, 11/2012

$36.00

ISBN-13: 9781607743323
Availability: On Our Shelves Now
Published: Ten Speed Press, 4/2012

$65.50

ISBN-13: 9780007256037
Availability: Special Order – Subject to Availability
Published: Fourth Estate, 9/2012

Eggplant….

Eggplant is a lovely vegetable from the blooms to the fruit.  What’s not to love about this glossy purple vegetable, especially from an artistic point of view?  Beautiful color, highlights and shadows….

From a cook’s standpoint, at the farmers’ market I hear lots of “What do I do with eggplant?” questions. This seems to be another vegetable that needs to be looked up in a vegetable cookbook to get some basic information.   I’d recommend checking out The Victory Garden Cookbook at the library if you don’t want to own it.  The author is Marian Morash.

I’m going to try to condense some information from various sources here to give you a bit better idea about what eggplant is and what you can do with eggplant.

For any of you who might want to think about growing your own next summer, keep in mind that it’s a hot-weather plant.  The nighttime temperatures need to be about 55 ° F before you put the plants out in the garden; otherwise they just kind of sit there and never do anything–even after the temperatures warm up.  So don’t rush it–wait until it’s warm enough.  Then you’ll have a plant that is very productive (if you keep harvesting the fruits).  Come peak season, you’ll find eggplant a bit like zucchini…you will have an abundant (maybe even excessive) supply of this lovely stuff. Maybe you neighbors would like some…especially if you can tell them some things to do with it when you give it to them.

It’s a widely used vegetable in Middle East and Mediterranean cultures.  It seems to be less familiar to the average American cook shopping at the farmers’ market.  So here is some basic information on yields (from The Victory Garden Cookbook, page 102-103):

  • one pound of cubed, peeled eggplant is about 4 cups.
  • for 1 cup of cooked, cubed eggplant you’ll need about 6 cups of raw, cubed eggplant.
  • for 2 cups of puréed eggplant, you’ll need about 6 cups of raw, cubed eggplant
  • for 4 servings, you’ll need about 1-1/2 pounds of eggplant.

Now for choosing your eggplant:  If you’re harvesting your own, size is not a good indicator of maturity–big is not necessarily better.  Older eggplants can become bitter, with many seeds, and skins will be tough.   First, look for glossy skin.  Then lightly press on the fruit.  If it’s hard, the eggplant is not ready.  If the flesh presses down, and bounces back–it’s ready.  Flesh of a too-old eggplant will press down very easily and will keep the depression from your pressure.   Eggplants that you buy should have the “cap” and part of the stem on them.

Eggplants are easily bruised so handle with care–when checking for maturity be gentle.

Eggplants also are not “fond” of refrigeration; best storage temperature is about 50 ° F.  Stored colder than that, the eggplant will rapidly develop soft brown spots (rotting) and will become bitter.   Plan to cook your eggplant as soon as possible after purchase or harvest and store in a plastic bag with a damp paper towel, at room temperature.

One of the down sides of cooking eggplant is that it’s a bit like a sponge–it can absorb large quantities of oil–which most of us don’t want in our diet because of the calories (at least).  A properly harvested eggplant does not need salting in order to remove bitterness.  Salting and draining, however, removes moisture from the eggplant.

Traditional salting uses about 1-1/2 to 2 teaspoons salt per pound of eggplant.  Let stand for 30 to 60 minutes.  Then press between paper towels to get more moisture out and compress the eggplant so that it’s not so porous or “spongy”.

You can also get help from the microwave:  add the salt 1/2 teaspoon per pound, place on paper towels sprayed with nonstick spray, and cook on high power for about 10 minutes until it feels dry and is slightly shriveled.  Press to compress the eggplant so that it’s dense, and doesn’t absorb oil.  Proceed with sautéing, and it will not absorb  nearly so much oil; you should be able to sauté a pound of eggplant with about 1 tablespoon of oil.  (I love this method–I have been able to sauté a pound of eggplant in less than a tablespoon of oil.)  See post on Caponata!  This will work with sliced eggplant as well as cubed.  I’d recommend doing this instead of the traditional salting, but the pressure compressing the eggplant is important.

There are other things to do with eggplant than make eggplant parmesan but that seems to be a dish that everyone has heard of.  Even if you’re going to make eggplant parmesan, I recommend using one of the procedures for removing moisture and compressing this vegetable.

If you’re going to broil or grill (a favorite of mine) you won’t need to do the salting or compressing–just brush the slices, of halves of the oriental-type eggplant with olive oil, sprinkle on some salt and pepper and grill/griddle/broil until tender.

There’s a wonderful Middle Eastern dip to make using eggplant too: baba ghanoush (many alternative spellings which I’m not going to include here).   This usually starts with a whole globe eggplant baked or grilled whole before being mashed with extra-virgin olive oil and seasonings.

Another popular eggplant dish which you may encounter in restaurants is Iman Bayidi–eggplant sautéed  and braised with onions, garlic, and tomatoes.  Ratatouille is a popular Provençal dish which uses eggplants.

Baking or sautéing is often a preliminary step in eggplant dishes, but you can serve it just like that with a squeeze of lemon juice, or one of many toppings.

When you’re searching for eggplant recipes, try looking at Mediterranean (Italian, Greek, southern France), Chinese, Japanese, Middle Eastern  cuisines as this vegetable is frequently used in these.    Just some thoughts on where to go to find things to do with eggplant now that you know how to buy it and some of the basic techniques for cooking it.

Pork stock

Not an instance of absolutely great planning, but here I am as the thermometer hits the 90s making pork stock.  Well…I never said that I was the greatest planner in the world–strawberry ice cream and stock-making in the kitchen all at one time.  My favorite meat supplier (Meadow Lane Farm, Louisburg NC)  had great meaty pork neck-bones at the market this past Saturday so I had to bring some home–so despite the heat it’s stock-making time.

These are very meaty bones, so I’ll have some meat to use after the stock is finished.  Since there is so much meat on these bones, and I want to use it, I’m not doing the quick stock–but rather the stove-top method (now you’re sure I’m not great at planning, right?).  But when you have the opportunity to get pork neck-bones, you take it.  Meadow Lane farms is doing more pork (as well as beef) so next time I can plan to do this is cold weather.  (I’m glad I’ll have more access to pork…love that “other white meat”.)

Basic Stove-top Pork (or Meat) Stock

Ingredients: 

  • about 4 pounds meaty pork neck bones
  • 2 medium onions, chunked up
  • 2 medium carrots, chunked
  • 3 bay leaves (dried ones)
  • about 2-3 teaspoons salt
Preparation:
  • Rinse the bones well.  If you feel that there is any old, or “off” odor, or they’re very bloody, blanch quickly in one change of water.
  • Add aromatics–onions, carrots, and bay leaves
  • Add water to cover.
  • Bring to a boil quickly, and then reduce to keep a bare simmer, and leave for about  2 or 3 hours.  Test after about 2 hours–when the meat is fork-tender and “fallin’ off the bone” (a country expression that means really tender), remove from heat.
  • Strain to remove bones/meat and aromatics.
  • Cool stock quickly in an ice bath, stirring frequently to help cool evenly;  then freeze or refrigerate. (Do not put the hot stock in the freezer or refrigerator as it will (1) warm up the refrigerator and affect everything in it, and (2) it does not cool evenly and quickly so that you could have bacterial growth.)
  • When the bones are cool enough to handle, remove the meat and save for another use.
I want a neutral white stock, so I’m not roasting bones.  The meat from making this stock may be a bit less flavorful than had it not been used to make stock, but it will still be good to use for  eating.  I don’t add celery to my stock unless I’m making stock for a specific recipe that needs it.  Carrots and onions, and bay leaves provide some sweetness and depth.  Because I may want to use the stock in a recipe calling for reducing it, I don’t add much salt; I do add a little, because I think that helps develop flavor of the stock as it cooks.   (Salt is for more than just making things taste salty!)  The meat and the stock will both likely need to have additional salt added to taste, but now I have stock that I can use in a reduction sauce if I wish. 

There was a bit of cursing in the kitchen as I removed the meat from the bones because I tried to do it before they had cooled quite enough, but for my efforts (sweaty through they were) I have bit over a gallon of pork stock that is cooling in the refrigerator to be de-fatted.

I have about a pound of very tender, succulent pork to use for another purpose, maybe a chili verde since the garden is rife with green chili peppers.  The meat recovered after making stock is not as flavorful as it would be had I cooked it primarily to use  just the meat, but it’s certainly great for a dish that is supplemented with herbs and spices like that.  I could also use it in hot and sour soup, or posole.

My active cooking time was about 45 minutes from setting the stockpot on the stove to washing the stock pot.  That includes the time to remove the meat from the neck bones!  Although not the ideal time of the year to make stock–it’s well worth the effort.  (Have to have some priorities–right?)  In the winter, I’d have put the pot in the oven for the cooking time, but I thought that, perhaps, the stove-top (very low simmer) would be a bit cooler way to do this. (No, I’m NOT planning to check that out any time soon!)

Making stock quickly.

Despite occasionally using the microwave to make stock or broth quickly or in hot weather, I’m a fan of the long, slow, stove-top or oven method so that I can luxuriate in the wonderful smells when it’s cold and/or rainy outside.  It’s such a comforting activity and, though it takes time, it does not require a lot of close attention.  However, there are times when I need stock or broth and I need it quickly.  I gave the basic recipe for chicken broth in an earlier post (See The Microwave in my Kitchen), but I want to show you it can be used for other stock, not chicken.

Cooking some chicken give enough good strong broth for a bowl or two of soup.  There are times when I need more than that because I’ve run out of what I had stashed in the freezer.  That’s likely to happen in the winter when I’m a real soup-hound.

I was happy to find a quick method that does produce good stock–using the microwave.  This might also be a reasonable solution for those of you who don’t have the chest freezer on the back porch or a good-size freezer with the fridge.

I own only one microwave cookbook:  Barbara Kafka’s Microwave Gourmet. She was a reluctant convert to the microwave–as well as a traditionally trained chef.  I read her introduction to the book while standing in the Regulator Bookshop; her initial reluctance to hop on the microwave bandwagon made me thing that this might be a different kind of microwave cookbook; I was right.  I still do not cook a lot of things in the microwave, but I have found some very useful things in this book.  I like the fact that she gives single-serving amounts for some of the recipes–as well as doubling some.

Getting bones for making stock is getting harder, with so much meat coming into the store already cut and boned,  but if you can find a butcher shop, it’s well worth exploring the possibility of having them save bones for you.  You should check your farmers’ market as you might be able to get “stewing” hens there, or if there is a vendor selling beef, they might have soup bones (necks, tails, etc.) and that is a real delight.  I’ve found “marrow bones” in the freezer case at the supermarket, but they were so clean that they really did not make good stock (the marrow was excellent spread on toast, though).  For chicken broth, you can always buy a whole bird, and take off the breast and leg/thigh meat and use the rest of the carcass for making broth.

I want to give you an adaptation of her stock/broth recipe (p.314):

Meat Broths

  • 2 pounds meat (chicken, duck, veal, beef marrow, or other beef or lamb bones cut into small pieces–maybe by the butcher)
  • 4 cups water
  1. Place the bones and water in a 2-quart microwave-safe container.  (Personally, I have a large 2-quart Pyrex measuring “cup” that I use for this; it has pouring spout and a handle which I like when working with this much liquid.)  Cook at 100% for 30 minutes, or 40 minutes for a broth that will jell.
  2. Remove from the microwave oven and let stand until it stops bubbling. Strain the broth through a fine sieve.  If you want it clear, you need to do the clarifying procedure, which I’m not including here.  You can find that in her book (p.314).
  3. Cool and refrigerate, tightly covered (See Storage Containers) if not using immediately. (Usually don’t store it–my reason for making it in the microwave was either that it was sweltering summer weather, or I needed it NOW!)

If you have “soup bones” that include lots of meat, as do the ones that I get at the Durham Farmers’ market, then you have a hearty meal that’s beyond just soup. The beef can taken off the bones and added to some of the broth with vegetables for a really hearty meal of serious comfort food.  That’s a bonus.

That’s it!  As is mentioned in another post, I have not  done a side-by-side taste test of the broth make the traditional (long, slow way) with that made this quick way,  I am pleased with the results of  this method.  I will freely admit to keeping canned broth and stock on my pantry shelf, but these are usually a last resort, or to be used when the broth will be a background flavor as in chili con carne–not when it up front really good soup like a winter favorite, beef-barley-mushroom soup.

If you want a “brown” broth, you can always roast the bones in the oven before putting them into the microwave to cook.  The recipe in the book gives lots of variations that are useful, including adjustments for more meat, adding vegetables, clarifying, and making fish broth as well.  If you’re a microwave user, you might find this a great book to have on your shelf, or you might want to check it out of the library and see what else is in it.  There is a large “dictionary” in which she lists lots of different ingredients and gives cooking times, or sometimes recommends not cooking that in the microwave.  I do refer to the dictionary frequently.  If you are a novice with the microwave (think it’s for popping popcorn, or heating water) she does a good review of the types and the shapes of containers that work best for cooking in the microwave and the information on cooking times is useful.

Take four chicken thighs…

If you are going to cook for one, you need to get away from recipes that specify exact quantities–it’s a step toward learning to improvise as you cook.  I’d urge you to take a look at Kitchen Express by Mark Bittman–you don’t have to buy it, thought it’s a great book to have; go to the library and check it out. (It’s also available for Kindle, too)  Other simple, and simply good recipes can be found at The New York Times, and at Mark Bittman.com.  You will find recipes that are easy to do for one because they are “quantity-less” in the sense of the typical recipes.  They don’t call him “minimalist” without a reason–a very few ingredients can make some wonderful eating.

Now for those four chicken thighs, cooked as described in “The Microwave in my Kitchen”, here’s what has been done with some, and what is intended for that fourth one:

1.  Chicken salad for a sandwich, quickly made by adding some minced red onion, a bit of cutting celery (See Herbs page) leaves and stems, salt, fresh-ground black pepper, a squeeze of lime juice (or lemon juice), and a drizzle of extra-virgin olive oil.

2.  A warm meal of chicken with  part of a can of chickpeas left from a previous use.  Sautéed a handful of onion in olive oil until softened, added a big clove of garlic, the chicken cut into bite-sized pieces, added some halved grape tomatoes, about a tablespoon of chopped sun-dried tomatoes, a dash of Syrian oregano (still growing on my deck); finish with salt and fresh-ground black pepper to taste.   Add a  single-serving salad of mixed greens and had a quick, satisfying meal.

3.   The third piece went to make some quick chicken hash for Sunday breakfast as follows:  In a 12-inch nonstick skillet sauté a handful of diced onion  in olive oil until just starting to brown.  Add two minced garlic cloves (I like lots of garlic),  and cook for two or three minutes.   Meanwhile, open a can of diced potatoes (I told you this was quick–obviously you can start with raw potatoes and sauté them until tender) and brown them lightly. Rinse and drain the potatoes, add to the skillet and sauté until they start to brown.

Remove half the potato mixture–this is destined for another use.  Remove the meat from the chicken thigh if it was bone-in and dice the meat.  Add this to the potato mixture in the skillet, along with some (about 1/2 teaspoon) fresh thyme (again still growing on my deck) and continue to sauté.  When the potatoes and chicken are slightly browned, remove to a plate and keep warm.  Cook one egg (or two if you are really hungry) to medium, and serve over the chicken hash.

The portion of potatoes that you removed from the skillet can be used in different ways: the are likely to become a kind of quick version of a Spanish tortilla by just  warming and adding a couple of eggs and serving with a salad or vegetable.

4.  With the broth obtained from cooking the thighs in the microwave, I plan make a meaty chicken soup using that fourth chicken thigh, using that bit of  rice left  from another meal.  I’ll add more veggies, perhaps a bay leaf, and some of my “lazy” favorite (and only) herb mix, herbs de Provence. I’ll see when the time comes–since I don’t do leftovers, I probably shouldn’t do predictions either.

There will be a follow-up on that fourth piece of chicken to let you know where my improvisation lead me.  I’ll give you another example, using a recipe from Kitchen Express for a lentil soup that just blew my mind (See An Awesome Lentil Soup).  It was such an unexpected combination of flavors, and it is one that I keep using to improvise with other ingredients, as well as coming back to the original.  It’s a recipe where I could also make use of the last piece of chicken.

The microwave in my kitchen

I guess I’m not really fond of many small appliances or kitchen gadgets.  There seem to be a lot that just take up drawer space or counter space and don’t work that well.   In many ways the microwave has mostly been just a “gadget” in my kitchen.  Most of the microwave recipes that I found were just not that good: edible, but that’s about it. Many of the early cookbooks that I looked at seemed to suggest that anything could be cooked well in the microwave.  Admittedly, I’ve not looked at a lot of newer ones because they seemed so uncritical about what does or does not cook well in the microwave.  So for me it was for melting chocolate, making popcorn, heating a cup of water….

I’ve revised my opinion slightly after finding the Microwave Gourmet cookbook by Barbara Kafka.  This author is a traditionally trained chef, and approached the microwave in a very skeptical frame of mind, and that has produced a useful microwave cookbook.  There is no hesitation in saying what NOT to cook in the microwave.

One of the really useful features of this book  is a dictionary where you can look things you might want to know about cooking in the microwave, and find times, suggested container sizes in which to cook it.  I’ve use this more than almost any other part of the book, except possibly the information on how to arrange foods in containers in order to have them cook properly.

I’ve tried the microwave risotto, and it’s not bad for times when you don’t want to spend the time standing by the stove stirring for 25 minutes or so.  (I’m anxious to compare the results of this with the Cook’s Illustrated simplified risotto.)

The most-used recipe in that book for me is the one for quick chicken broth or stock.  I’m mostly a stove-top or oven stock maker, but this is great when you don’t have canned stock or want some really good broth for soup.  Here is the recipe:

Use bones (carcass from the roast chicken, or necks, backs, wings, or giblets (except liver).  You can collect these in the freezer until you have enough, or if you’re lucky, you can buy backs cheaply and make this whenever you need to.

  • 2 pounds chicken
  • 4 cups water

For 4 cups, place the bones and water in a 2-quart dish and cover tightly with microwave plastic wrap.  Cook at 100% for 30 minutes.  (Cook 40 minutes for broth that will jell.)

For 2 cups, use 1 pound bones, and 2 cups water.  Cook for 20 minutes.

This cookbook has directions for making  the classic stocks and broths in the microwave–including vegetable and fish/seafood broths.  Although I’m sure I will not give up the stove-top or oven long, slow preparation of stock I think that I’ll turn to the microwave more frequently, especially in hot weather.  I’ve not done a side-by-side tasting of each method, but this is certainly better than canned!

I’ve also cooked chicken in the microwave according to instructions in this book and been pleased with the results.  I use chicken thighs instead of breasts, but instructions/times can be found in the Dictionary section of this cookbook.  An unexpected benefit of cooking the chicken this way  is some very good strong broth; just enough to make one good  serving of chicken soup.  To me the texture of the chicken is a bit different when done in the microwave– more chewy, but not tough, or disagreeable at all (I actually like that “chew”).  I expect that I’ll be using the microwave more often to cook chicken now.