Source: What I learned in the kitchen

I found this while perusing the blogs that I follow (Cooking without Limits). If we were to follow these in the kitchen, cooking might cease to be frustrating, and something that we don’t want to do.

Source: What I learned in the kitchen
I found this while perusing the blogs that I follow (Cooking without Limits). If we were to follow these in the kitchen, cooking might cease to be frustrating, and something that we don’t want to do.
From The Deluxe Food Lovers Companion, you’ll find that the term “confit” is the from the method of cooking meat slowly, at low temperature. This (in South-West France) is frequently duck or goose.Yes–you read that correctly: it’s cooked in fat after being salted and seasoned, and is stored in fat. Before refrigeration it was a method of preserving meat–duck or goose, or pork in their own fat. Cooking killed microbes and sealing in fat and sealing in the fat (similar to putting paraffin over jam or jelly) prevented exposure to additional microbes. The temperatures usually given for traditional confit are below boiling (212°F or 100°C) but high enough that the internal temperature of the meat will be over 140°F (60°C)–usually around 160 °F to 180°F (60 °C to 80°C) leave the confit more tender (McGee).
If you’re thinking g “Ewww, fat”, not to worry. Fat does not penetrate into the meat. I’ve seen suggestions in several blogs that you can get the same effect by braising in liquid very slowly, and then rubbing fat onto the meat afterwards. I’ve not tested this; I know that the texture and flavor of confit (e.g. tuna) is very special, so I’m not likely to change my method anytime soon. Either way, we are not taking fast food here, at least until after we get the confit made). We are talking long, very slow cooking.
If you’re adding the traditional salting/seasoning, then we’re talking even longer–requires planning several days ahead. Then there’s the aging of the confit–the flavor does mature as it stands, and I, personally, would hate to lose that really great flavor and the lush texture of the traditional method. Time well spent, in my opinion.
Note that the image here is thanks to NPR, the salt website.
A friend recently emailed me a link for Counterfeit Duck Confit (NPR) since she knows that I like that sort of thing–in other words, I like a peasant cooking. I’ve not tried this recipe yet–weather is just too damn hot to even think of turning on the over or even having a burner on for very long (induction cooking is a help) but my appetite isn’t set for duck yet–later when the weather is cool. Despite my lack of appetite for duck confit right now, this is a recipe that I do want to share and that I’ll be making when the weather is cooler.
You’re asking why I’m sharing this if I haven’t tried it? Well looks like an excellent recipe to me, and it’s from David Lebovitz–I pay attention to his recipes, since I’ve never made on that was anything but excellent. My reservation is that although the duck legs are going to taste very good, that I will not measure up to traditional duck confit. It’s my excuse to get a bunch of duck legs (which I almost always have to special order so it’s a lot of duck legs) and taste this side-by-side with my traditional confit. The caption is a link to the NPR site and the full recipe and the commentary. You’ll note that this is still not fast food, though is easier than the traditional method.
One of the important things for the texture of confit is “slow and low” cooking. While this is slow (3 hours probably begins to qualify for “slow”), I don’t think it qualifies for the “low” as the temperatures used are 300 °F for 2-1/2 hours of the baking, and 375 °F for 15 minutes. I have no doubt at all that these duck legs will taste wonderful–but as Lebovitz stated–it’s not true confit. Some serious comparisons are in order here–but pleasurable since I love duck!
. . . .a son goût
These sound just incredible–and easy!
"blackberry-eating in late September"
 Over the past few years, N. and I have made it our business to conclude the week with a happy hour – we load some cheeses and crackers on a plate, sometimes some sliced cured meat, sometimes a few dried figs – and pour something cold and alcoholic into a frosty glass. Through this process, I’ve learned that N. loves black pepper. We bought a wedge of cheese crusted in black pepper once as an experiment, and I think since then it has been on every shopping list, every week, for about the last two years. More recently, we started picking up variety packs of crackers – the crushed wheat rounds, the chalky water crackers, the rectangles spiked with vegetable bits – and in one variety-pack, a black pepper water cracker. This sleeve always, always disappears first. N. doubles up on the pepper – peppered cheese on peppered cracker. And…
View original post 1,021 more words
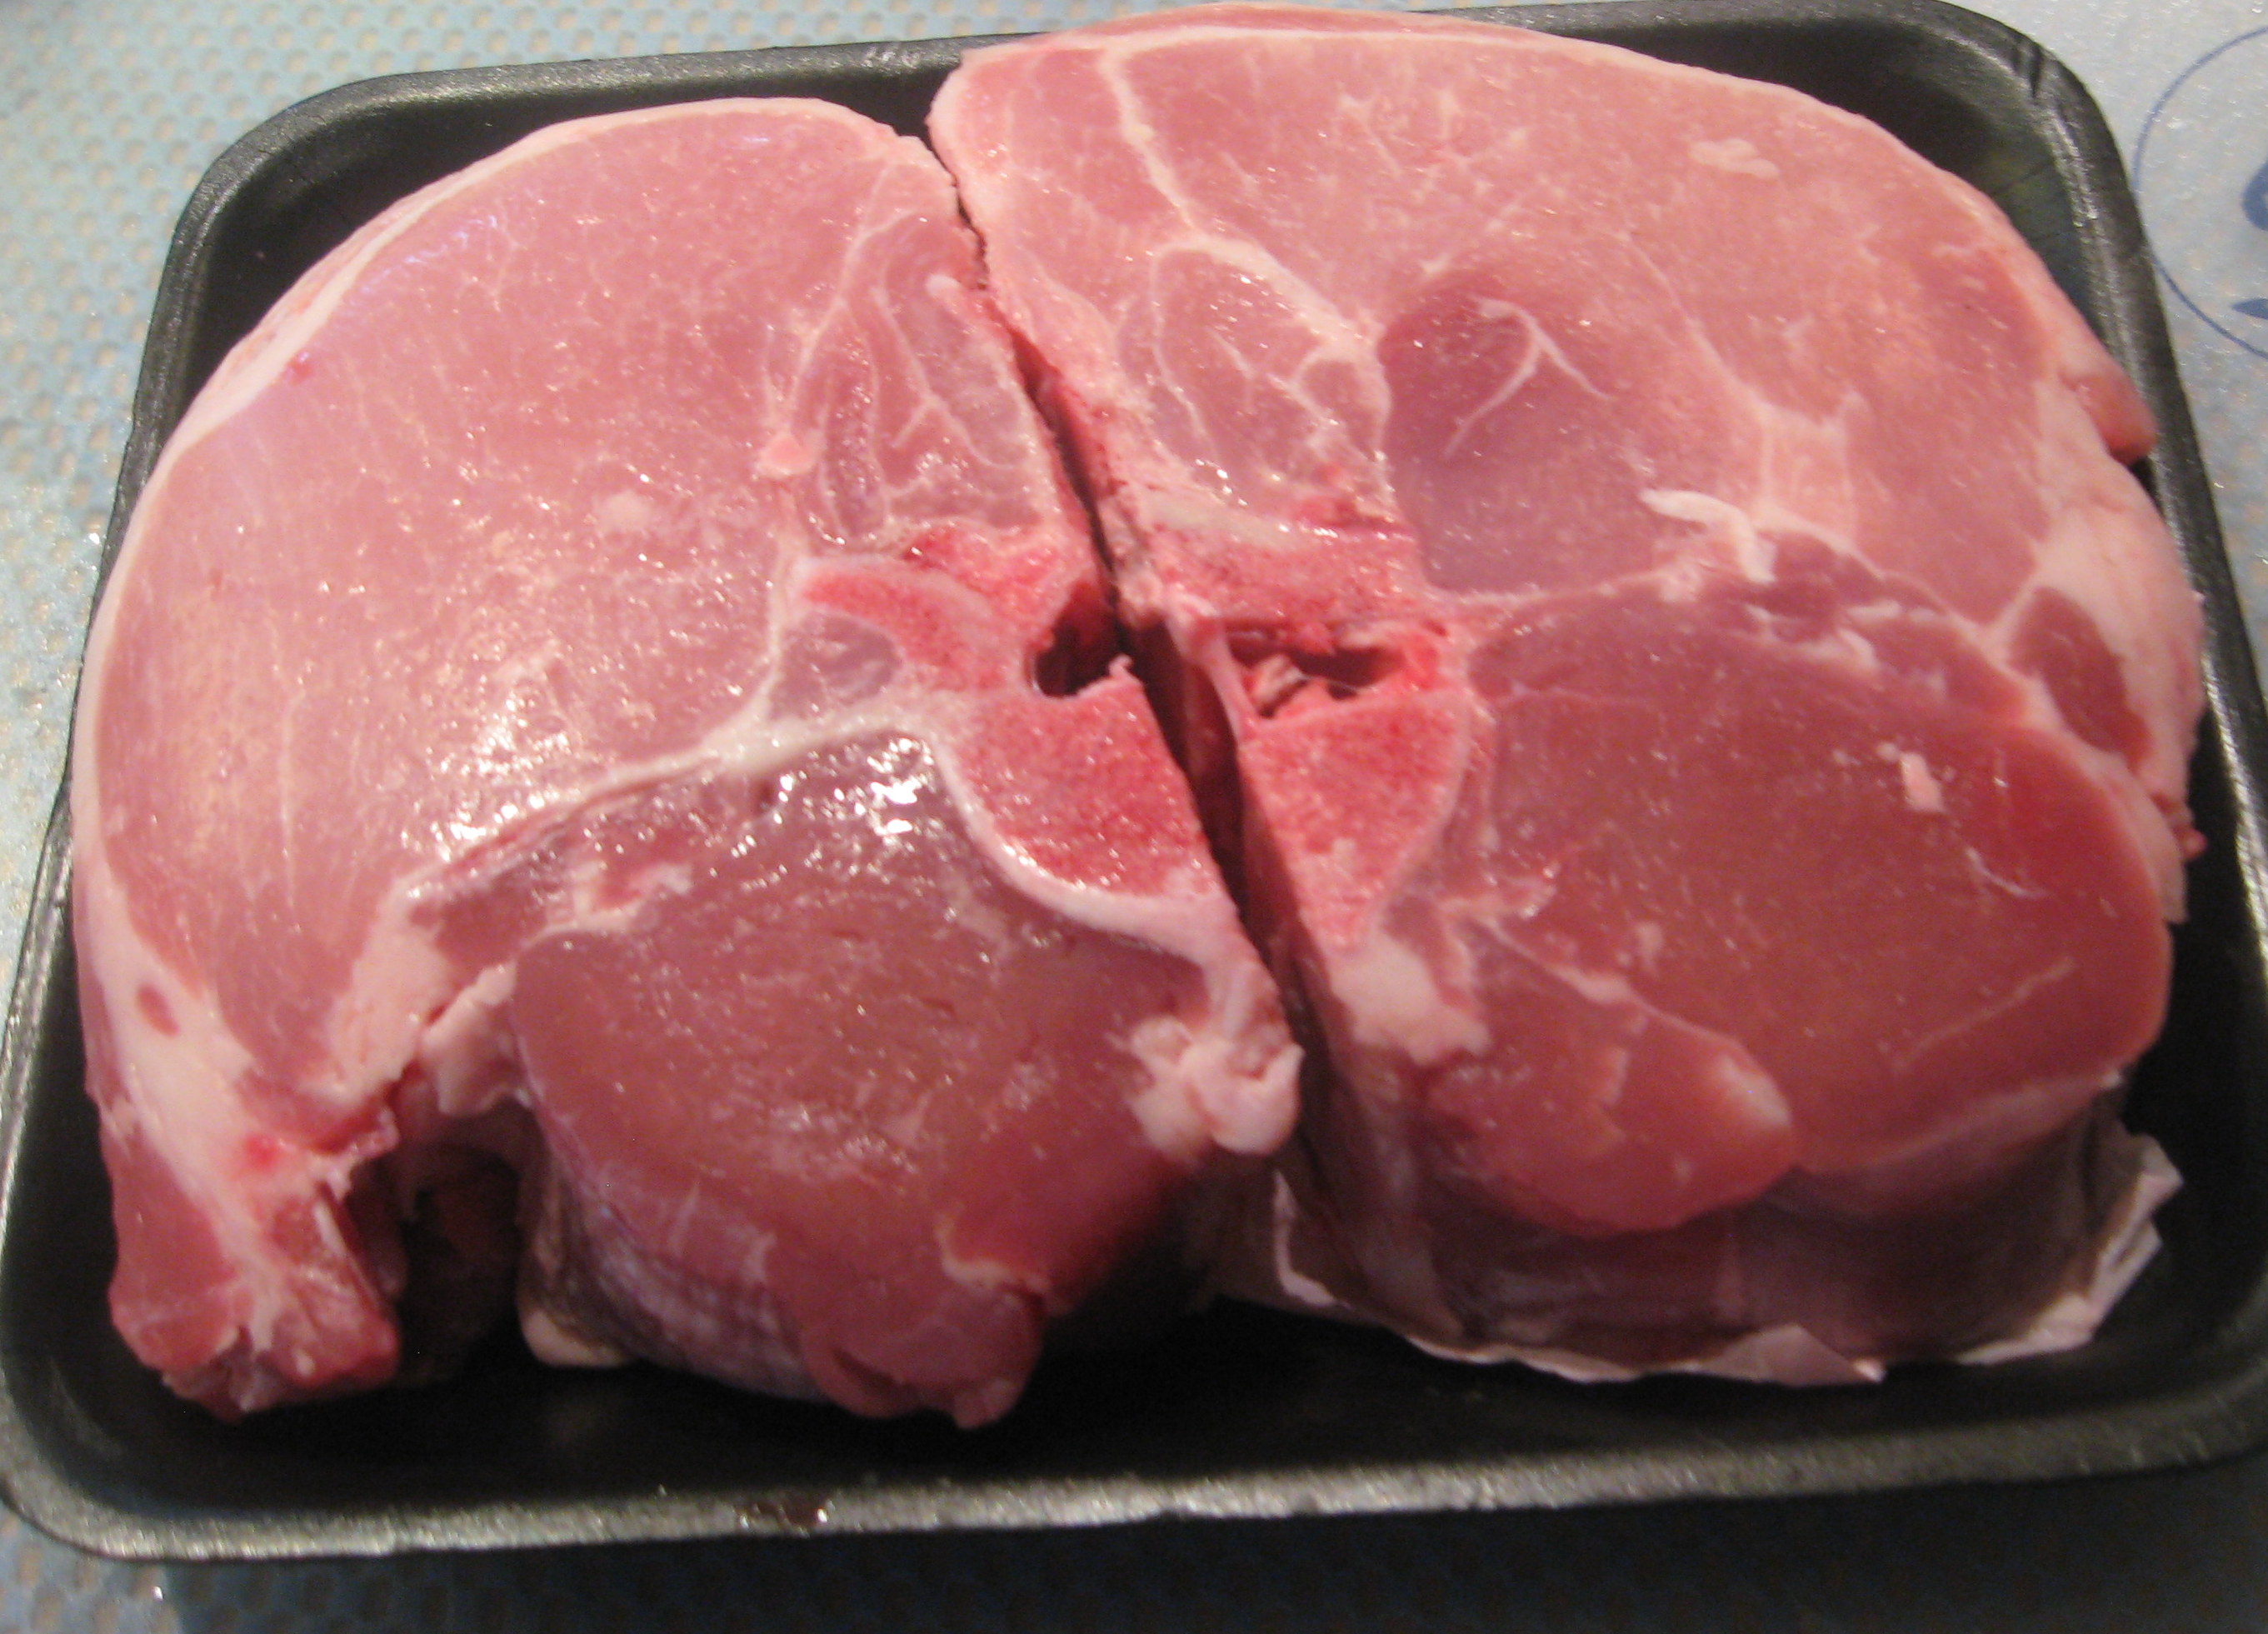
It’s a day that shouts that fall is finally, really here–steady, gentle rain, cool breeze, a bit dreary–the kind of day that says cook something savory and warming. As the weather has been getting cooler, I’ve been anticipating this kind of day, so on yesterday’s trip to the market, I had the butcher cut me two extra-thick, bone-in, loin end pork chops. When I got home, I “prepped” them for roasting–a generous sprinkle of salt (for a dry brine) and let them stand overnight in the fridge. Though it’s not cool enough to turn on the heat, just what I get from the oven while these roast will be cozy, and the smell of roasting pork….almost as good a baking bread.
I’ve gotten two chops because I actually want to have extra meat. Leftovers in this case are welcome (which is, admittedly, unusual for me). This kind of weather brings out a desire for soup-making and other hearty fare, and roasted meat is a good starter!
Note: The pork was roasted in the clay cooker–with very simple seasoning. I just wanted some big roasted pork flavor. I used loin-end chops here, but thick-cut shoulder chops, or country-style spare ribs will also work. I love the Schlemmertopf/Romertopf for cooking, but you can do this in a Dutch oven if you don’t have a clay cooker. It will still taste good!
 Ingredients
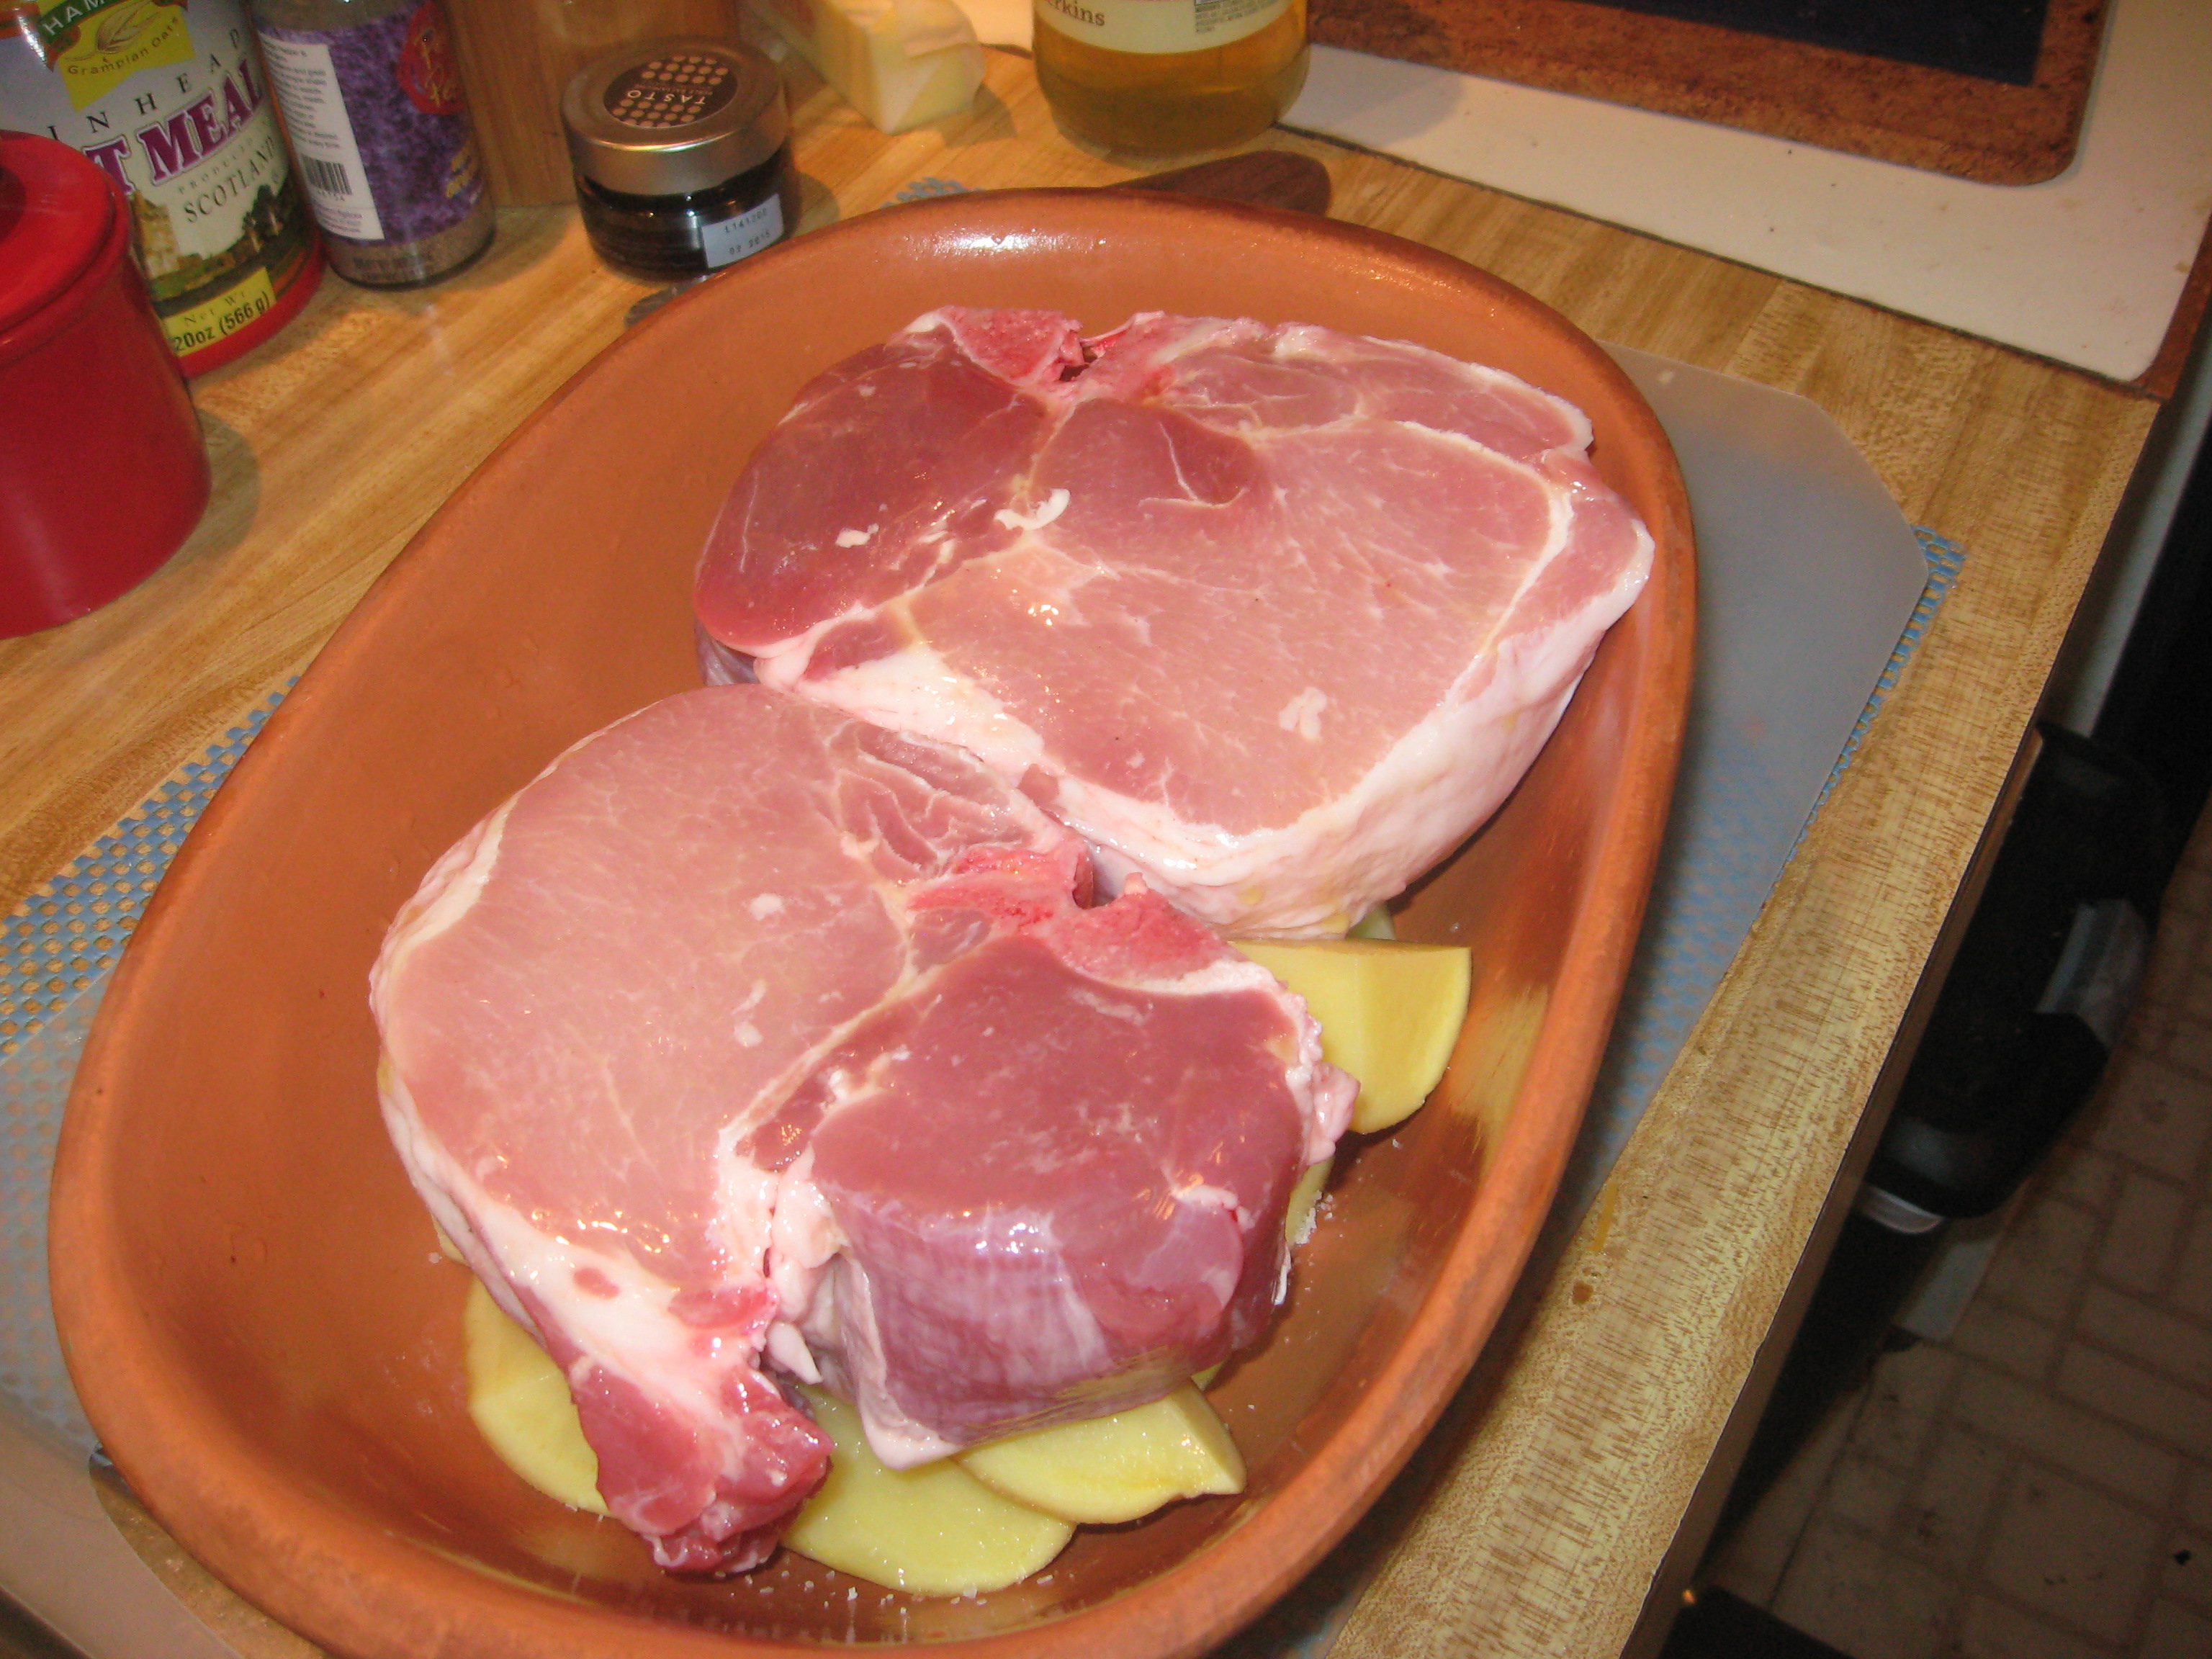 Preparation
Ò¿Ó
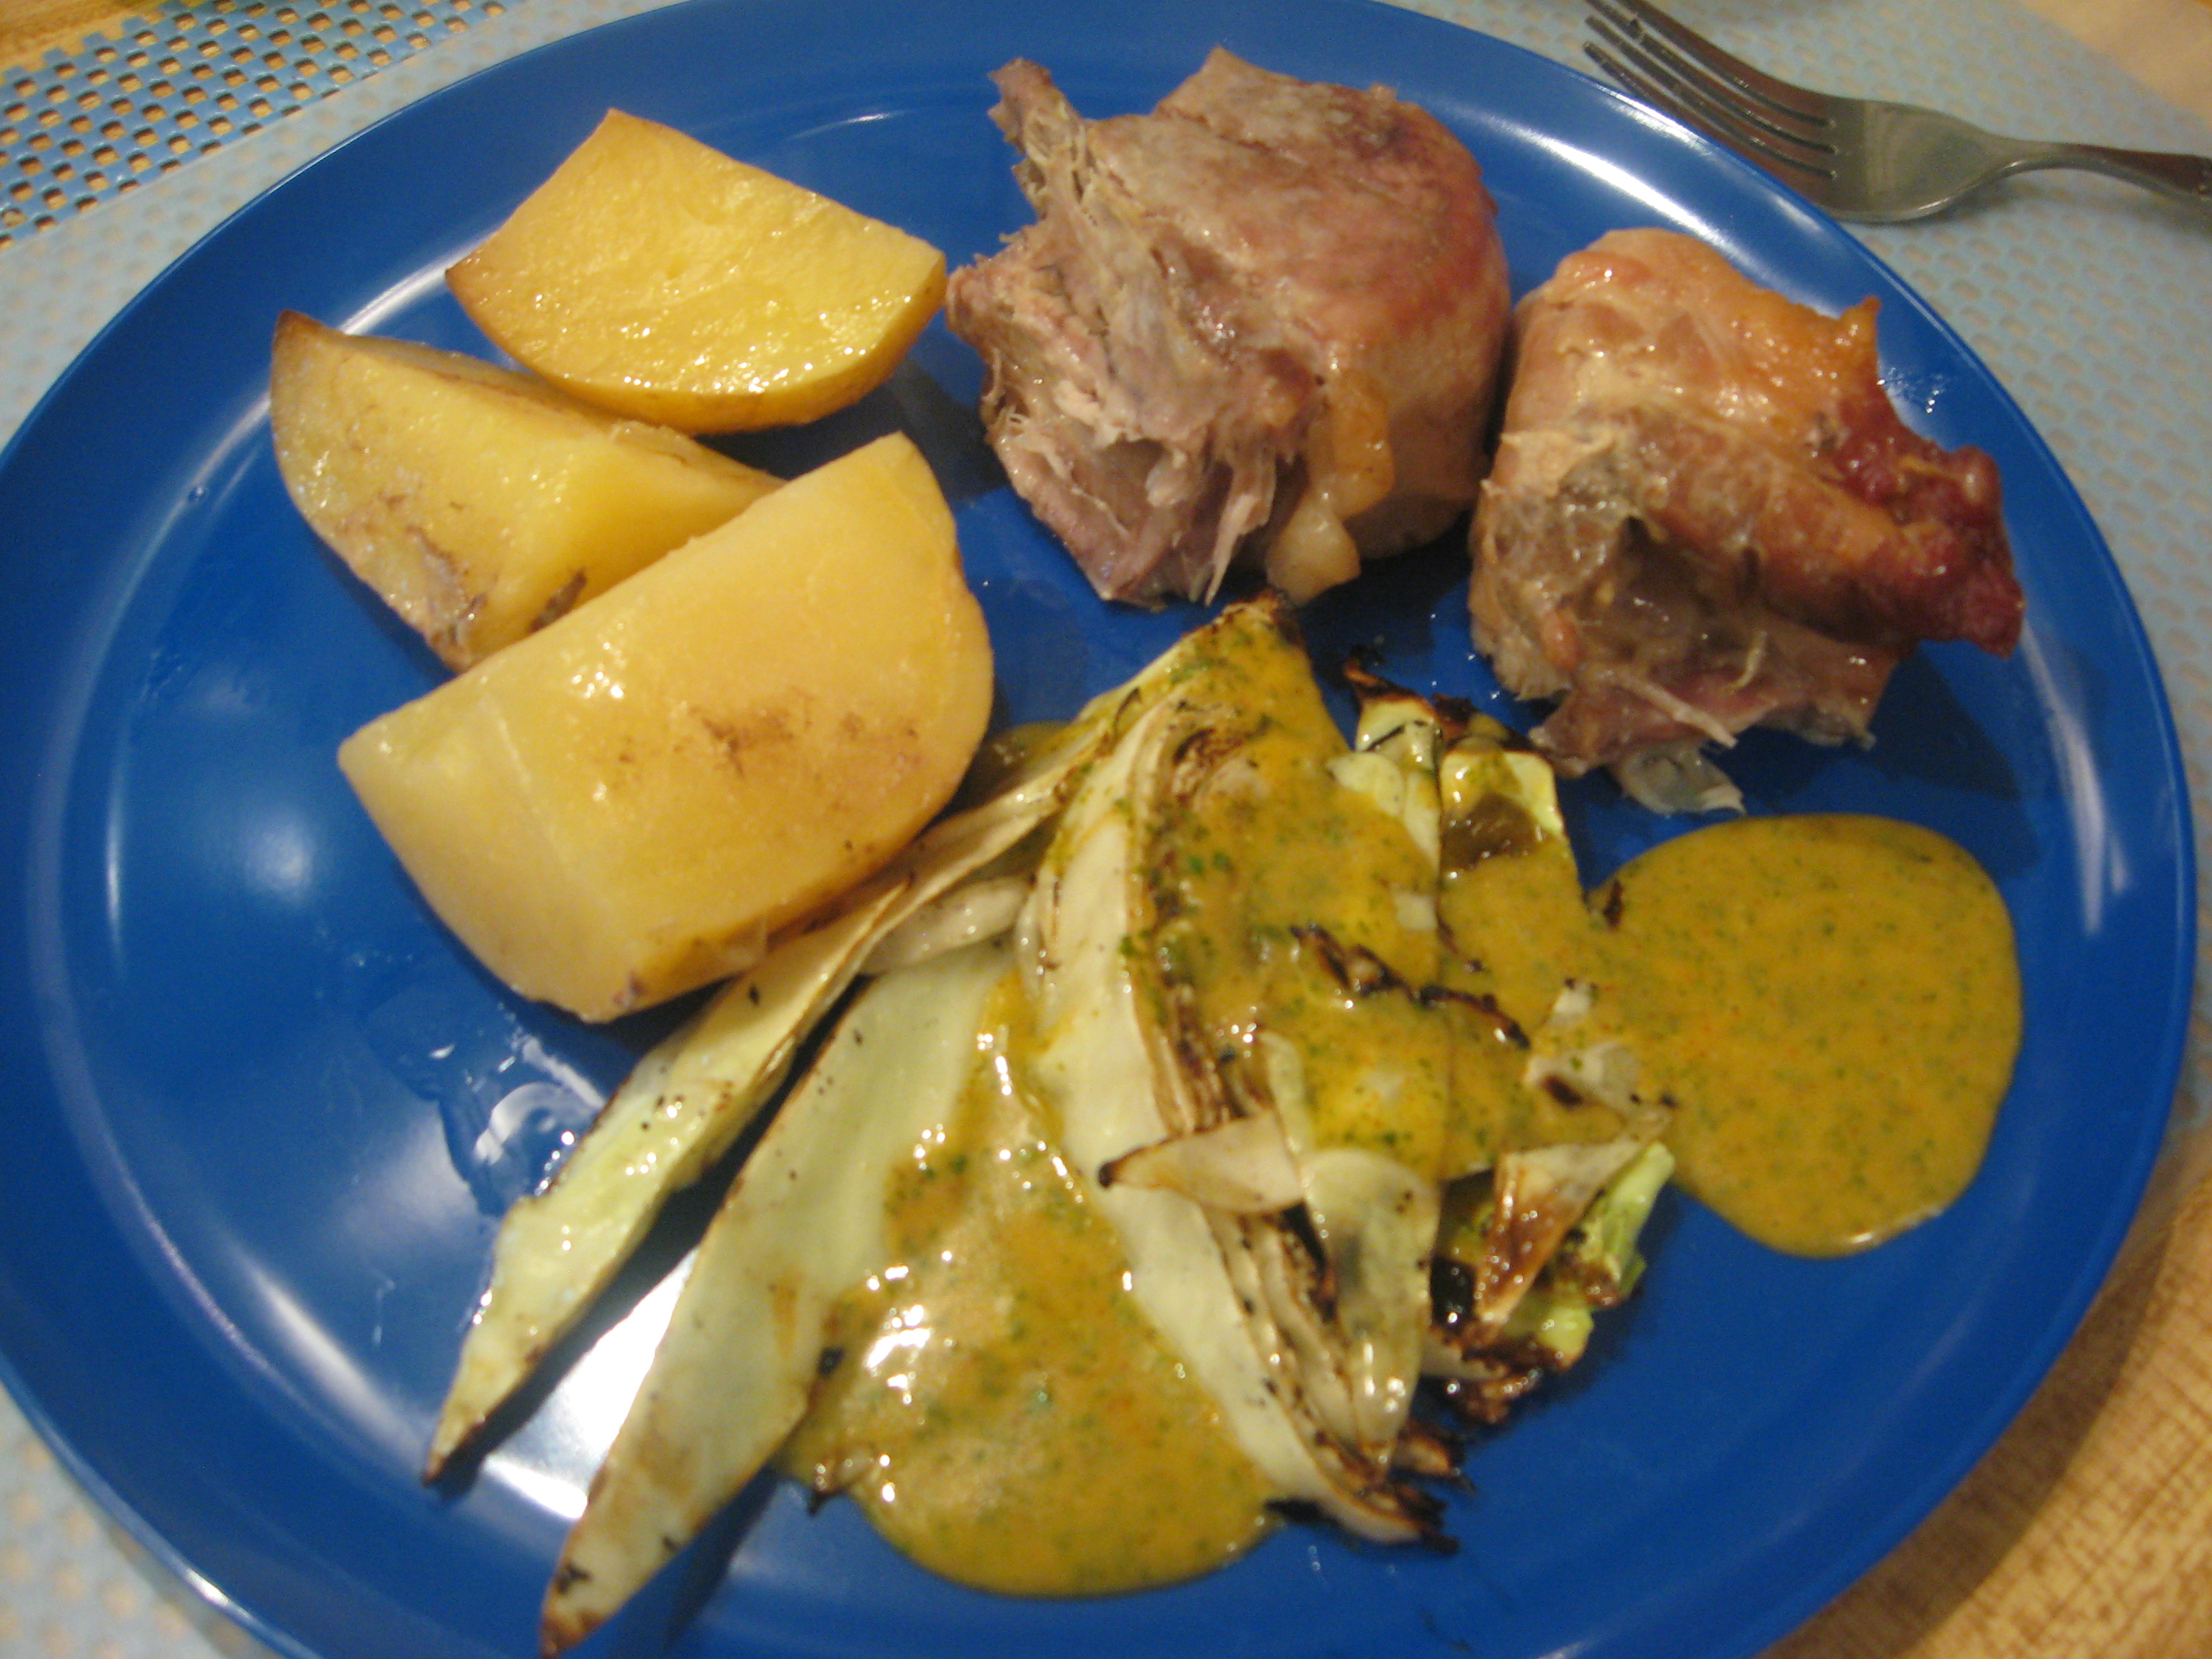
 I made the spicy grilled cabbage from The Kitchn, to go with this. The weather didn’t permit grilling (and lack of planning the oven, therefore the broiler, was in use) so I did a thinner wedge on a smoking hot cast-iron griddle. It was fantastic–no doubt this would be even better on the grill. The spicy lime sauce is yummy (and the bit that found it’s way onto the pork was good there, too).
I did make a couple changes to the sauce: since I was lacking the “smoky” grill, I added chipotle chili powder as well as the cayenne, and I used honey instead of sugar. (I would love to try this sauce with buckwheat honey in it, but none in the house today.) Definitely a keeper of a sauce!
Ò¿Ó
There are leftovers–but I’ve planned how to use them. The pork is seasoned only with salt at this point–deliberately so that I have lots of flexibility in using the rest of it. I want to try a pasta dish with the “pulled” pork, sage and brown butter sauce. There are roasting juices that will contribute to some good soup–maybe hot and sour soup, or maybe something with hominy and sort of southwestern flavor. I suspect that a serving of basic roast pork is headed to the freezer for a quick comfort-food meal in colder weather.
 A son goût!

Excitement. . . .
Anticipation is one of the good things about seasonal foods. I know some have already had fresh figs this season, but not here yet. I’m anticipating that day when I see that luscious, brownish-reddish fruit, the little drop of nectar at the bottom telling me its ready to eat. It’s like the anticipation of the first asparagus in the spring, or the first home-grown tomato in the heat of the summer. The very first of a seasonal food–even if it’s only a single fig found ready to eat, need to be appreciated without adornment so that the appreciate the season, not the sauce or other accompaniments. Those come later when the figs, asparagus, or tomatoes are more abundant–maybe even a little overwhelming.
The first of the brown turkey figs are starting to ripen now–they are straggling in–the figs are ranging from very tiny to several that have been mostly devoured by birds, to one that was ready for me to eat–but lots of tiny ones that I can look forward to.
Mornings may find me with my latte visiting the fig tree in hopes of a fresh-off-the-tree, warm from the sunshine, figs for breakfast.
There are so many easy things to do with figs:
The anticipation of watching them ripen, hoping that you’ll get them before the birds. . .so many easy and delightful ways to enjoy this luscious fruit during its season.
 That lamb leg steak that I cooked a couple days ago was a big steak–weighing in just a bit under a pound. That’s a lot of meat–couldn’t possibly eat all that at one time. As vehement as I’ve been about not liking, or dealing well with leftovers, that does not apply here. I don’t really consider the part of this steak that I didn’t eat then as undesirable. I couldn’t have that luscious steak without some left for other uses–not when it needs to be at least an inch thick to cook well. You’re wondering what happens to the rest of this steak?
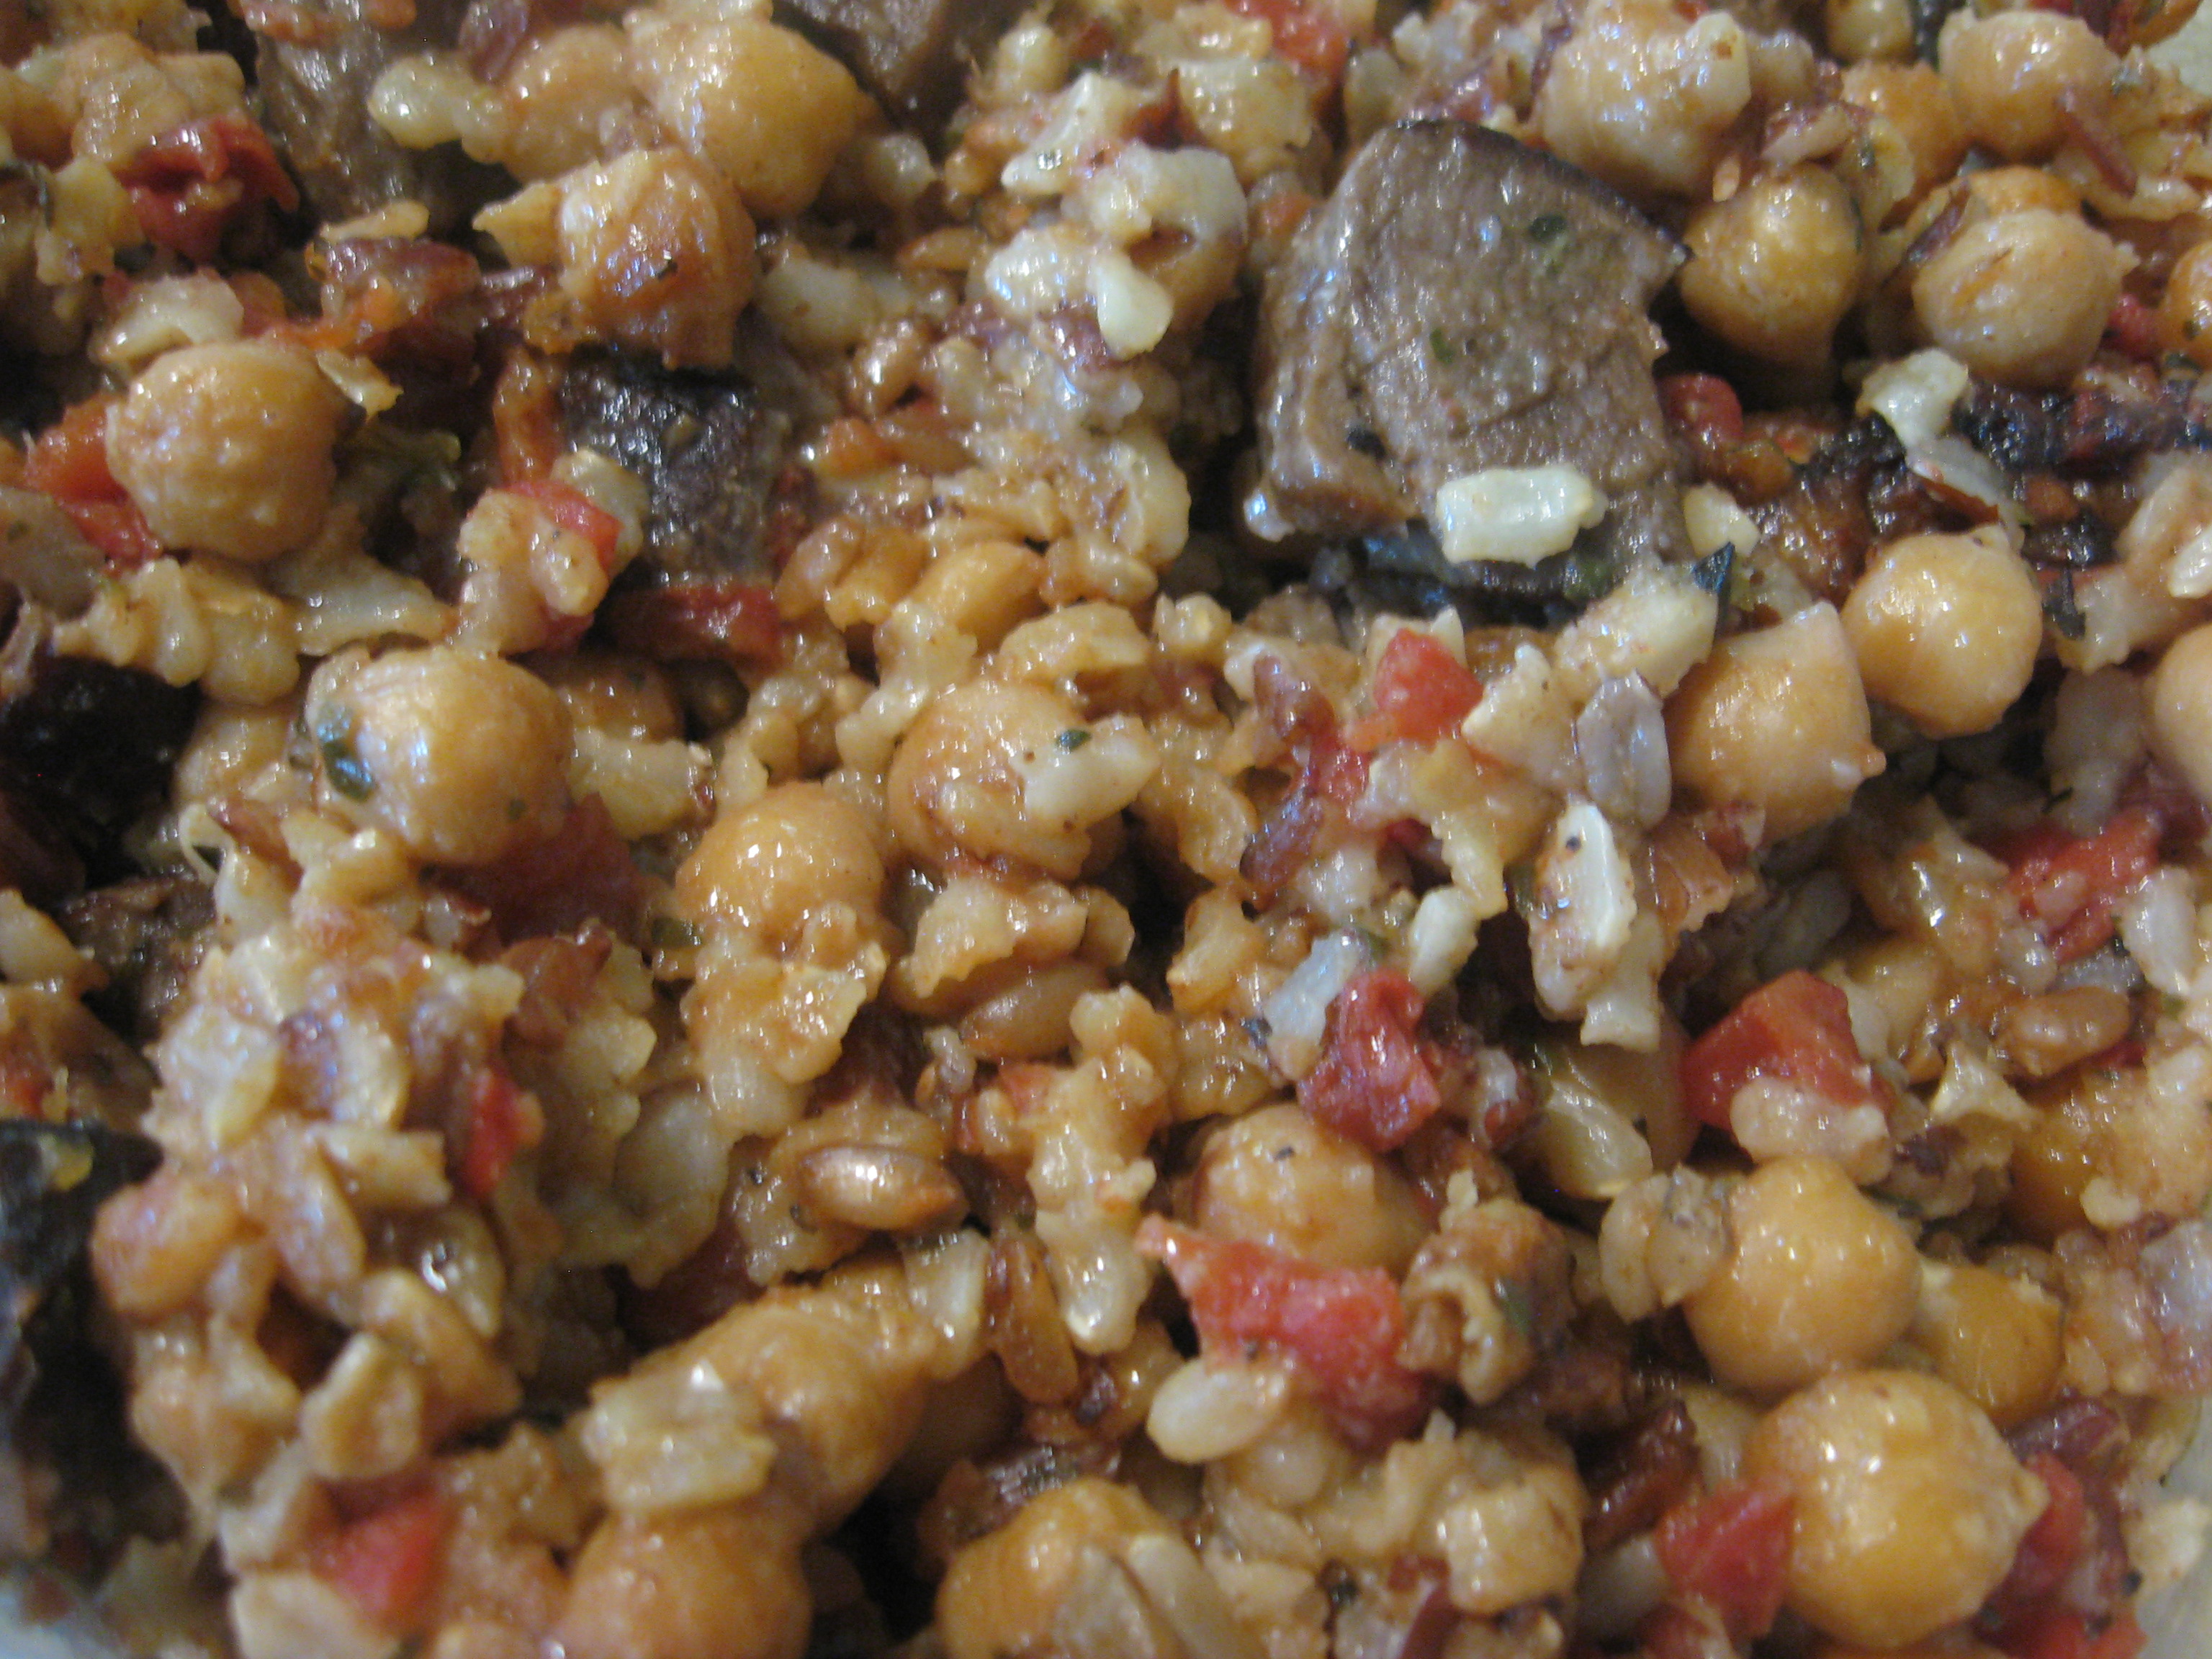
Often the remains of a beef steak or a pork chop goes into a sandwich–since roast beef, lamb, or pork is not on the single-serving menu. Other times it does some metamorphic changes. The remainder of this steak went into the rice cooker with a convenience mix of grains, some garbanzo beans to give me some additional meals that were not meat-centric.
Ò¿Ó
Since the lamb steak had been well-browned on the griddle, it provided good rich flavor for the grains and the garbanzo beans. Some of this was an extra meal (with a side of ratatouille), and the rest was packed (with the Handi-Vac®) for the freezer for later (especially cooler weather) meals.
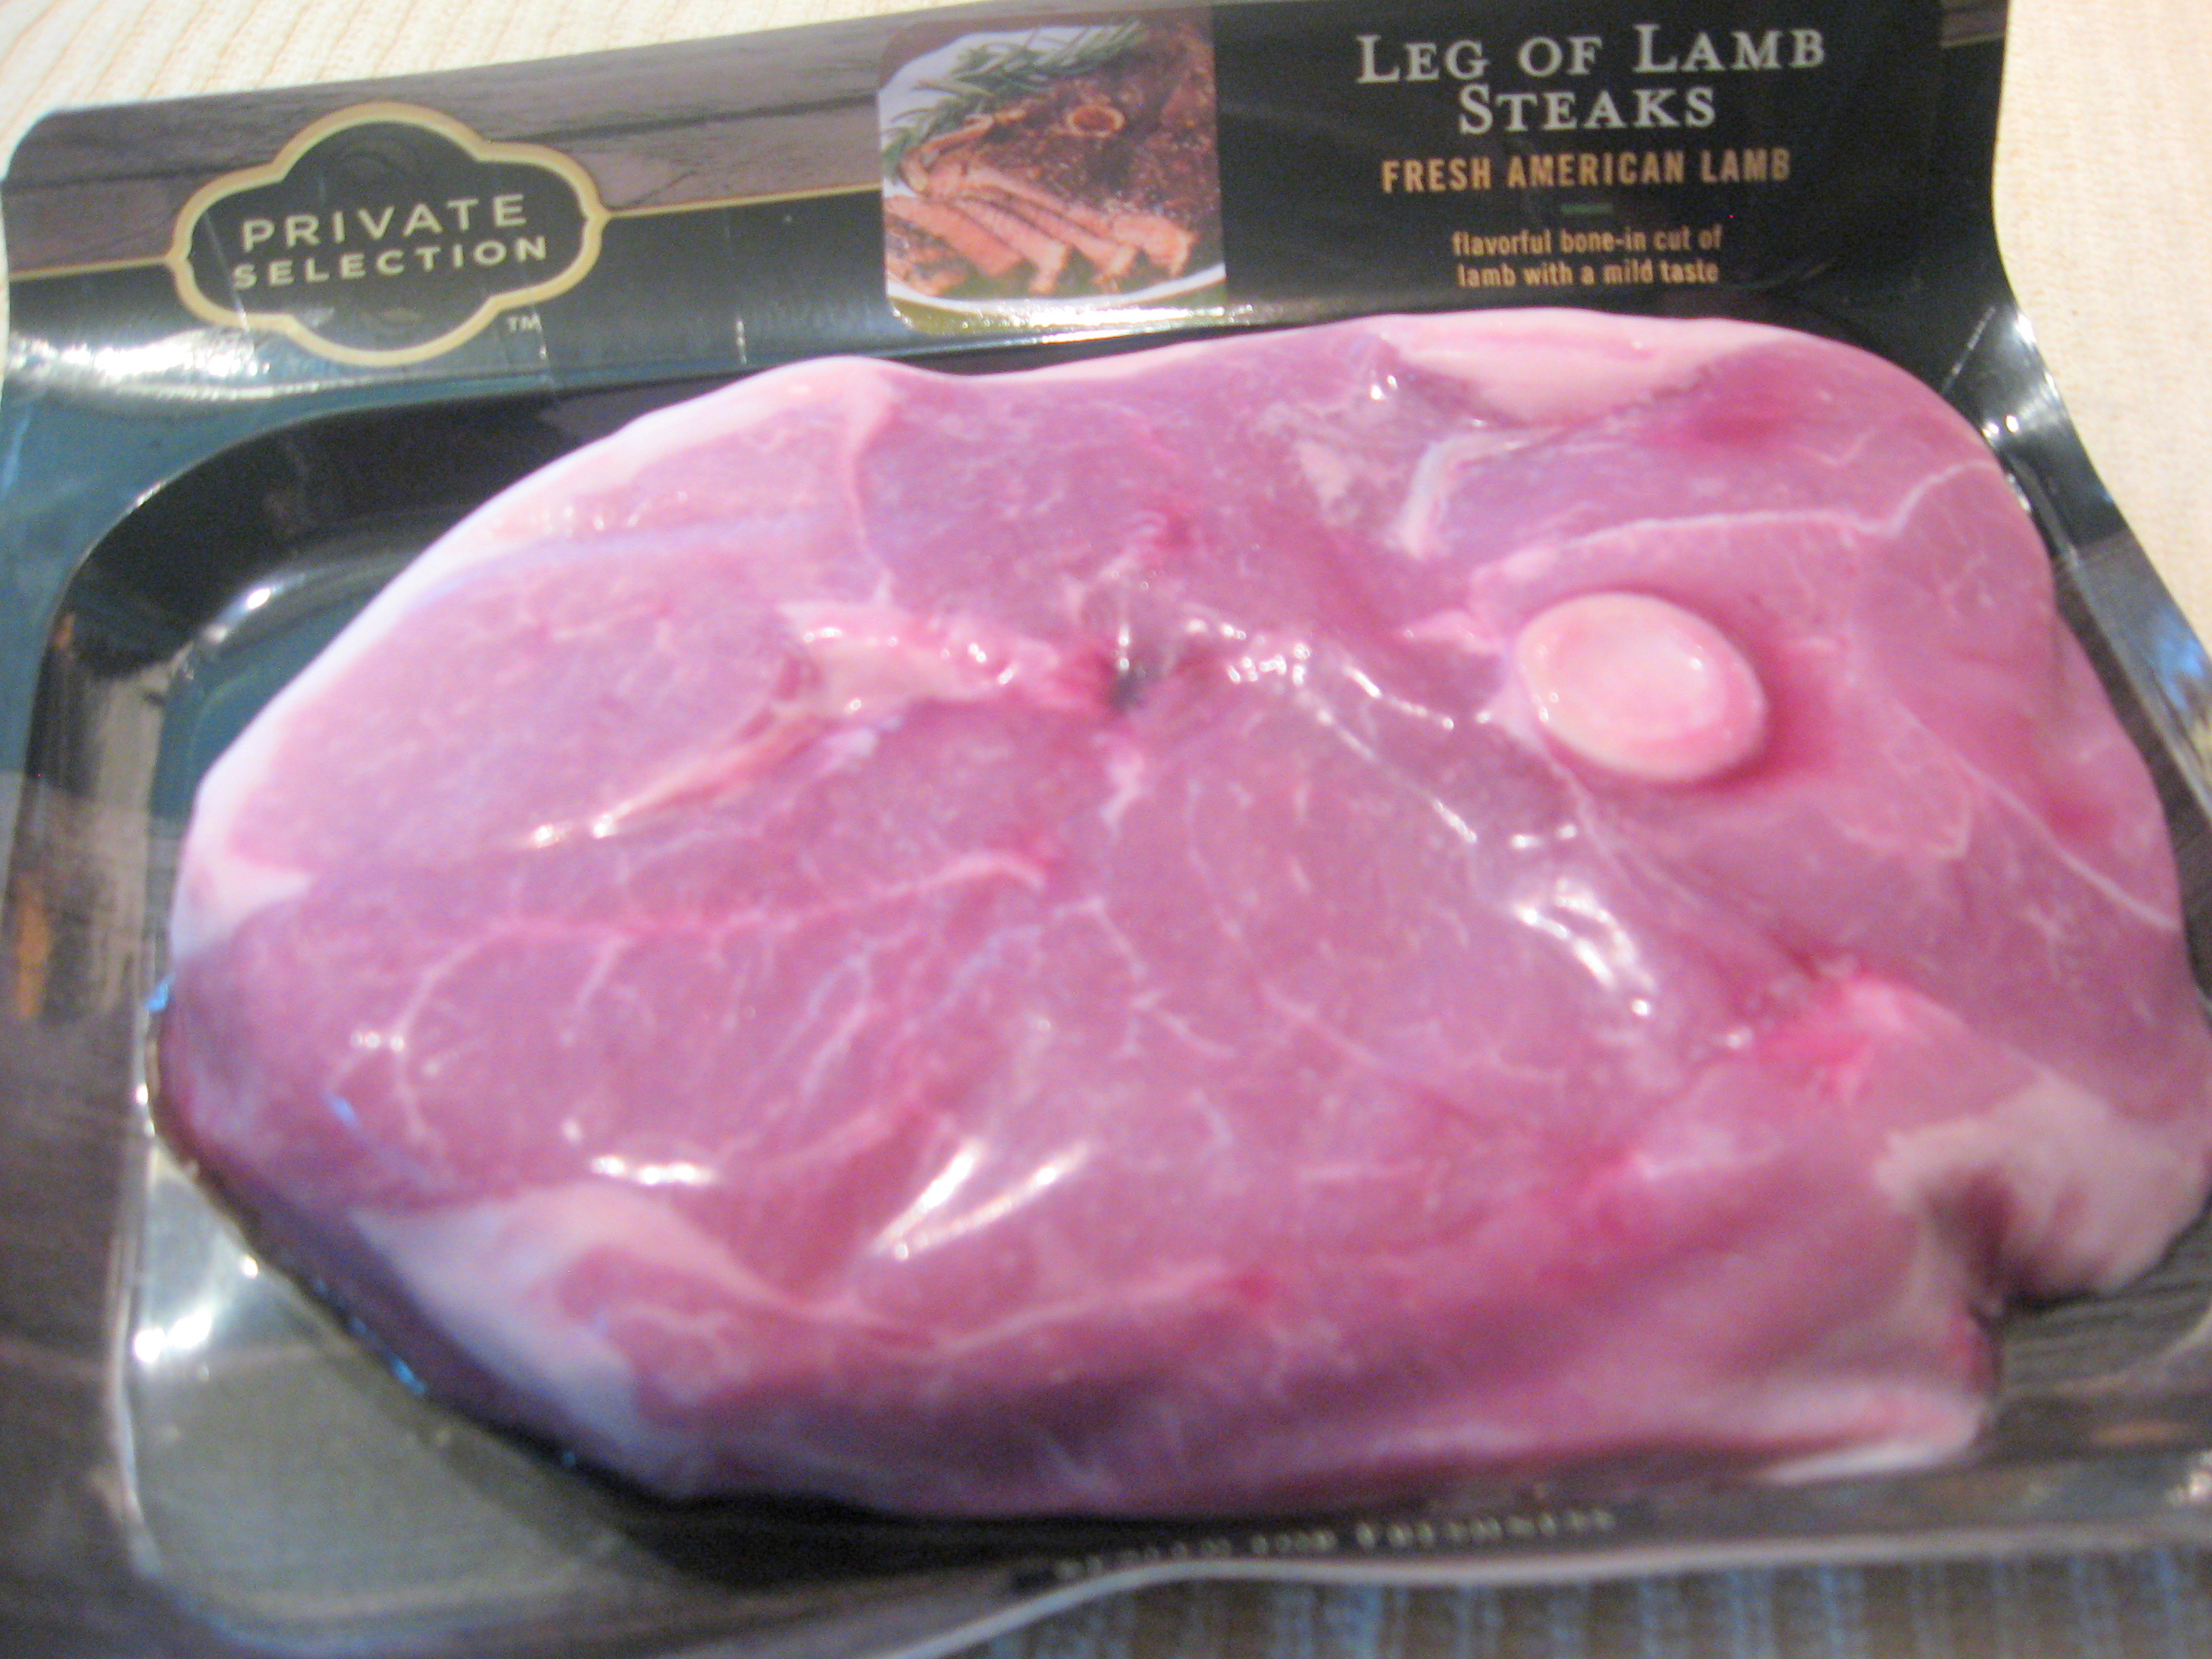 I’m an omnivore–and that definitely includes meat in judicious amounts. Lamb shoulder chops get frequent use in my kitchen since they are readily available, relatively inexpensive, and tasty. Lamb chops or a rack appear seldom, unfortunately, since they are expensive; braised shank will appear occasionally, but leg of lamb almost never–unless I’ve organized my self to invite lamb-loving friends to share. Even a half leg is just not in the single-serving category, so much as I like it, I don’t get it very often.
On a recent quick stop at the grocery store, I found a lamb leg steak! Fortuitous since I just happen to have made a batch of ratatouille (slow-cooker testing of a recipe) and somehow those two thing are appealing together. That lovely steak is going to be cooked indoors since it’s grey outside with spatterings of rain off and on–comforting sound on the metal roofing, suggesting a lazy day.
ÒσÓ
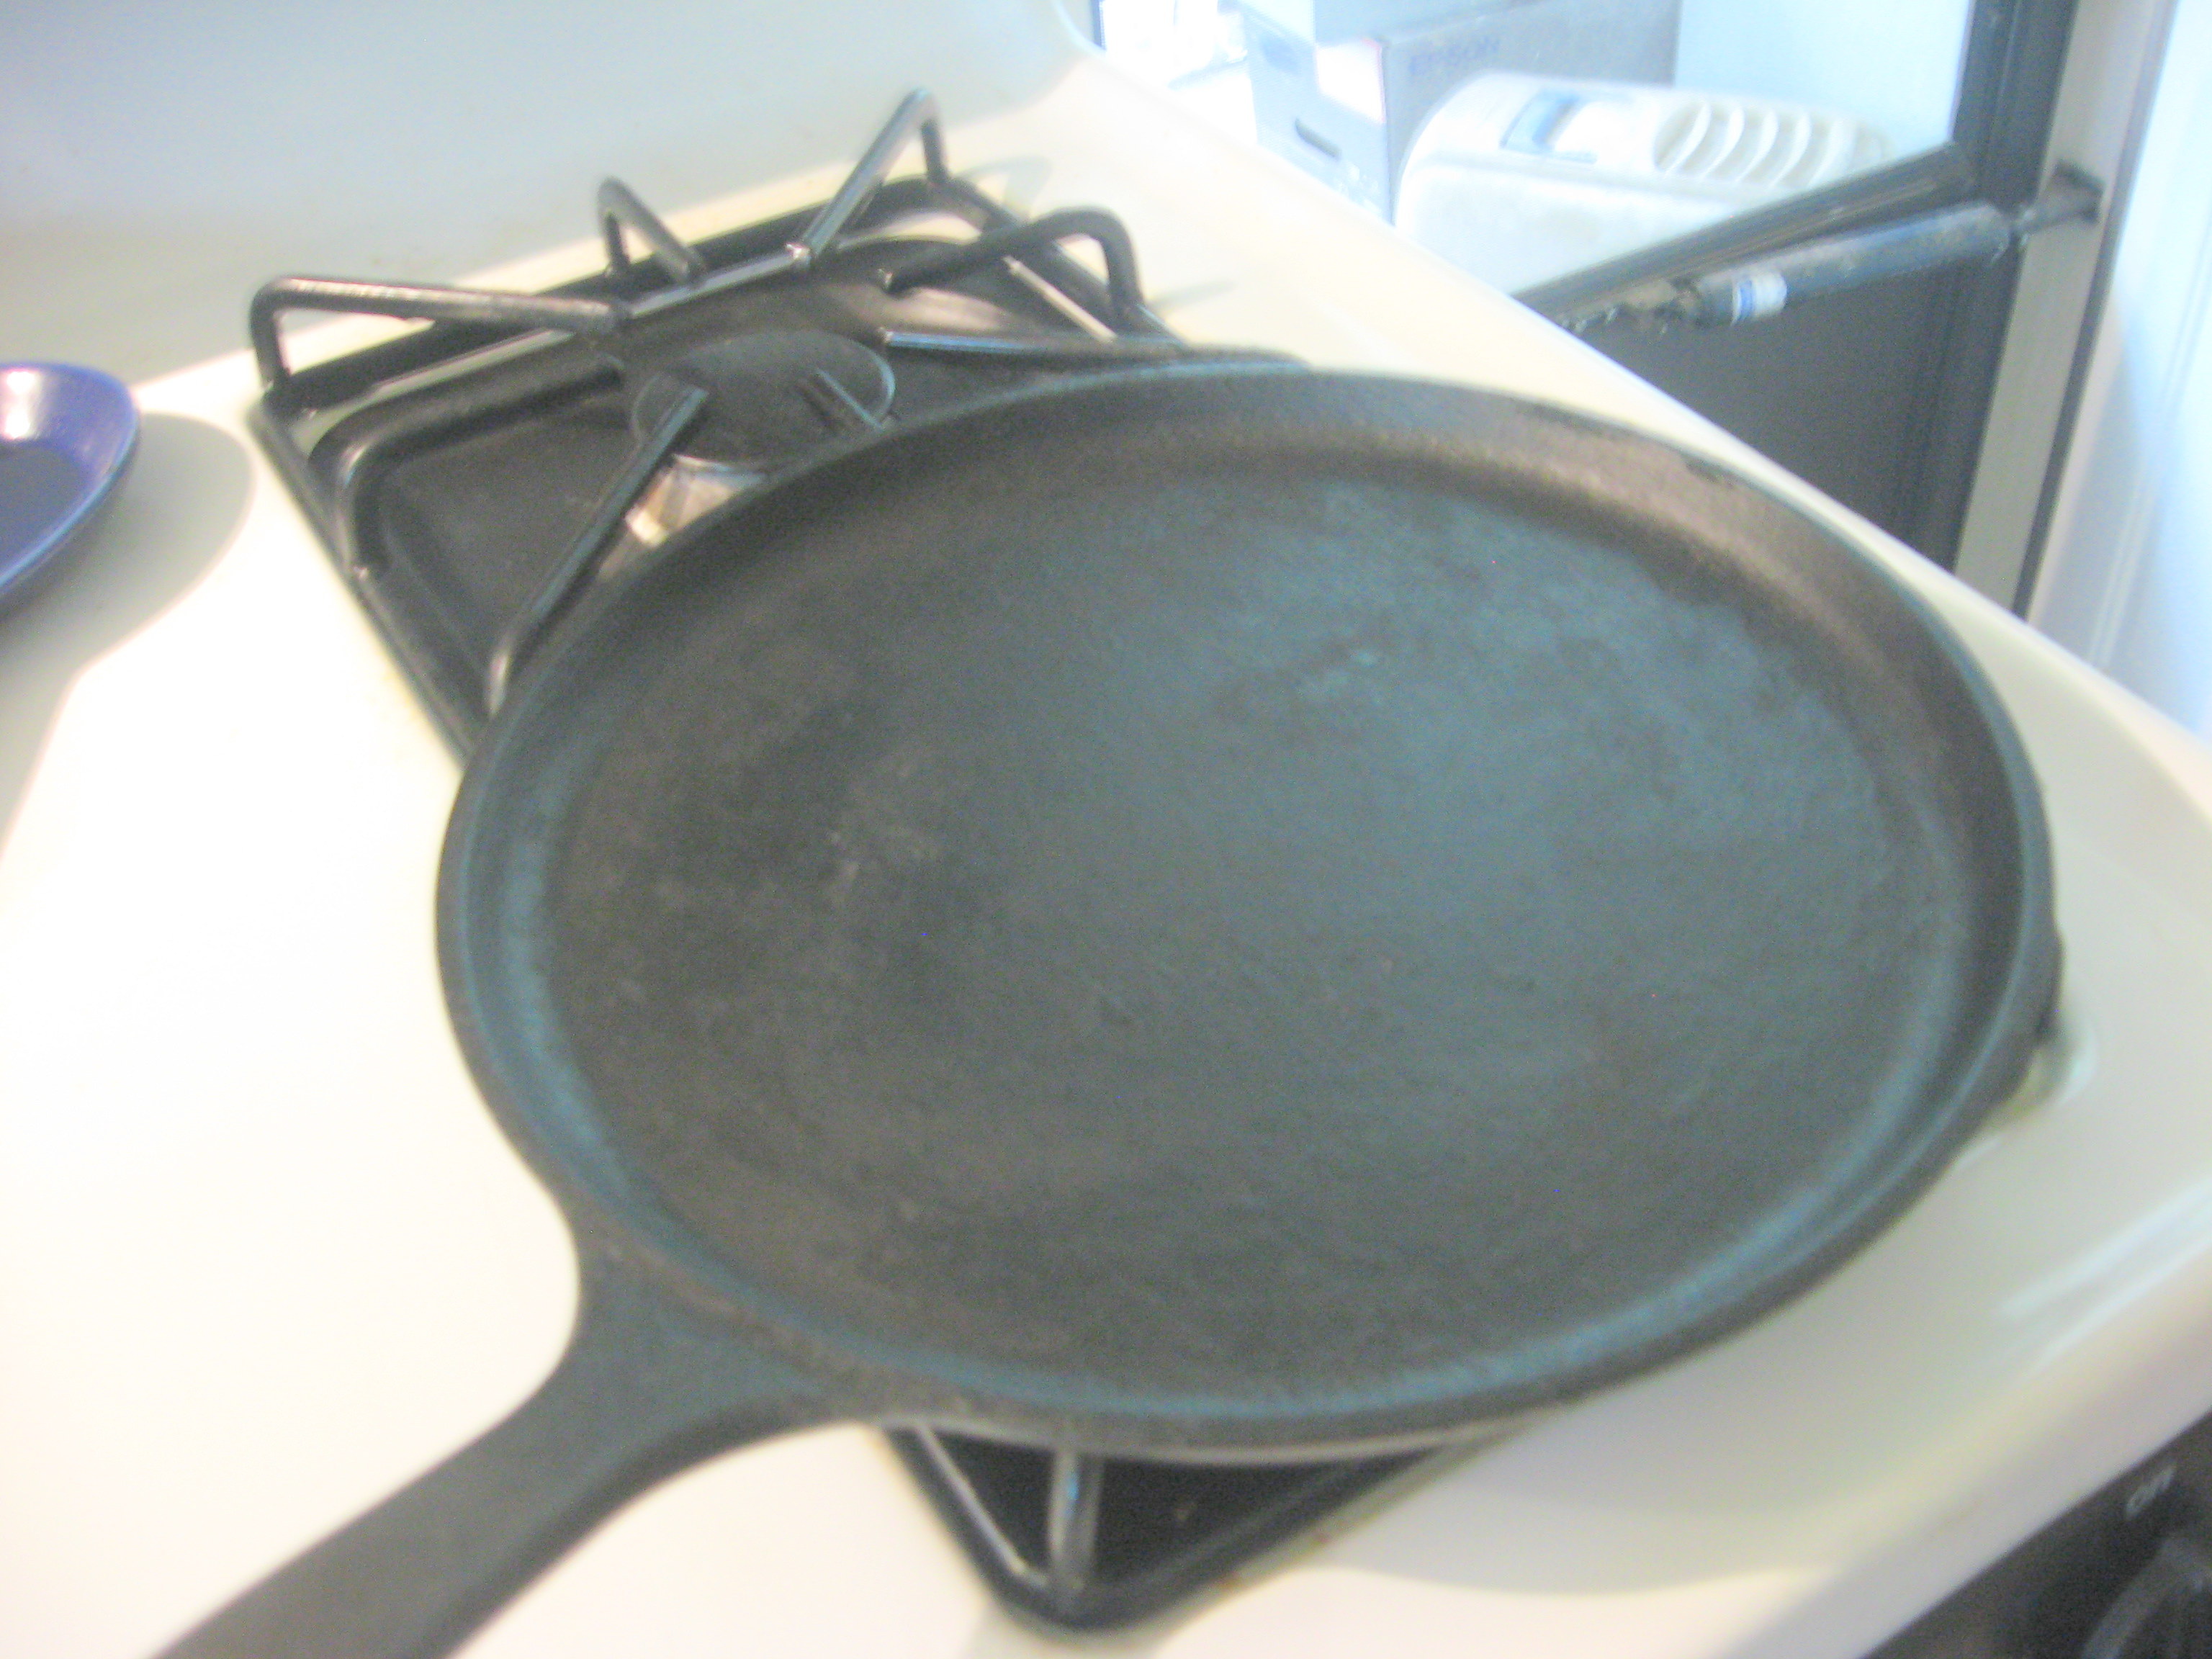 The omnipresent cast-iron griddle is my instrument of choice for cooking steaks or chops indoors. For steaks or chops that are up to an inch in thickness–or perhaps just a tad more–I like to cook them with the method described by Jamie Oliver for pork neck steak.
This 1-inch steak weighs in at just under a pound, so there will be leftovers, but as with beef steaks this isn’t a problem–easy to find uses for the leftovers before they spend enough time in the refrigerator to taste like something that has been in the refrigerator. Though this steak could be cooked right out of the package without any preparation, I’m going to give it just a bit of pretreatment.
Cook’s Illustrated (and America’s Test Kitchen) have repeatedly demonstrated that brining or salting improve texture and taste of meats. Salting has the advantage of not requiring planning–and it’s easier. The usual procedure is to sprinkle with  kosher salt and allow to stand at room temperature for an hour. I’ve found that salting and allowing to stand in the refrigerator overnight works well–I can prep my chop or steak immediately on bringing it into to the kitchen and it will be ready for later. The suggested amount of salt is 3/4 teaspoon for each 8 ounces of weight.
(This doesn’t call for a measuring device at all; two good three-fingered pinches, sprinkled from way above so that it spreads out evenly. When you see chefs sprinkling something from shoulder height, that’s not showmanship. Sprinkled from that height, the salt crystals have a chance to spread out and not just plop on the steak in one spot.)
 Notes: I prefer a griddle (or griddle pan), not a grill pan that has the ridges on it. The griddle will give you browning all over the surface of the meat, not just stripes on it. Stripes are pretty, but all-over sear really tastes better to me.
ÒΔÓ
Ever since I discovered this technique of cooking 1-inch chops or steaks, it’s all I’ve used for meats. For thicker steaks, I’ll use a combination of pan-searing and oven. I’m sure there’s a good food-science explanation for why this works so well, but I haven’t gone looking for it–I suspect that the heat transfer to the interior of the steak or chop is different than cooking one side at a time, as well as the extremely high heat.
True, the stove will need cleaning after you’ve done this, but the result is well worth it. There is no “overcooked” grey area to this steak. This works well with pork, veal, beef, and the lamb.
. . . don’t forget to put the battery back in the smoke alarm!

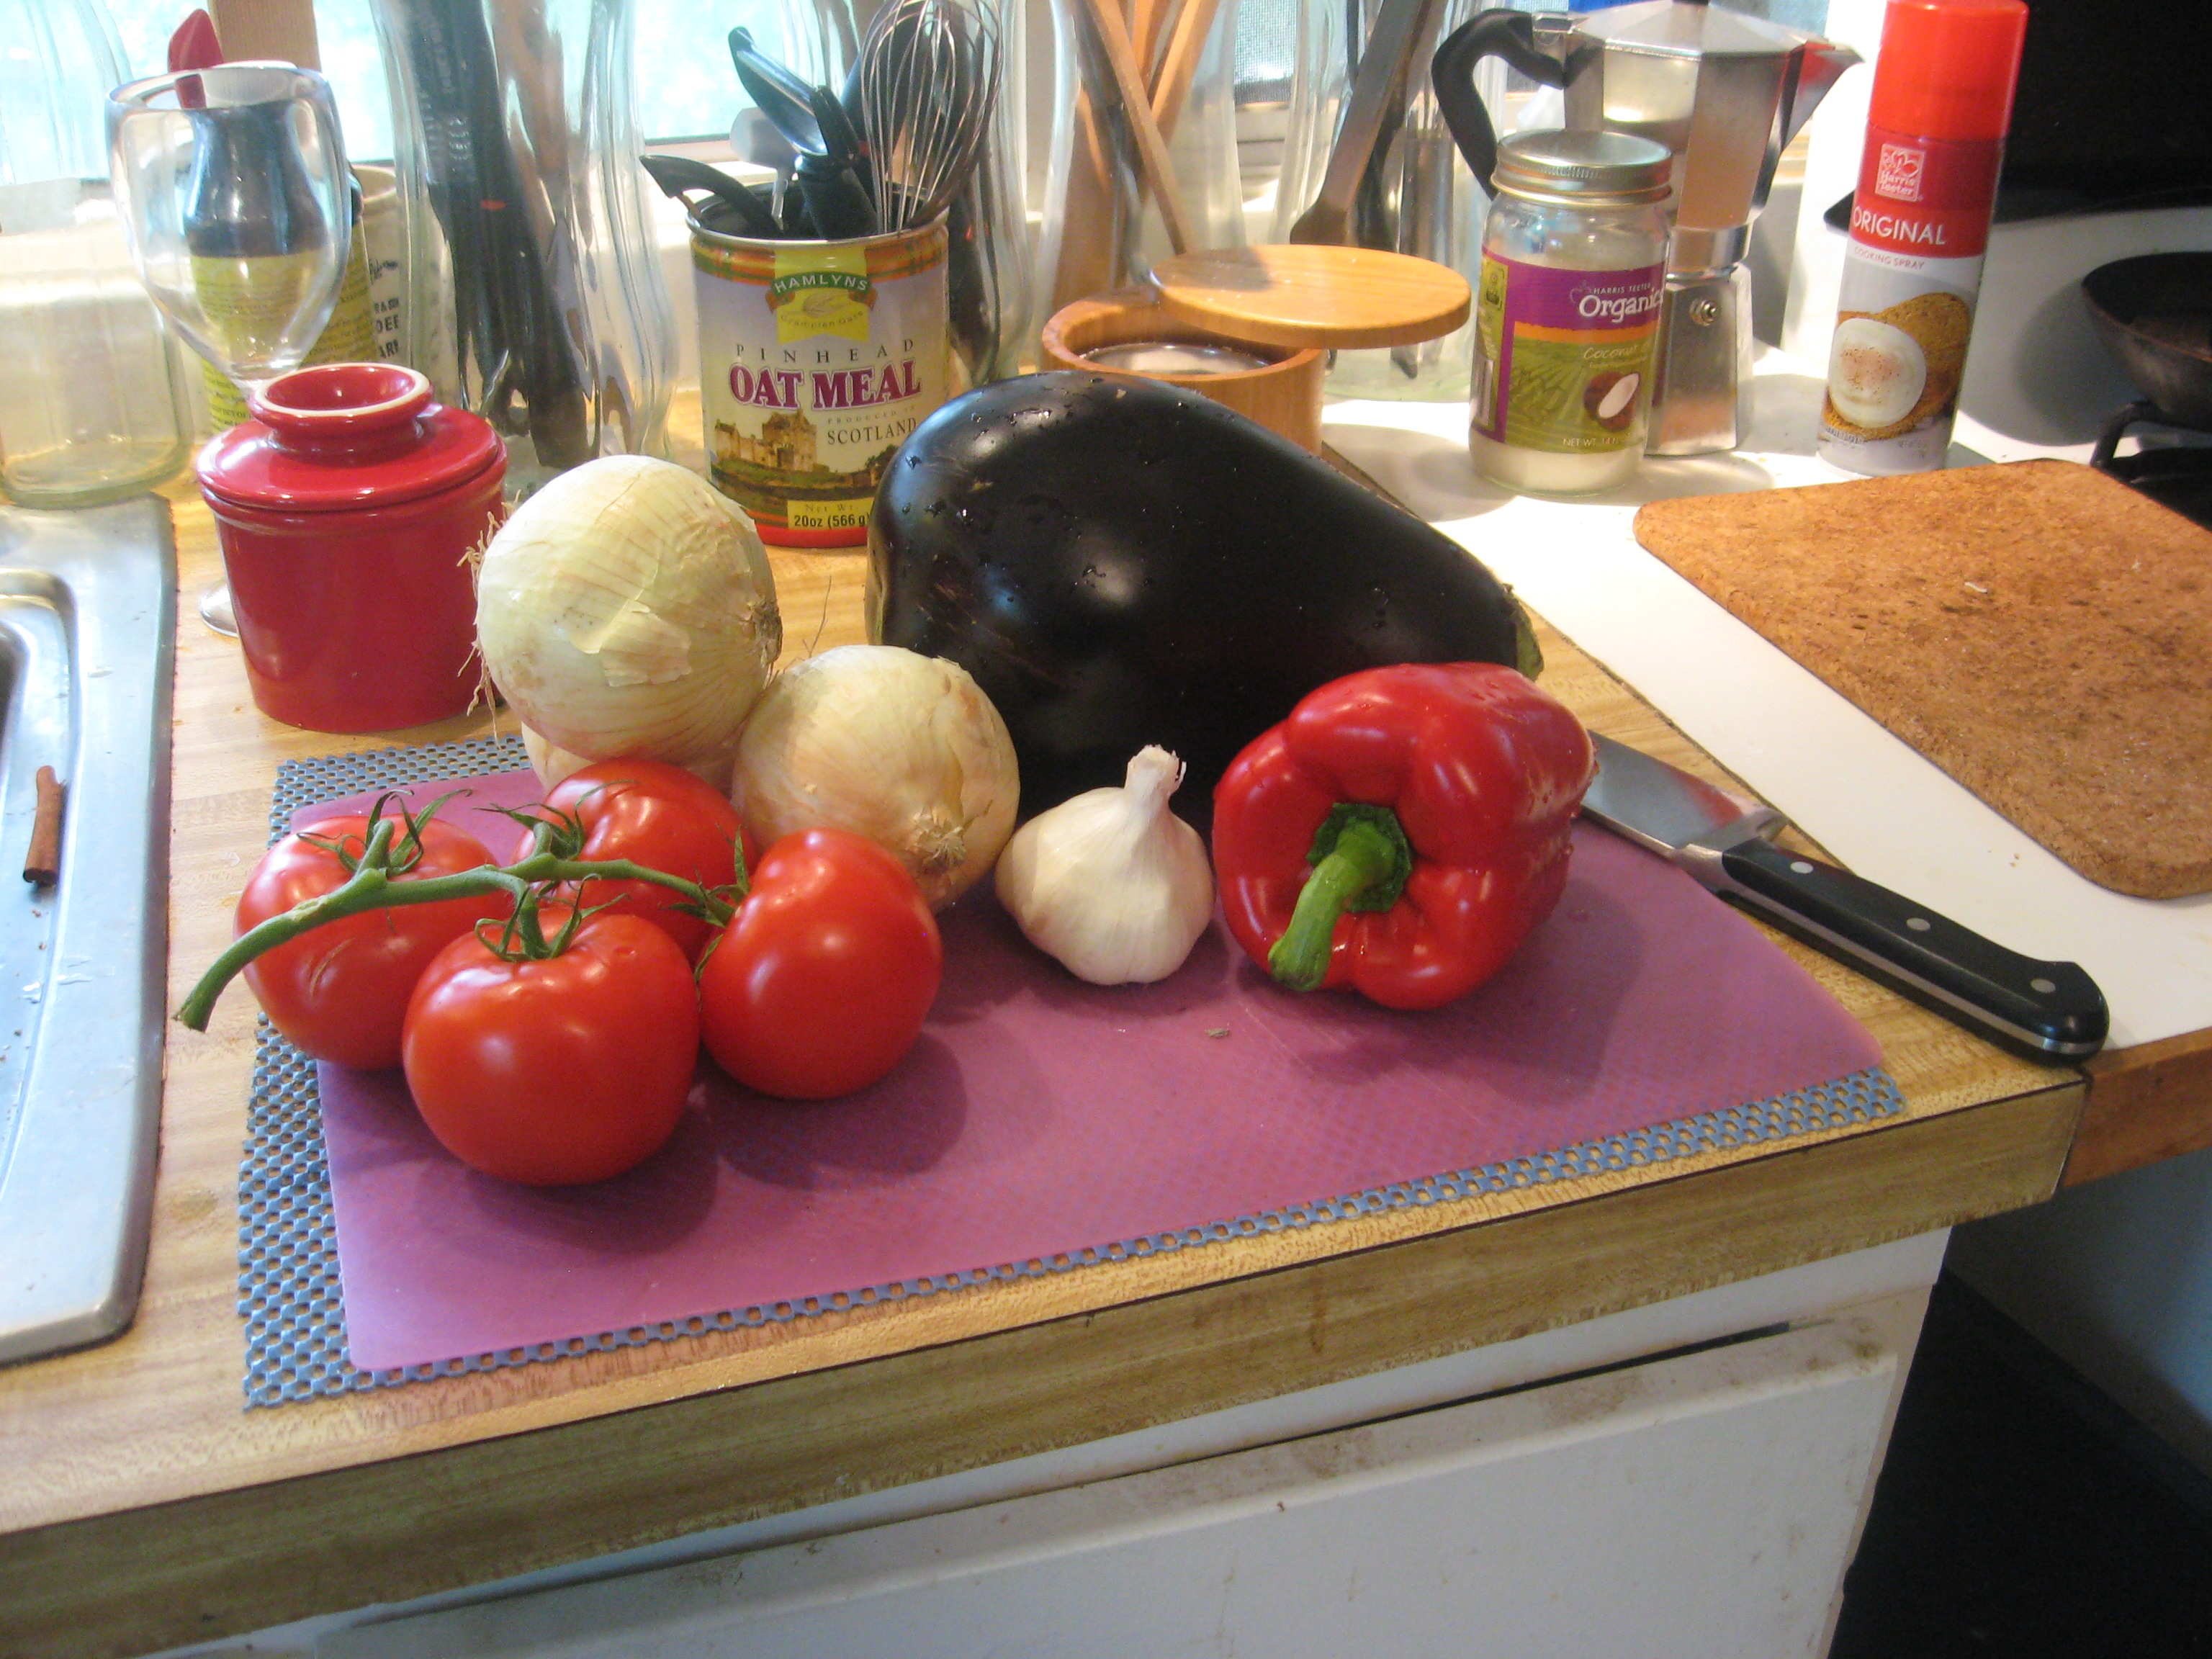 During the summer abundance of eggplant, squash, and tomatoes we’re often in the OMG-what-can-I-do-with-these-zucchini mode. Ratatouille and caponata provide some good eating even when the hot weather has rather killed the appetite. I thought that being able to do this in the slow-cooker instead of stove-top would be an advantage in sweltering weather that is already taxing the A/C without adding more heat.
It’s easy to find ratatouille recipes–a quick search on the internet will provide a plethora. The question: are they “good” recipes”? I’m not sure I can tell you what (specifically) tells me “good”, “passable”, or “oh yuk”. Most likely past experience, and reading a lot of food science, and (from America’s Test Kitchen) “why this recipe works”.
Here is a ratatouille recipe given by a friend, from Food.com, reproduced below. I’ve never made ratatouille in a slow cooker so I thought this was worth trying. In reading the recipe, I had only a couple questions, so I decided to make the recipe as directed–well, almost–as much as I can–I’m just a compulsive tinkerer, and constitutionally unable to follow a recipe strictly, but almost.  Looking at the recipe, I knew I’d want more garlic. Had I not been using part frozen peppers (from a Kitchen Disaster), I would not use green peppers–I prefer ripe (red, yellow, or orange) like them. I’m changing the herbs to thyme and oregano, rather than basil (for reasons explained below in Cook’s notes). My other question about this recipe had to do with that quantity of tomato paste. Why?
When I started the prep, I was still undecided about the tomato paste. My inclination was to leave it out because this is an “all fresh” dish, and (to me) tomato paste tastes canned and cooked. Since this does not call for the tomato paste to be added until later, my obvious solution is to wait and see how it tastes, especially since these are summer tomatoes. If I were wanting to supplement the “tomato” part of the flavor I would likely add some sun-dried tomatoes, rather than tomato paste–unless there is a dearth of “umami” (which is one of my reservations about slow-cooker dishes).
The modifications that I made on this recipe on the first round are shown in parentheses after the ingredient. These were just to meet my seasoning preferences, not for any other reason. Don’t hold this on “warm”–it just doesn’t do well.
Serves: 6 to 8
Notes: Being of scientific orientation, I decided to do an experiment–half the recipe is cooked as above; and the other half cooked separately, with modifications after I had tasted the results of the original method. First, I had to cook for an additional hour–I thought my rice cooker/slow cooker ran rather hot, but not according to this. After tasting I did add the tomato paste as the tomato flavor was not at all pronounced, but I think the tomato paste (unless browned before adding) doesn’t add the depth I want. I needed more salt (which kind of surprised me because I don’t usually need to add much. Oregano and thyme needed to be bumped up as did the garlic. Those minor things were done to the first batch. So far the onions have stayed crispy and I think I’d prefer them a bit softer so maybe microwave them before putting into the slow cooker (that had to wait because they were already mixed with the other vegetables). This came out with more juice than I’d expected.
Now for the second batch. I’m adding more olives, more garlic (sliced rather than pressed), some red pepper flakes (about 1/8 teaspoon) for a little zing (but not a lot of heat), and sun-dried tomatoes (instead of tomato paste), a bay leaf, and increasing the oregano and thyme. Instead of increasing salt, I’m going to add just a touch of nam pla (fish sauce)–or an anchovy fillet mashed would work. This is not intended to make it at all fishy just more flavorful. This needs to be stirred after an hour so that the bottom veggies don’t mush and the top be a bit undercooked. Check for doneness–don’t just trust the time. I prefer my veggies cooked but with a little “tooth” to them, so in my slow cooker this finishes in about 2 hours. I like this one as there’s no added liquid, except the dash of nam pla and what the veggies give off. Minced fresh oregano added the last 15 minutes of cooking leaves it very fresh tasting.
Bottom line: this is quick and works if you want a very light ratatouille, not complex ratatouille. I don’t want my ratatouille over whelmed with herbs and garlic, but I’d like to make it a bit more complex, or layered flavor–maybe it needs a little more umami It has the advantage of being very quick to assemble.
Ò¿Ó
As you likely know if you’ve read other posts, I’m somewhat partial to recipes from America’s Test Kitchen. When the published Slow Cooker Revolution I had to check it out. I was hoping that those recipes would improve my attitude to (and increase use of ) my slow cooker. There’s no denying it’s convenience, but generally I’ve simply not been happy with the results when compared with oven or stove-top methods.
A comparison of America’s Test Kitchen recipe with the one above is interesting. One of my “complaints” is that their recipes sometimes seem more complicated–though they do increase flavor. The recipe below is from the Slow Cooker Revolution (Kindle edition). This is the recipe that inspired me to try the one above. The cooking instructions are quite extensive so I’m only going to summarize them for purposes of comparison. I’m trying to find a compromise of best flavor and easy preparation.
Serves: 10 to 12
Notes: The time it takes to brown the vegetables really is not that long, so it’s worth the extra flavor. It’s a drastic difference, even when you add some umami-hyping ingredients to the Food.com recipe.
The differences here are, notably, the use of flour to thicken, the lack of tomato paste, and the preparation of the eggplant. One of my reasons for trying the recipe from Food.com is the handling of the eggplant, with the idea that salting to remove fluid might eliminate the need for flour–I doubt that you’d know there was flour in this recipe simply by tasting.
After tasting the first batch of the recipe from Food.com with the adjustments noted in Notes, it’s a keeper for simplicity. The America’s Test Kitchen is a bit richer since you’ve browned the veggies. Either is good–depends on the time and effort you want (or have) to invest.
. . . a son goût
Ö¿Ö

?
 For those of you who might be interested in gluten-free breads, I wanted to share this link. I’ve not tried any of the gluten free recipes, since I don’t have an issue with gluten. I’ve tried breads from both the other five-minutes-a-day breads, and had good results with every recipe I’ve tried.
Available in hardcover, and digital format. Based on my experience with these books, If I needed gluten-free I would certainly give this a try–at least check it out of the library for a trial.
I like this wine–just for drinking, and can imagine that this will be awesome.
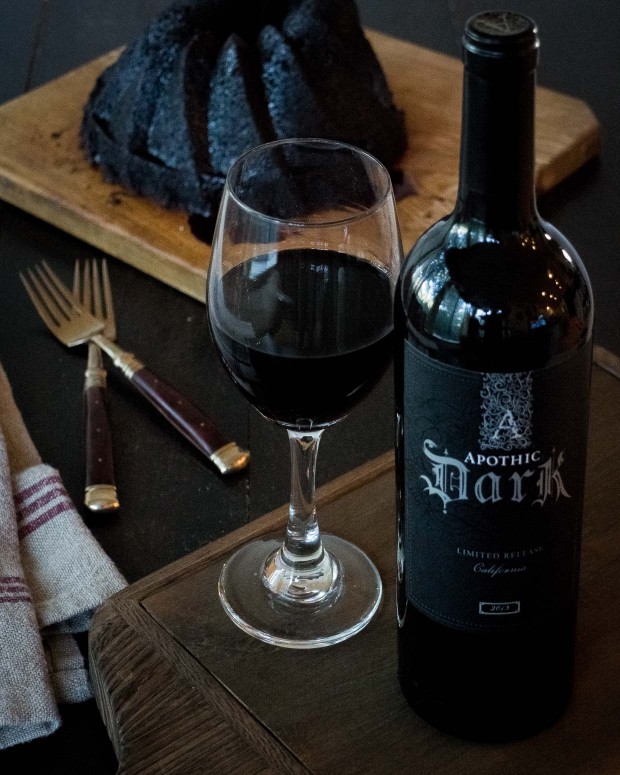
I came across this amazing recipe for Apothic Dark Red Wine Cake from Chasing Delicious.
Apothic Dark Red Wine Cake
Ingredients
Instructions
View original post 207 more words
")
