We’re all familiar with ginger root (from the grocery store or dried whole or powdered) and turmeric (commonly found in curry powder–the bright yellow-orange stuff), and galangal in Southeast Asian cooking, but you can add those to the things you can grow in your kitchen garden–even if it is a container garden.
The ginger family of plants (Zingiberaceae) provides us with a number of “spices” that we use frequently: ginger (Zingiber officinale), turmeric(Curcuma longa), and galangal (Alpinia officinarum or “lesser galangal), and cardamom seeds (genera Elettaria–green cardamom-–and Amomum–black cardamom).
Ginger, turmeric, and galangal are perennial herbaceous plants with specialized horizontal stems (rhizomes) that lie underground, but close to the surface. While we are most likely to encounter these in the dried form or find the ginger rhizomes in the produce section of the grocery store, you can add the fresh forms of some of these to your culinary repertoire.
All these plants mentioned above have similar requirements for growing: even moisture, well-drained soil, partial to dappled shade, warm temperatures, and high humidity, and protection from cold.
Ginger (Zingiber officinale)
You can start your ginger by getting the “root stock” (an official technical term here) from the grocery store. You want rhizomes that are plump, and fresh looking, and that have knobs or nubs growing off the main part of the root. It’s likely that the ginger root you find in the grocery store will have been treated with something to retard growth/sprouting, so rinse it thoroughly before you plant it.
Bury it about one inch deep in well-drained soil and keep evenly moist. If you’re planting it in a pot, you should use one that is of 12- to14-inch diameter and about same in depth, but does not need the full depth of most 14 inch pots.
It may take a few weeks before you see shoots appear. You’ll not want to harvest your ginger heavily the first season, but you can harvest some after about 4 months. Ginger will not need (or like) full sun–it would prefer part (dappled) shade. In areas where you get hard freezes, you’ll need to overwinter indoors. In areas where the winter is mild, it may die back to the ground with the onset of cool weather but should come up again in the spring. (I’m partial to growing it in large pots). During the summer it can be put outdoors and moved to shelter to prevent freezing in winter. It should be fertilized with an all-purpose fertilizer about twice during the growing season.
You harvest by very gently uncovering part of the rhizome, or where it’s seen above the surface towards the edge of the pot–leaving the center portion undisturbed.
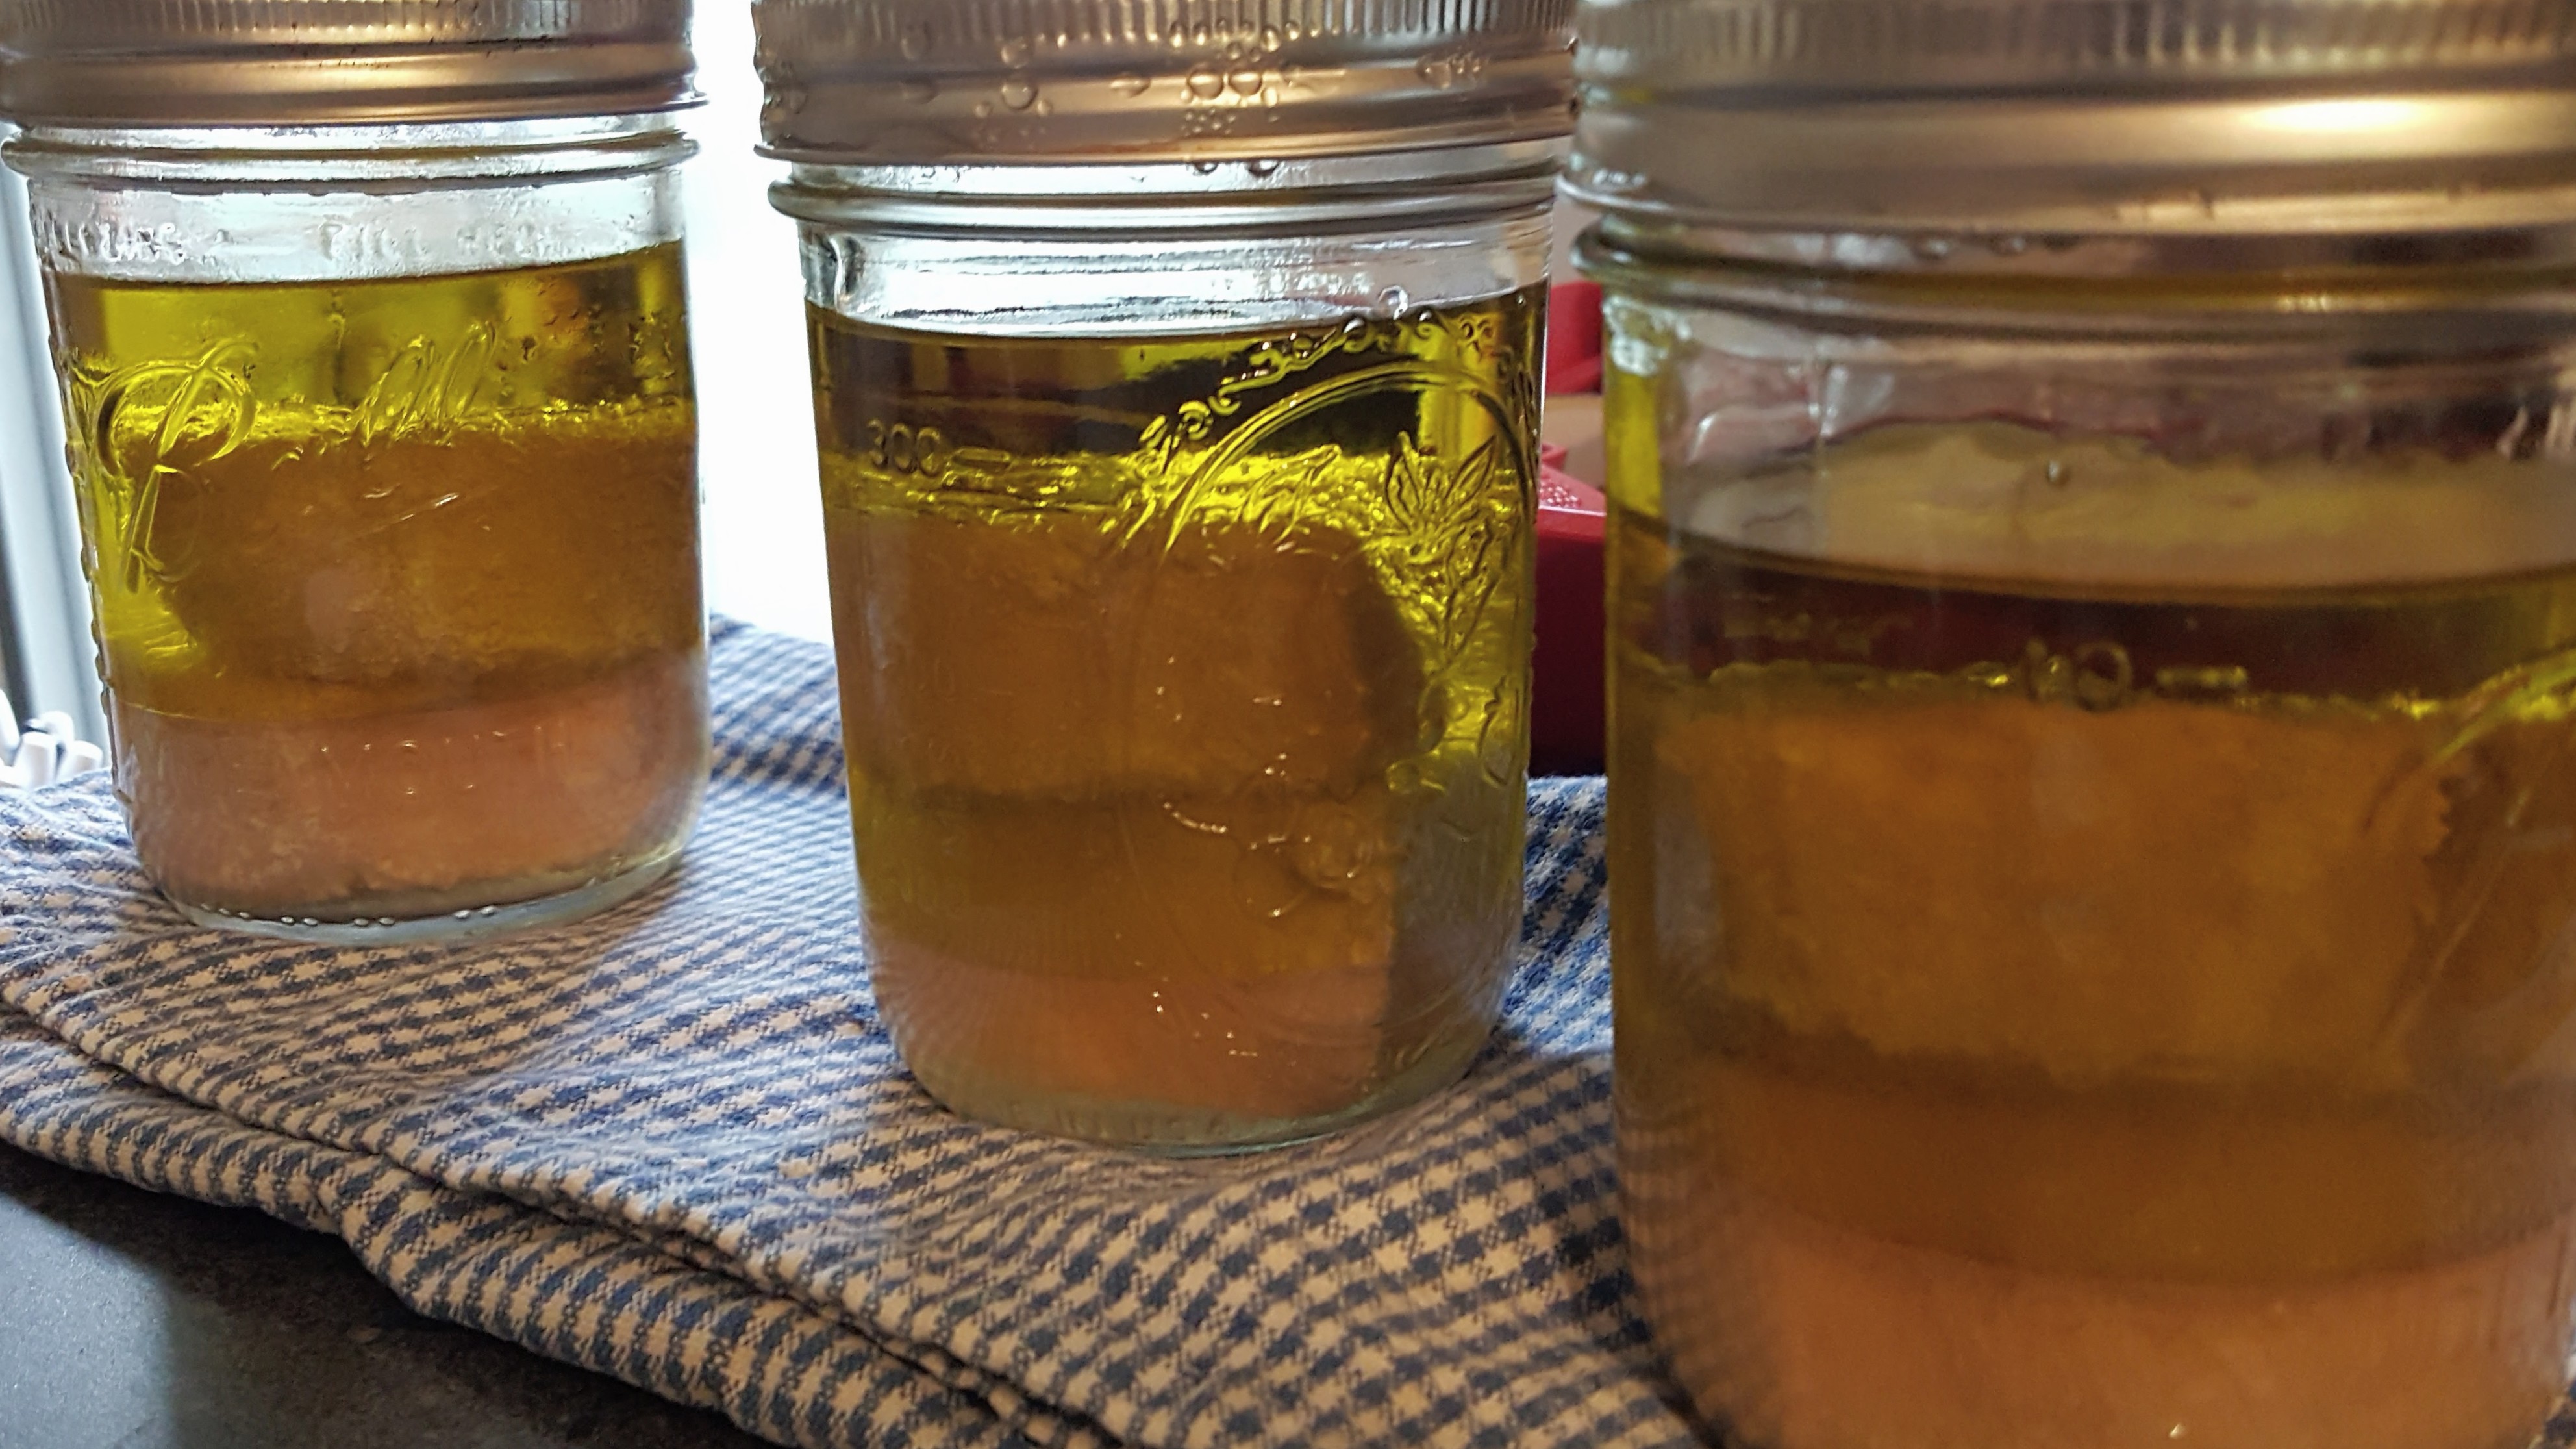
The ginger you harvest from your plant will be much less fibrous and less “hot” when compared to the large rhizomes that you purchase in the grocery store. The leaves/stalks can also be used to brew tea (steep leaves in boiling water for 5 minutes) and you can add to stir-fries or other dishes if you slice the stalks/leaves thinly–it has a mild ginger flavor and maybe a hint of lemon or citrus.
Turmeric ( Curcuma domestica syn Curcuma longa)
 Turmeric is touted as an anti-inflammatory and an antioxidant–I’m not touching on those properties here, but rather the culinary uses. It has been called “poor man’s saffron” and that’s one of my favorite things: add fresh turmeric to rice. It’s very earthy and warm. It’s not saffron, but it’s good.
To grow your own, you’ll need the fresh rhizomes–found in Asian, Indian or Latina groceries–probably located close to the ginger, (and maybe the galangal). You’ll treat it almost as you would ginger: plant about one to two inches deep in a 12- to 14-inch pot (about 12 inches in depth as well), keep evenly moist but well-drained, and give it part shade to dappled shade. This is also a tropical perennial so it will need winter protection. In cool weather, the leaves will die back, but if not frozen the rhizomes should sprout again in the spring. (I tried keeping some, with the ginger, in the house to overwinter, but neither turmeric nor ginger survived as a plant; the rhizomes did put up shoots again in the spring.)
You can harvest as you would ginger–by carefully cutting off small pieces toward the edges of the pot. You need to handle with care as it will stain hands and probably counters–it’s used as a dye, too. Left undisturbed (except for harvesting from the edges) you may see blooms in the second year.
Turmeric is currently appearing in chocolate bars, and being touted as a “superfood”. I just like the earthy flavor, in many things where I would use saffron (but am too cheap to do that).
I hope to add galangal if I can find the fresh rhizome–there is an Asian food store that I keep watching. I suspect I’ll find it there sooner or later.
—Ô¿Ô—
..

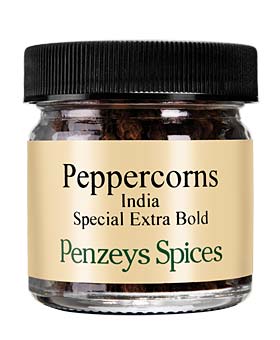 I’ve always been picky about my black pepper–my favorite is from
 You can probably even make a case that it is at least “healthy-ish”–compared to most other snacks that come in bags from the grocery store–and it’s more fun. You can custom tailor the seasoning to fit your mood. At least I know what’s in it if I’ve popped and seasoned it myself.


 how many servings you need. (I wanted to have some extra to put in the freezer for quick side to grilled meat.)