Unknown's avatar

About sa.fifer

Lover of good, wholesome food and wine. Cooks for one and the cat. Likes to paint-- a frustrated botanical illustrator and amateur (photographer) and fledgling birdwatcher, beekeeper, and Kindle addict. Works as a freelance indexer.

Fig season

ripening fig

Excitement. . . .

Anticipation is one of the good things about seasonal foods. I know some have already had fresh figs this season, but not here yet. I’m anticipating that day when I see that luscious, brownish-reddish fruit, the little drop of nectar at the bottom telling me its ready to eat. It’s like the anticipation of the first asparagus in the spring, or the first home-grown tomato in the heat of the summer. The very first of a seasonal food–even if it’s only a single fig found ready to eat, need to be appreciated without adornment so that the appreciate the season, not the sauce or other accompaniments. Those come later when the figs, asparagus, or tomatoes are more abundant–maybe even a little overwhelming.

The first of the brown turkey figs are starting to ripen now–they are straggling in–the figs are ranging from very tiny to several that have been mostly devoured by birds, to one that was ready for me to eat–but lots of tiny ones that I can look forward to.

Mornings may find me with my latte visiting the fig tree in hopes of a fresh-off-the-tree, warm from the sunshine, figs for breakfast.

There are so many easy things to do with figs:

The anticipation of watching them ripen, hoping that you’ll get them before the birds. . .so many easy and delightful ways to enjoy this luscious fruit during its season.


Lamb leg steak–continued

lamb leg steak on plate with ratatouilleThat lamb leg steak that I cooked a couple days ago was a big steak–weighing in just a bit under a pound. That’s a lot of meat–couldn’t possibly eat all that at one time.  As vehement as I’ve been about not liking, or dealing well with leftovers,  that does not apply here.  I don’t really consider the part of this steak that I didn’t eat then as undesirable. I couldn’t have that luscious steak without some left for other uses–not when it needs to be at least an inch thick to cook well. You’re wondering what happens to the rest of this steak?

Often the remains of a beef steak or a pork chop goes into a sandwich–since roast beef, lamb, or pork is not on the single-serving menu. Other times it does some metamorphic changes.  The remainder of this steak went into the rice cooker with a convenience mix of grains,  some garbanzo beans to give me some additional meals that were not meat-centric.

Ingredients

  • about 1/2 pound of cooked lamb steak, cut into 1/2-inch pieces
  • one 15-ounce can garbanzo beans with liquid
  • one 10 ounce can of diced tomatoes with jalapeños with liquid
  • 1 cup of brown basmati rice, red rice, barley, and rye berry mixture (uncooked)
  • 1 tablespoon olive oil
  • 2 bay leaves
  • 2 teaspoons dried Turkish oregano
  • 1/2 to 1 teaspoon garlic powder
  • 1 to 1-1/2 teaspoon onion powder
  • 1 cup water (to bring total liquid to amount required for grains)

Preparation

  • Add all ingredients to rice/multi-cooker, stir well.
  • Set on rice cooking mode.
  • When cycle finishes, check grain for doneness.  If needed add more water in 1/2 cup increments until grains are done.

Ò¿Ó

Since the lamb steak had been well-browned on the griddle, it provided good rich flavor for the grains and the garbanzo beans.  Some of this was an extra meal (with a side of ratatouille), and the rest was packed (with the Handi-Vac®) for the freezer for later (especially cooler weather) meals.

mixed grains with tomatoes and lamb

Lamb leg steak

IMG_8327I’m an omnivore–and that definitely includes meat in judicious amounts. Lamb shoulder chops get frequent use in my kitchen since they are readily available, relatively inexpensive, and tasty. Lamb chops or a rack appear seldom, unfortunately, since they are expensive; braised shank will appear occasionally, but leg of lamb almost never–unless I’ve organized my self to invite lamb-loving friends to share.  Even a half leg is just not in the single-serving category, so much as I like it, I don’t get it very often.

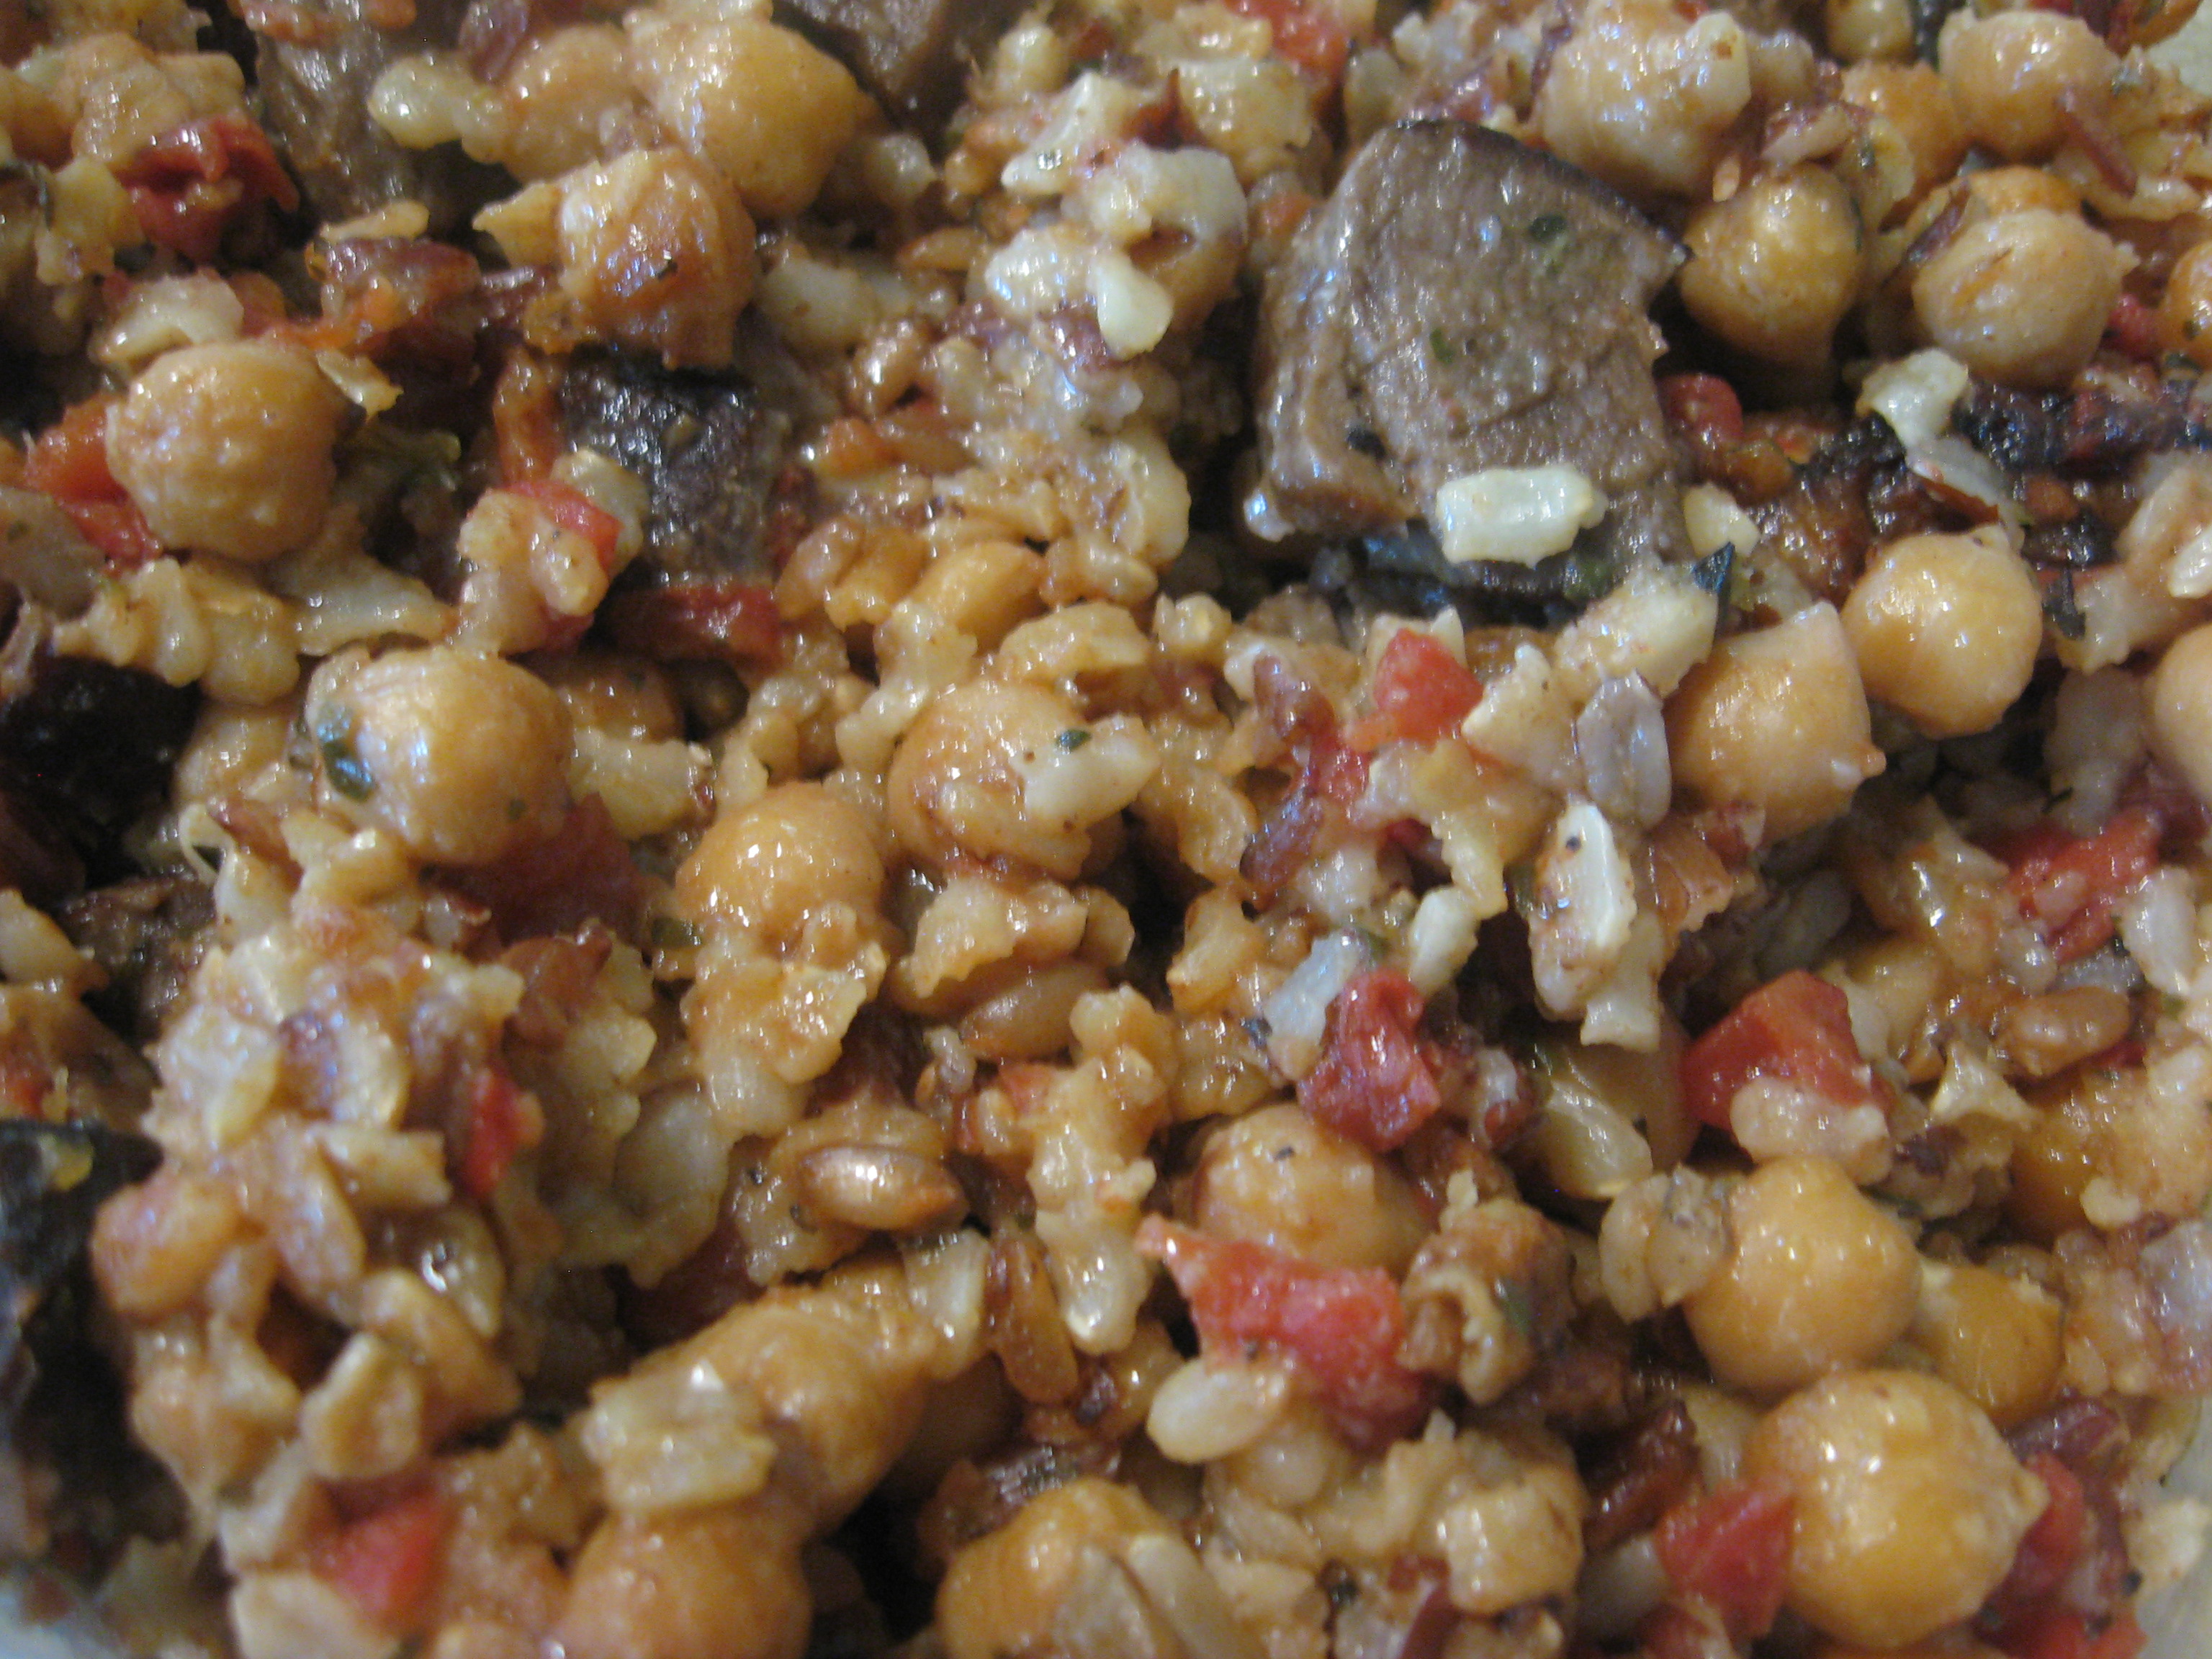
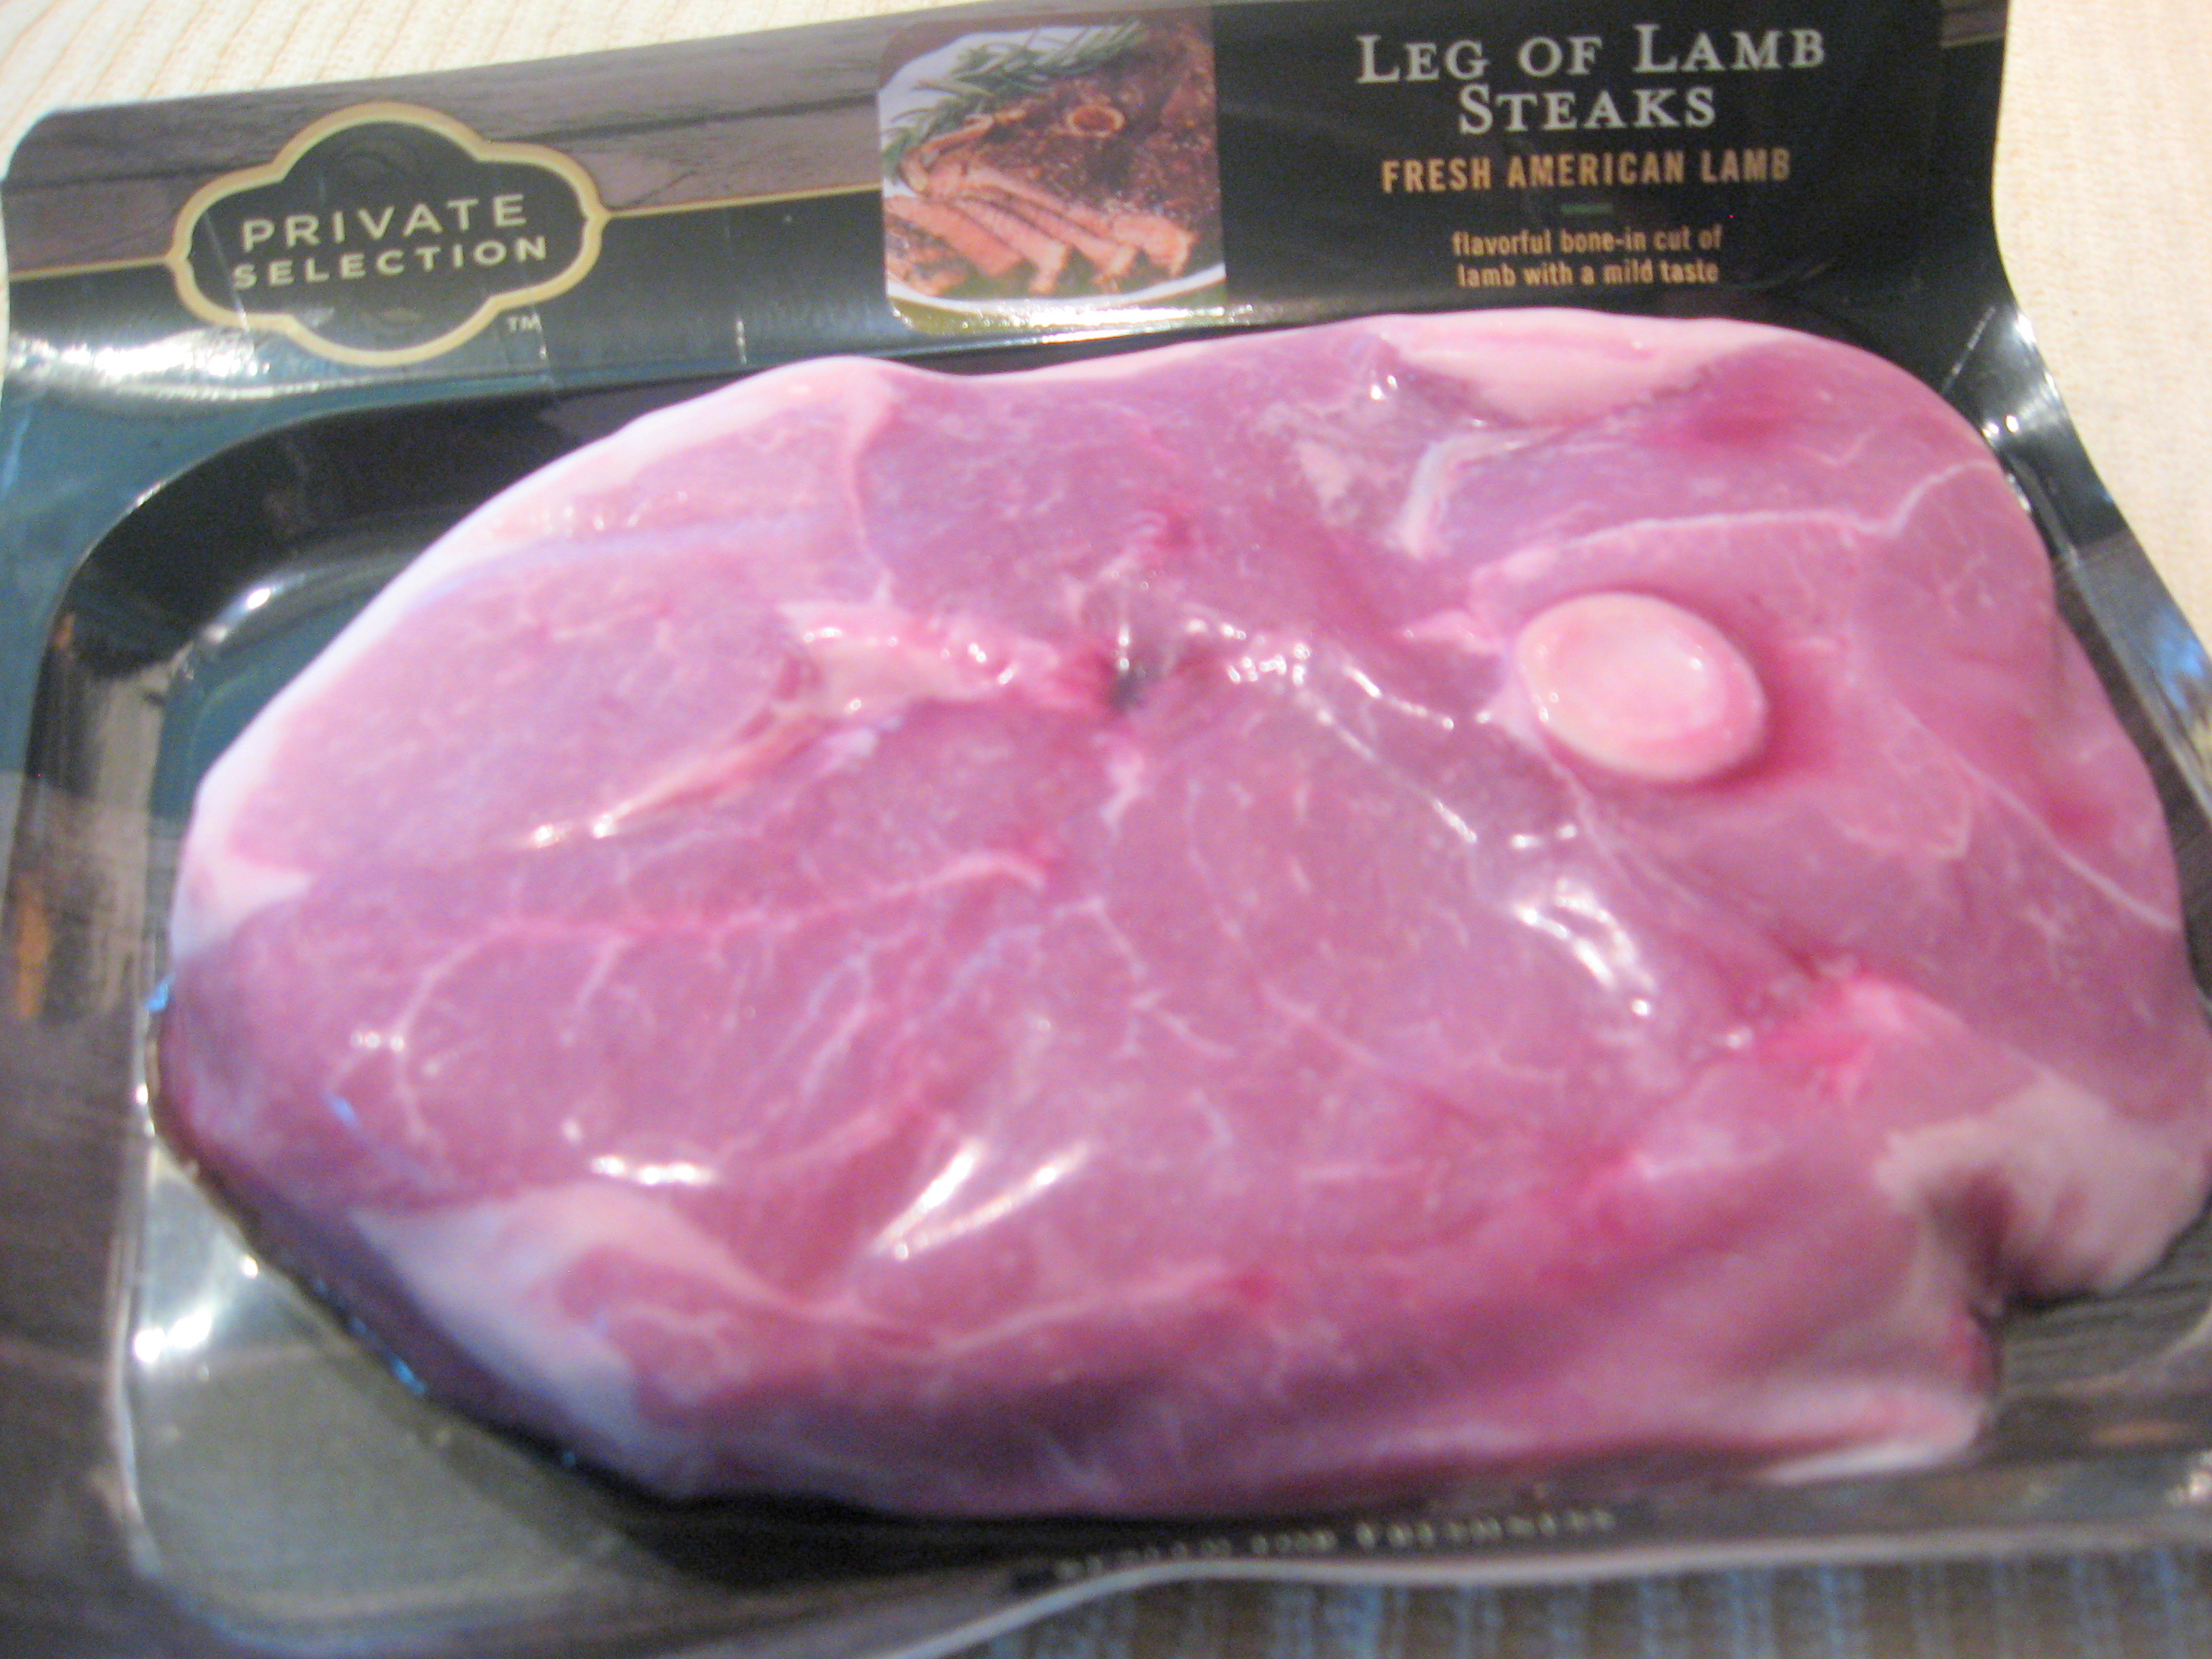
On a recent quick stop at the grocery store, I found a lamb leg steak! Fortuitous since I just happen to have made a batch of  ratatouille (slow-cooker testing of a recipe) and somehow those two thing are appealing together.  That lovely steak is going to be cooked indoors since it’s grey outside with spatterings of rain off and on–comforting sound on the metal roofing, suggesting a lazy day.

ÒσÓ

single-burner griddle
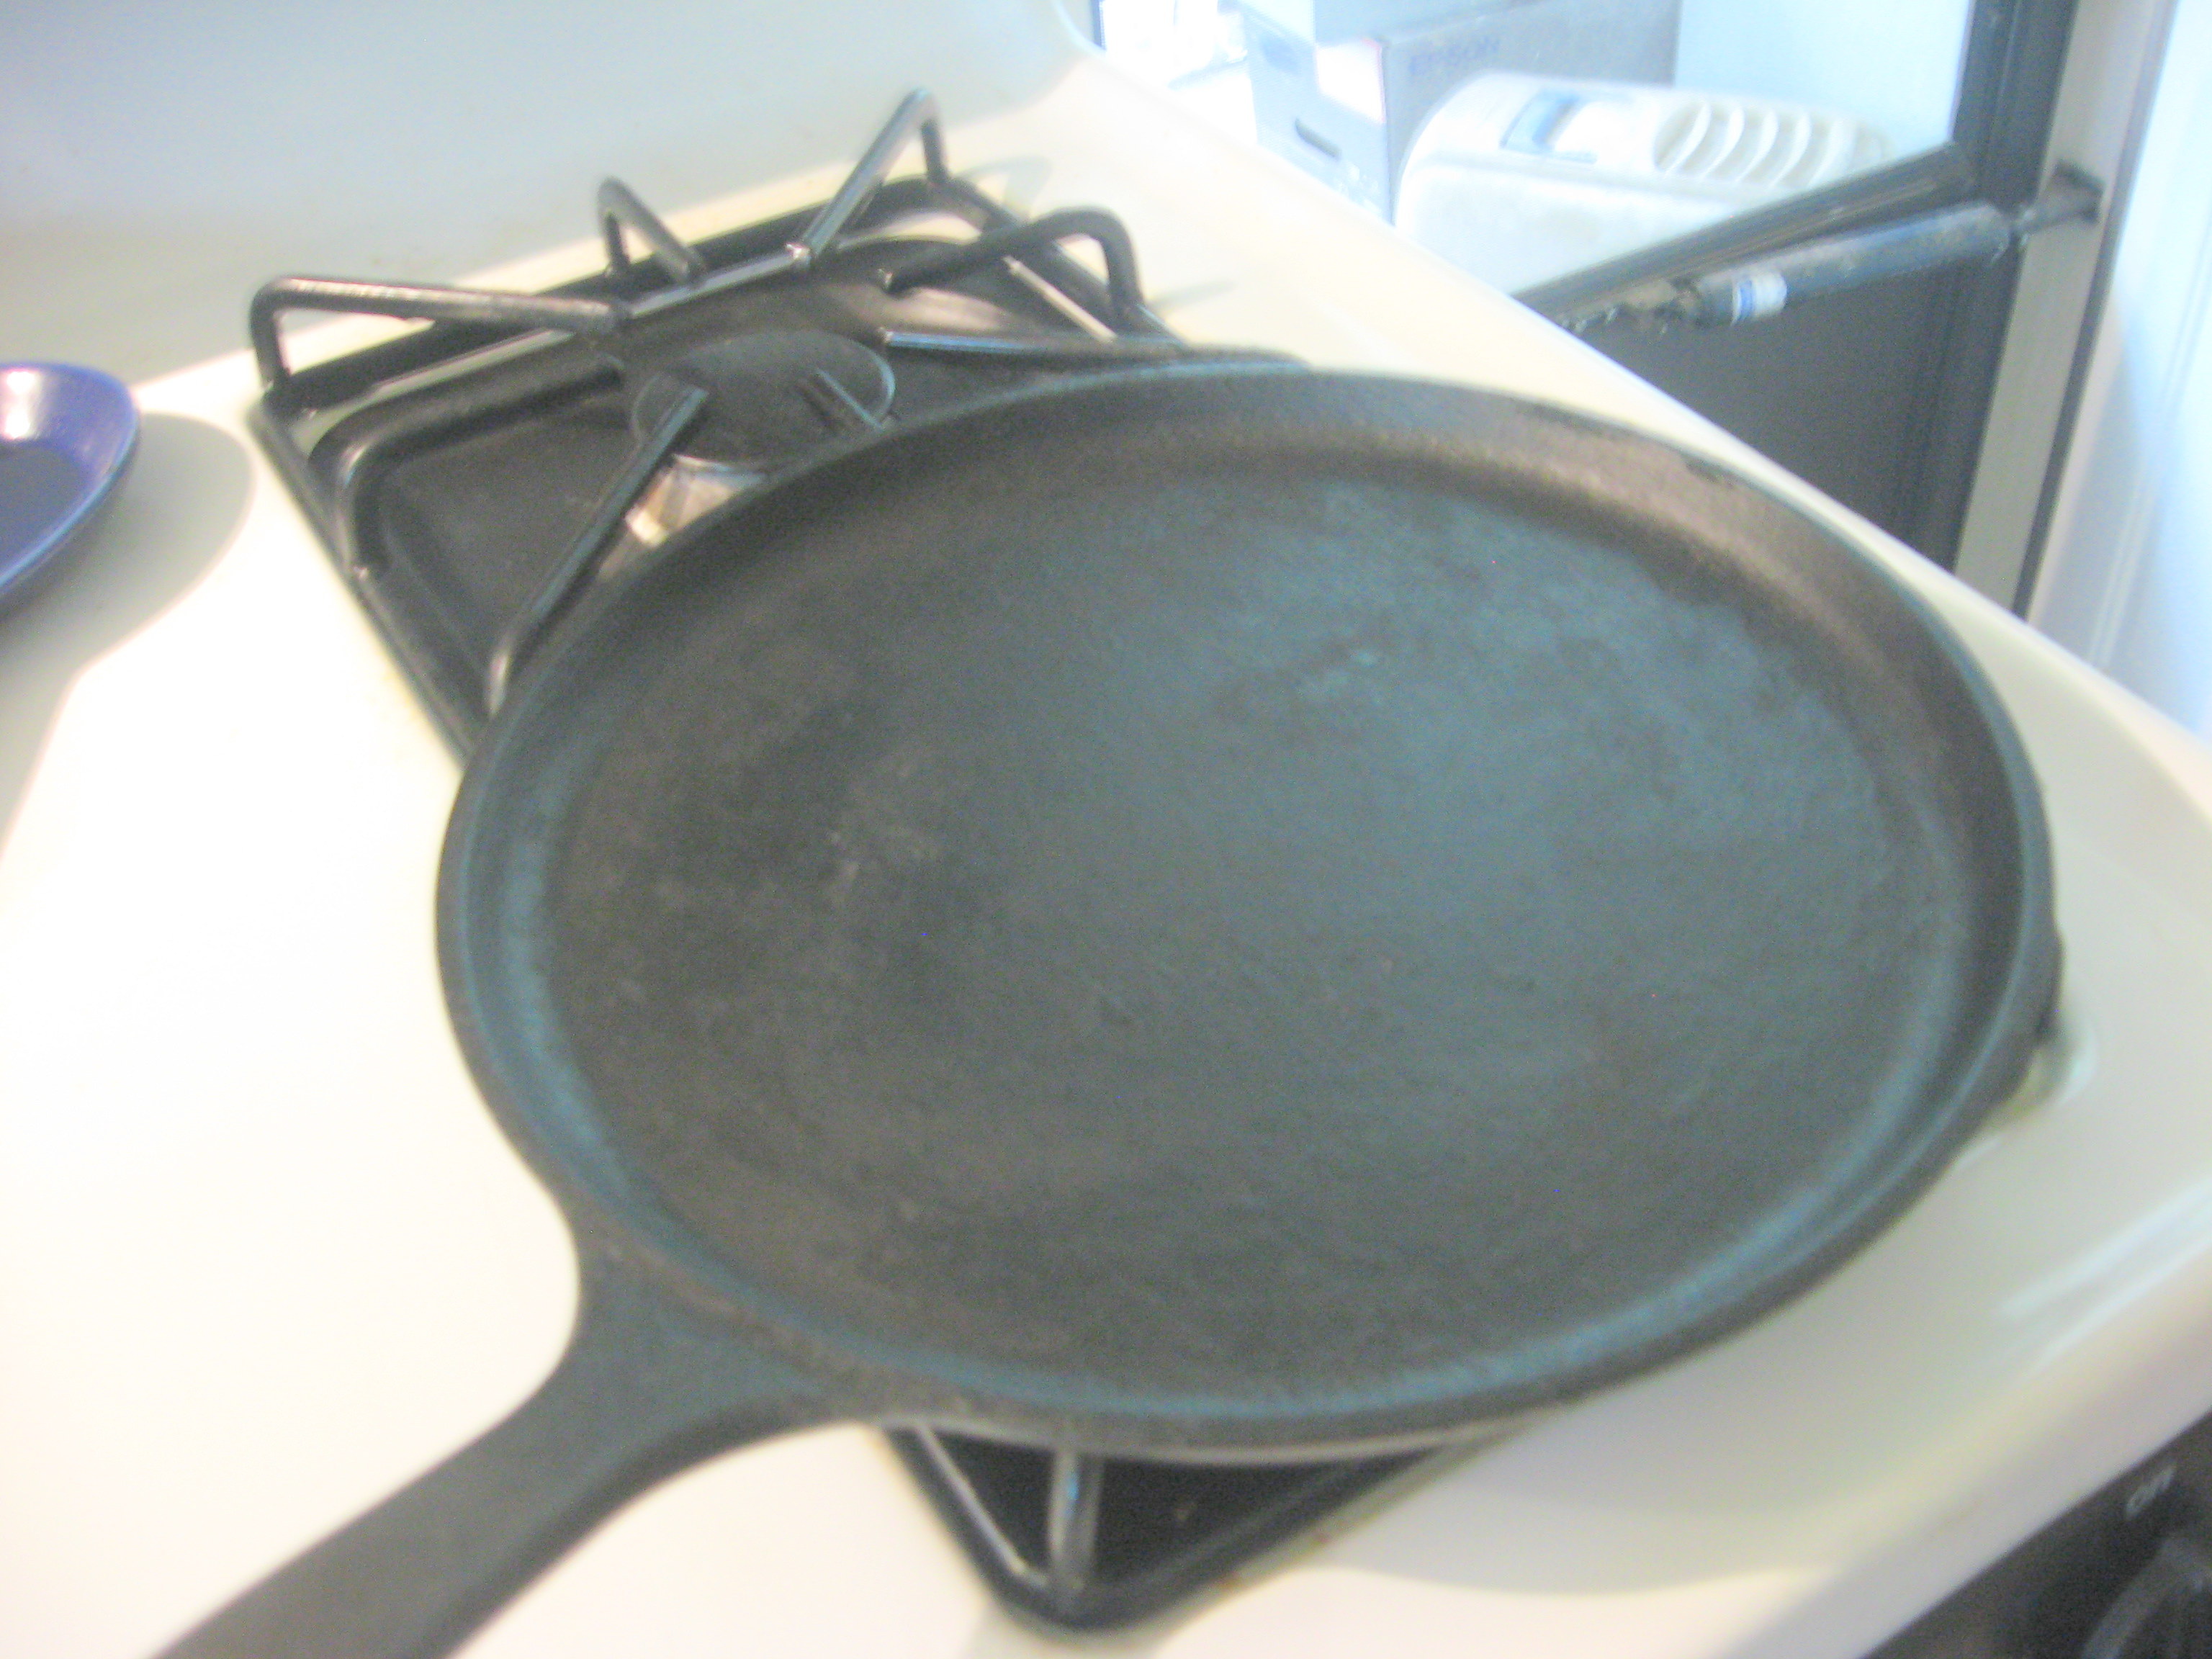
The omnipresent cast-iron griddle is my instrument of choice for cooking steaks or chops indoors. For steaks or chops that are up to an inch in thickness–or perhaps just a tad more–I like to cook them with the method described by Jamie Oliver for pork neck steak.

This 1-inch steak weighs in at just under a pound, so there will be leftovers, but as with beef steaks this isn’t a problem–easy to find uses for the leftovers before they spend enough time in the refrigerator to taste like something that has been in the refrigerator. Though this steak could be cooked right out of the package without any preparation, I’m going to give it just a bit of pretreatment.

Cook’s Illustrated (and America’s Test Kitchen) have repeatedly demonstrated that brining or salting improve texture and taste of meats. Salting has the advantage of not requiring planning–and it’s easier.  The usual procedure is to sprinkle with lamb leg steak saltedkosher salt and allow to stand at room temperature for an hour. I’ve found that salting and allowing to stand in the refrigerator overnight works well–I can prep my chop or steak immediately on bringing it into to the kitchen and it will be ready for later. The suggested amount of salt is 3/4 teaspoon for each 8 ounces of weight.

(This doesn’t call for a measuring device at all;  two good three-fingered pinches, sprinkled from way above so that it spreads out evenly.  When you see chefs sprinkling something from shoulder height, that’s not showmanship. Sprinkled from that height, the salt crystals have a chance to spread out and not just plop on the steak in one spot.)

Cooking instructions

lamb leg stteak on griddleNotes:  I prefer a griddle (or griddle pan), not a grill pan that has the ridges on it. The griddle will give you browning all over the surface of the meat, not just stripes on it. Stripes are pretty, but all-over sear really tastes better to me.

  • Deactivate the smoke alarm–probably means taking out the battery. This is necessary before you start cooking because you need to be paying close attention while cooking.  (You see the smoke in the picture, right?) There’s no way to do this without it smoking. If you try to do this without smoking, you won’t get the same results.
  • Heat cast-iron griddle (or skillet) over high heat until it’s very hot–you want really high heat. This is why you deactivated the smoke alarm. Test heat by flicking a drop of water onto the griddle–it will sizzle and skitter around hectically, kind of like one of the really supper bouncy balls that my cat plays
  • Pat steak dry and rub with a little oil (not extra-virgin olive oil–the heat will destroy flavor) on both sides.
  • Put steak on the griddle–it should make some noise or the griddle is not hot enough, and cook for two (2) minutes without moving it. Don’t turn the heat down.
  • Turn and cook the other side for two minutes.
  • Return to the first side, and cook for one minute; turn over and cook that side for one minute.
  • Repeat the one-minute cook-and-turn until the steak has been cooked for about 8 to 10 minutes total time. Check with an instant-read thermometer if you  need to (insert through the side of the steak or simply press the surface with a finger. For medium it should feel the same as pressing on the palm of your hand at the base of the thumb).
  • Let rest for 10 or 15 minutes for juices to distribute evenly, then eat!
  • A dollop of gremolata would be a nice touch; you might even add a bit of mint when making the gremolata.

ÒΔÓ

lamb leg steak on plate with ratatouilleEver since I discovered this technique of cooking 1-inch chops or steaks, it’s all I’ve used for meats. For thicker steaks, I’ll use a combination of pan-searing and oven. I’m sure there’s a good food-science explanation for why this works so well, but I haven’t gone looking for it–I suspect that the heat transfer to the interior of the steak or chop is different than cooking one side at a time, as well as the extremely high heat.

True, the stove will need cleaning after you’ve done this, but the result is well worth it. There is no “overcooked” grey area to this steak. This works well with pork, veal, beef, and the lamb.

. . . don’t forget to put the battery back in the smoke alarm!

lamb leg steak cut to show pink interior

Hive Inspection (30 August ’15)

IMG_20150329_133928244_HDROMG–there are SO many bees in there. OK, I was expecting more bees given the traffic in and out of the hive looking like a really busy airport! (The RDU Apiport?  Sorry, just had to throw that in.)

Reality  hit when I lifted the inner cover. On my last inspection (15 August), the second medium box was only very sparsely populated-the girls were starting to draw comb on the foundation in it. There weren’t any full-depth cells, and no nectar or pollen then either.

(We’ve progressed from the nucleus colony that had only five frames in one medium box (right), to needing three medium boxes now!  Happiness! I’m still learning what is supposed to be there, but the insides of the hive are beginning to look familiar.)

When I lifted off the upper box and set it aside so I could look at the frames in the lower box, I could tell that it was a lot heavier than on the last inspection. Good sign! Means the bees are stashing pollen and nectar.

When I looked in the lower box (where the nuc was installed) I could see empty cells, presumably where brood had hatched but had not yet been filled or reused. I didn’t find queen in the lower box, though everything looked good and hive_IMG_20150815_114521440_HDRthere were lots of bees down there.

When I replaced the upper box and started inspecting those frames, I found the queen, and eggs. (It is really hard to see eggs. Now I know why the books say it’s good to have bright sunlight when you’re looking for them.) It was cloudy this afternoon and that made finding eggs really difficult. But there they were, and the queen was moseying around doing her thing with lots of workers . They had started to draw comb on all except the two outer-most frames of this box. I went to do this inspection expecting to add a third medium body to the hive–and I’m glad I did.  There was brood (capped and uncapped) in the upper box now, and queen (I think she needs a name!) was laying eggs up there. I knew that the population was increasing, but I didn’t really realize how much until today when I could look inside the hive. (I’ve been incredibly curious the last two weeks–it’s hard not to look every week, but not good for the bees. It’s disruptive when someone starts yanking you home apart.)

Ò¿Ó

hiveI often go out  and watch them come and go–it’s hard to describe how relaxing it is to watch. Looking inside the hive is an awesome experience–realizing that each bee has a job, and all that activity is purposeful, not chaos. Working with the hive, with bees buzzing around you, maybe walking on your arms or hands, is like being off in another world.  Before my hands-on experience, I didn’t fully appreciate what other beekeepers were trying to describe about the experience of working a hive with bees all around you.

Ô¿Ô

 I have a feeder that uses four quart jars.  I wanted to be able to just switch out the nearly empty ones for filled ones, so I got quart four regular-mouth Ball/Mason jars.   I took new filled jars with me to do the inspection–after my experiences with spilled sugar syrup, there’s no way I’m going to work with it anywhere but over the kitchen sink.

When I put the hive back together, it turned out that those jars are just a tad taller than the jars that came with the feeder, so a medium super isn’t quite deep enough. Since the bees access the jars below and can’t get into the upper super, I just let the outer cover be a bit catawampus this evening.  First thing tomorrow morning I have to make a trip to Bailey Bee Supply tomorrow for a shim so that the cover will sit properly.

ÒυÓ

Friday hive news

honeybees at hive entranceAs you can see from the video FB post, there’s a lot of traffic in and out of the hive–fall nectar flow.  That kind of traffic makes for a happy beekeeper!  It’s so hard not to look into the hive more frequently than I should, but I’ll get to check what’s going on inside over the weekend.  Watching the activity from the outside makes me feel like I’m going to see that a lot of work has been done on the inside!  I hope that there’s enough pollen and nectar stored that I have to add another super so these girls will have lots of food for the winter.  Nectar must be good since they are not taking much of the sugar water–they know where the good stuff is.

Just a bit of frustration, though certainly not with the bees, but my telescoping cover seems a little cattywampus so I’ve got yellowjackets in the top super where the feeders are located.  BUT, they can neither get into the hive nor can the bees get into that super.  I need to find a solution to that.

(I also need to find a video converter so that I can post videos here–I’m so impressed with the traffic in and out–there’s no way to capture it on a still unless you’re very lucky.)

Ò¿Ó

angel hair pasta with raw tomato sauce

I’ve always like angel hair pasta with a very light, fresh sauce. Since it’s tomato season, at least for a bit yet, I wanted to share this one–The recipes (and commentary) from this blog (Smitten Kitchen) are always good–and this is SO easy.  I’ve found that angel hair pasta cooks so well in the microwave pasta cooker which means no hot steamy, boiling pot in the  kitchen in this hot weather.

Enjoy!

angel hair pasta with raw tomato sauce from the Smitten Kitchen.

. . . more Ratatouille (Provençal vegetables)

dark purple eggplantRatatouille is a summer dish that gets us over the hump of too many zucchini, and maybe tomatoes. It’s enjoyable warm, cold, or room temperature–but it’s not an especially memorable dish.  Not usually–however, I’ve one recipe for it that is memorable.This is not the ratatouille that you put together in the slow cooker, or quickly; however, if you like ratatouille, you should take the time and effort to make this one. Go ahead and splurge on the saffron.That’s part of what makes this memorable.

The recipe from Simply French: Patricia Wells presents the cuisine of Joël Robuchon (see bibliography) gave entirely new meaning to ratatouille.

Provençal Vegetables (Ratatouille)

Adapted from Simply French, pp. 229-230. Serves: 8 to 10

Ingredients

  • 10 medium tomatoes
  • 2 medium onions finely chopped
  • 1 cup extra-virgin olive oil
  • Sea salt to taste
  • 1 green bell pepper, peeled and thinly sliced
  • 1 red bell pepper, peeled and thinly sliced
  • Bouquet garni: several parsley stems, celery leaves, sprigs thyme, wrapped in the green part of a leek and fastened with kitchen twine
  • 4 garlic cloves minced
  • Freshly ground white pepper to taste
  • 1 teaspoon tomato paste (optional)
  • 6 to 7 small zucchini scrubbed, trimmed, and cut into matchsticks (about 1-1/4 pounds)
  • 2 teaspoons fresh thyme leaves
  • 3 small eggplants peeled and cut into matchsticks (about 1-1/2 pounds)
  • Pinch of saffron threads (optional)

Preparation

  1.  Core, peel, and seed the tomatoes. Save as much juice as possible and strain. If strained juice does not measure 1 cup, add water as needed to bring to 1 cup. Finely chop the tomatoes and set aside.
  2. In a large skillet, combine onions, 1/4 cup oil, and pinch of salt. Cook over low heat until soft and translucent.
  3. Add peppers and pinch salt. Cover and continue cooking about 5 minutes more.ÒΛÓ
  4. Add chopped tomatoes, stir and continue cooking for about 5 minutes more.
  5. Stir in the tomato juice, bouquet garni, and garlic.  Taste for seasoning.
  6. Cover and simmer gently for about 30 minutes–don’t over cook–vegetables should not be mushy!
  7. If the tomatoes lack flavor, add tomato paste.
  8. In another skillet, while the tomatoes, onions and seasonings cook, heat 1/2 cup oil over moderate heat. When hot add zucchini and sauté until lightly colored (about 5 minutes). Transfer to colander and drain excess oil. Season with thyme and salt.
  9. In the same skillet, heat the remaining 1/4 cup of oil and sauté the eggplant until lightly colored. Transfer to colander and drain excess oil.
  10. Add zucchini and eggplant to the tomato mixture and taste for seasoning, add saffron if desired, and simmer gently for about 30 minutes.
  11. Serve warm, room temperature, or cold. Will keep covered and refrigerated for several days.

ÒüÓ

This is not you everyday, get rid of the zucchini, ratatouille. It’s special occasion, peak tomato season, and it take time and effort, but if you invest the time and effort, I think you’ll agree that it is a fantastic dish. This best made when tomatoes are at their peak–you don’t want to expend this effort and use canned tomatoes or supermarket ones that have no flavor–that would be a waste of effort. Neither the tomato paste nor the saffron can overcome that deficit.

At the hive. . . .

bees on upper super top framesMy last inspection was a little off my intended schedule–I didn’t want to open the hive with yellowjackets buzzing around. They were finally gone last week so I peeked into the hive to see what the “girls” were doing. (I have to keep reminding myself that the colony only arrived here on the 24th of July.)  Definitely more regular traffic in and out lately, carrying pollen in all colors different colors.

Goldenrod is starting to bloom here now–and I think I’ve seen ragweed.  I’m not yet used to looking at fall flowers for a bee’s point of view. From the meeting of the Durham Beekeepers association this week, it seems that I was correct about the goldenrod, and the asters will be later.  It’s a whole new perspective on looking at flowers when I consider the bees!

There is new comb in the upper super, but only very rare pollen or nectar, so I didn’t add an extra super this time. I’ll be checking again in about a week to see where we are. I’ve asked an experienced beekeeper to go through an inspection next weekend.  It will be good to have a “teaching” inspection since I wasn’t able to get into a class before my bees arrived.


Heirloom Tomato Panzanella

Hot weather, summertime, tomatoes, and panzanella is just a natural.  It’s worth looking for heirloom tomatoes to make this salad. There are so many different flavors–it’s not just “tomato”.

This post from Savory Simple brings up an issue that we should all be aware of: we are moving toward homogeneous taste as we give up the heirloom varieties.  Check out Save the Flavors and Seeds of Change.

Heirloom Tomato Panzanella.

Roasted Okra

I discovered something really neat on the Chef Mimi blog this evening.  I have grilled and roasted fresh okra, but I’d never thought of trying frozen okra.  So glad to know I can do that.

I don’t do okra in any way that is going to produce “slime”–just can’t handle that, but roasted or grilled is good. If you think you don’t like okra, try some done like this.

Roasted Okra.