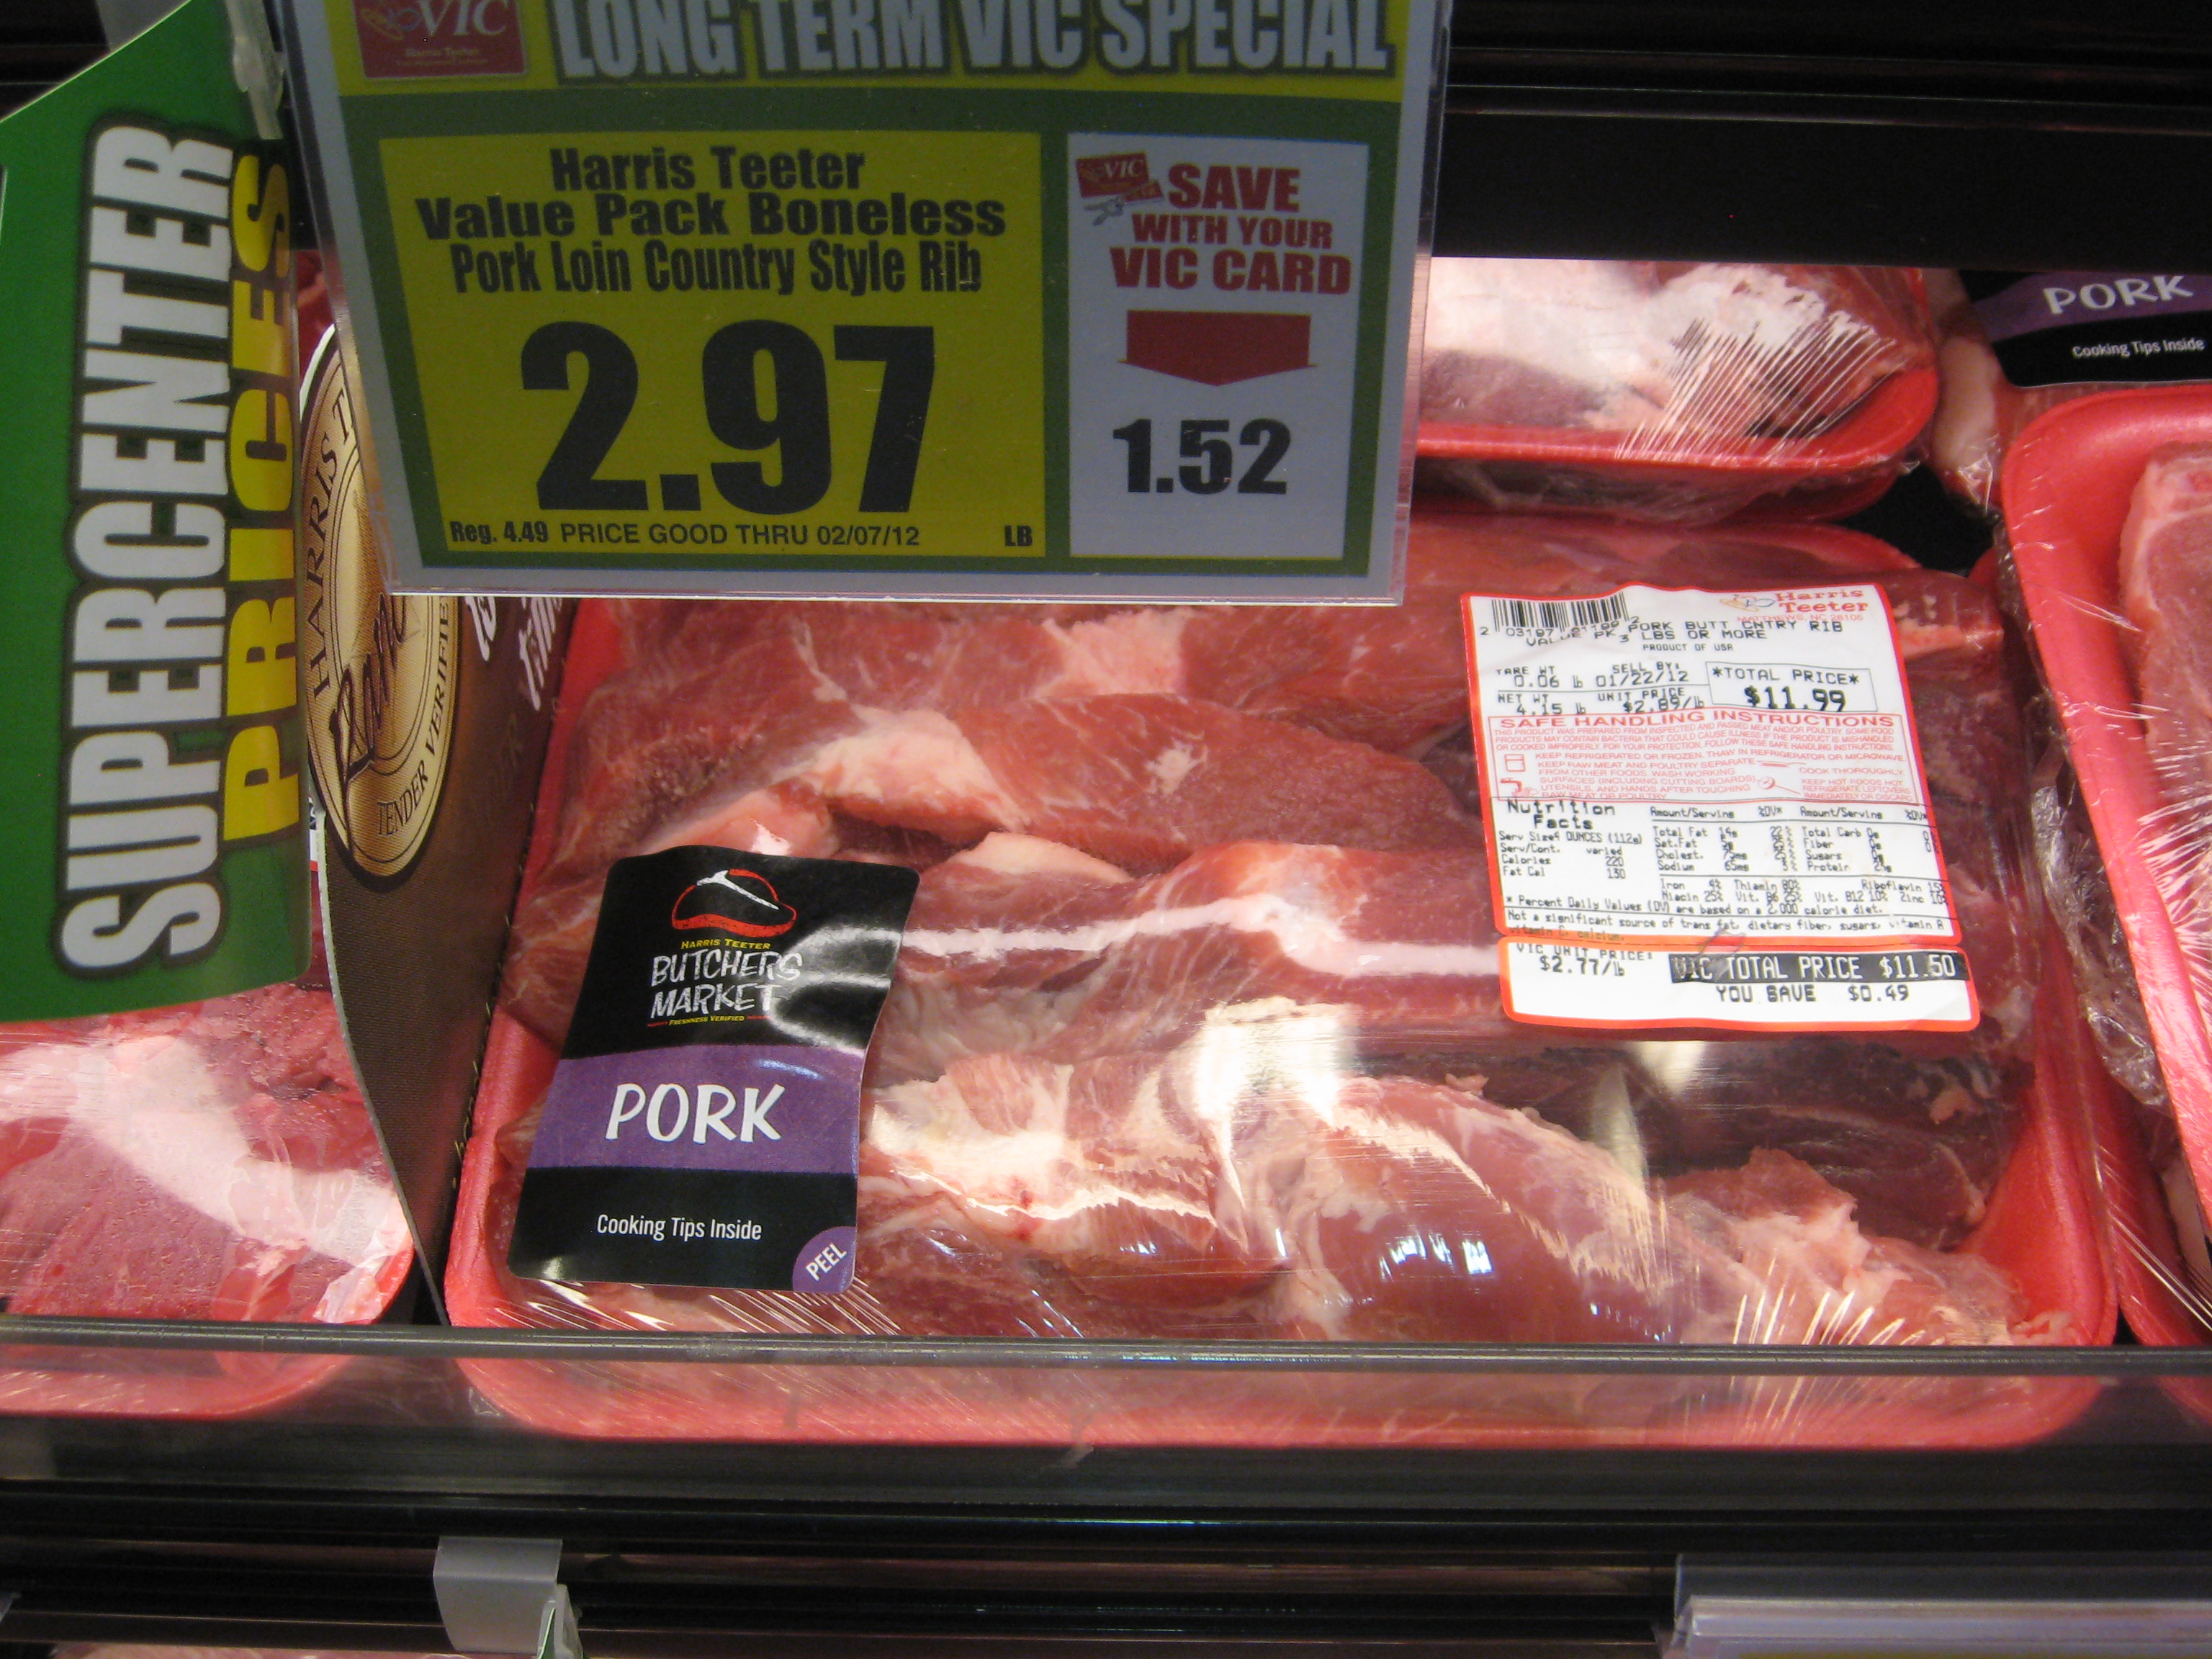
country-style ribs
Yes, more pork and cabbage.
I think pork is a really versatile meat, and cabbage an under-utilized vegetable. So, more!
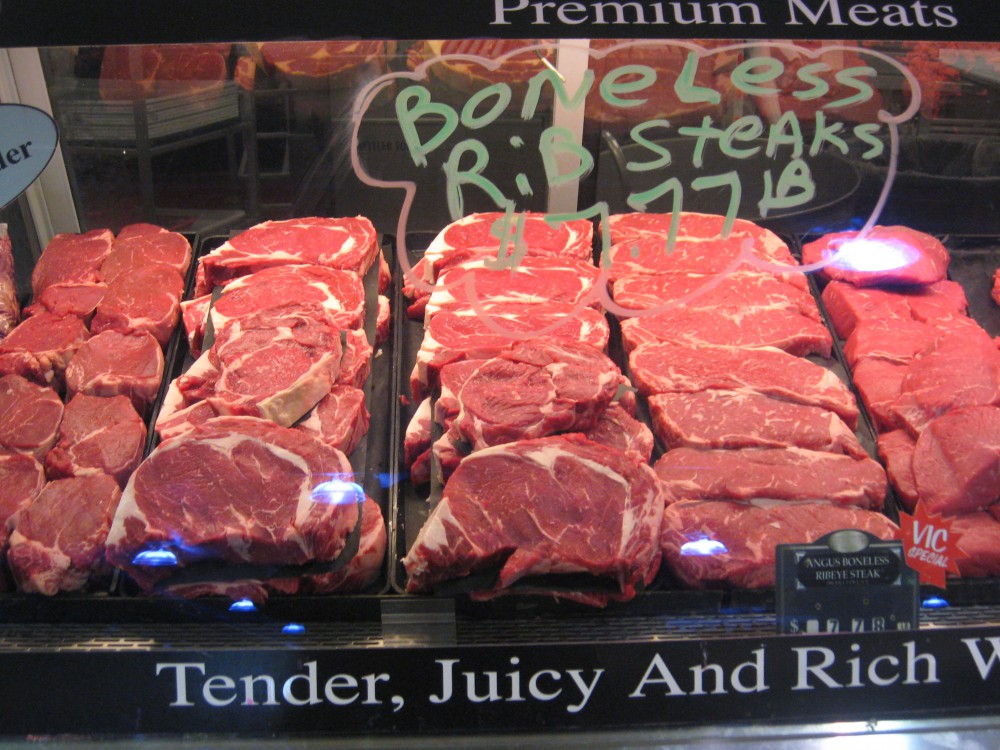
My local Harris Teeter had a special on pork country-style ribs recently–about half the usual price. (Not the price in that picture–less.) Needless to say, a big package of country-style ribs came home with me. The weather has still been cool enough to have braises and stews–cool-weather dishes, so I though I would make braised pork and cabbage since that reheats well, and freezes well.
I was planning to do the Caribbean spiced one from Jacques Pepin’s book, but my plans were altered by the arrival of a manuscript for indexing. After looking at the manuscript, I decided that I needed to get started on that right away to be sure I could meet the deadlines–it’s very dense and intense, and brings out my OCD tendencies–so I opted for a braised pork that I could put together really quickly–in other words, improvisation.
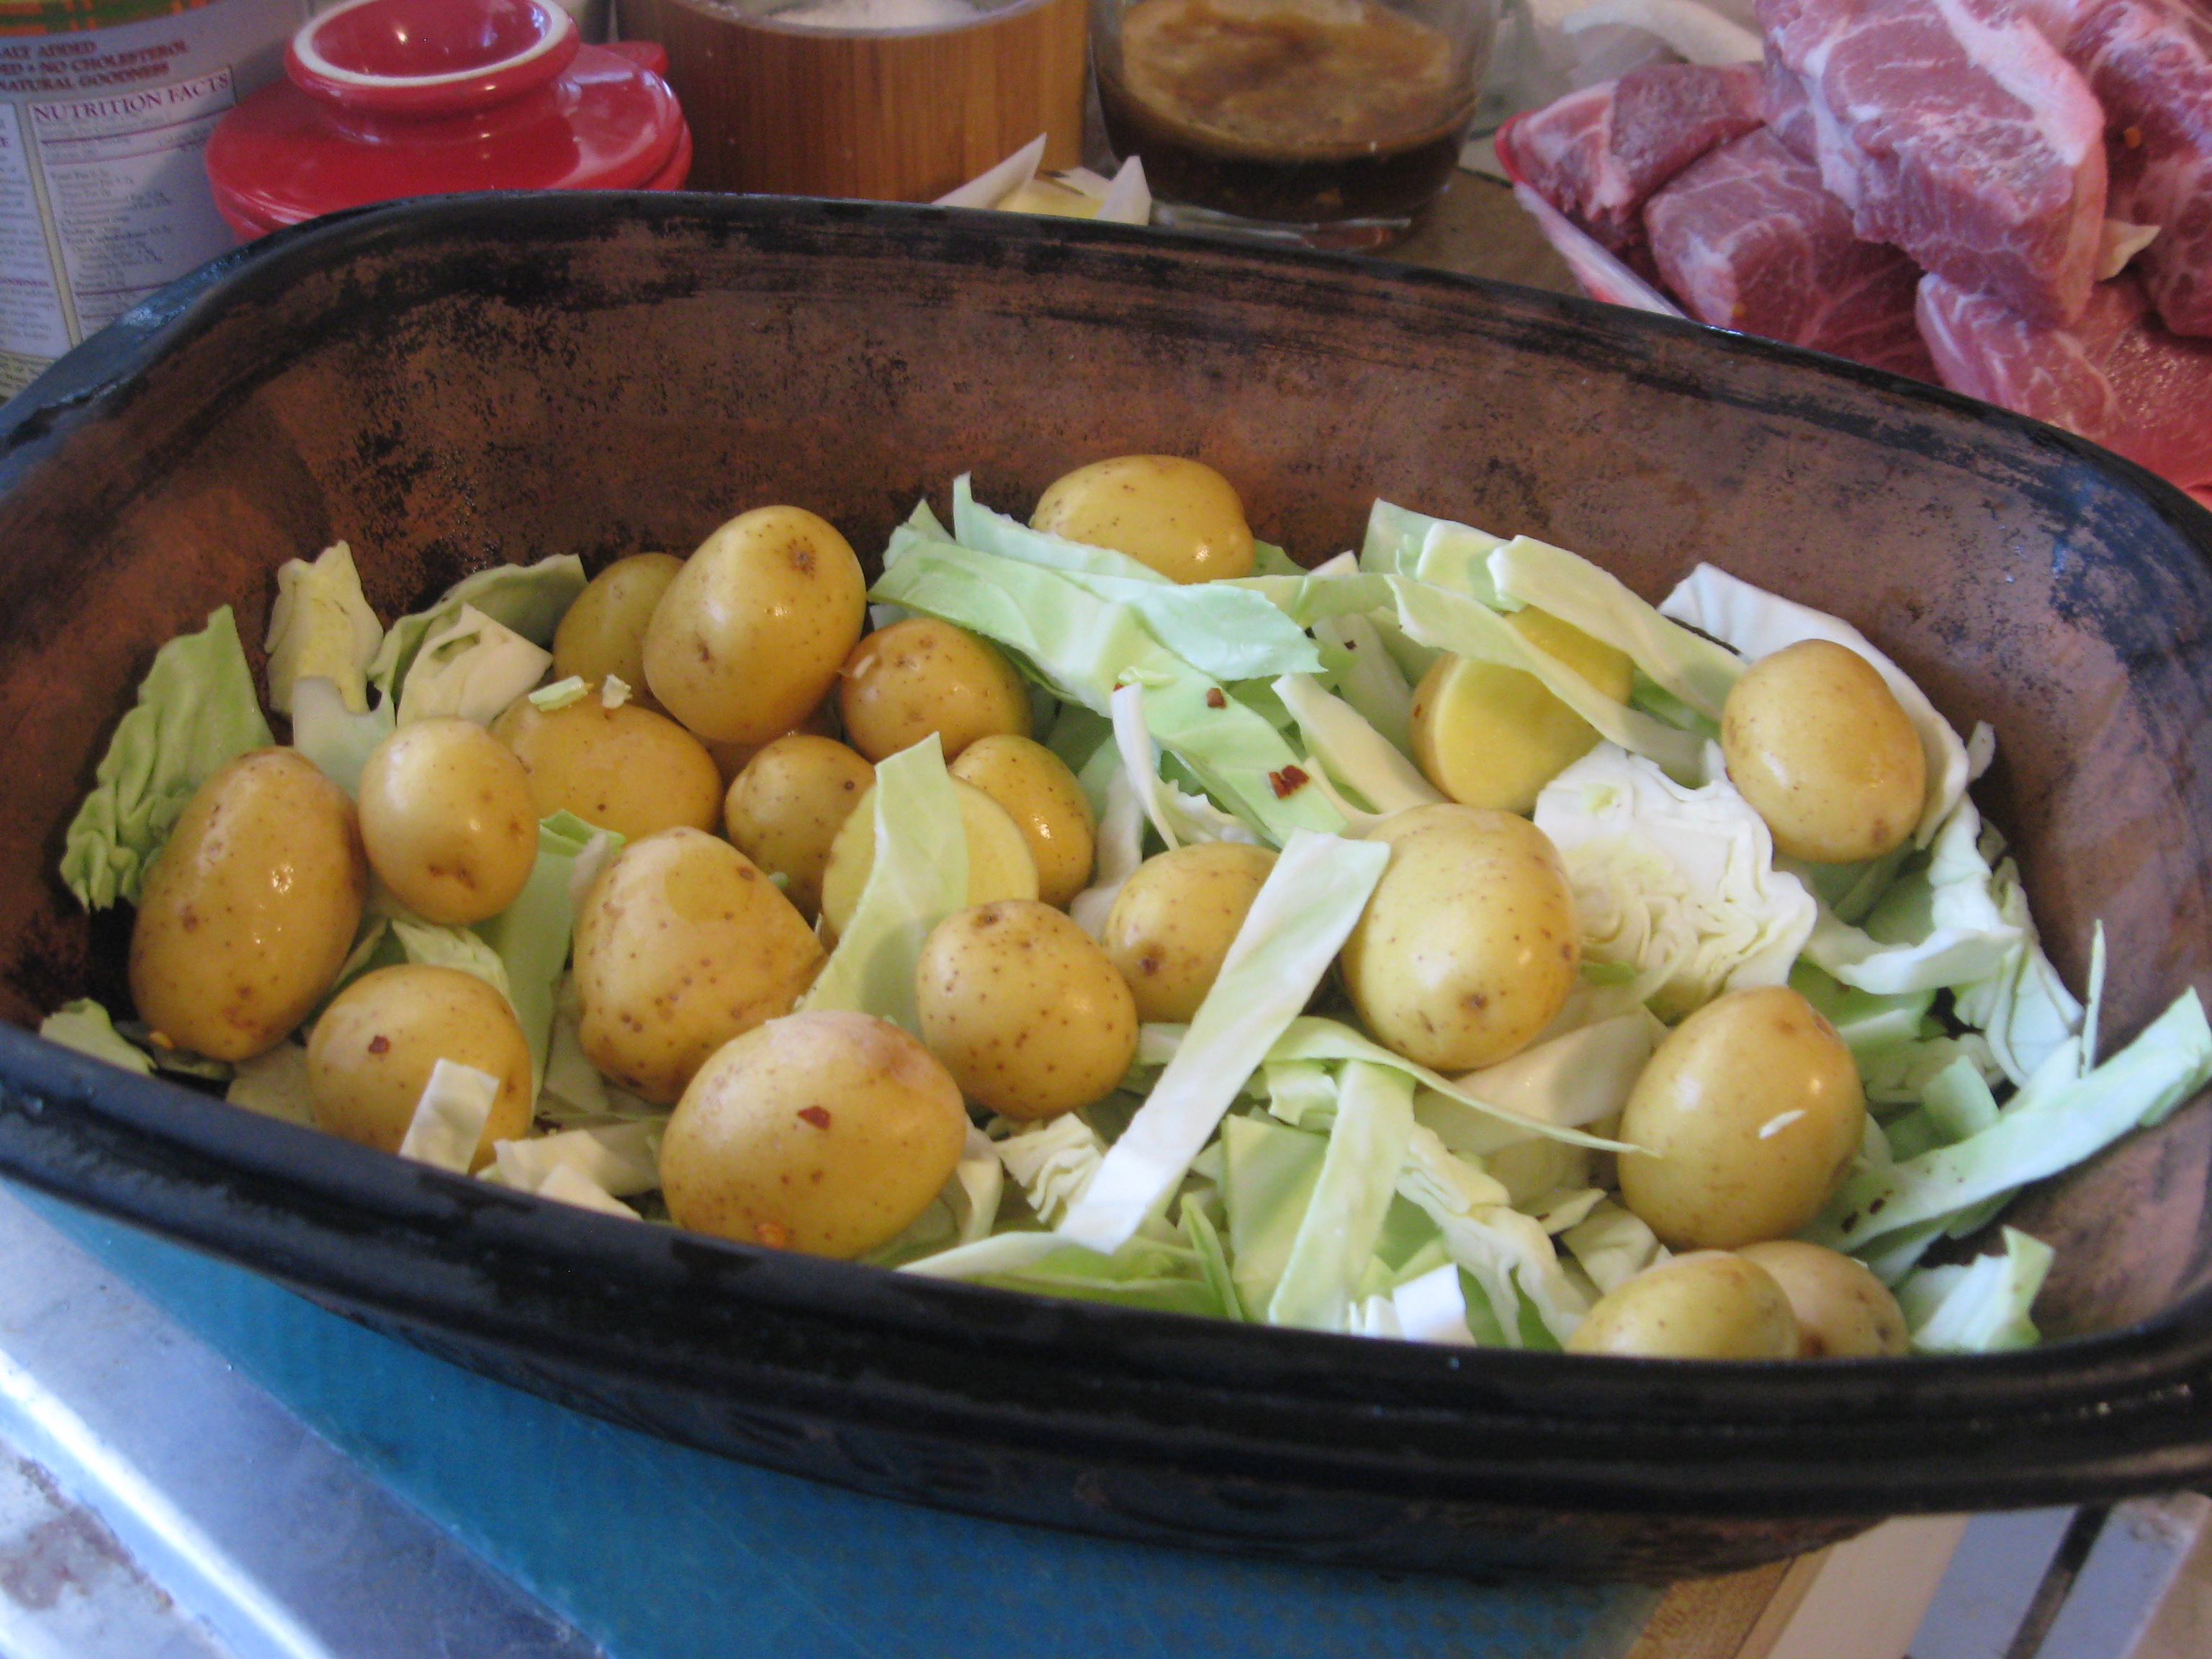
potatoes and cabbage
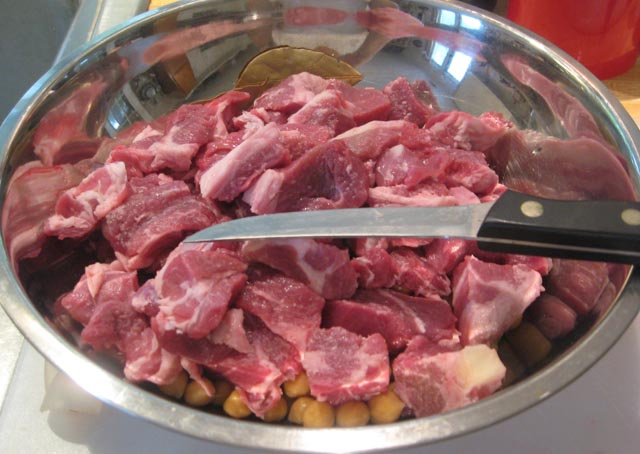
I wanted to turn this into a one-pot, one-plate meal, so I put potatoes right in with the pork and cabbage. I looked at the amount of pork and decided that it needed a whole large head of cabbage. I eye-balled what I thought would be a serving of potatoes with each serving of pork and cabbage, and popped those right in with the cabbage–scrubbed, unpeeled, and cut only if they were large. In this case I used “regular” green cabbage, instead of savoy. I sprinkled some salt over the layers of cabbage and potatoes.
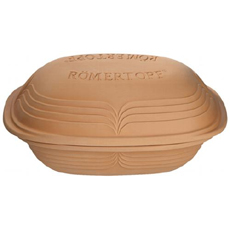
I could have used a Dutch oven, but using a clay cooker let me take a few shortcuts to speed this up–including cooking a bit faster in the oven than had I used the Dutch oven and making it unnecessary to brown the ribs as a separate process before putting them into the pot. The meat will brown on the exposes surfaces while it cooks in the Römertopf since this is more roasting than braising, at least of the meat.
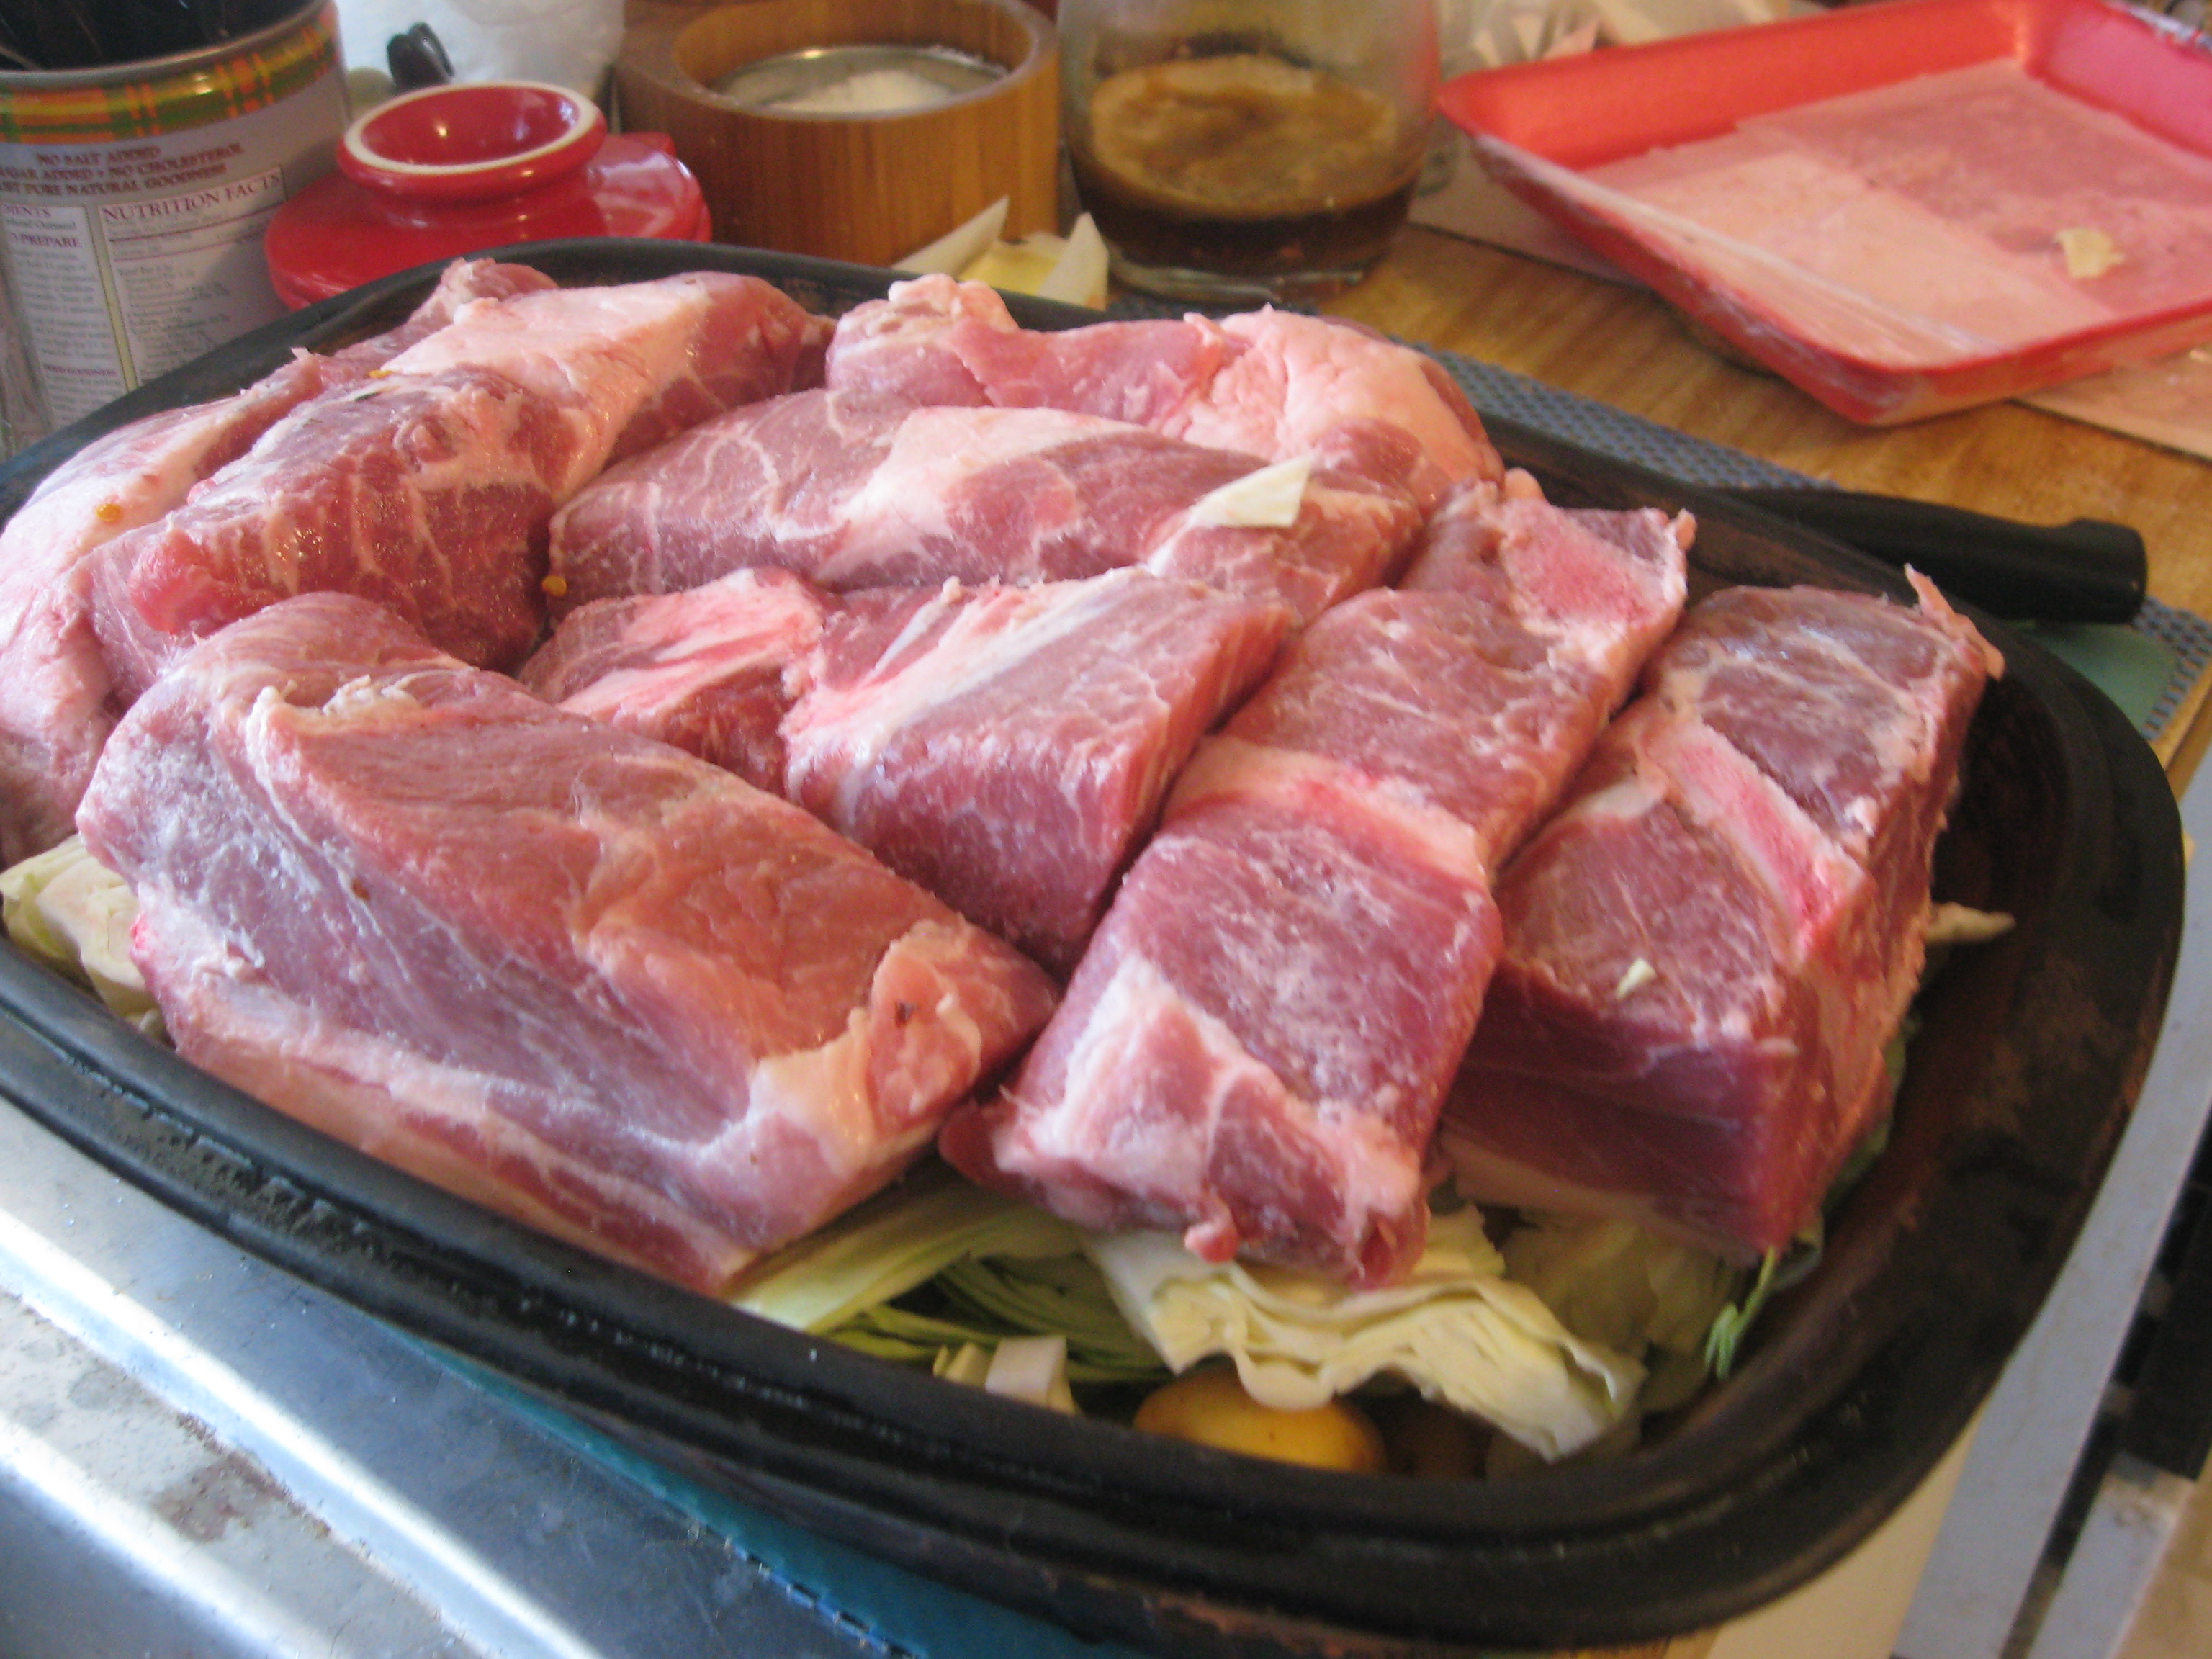
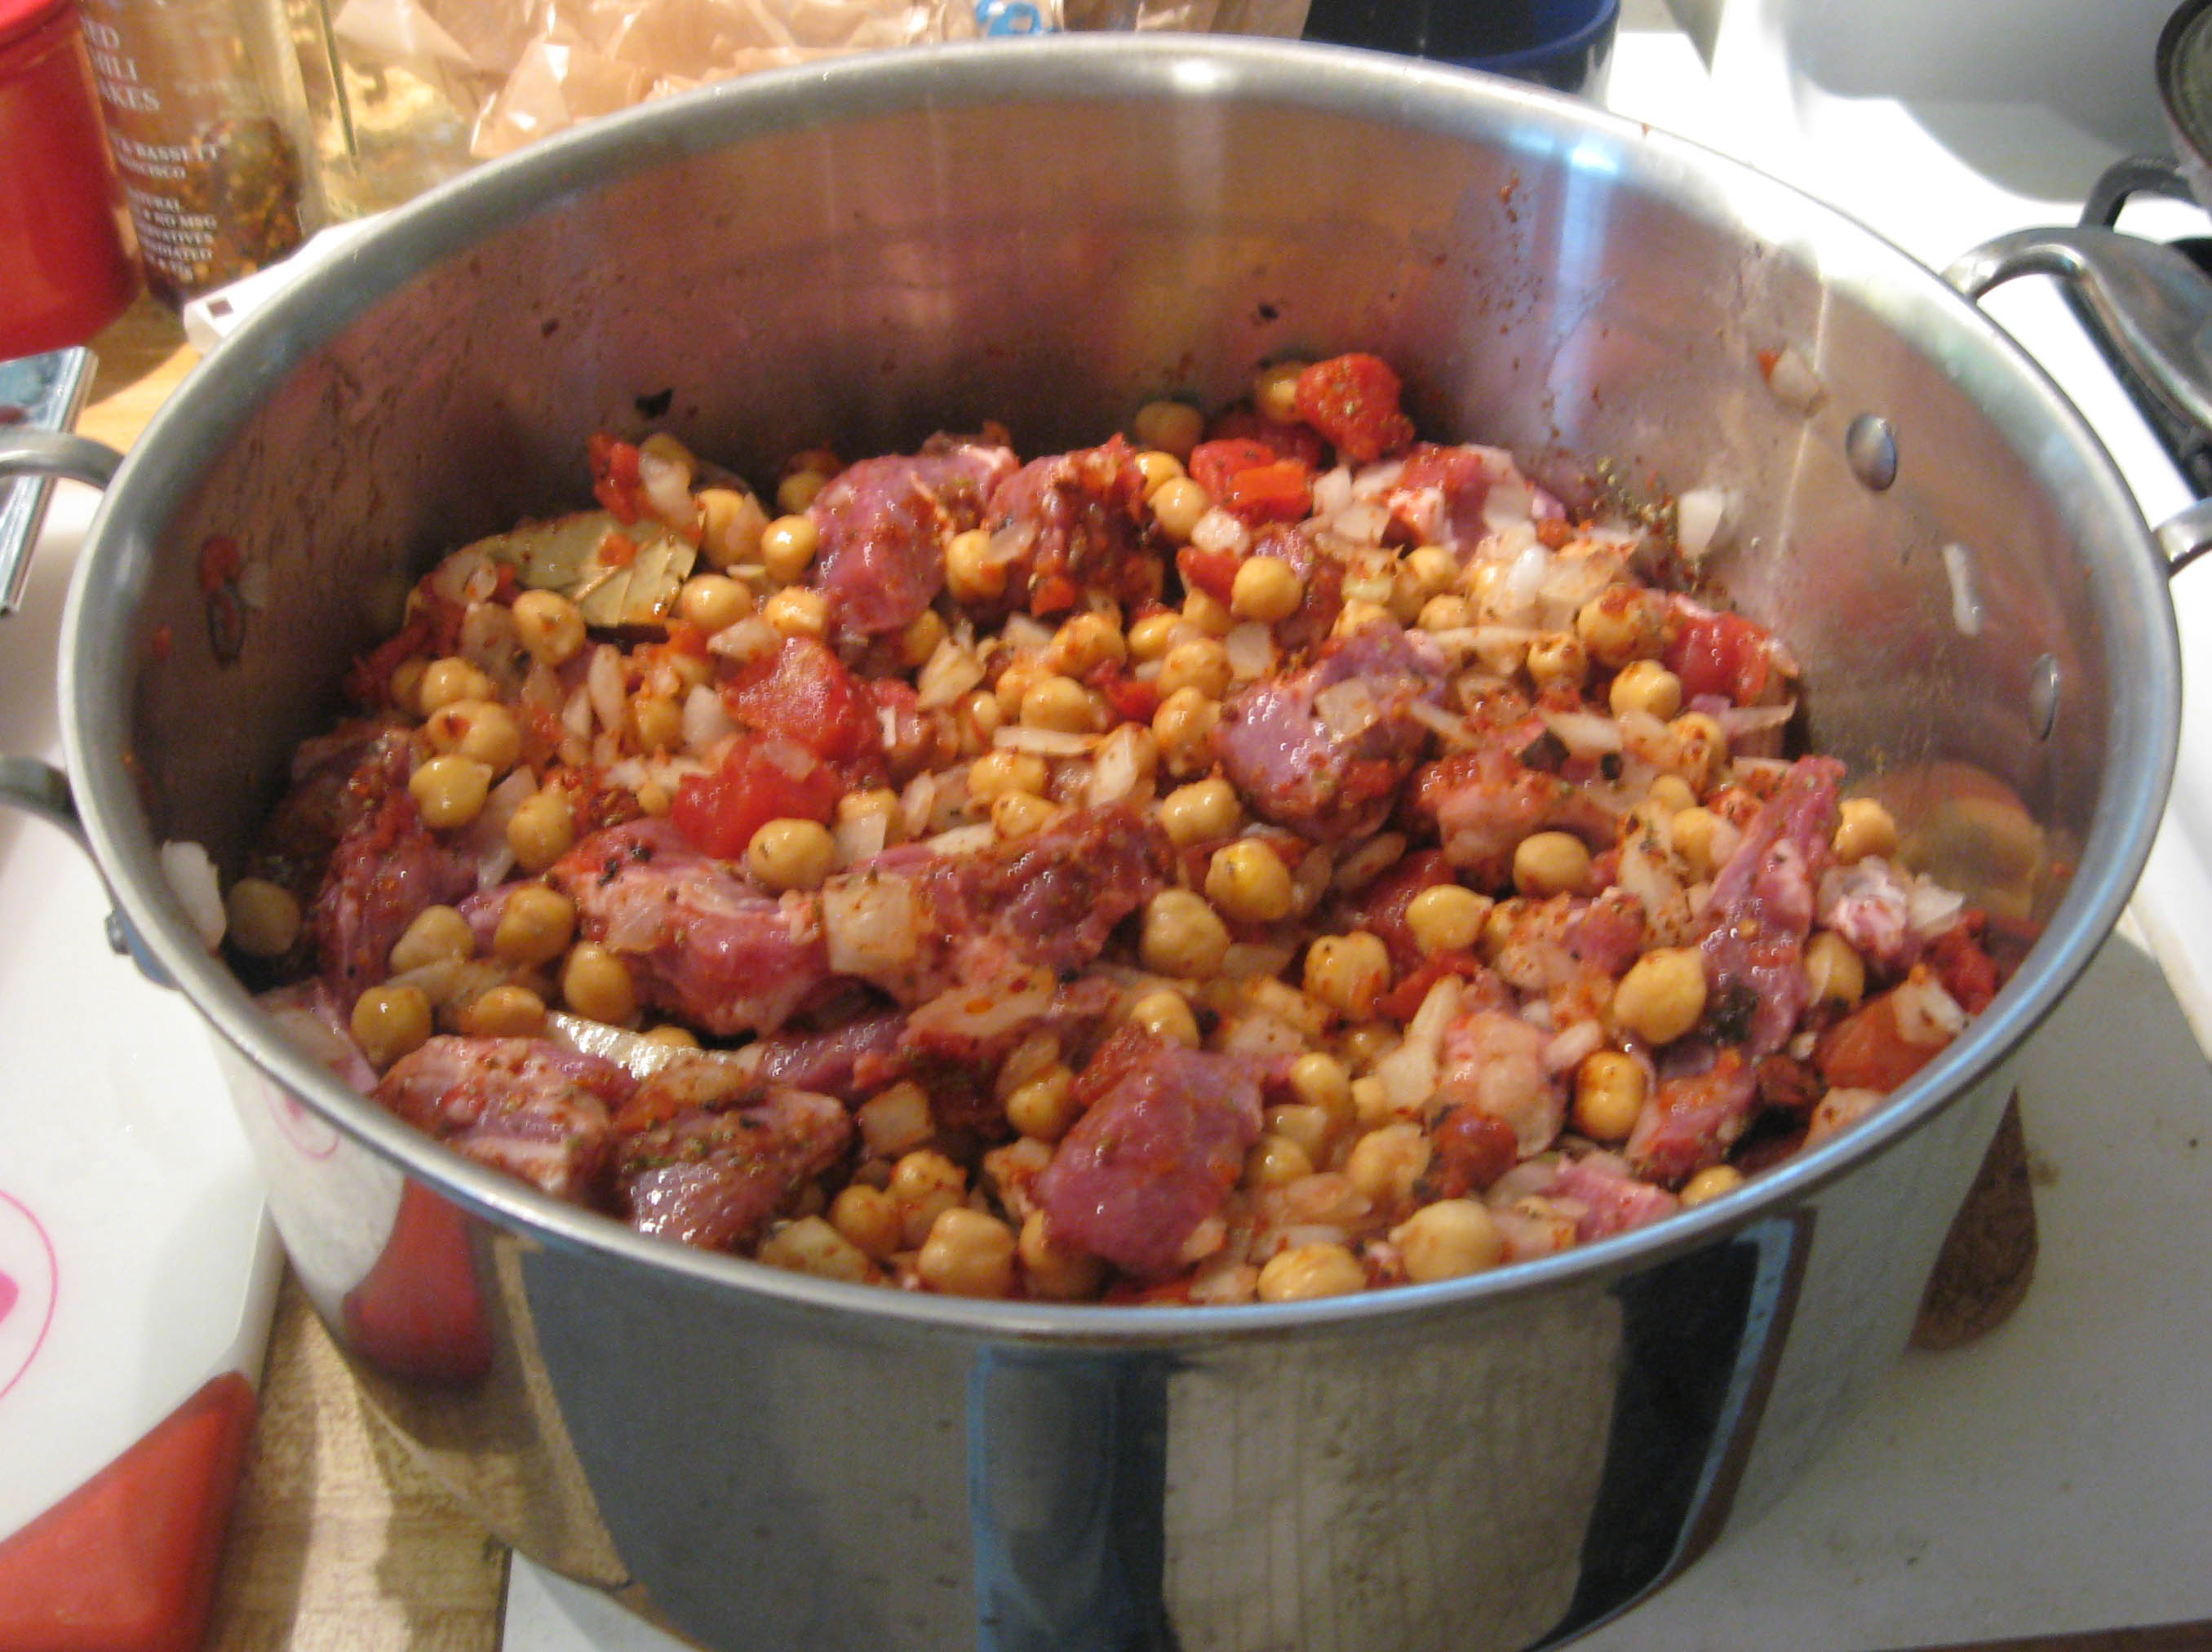
ready for seasoning
The Römertopf that I used (pre-soaked) for this was sized for 14 pounds (not that I had THAT much pork), but the quart sizing on these is misleading since it’s the capacity of the bottom (rather shallow). I had a lot of pork, so I needed the head room here for all that meat. I put the pork over the cabbage and potatoes and seasoned it.
I used by “stand-by, go-to” when lazy seasoning–herbes de Provence because it’s such a great blend of flavors. (I really should have put some caraway seeds in with the  cabbage, under the pork–that would have blended nicely with the herbes de Provence on the pork). I sprinkled the meat with kosher salt, herbes de Provence, and added some red pepper flakes (hot) for a little extra spice; my supper was now oven-ready.
So there’s not really a recipe here, but to summarize:
Ingredients
- country-style pork ribs (each strip makes one very good serving)–this was about 6 servings based on the amount of meat
- one large head of cabbage, depending on what you want the ratio of meat to vegetables (this was about 1:2 meat to cabbage since I wanted large serving of cabbage with the meat).

oven ready Römertopf
- Yukon Gold potatoes (4 small per serving) but adjust as desired
- salt (about 1 tablespoon for the entire dish) \*
- herbes de Provence or other herbs, about 2 generous teaspoons
- red pepper flakes, about 1 generous teaspoon, adjust as desired

Preparation
If you’re using a clay baker like the Römertopf or Schlemmertopf, you will need to soak in water for 15 to 30 before putting into the oven. DO NOT preheat oven–clay pots must go into a cold oven.
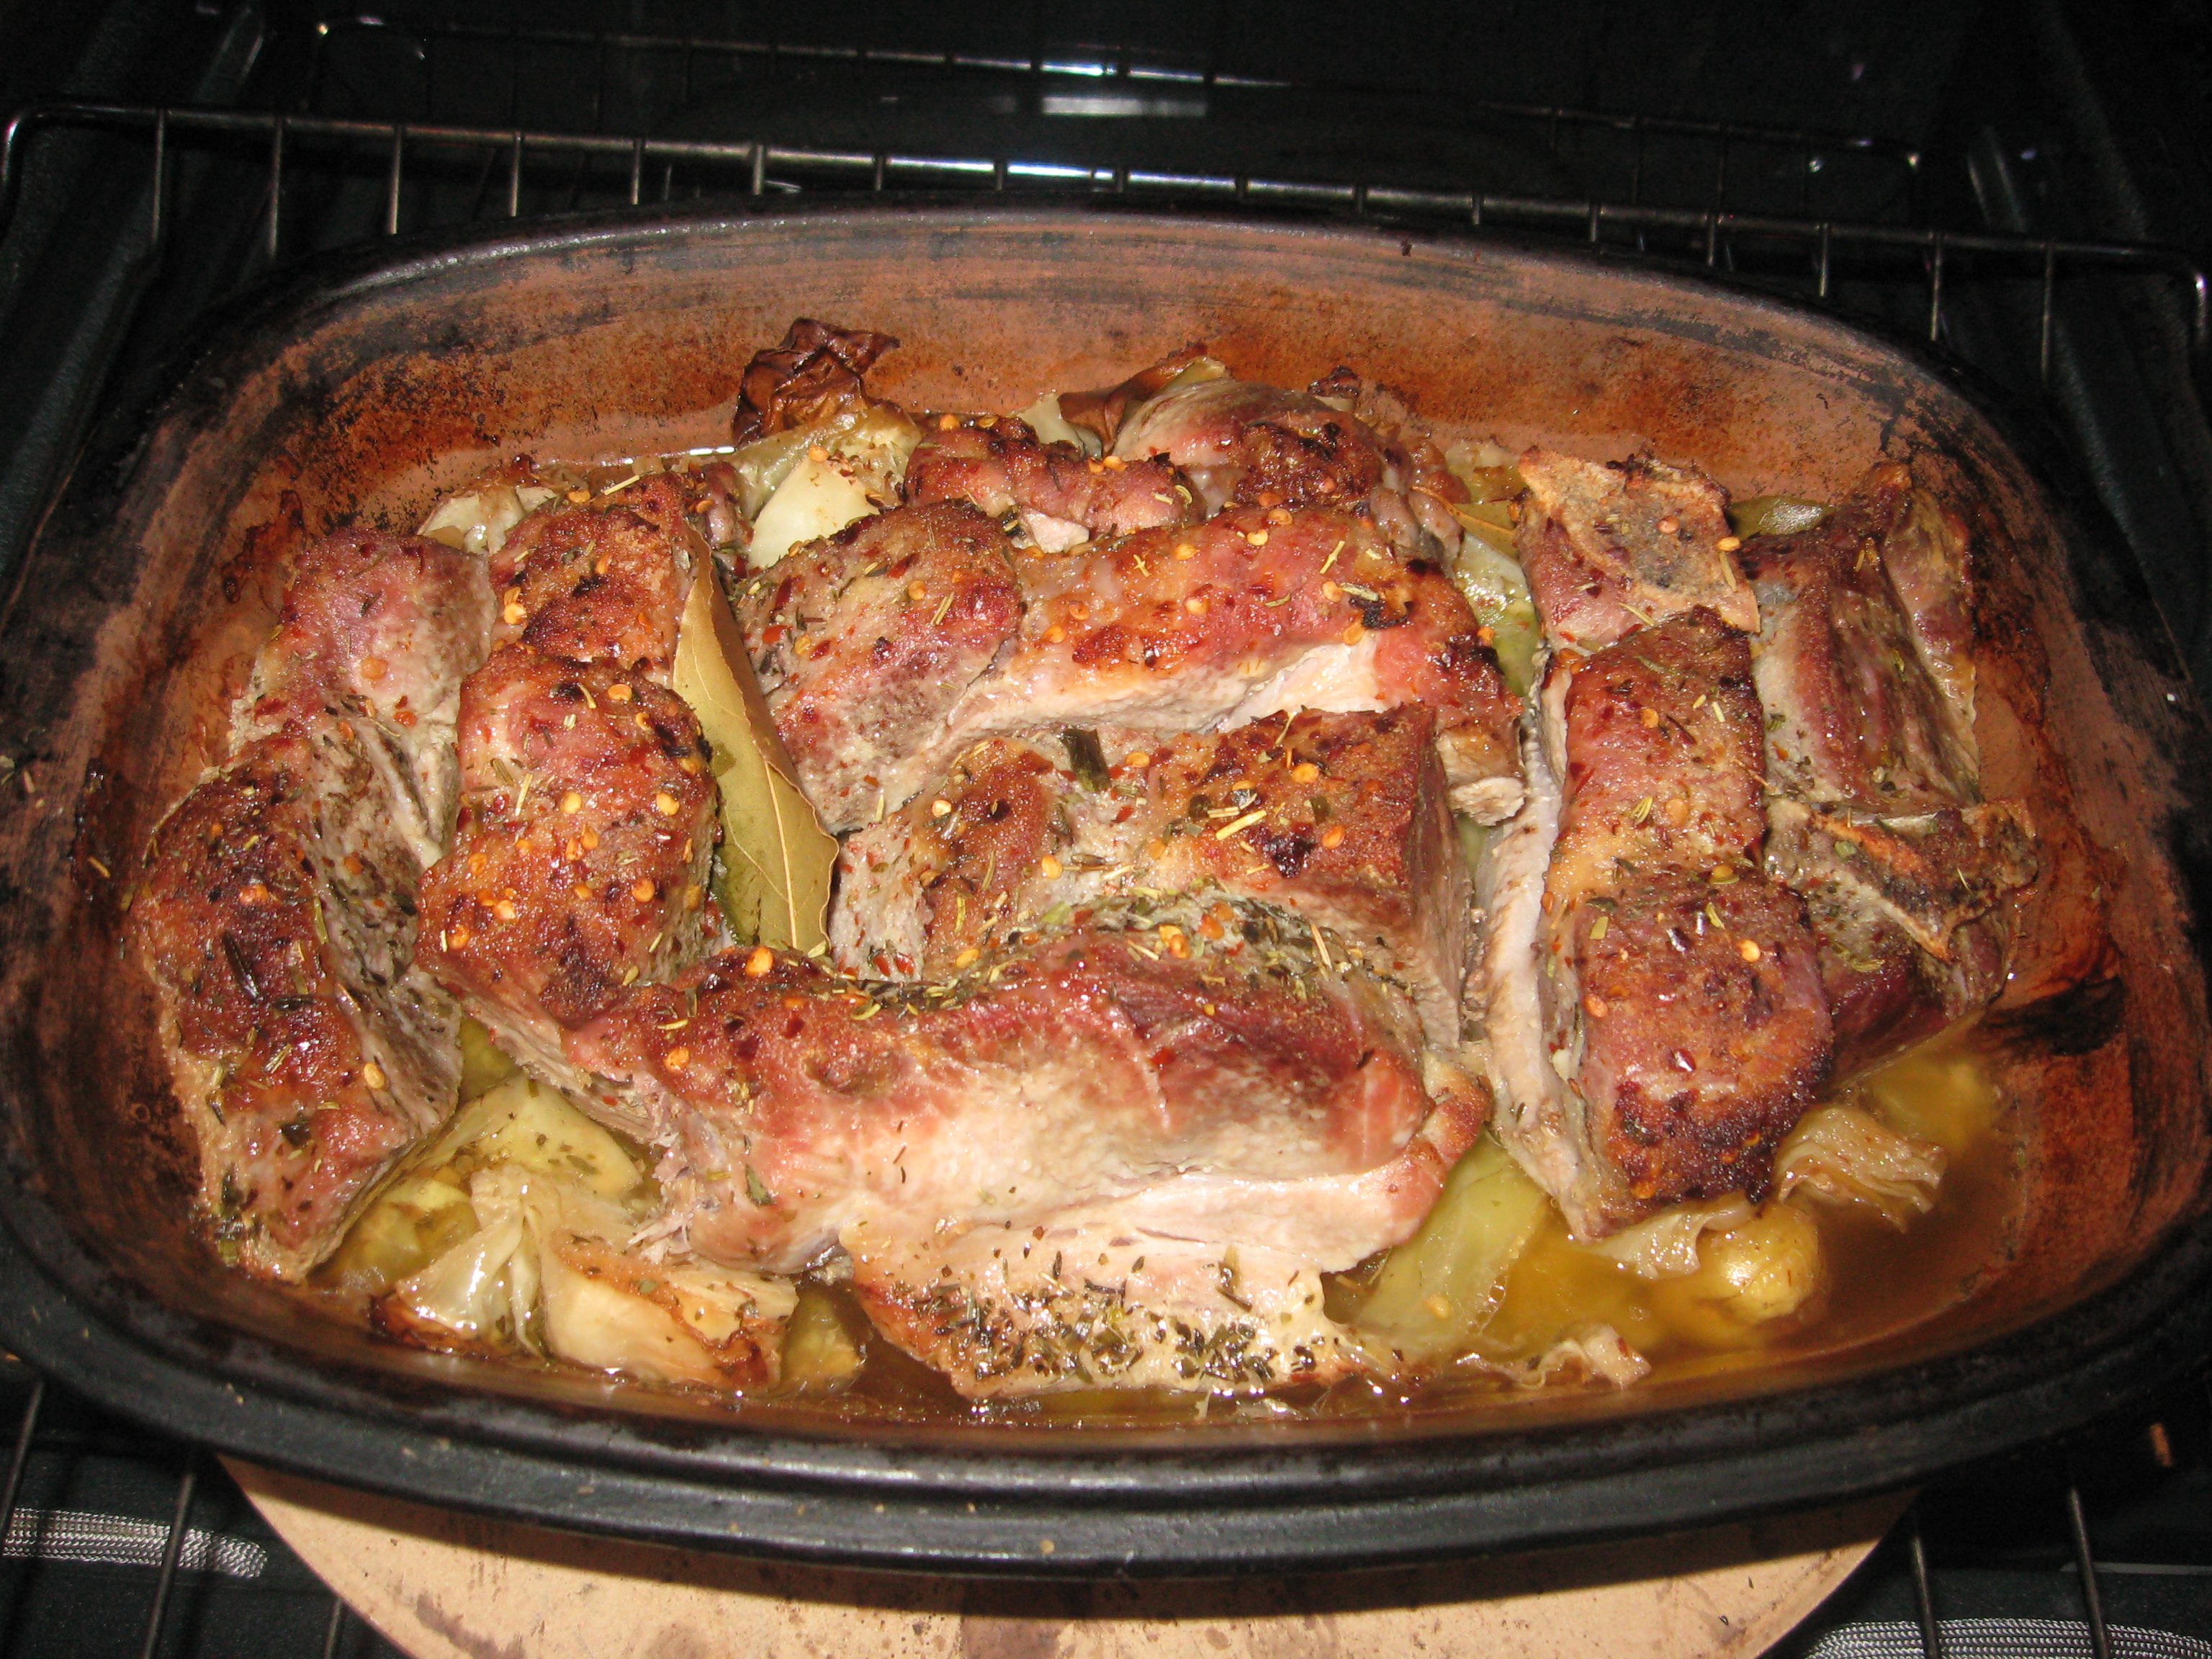
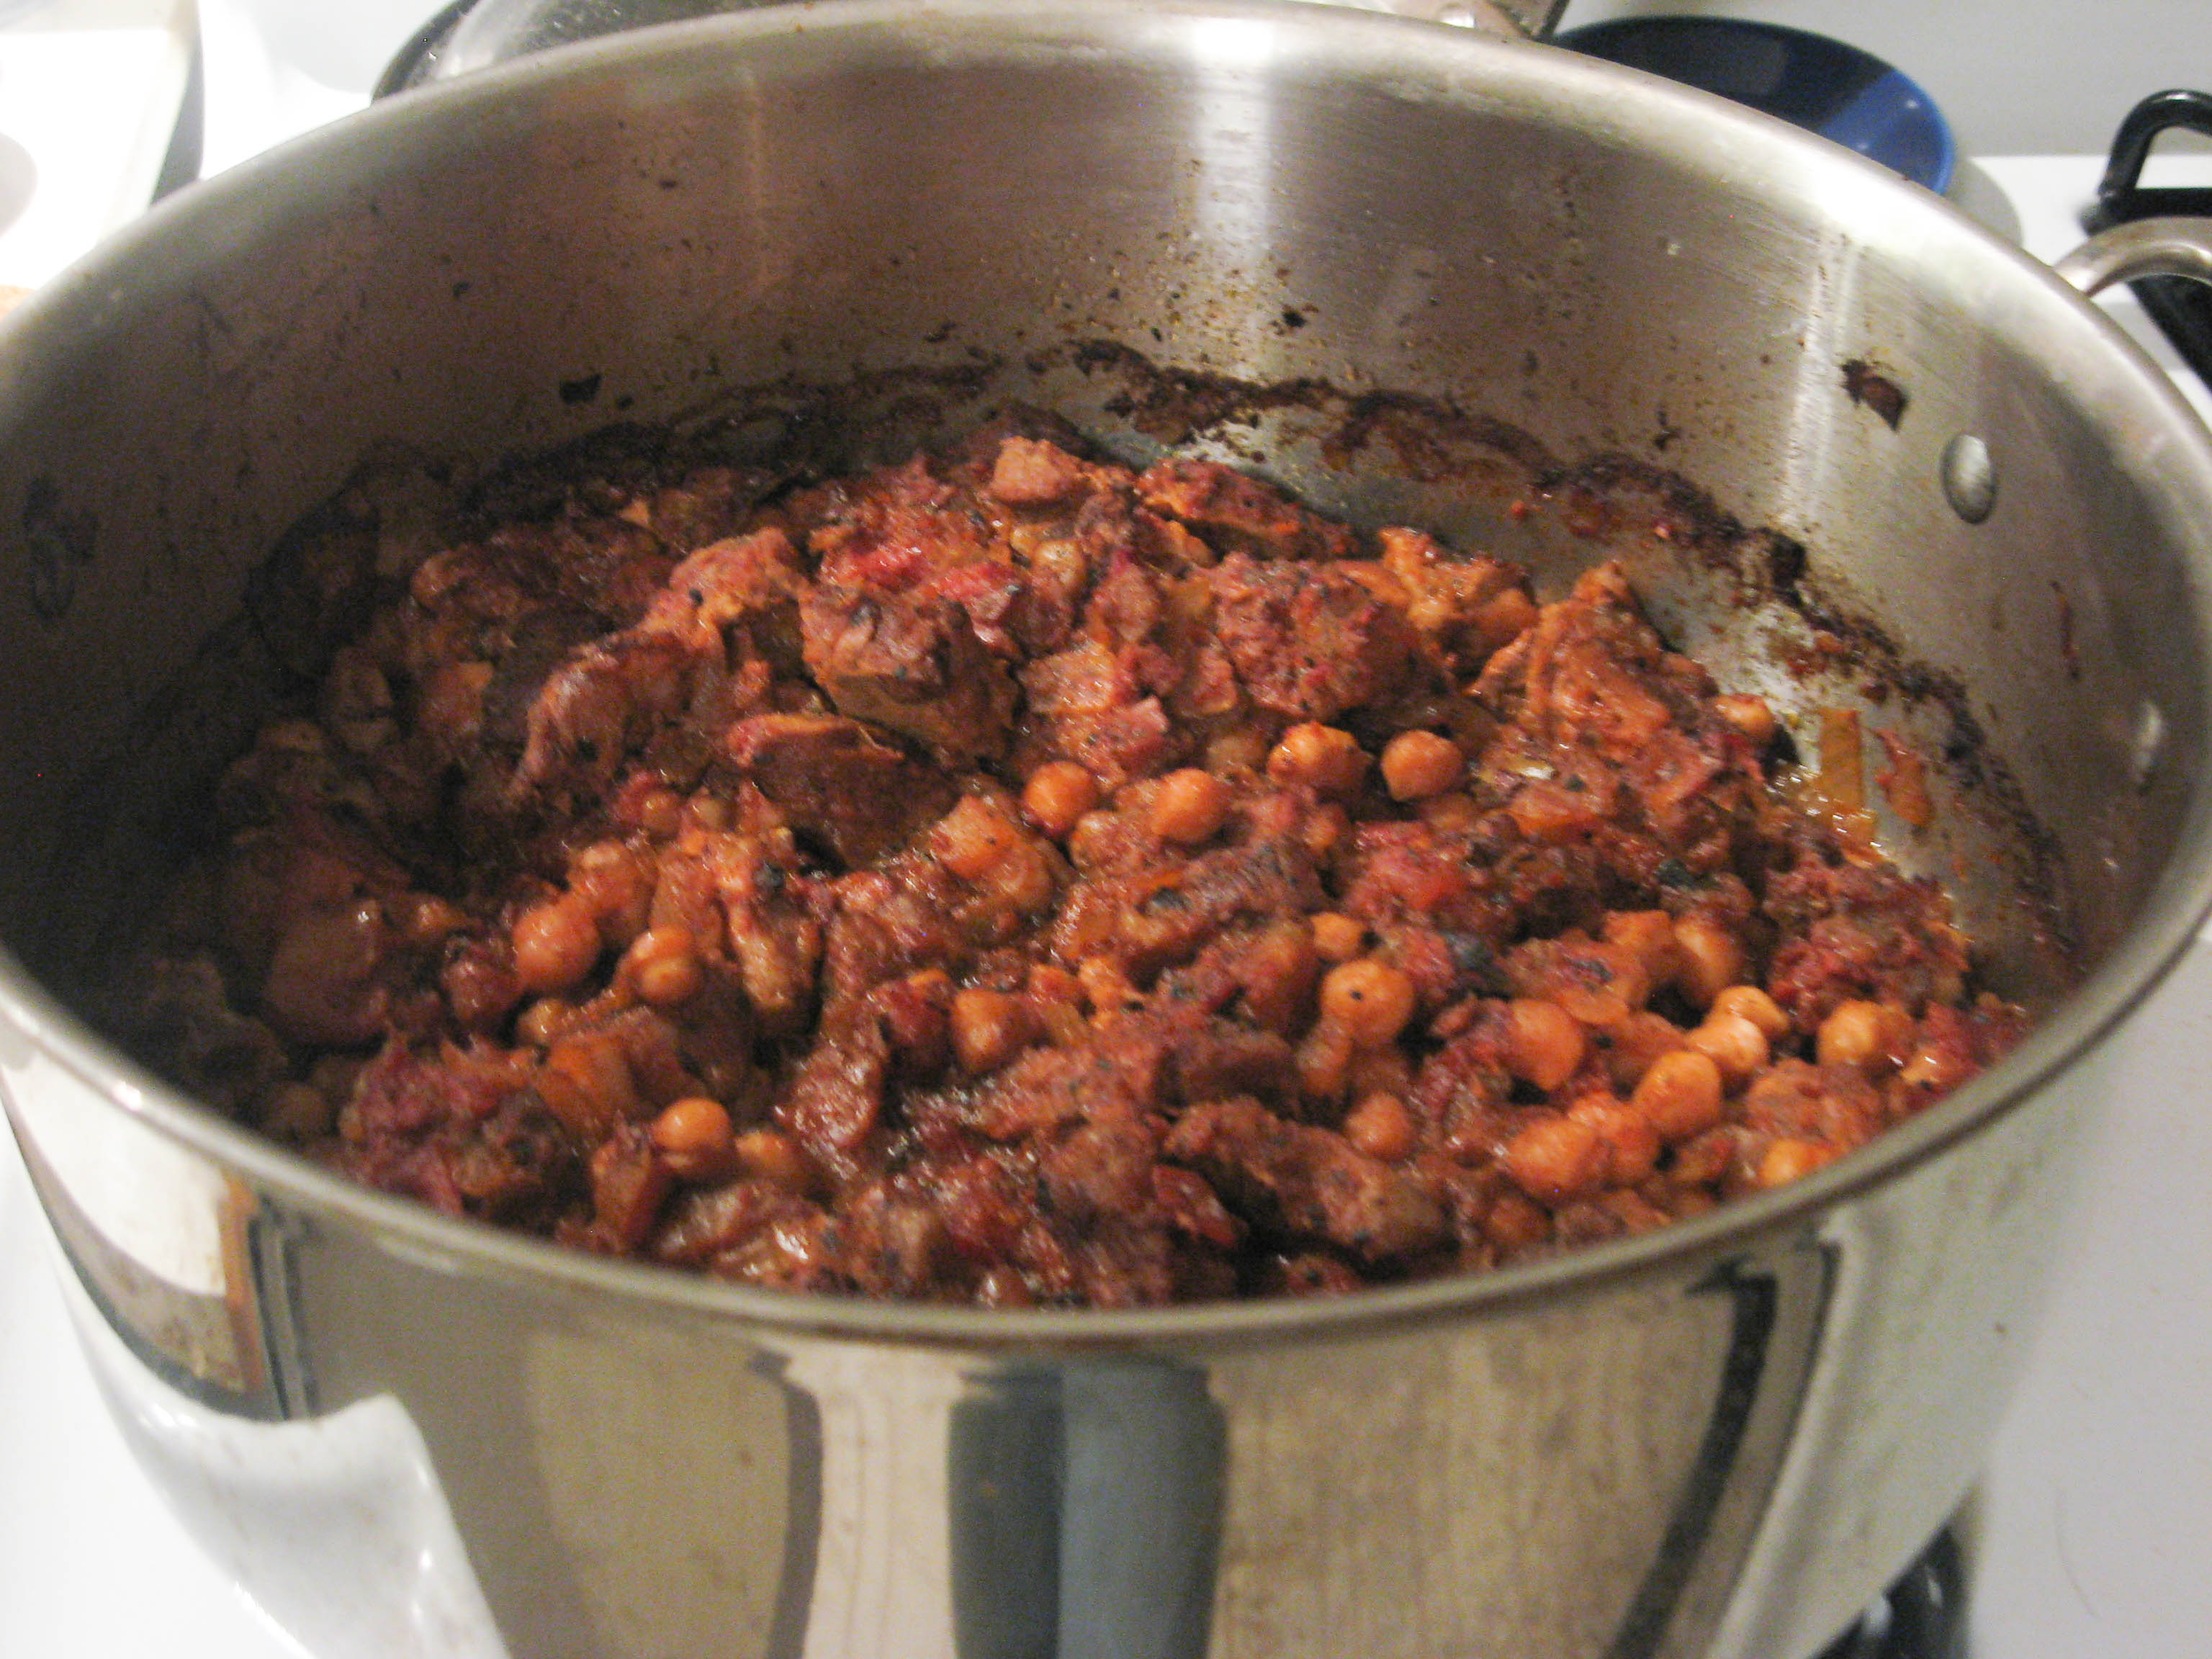
ready to eat!
- Chop cabbage into about 1/2 inch (3.5-4cm) pieces
- Layer potatoes and cabbage into three layers; sprinkle salt over each layer)
- Place country-style ribs on top of the cabbage and potatoes and sprinkle with salt and herbes de Provence
- Cover with the pre-soaked top
- Do not add liquid–there will be enough released during cooking
- Place in cold oven, and set to 400°F (200°C)
- Check after two hours–it’s likely ready to eat.
ÒνÓ
If you don’t have Römertopf or Schlemmertopf, you can do this in a Dutch oven. The recipe for braised pork and cabbage should give you the cooking times, liquid, and oven settings. Just adjust the size of the pot to be appropriate for the amount of meat and cabbage. (It would have been just as tasty but more colorful had I used Red Bliss potatoes–but Yukon Golds where what was present in the kitchen!

* A note on salting: I keep kosher salt in a salt pig by the stove so that I can just pinch-and-sprinkle. I estimate that I used about 1 tablespoon for this entire preparation. Just sprinkle salt evenly and lightly and you’ll be fine.
 Cold, rather dreary day so I’m making some warm, cuddly, comfort food from my most recent cookbook,
  Really good, fresh-ground black pepper is one of my favorite spices. I’ve gotten hooked on the India Special Extra Bold Tellicherry and that’s what I’m using in this recipe. Regular Tellicherry or Malabar pepper should also work.