Baked Feta Cheese with whatever you are growing in your veggie patch

I love feta cheese–I’d never thought to do something so simple and easy for a summer lunch or supper.

Promenade Claire's avatarPromenade Plantings

The allotment sorely needs my attention right now, it will be planting time soon and a) I haven’t done any preparation and b) and even more pressing is that until today I haven’t sown any seeds.

I have a To Do List in my head – clearing the winter debris, tidying jobs abound, a new path to be cleared between the greenhouse and shed and talking of the greenhouse it’s on my to do list too!  But I’m not going to dwell on the To Do List as there’s a tendency for it to all start feeling a bit overwhelming. I remind myself this is a hobby, a pleasure and an escape from TO DO lists. Instead I accept that a busy life means it’s a case of do what and when I can and while I’m there pick a few leaves of winter greens like Chard and Kale, dig…

View original post 412 more words

Caramelized apple pie

What a lovely dessert–and not difficult, really. I’m not wild about just apple pie, but the caramelization and the wine combination. I just had to share this one even though you don’t see many desserts posted here.

s_marchiori's avatarthewinelifestyle

Dear readers,

Today I tought about the caramelized apple pie recipe, really tasty and quite simple to prepare: your weekend will be much sweeter!

Let’s go step by step to prepare the recipe and you will see it will be less difficult than expected.

Ingredients (12 slices):

2 egg yolks
2 entire eggs
200 gr of flour (7 oz)
200 gr of sugar (7 oz)
50 gr of melted butter for the mixture (1.8 oz)
60 gr butter to melt in the pan for the “caramelized” process (2.1 oz)
80 gr of sugar to caramelize the apples (2.8 oz)
Juice of half a lemon
250 gr of thinly sliced ​​apples (moisten with a few drops of lemon juice to prevent them discoloring) (8.8 oz)

Preparation

Beat and mix the two egg yolks in a bowl, the two whole eggs and 200 grams of sugar.
Melt the 50 gr of butter for a minute…

View original post 398 more words

Just a toss of the dice…

jar of recipe dice image from leafcutter designs

a new kitchen gadget

I recently received a delightful care package from a friend visiting in New Mexico–both blue and white posole, some Hatch chilli powder, and something that made me realize how often I do get on about improvisation being desirable–if not a necessity–when cooking for one.

Along with the edibles, there was a jar that looked like it would contain herbs or spices–that would not have surprised me at all since my friend knows how much I love to try different herbs and spices, and there was posole and chilli powder there. But that little jar was not an herb or a spice. it was…and improvisational device!

Recipe dice for me to play with. Unfortunately, between indexing and teaching, I haven’t had a lot of time to “play”, but I think that this can call forth some serious improvisation. Combine this with a book like Pam Anderson’s How to Cook without a Book which gives you ratios instead of specific amounts and let the fun begin. I really don’t have a problem improvising–more like I have trouble NOT improvising, even with a recipe in front of me, but I think this is going to be fun.

If you’re hesitant about improvisation, this just might provide a nudge toward giving up a recipe.  These dice have whimsical designs of veggies, fruits, herbs…even suggestions on how to use the dice. May be just the trick for a day when I can’t decide what I want to cook or eat.

Sausages, greens, and beans this evening

Today has been a particularly bone-chilling, dreary, damp, windy, rainy day with temperature steadily dropping this afternoon; looking out the windows you see puddles of water everywhere and you can’t really walk anywhere without getting wet feet;  this calls for  something filling, flavorful, and warm for supper.  (I also need to “tidy up” the freezer to get rid of some of the partial packages of this and that which have accumulated from single-serving cooking.) Since I’m really fond of charcuterie, that seemed like a good starting point for comfort food tonight.

plate of greens, edamame, and a sausage

sausage, beans, and greens for supper

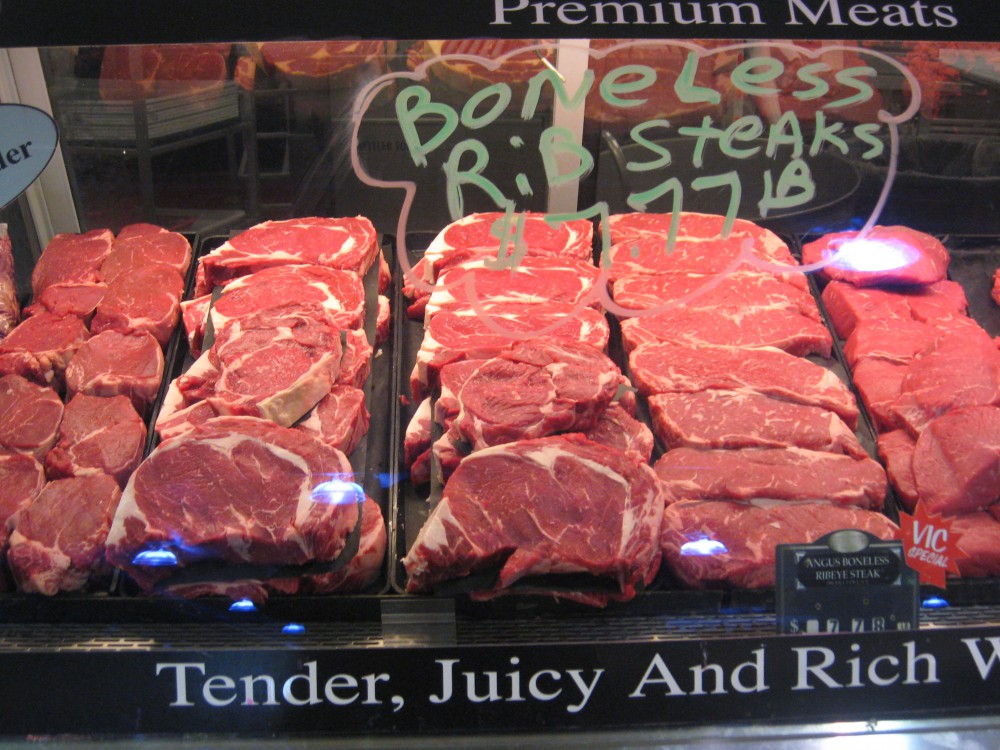
I found Sicilian sausages (house-made) at Harris Teeter when I went shopping yesterday (in 70°F weather, but knowing the forecast) so I got some sausages for a one-pot meal.  Part of tidying up the freezer involves using the bits and pieces living in there, so I thought I’d improvise on one of my favorite meals: braised green, sausages, and beans. The Sicilian sausages are similar to spicy (not  raging hot) Italian with orange zest added so it does well with any rather mellow greens, like turnip, or kale.

I was pretty confident that I had greens of some ilk in the freezer, beans, onions and the like as well; all I needed for my supper was the sausages.  What I found in the freezer to go with my sausages were turnip greens and edamame (soybeans).

I browned the sausages in olive oil, added onions, some garlic, the turnip greens, and edamame and a bit of water.  After reaching a simmer on the stove-top I popped the covered pot into the oven at 425°F oven and went back to the computer to keep working.  After about half an hour in the oven, I uncovered the pot for about 15 minutes to let a little more liquid cook off and supper was ready!

I usually use two sausages to make this–one is quite adequate for a single serving.  I like to put the “leftover” in the freezer for a quick meal later as this freezes and reheats well.  There are lots of easy variations on this dish–use other types of beans like cannelinni, borletti, or pinto–or potatoes to fill this out.  Vary the greens–if you have a sweeter sausage, then mustard greens make a great contrast with their sharp, slightly hot flavor. This can be turned into soup really easily too: slice the sausage, add some broth, add some pasta, and a whole new meal.

There are so many delicious sausages out there and an almost infinite variety of greens to pair them with. You don’t need exact measurements here at all so it does well for single-serving meals.  Just cruise through the produce department and eyeball the greens: frisée, dandelion, kale, mustard…  Bitter greens pair well with sweeter sausages like lamb or sweet Italian–have fun, improvise and a son goût!

Wine? of course!  This just needs a good “everyday” red–even something out of a box, like the Portuguese Alandra box red.  We are, after all, talking peasant comfort food here.

—Ô¿Ô—

A good home-cooked steak

Steak is not something that I order when I splurge for a meal in a fine restaurant; it’s too easy to do at home and good for single-serving cooking since it’s portioned when it comes home, and it’s easy to cook.

A good thick-cut, home-cooked steak is one of the things that I don’t mind having left over, since it’s usable as “roast beef” for a yummy sandwich.  (No, the roast beef from the deli simply does not do it.) My favorite way to cook the steak is from Cook’s Illustrated, 01 May 2007–it does take a little time and minimal effort, but it’s well worth it.

steaks in butcher caseMy usual choice of steak is a strip, or New York strip, cut 1-1/2 to 1-3/4 inches thick, with fat cap intact.  If I don’t find one lolling about   in the butcher case (you won’t likely find this in the pre-packaged section)  ask to have it cut the way you want it; my local Harris Teeter will cut to order but generally has thick-cut steaks in the butcher case.

This works fine with rib eye or with filet mignon, as long as it is thick-cut. Personally, I prefer strip or rib-eye to filet. Even with rib eye, it’s still not a substitute for real prime rib roast, but a good “second” so that I plan to have “leftovers”.

Ingredients

  • 1 boneless steak (1 1/2 to 1 3/4 inches thick (about 1 pound), strip or rib eye
  • Kosher salt and fresh ground black pepper
  • 1 tablespoon vegetable oil for searing

Preparation

  1. Adjust oven rack to  mid-position and pre-heat oven to 275 °F .
  2. Pat steaks dry with paper towel and season liberally with salt and freshly ground black pepper.
  3. Place steak on wire rack set in rimmed pan and place in oven.  (Steak does need to be raised rather in contact with pan).
  4. Cook until instant-read thermometer inserted in center of steak registers 90 to 95°F for rare to medium-rare, 20 to 25 minutes  (or 100 to 105°F  for medium, 25 to 30 minutes).
  5. Heat oil in  heavy-bottomed skillet over high heat until smoking.
  6. Place steak in the skillet and sear until well-browned and nicely crusty–about 1-1/2 to 2 minutes, lifting once halfway through to redistribute fat under the steak.
  7. Using tongs, turn steak and cook until well browned on the other side, about 2 to 2-1/2 minutes.
  8. Use tongs to stand steak on the sides and sear on all sides. (This really is worth the effort–and it really does not take long.
  9. Transfer to cooling rack, tent with foil, and let rest for about 10 minutes–this also is really worth the wait.
  10. You can prepare a quick pan sauce while the steak is resting, or simply add a pat of herb butter, horseradish,  or some blue cheese crumbles to the warm steak.

Add some simple sides like salad or baked potato. Now pour yourself a another glass of that luscious  red wine that was  breathing while you were cooking, and enjoy.

A son goût!

Pork butt steaks

One of the frustrations of cooking just for me is that some of the cuts of meat that I like best are typically way too big!  For example, one of my favorites is pork butt (also known as Boston butt).  Note that this does not refer to the location of the cut on the hog–but to the way it was processed and cut in pre-revolutionary and revolutionary times in New England–it’s shoulder that was salted and packed in barrels (called butts).  History aside, it’s good eating no matter what you call it. Enough fat to be succulent, and great for BBQ–friends are always willing to help eat it, but that takes a long time to cook and it’s a LOT of meat, so I generally turn to other cuts.

I use  chops (both loin and shoulder) often. I mean, chops are wonderful–quick, tasty, good size for one, but they are not the only good part of the hog!  I’d rather have cuts other than the ubiquitous loin chops with so little fat that they can be dry if not cooked carefully–such as, a pork neck steak is great (even if hard to find).

Country Spare Ribs

country-style spare ribs

Most often I use country-style spare ribs (from the rib end of the loin), since these can be had in quantities suitable for one person–single-serving plus one for the freezer.  These work well for braised pork and cabbage, and in chilli con carne.

pork butt steak

pork butt steak

While skulking through the supermarket just the other day is was quite surprised to find a package of pork butt steaks lying there in the meat case. No hesitation on my part, they went right into my basket, and home with me, especially since they were on “manager’s special”, but not a problem since I was planning to cook them right away: maybe griddle one, and pop the others into the Romertopf after salting and seasoning with a little chilli powder and coriander.  No water needed to roast these in the Romertopf–but good broth when they come out.   I had one hot meal when they came out of the oven,  packed two more servings with broth for the freezer, and had some for the hot and sour soup.

Some good eating with very little effort on my part–and all very inexpensively!

For chocolate lovers….

I just have to share this post from Spoon, Fork, Bacon for Double Chocolate Pound Cake!  Pound cakes are my favorite in almost any flavor, but then add chocolate, and I’m likely to eat way more of this than I should. I’ve not made it yet, but it’s on for the weekend.

Hot & sour soup

Swanson hot and sour brothOccasionally  my curiosity gets the better of me while I’m meandering through the supermarket and I bring home something that I usually would not buy.  This time is was a box of Swanson’s Chinese Hot & Sour Flavor Infused Broth.  Usually the “flavor infused” would be a signal to walk on by. Since I do use Swanson’s chicken and beef broths and stocks, I stopped and looked at the ingredients. I was pleasantly surprised when I didn’t feel as if I were in the chemistry lab stockroom, so I bought it.

I do really like hot and sour soup–it’s my usual test of a Chinese restaurant–usually disappointing since my standard was set in Hong Kong!  I don’t see another trip to Hong Kong in the future, so I thought I’d try it.  My expectations were not really high as I opened the box and tasted it, but it was better than I’d thought–the hot and the sour were pretty well-balanced.  It’s main problem was that it tasted boxed–in other words, it needed some brightening up–like most boxed or canned stocks or broths.

Armed with my box of broth, I decided that although I wanted hot and sour flavor, I didn’t want to buy esoteric ingredients that I might not use again for a while just to try it out.  I thought maybe I could do something that was in the “spirit” of hot and sour soup with what I found in the fridge and pantry without a trip to the Asian market. So no tree ears or lily buds, and not even bamboo shoots.

vegetables on salad bar at Harris Teeter

prepared veggies

I found a basket of sliced mushrooms  in the fridge,  shelled edamame and collard greens in the freezer, water chestnuts in the pantry, and some rotisserie chicken and some pork in the fridge that needed given a re-do.  My only addition was a very large handful of julienned carrots (from the salad bar of my local Harris Teeter).

Since this was one of those OMG-I-don’t-have-time-to-cook occasions, I got out the rice cooker (cum slow-cooker) and added the hot and sour “flavor-infused” broth.  I sautéed  the mushrooms in just a bit of peanut oil until browned and gave the carrots a brief swish through the pan with the mushrooms, deglazed the skillet with a bit of the broth, and poured that into the slow-cooker. I added the edamame, collard greens, and the water chestnuts and set it for two hours.

When the collard greens and edamame were done (about 2 hours) I added the chicken and  pork  to heat through.  At the same time I added a piece of fresh ginger root and a small clove of garlic to “freshen” the flavors up a bit.

Obviously not a traditional hot and sour soup, but it was a good test of the “flavor infused” broth, and pretty tasty with the chicken and pork to add some richness, and the textural variety of the mushrooms, greens and water chestnuts.  A garnish  of green onions when served finished it off nicely. (I didn’t add the eggs, either.)

Verdict on the broth–not bad–actually much better than I expected– but if I’m going to make traditional real Chinese hot and sour soup (with tree ears and lily buds) I will start with my own stock–besides, I really like my hot and sour soup with pork. But if it’s just hot and sour I want, I might use another box of “flavor infused” broth!

A son goût!

Oat flour bread

While we’re experiencing some really serious winter weather for this part of the country, I couldn’t think of anything I would like better than the aroma and taste of some warm bread.

loaf of bread

oat-flour bread

I got out the Artisan Bread in Five Minutes a Day and made bread.  Because we’re having the possibility of power outages and wanted something that would be easy for sandwiches so I made the “Oat Flour Bread” from that book. (I’ve modified that recipe for a more artisan-like bread using barley or oat flour, too).

Here is the recipe for the sandwich-style oat flour bread (summarized from Artisan Bread in Five Minutes a Day).  See the links above for summary of basic method.

Oat Four Bread (pp.104-105)

Ingredients

  • 3-1/4 cups of lukewarm water
  • 1-1/2 tablespoons granulated yeast
  • 1-1/2 tablespoons salt (kosher)
  • 1 cup oat (or barley) flour
  • 5-1/2 cups unbleached all-purpose flour (I always use King Arthur)
  • Neutral tasting fat for oiling pan. P

Preparation

This makes three 1-1/2-pound loaves.

  1. Mix liquid, yeast, and salt in bowl.
  2. Add flours.
  3. Cover (but not airtight) and let rise to double volume.
  4. The dough can be used immediately or stored in the refrigerator for up to ten days (actually up to 14 days) just pulling off what you want to bake right then.
  5. Lightly oil a 9x5x3-inch loaf pan.
  6. Take a cantaloupe-size piece of dough and lightly flour surface and shape it into a ball or oval and drop into the pan.
  7. When ready to bake, preheat oven to 400 degrees Fahrenheit.
  8. Let rest/rise for about 1 hour 40 minutes for refrigerated dough, or about 40 minutes for freshly made dough, until it has about doubled in size.
  9. Bake for 45 minutes or until nicely browned.
  10. If possible, let cool before cutting–that very seldom happens in my house unless I bake an extra loaf.
  11. If you want it really crusty then follow the procedure with a pan of water in the oven (links above).

<><><>

If you like bread but the time for baking doesn’t seem to fit into your schedule, then this technique is worth exploring. Since there is no kneading, and it takes 15 minutes to mix (and clean up) it makes it possible.  I like it for cooking for one since I can easily make a small loaf more often.

I’ve made the pumpernickel (with and without seeds), rye, basic white, brioche, olive oil, and have been pleased with all of them.  I don’t think that the flavor is quite as yeasty as a bread that goes through the traditional method of kneading and several proofings, but it’s as good or better (and much cheaper) than the usual grocery store bread–anything you’ll get short of going to a real artisan bakery.  Once you get started with it, you can modify to your taste, too.  The same authors also have a similar book for healthy and whole grain breads (bibliography).

Weighing and measuring

I just realized that the measurements for the coffee walnut cake are metric. I do either metric or US/English–but if you don’t work by weight, or have problems with the conversions, here is a link to a good converter on The Gourmet Sleuth.

1130800v2
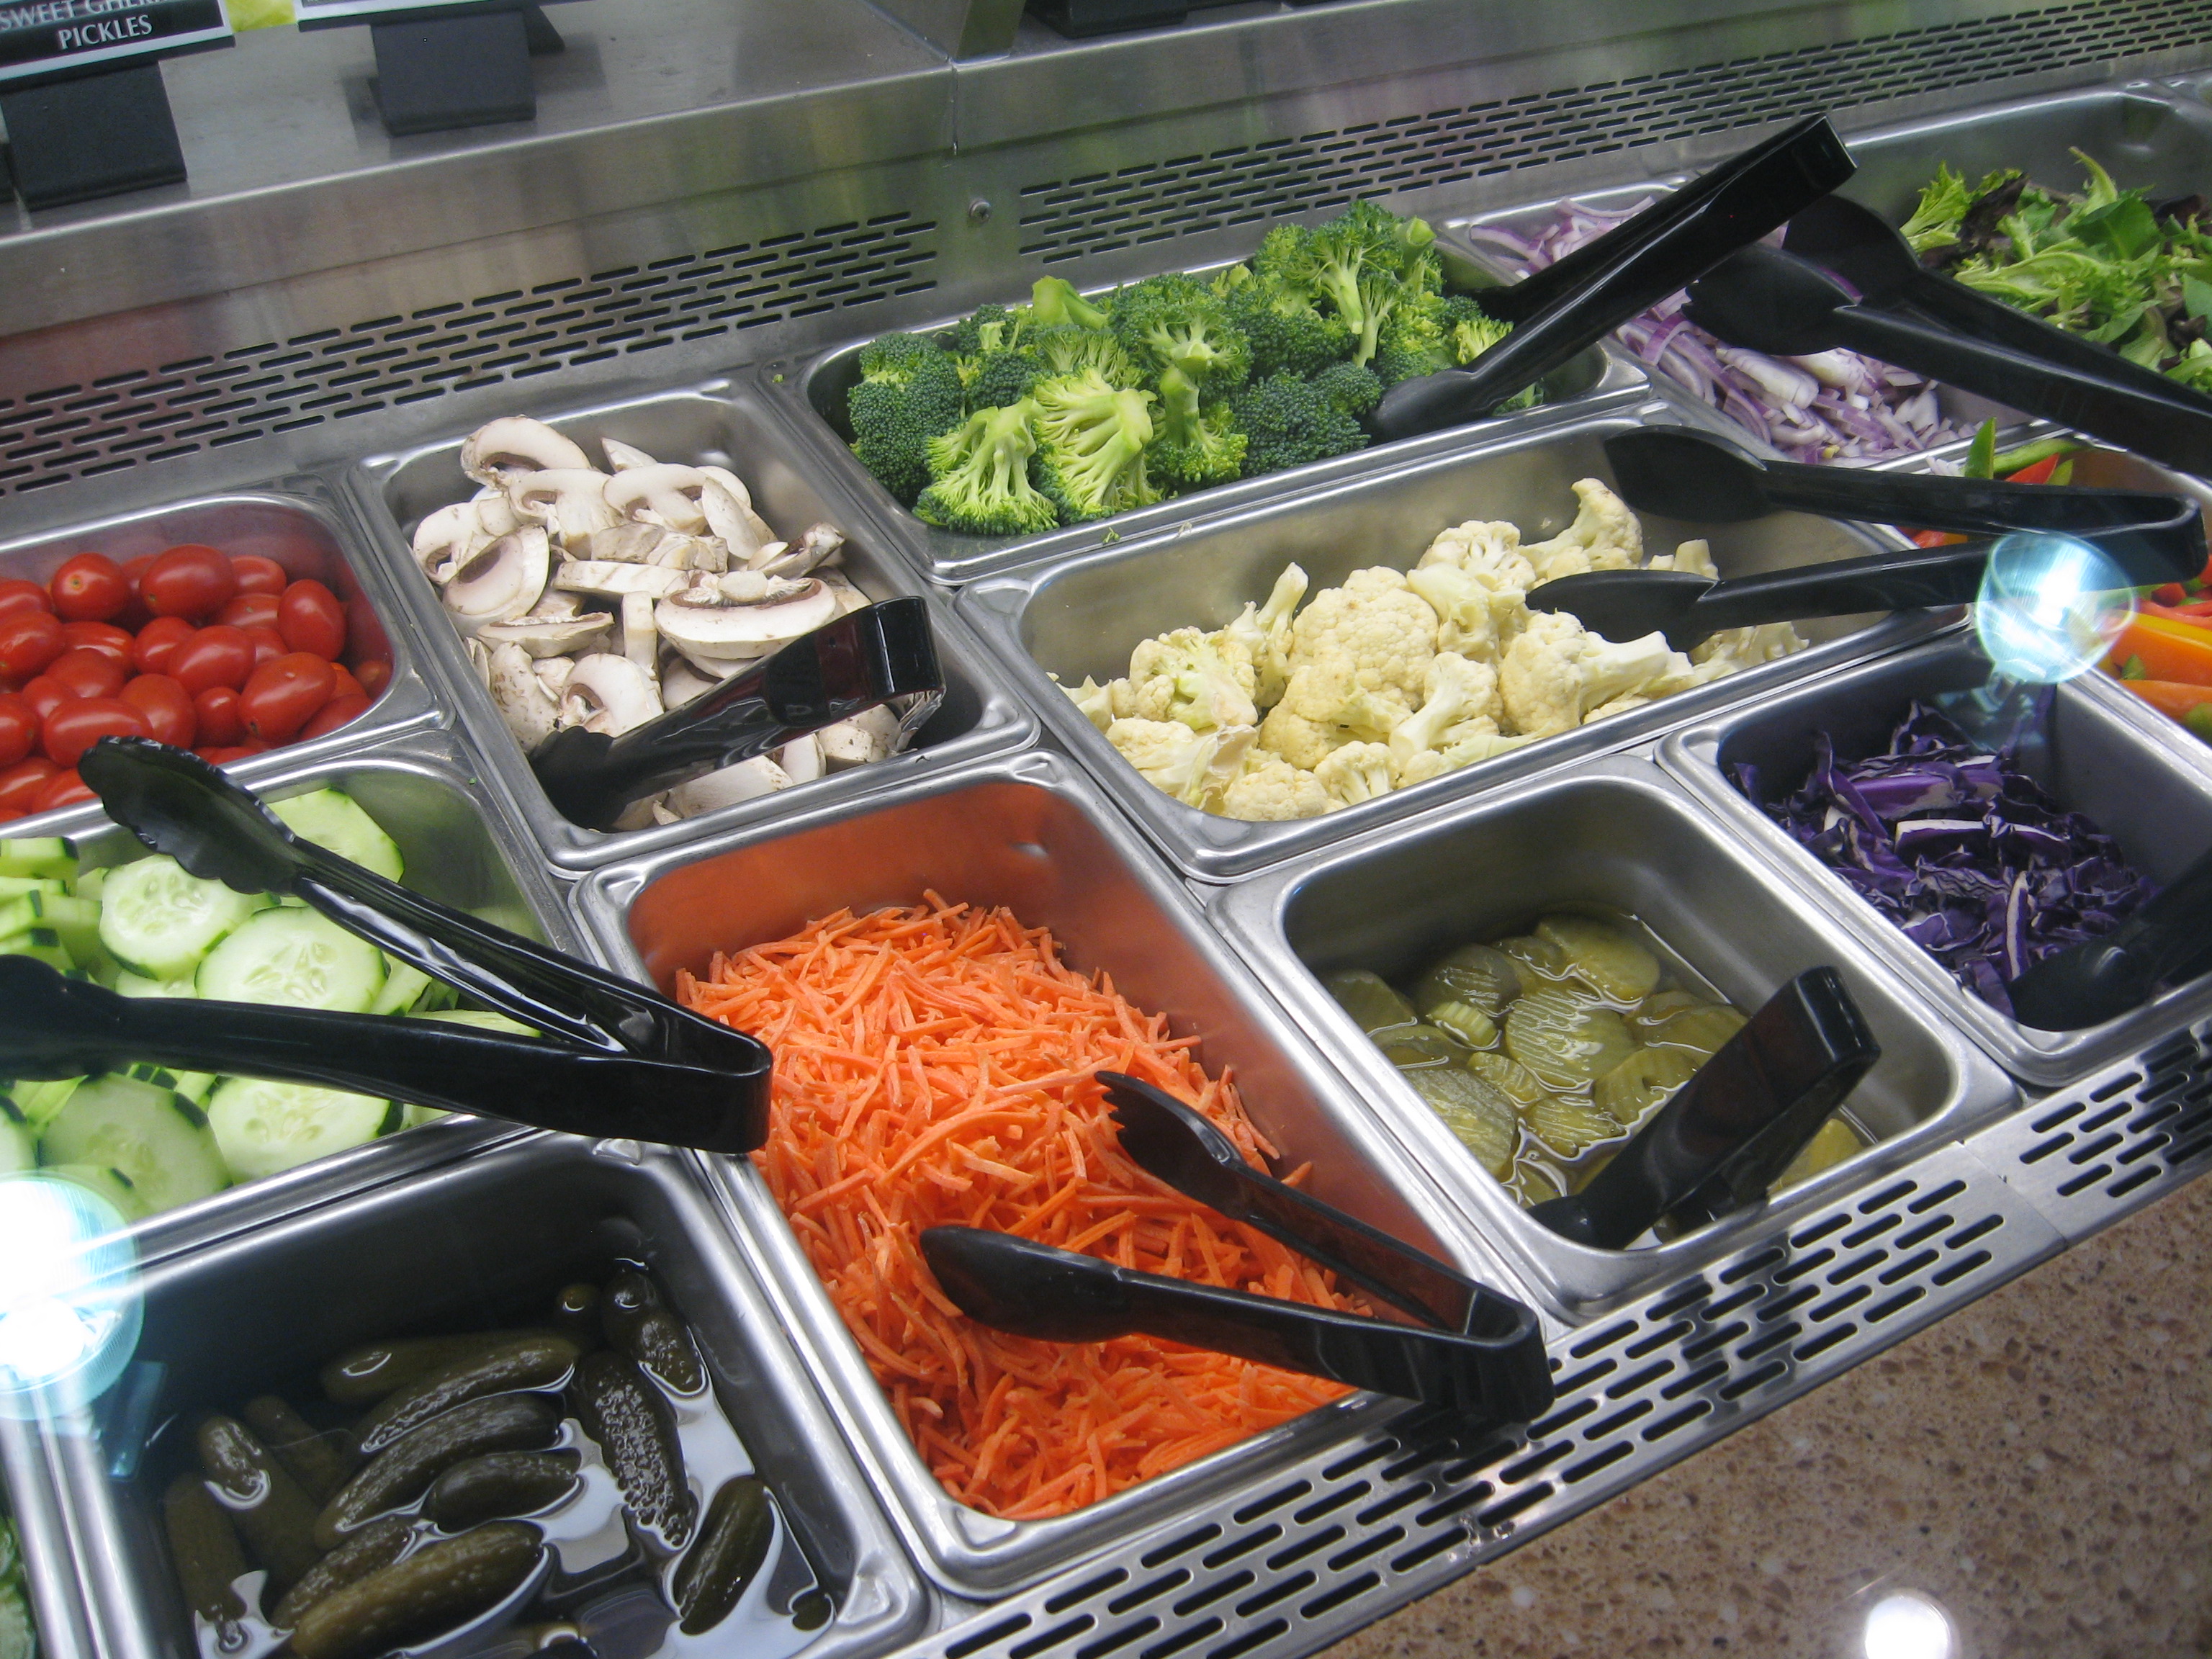
If you find you enjoy baking,
scales are a real time-saver–in terms of ease of measurement, fewer bowls to wash, and conversions. Press a button and you can do metric or pounds/ounces measurements. If you’re not using weight and need conversion, e.g. grams to ounces, The Gourmet Sleuth site has a calculator to do that for you.

These will handle up to 11 pounds, and will zero/tare at the push of a button so it’s possible to one ingredient after another into a single bowl–like the mixer bowl! The display also pulls out so that it’s easy to read even if you are using a large bowl.

My scale simple lives on the counter since I use it so often. Many times since I’m doing single-serving cooking I do ratios, as in How to Cook without a Book and by weight is much easier and faster than by volume–even for water!