Refrigerator and freezer use

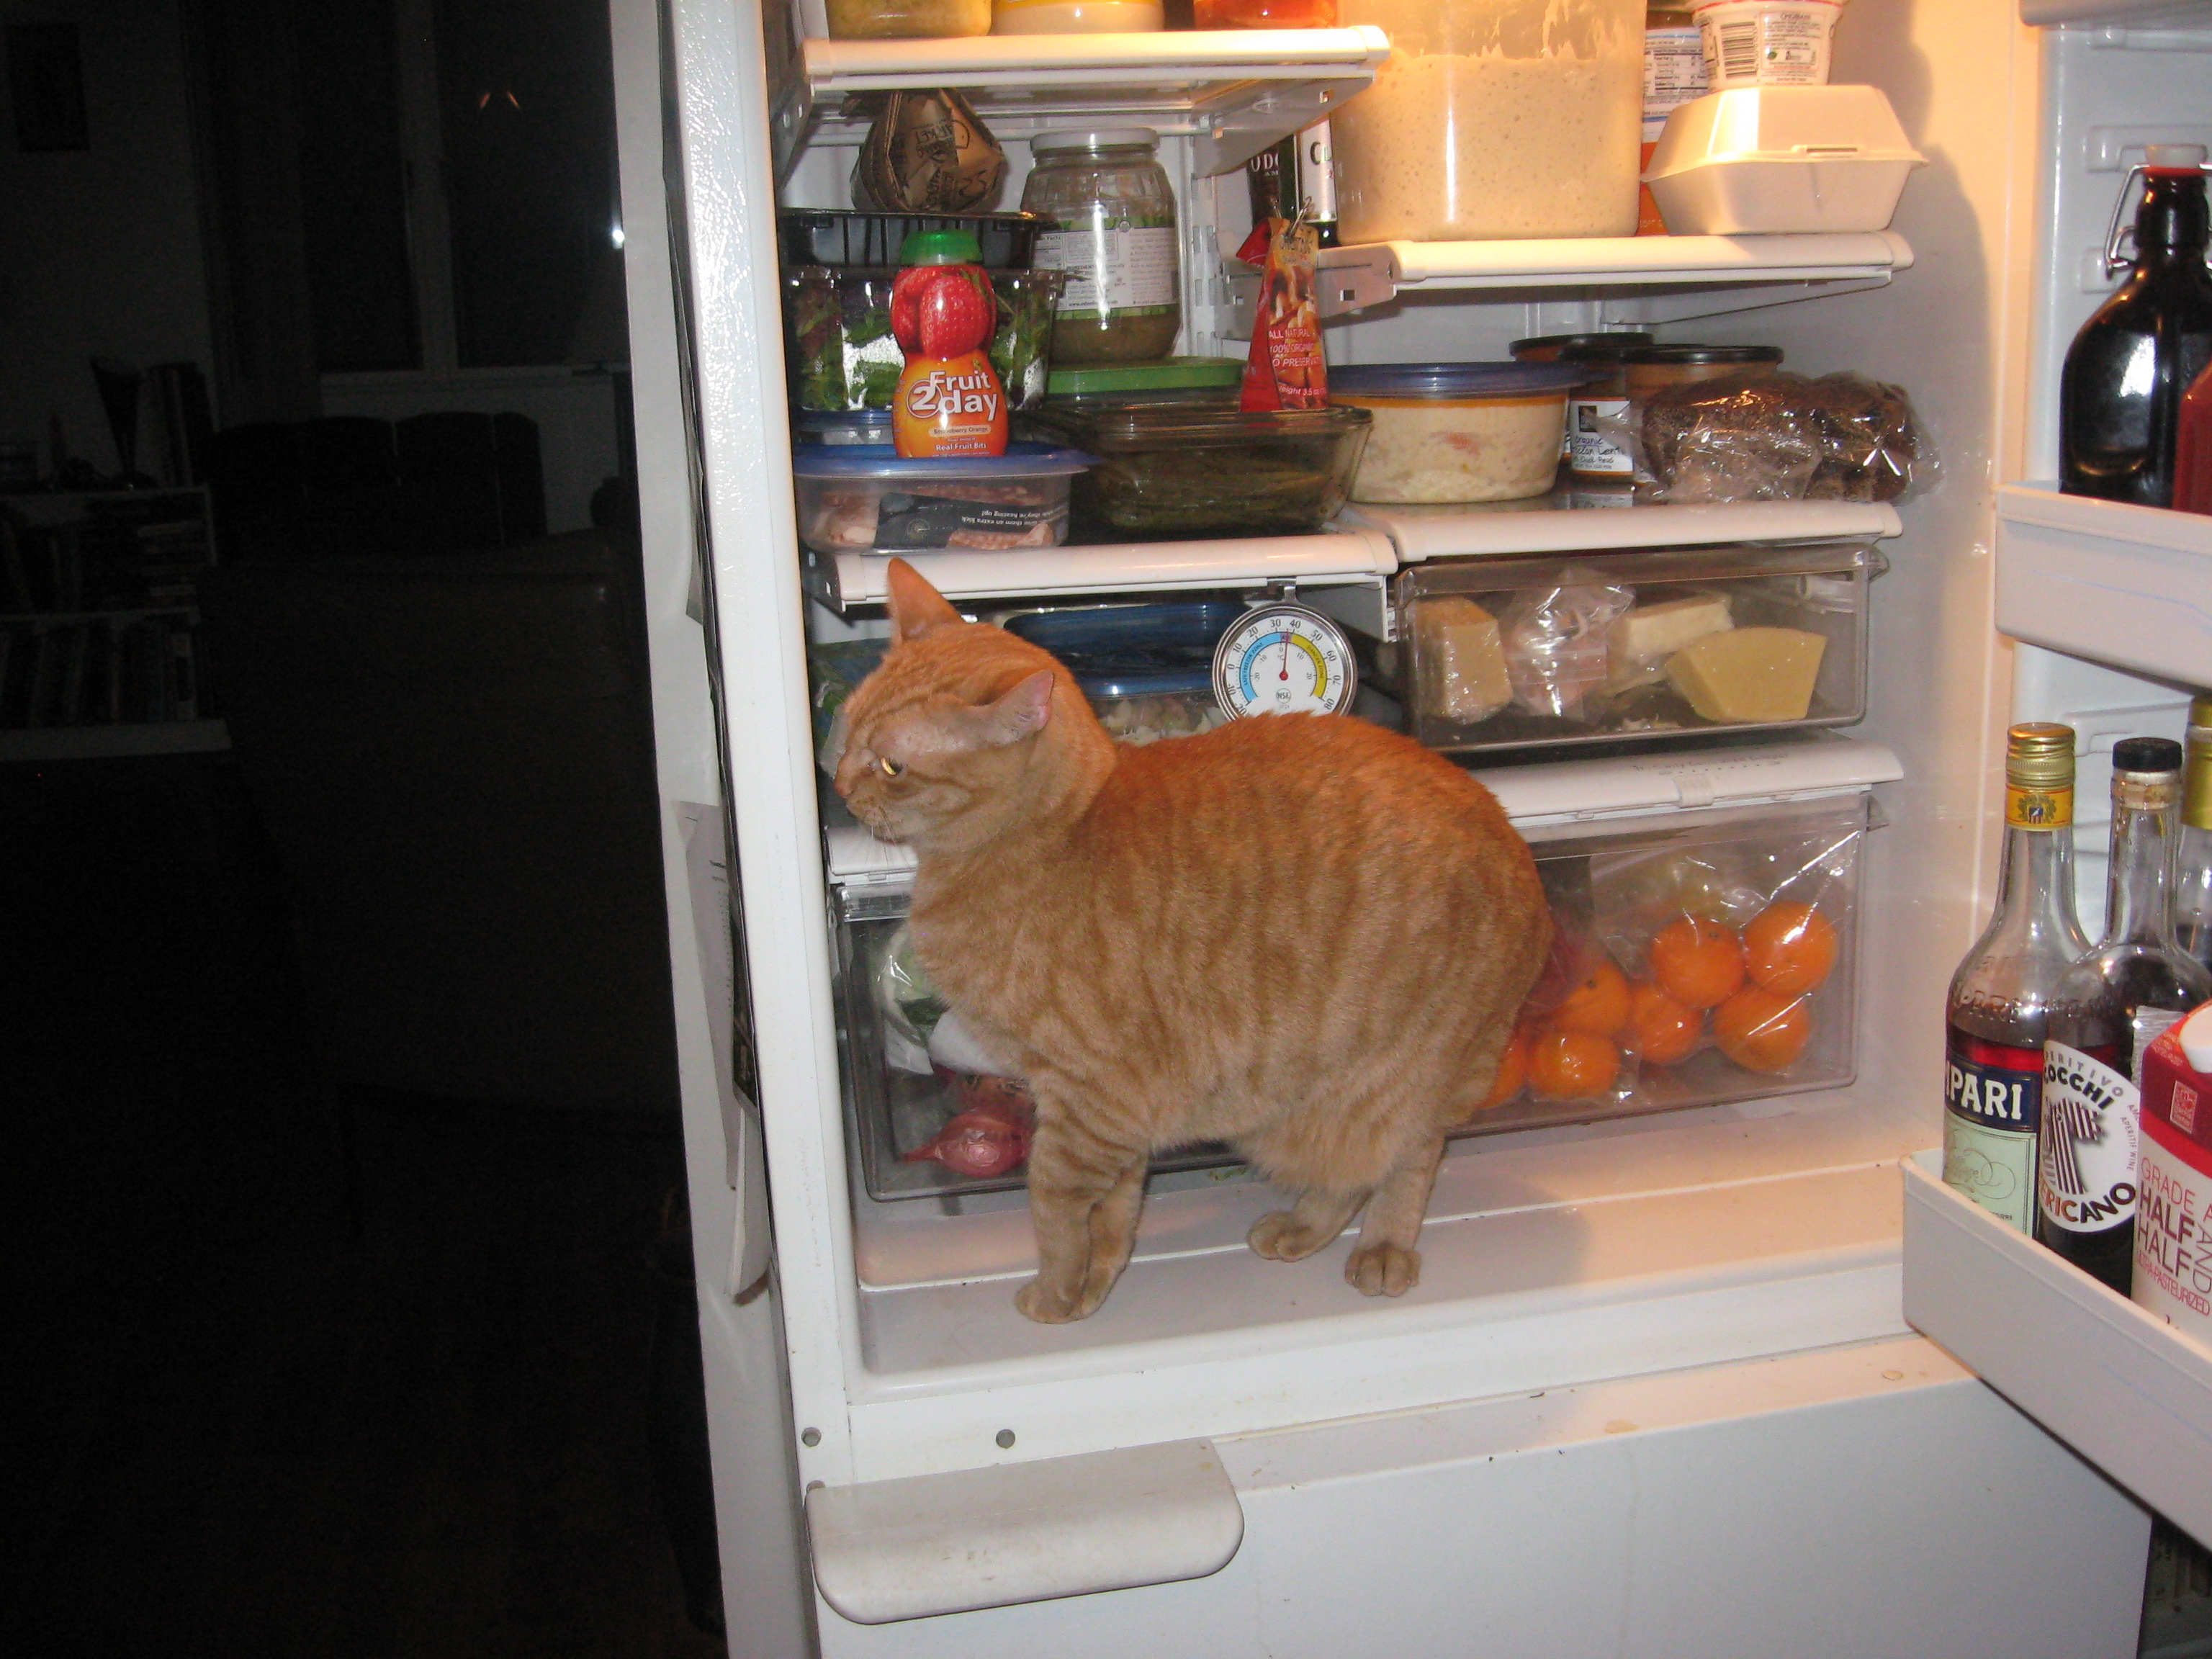
Admittedly we need a stove in the kitchen, but we also need the refrigerator–and it’s probably the appliance that we misuse most often. When I stop and think about the times that I’ve had to clean out the refrigerator because something got “lost” back there and made its presence known in a rather aromatic way, I know I need to work on this problem–yes, I’m writing this because I have to clean out the fridge again. . . .

We don’t usually stop to think about the micro-environments inside. I know that I often just open the door and plop something in without much thought to where it would keep best.

Just recently I found a series of articles on the kitchn on using and maintaining the refrigerator for best performance.  I thought I’d share these–I know that I do misuse mine–and I suspect (hope) I’m not alone.

Of course, then there is the freezer which can be wonderful, or a trap cooking intentions. Again, I’m facing the necessity of cleaning out the freezer after the recent kitchen disaster which was directly attributable to me just opening the freezer door and chucking stuff in–I think I need to stop and think about why I’m putting something in the freezer, and make a huge effort at organization.

This is a list of main articles–within each, there are links to other useful tips for managing the cold spots in the kitchen. Now,  off to the kitchen to attack the fridge!

Cat in fridge

Vacuum pack it!

Reynolds Handi-Vac and bagWe all know about “freezer burn” that can happen when you put opened bags of stuff back into the freezer.  I’ve found something that ameliorates that. We’ve all observed that products that are vacuum-packed hold much better than those that are not. So–when I put opened bags vegetables back into the freezer, I use a clever gadget from Reynolds®.  Lest you cringe thinking expense–I’m not talking about the “big” vacuum sealing system.  I’m talking about the little hand-held pump and bags with a valve on them.

This is the Reynolds® Handi-Vac® system (reported to be discontinued, but still available from eBay and Amazon). It operates on AA batteries. For storing opened frozen products, I put the original bag, folded and air squeezed out into the vacuum bag, and vacuum! This is not as “hard” a vacuum as achieved with the counter-top vacuum sealing products, but it hides in a drawer and is inexpensive–no lost counter space which can be important.

vacuum sealed cornIt does help extend the freezer-life of opened packages of frozen products. If it’s something I use a lot of (e.g the petits pois, or “baby” peas that only come frozen–we’re ignoring canned), then I may buy the family size package and portion and vacuum those in serving size.  For the most part, I leave the veggies in the original bag–this way I can reuse the vacuum bags. For meats or seafood, I generally don’t reuse the bags. I just don’t feel I can be sure that they are sufficiently clean.

Here is a partial bag of frozen corn (another thing I like to buy in bigger packages). I confess that I’ve not done any scientific studies here, but using this seems to have decreased the number of times I dump a partial bag because of the freezer burn.

I’ve also discovered that using this really helps with the celery dilemma common to single-serving cooking: wash and cut celery into length that fit into these bags (you can also get bigger bags), wrap in a damp paper towel, and vacuum seal. It’s’ amazing how long it lasts that way. When you wish to freeze servings of big-batch cooking you can use these if there is not much liquid, but it can be tricky. What I usually do for those is to put the food into a “light” storage zipper-lock bag, squeezing out most of the air, and then into one of these.  Again, I can reuse the bags; they seem to stand up to reuse quite well.

corn in vacuum sealed bagMy only experience has been with the Reynolds® Handi-Vac® though I’ve noted that Ziploc® and FoodSsaver® both now have hand-held systems (as well as the counter-top). Just from trawling the internet, I can’t tell if the Handi-Vac can be used with the Ziploc® or the FoodSsaver® bags; there’s contradictory information (what a big surprise).  Of note, the Ziploc® pump is manual rather than battery operated, and I would suspect that it will create a less strong vacuum than battery-operated pumps.

There’s an advertisement for an adapter for the Handi-Vac® pump to be used on Ziploc® bags. It’s called the “ReynLock Adapter™”; I’m NOT including a link because of the contradictory information I’ve found, and the price of the gizmo, and I’ve not used it so I don’t know anything other than the advertisement. (See My Opinion page, please).

Updates when I have more information because I will be looking for another product to do this.  Maybe I’ll be lucky and the Ziploc® bags will work!

Lamb leg steak–continued

lamb leg steak on plate with ratatouilleThat lamb leg steak that I cooked a couple days ago was a big steak–weighing in just a bit under a pound. That’s a lot of meat–couldn’t possibly eat all that at one time.  As vehement as I’ve been about not liking, or dealing well with leftovers,  that does not apply here.  I don’t really consider the part of this steak that I didn’t eat then as undesirable. I couldn’t have that luscious steak without some left for other uses–not when it needs to be at least an inch thick to cook well. You’re wondering what happens to the rest of this steak?

Often the remains of a beef steak or a pork chop goes into a sandwich–since roast beef, lamb, or pork is not on the single-serving menu. Other times it does some metamorphic changes.  The remainder of this steak went into the rice cooker with a convenience mix of grains,  some garbanzo beans to give me some additional meals that were not meat-centric.

Ingredients

  • about 1/2 pound of cooked lamb steak, cut into 1/2-inch pieces
  • one 15-ounce can garbanzo beans with liquid
  • one 10 ounce can of diced tomatoes with jalapeños with liquid
  • 1 cup of brown basmati rice, red rice, barley, and rye berry mixture (uncooked)
  • 1 tablespoon olive oil
  • 2 bay leaves
  • 2 teaspoons dried Turkish oregano
  • 1/2 to 1 teaspoon garlic powder
  • 1 to 1-1/2 teaspoon onion powder
  • 1 cup water (to bring total liquid to amount required for grains)

Preparation

  • Add all ingredients to rice/multi-cooker, stir well.
  • Set on rice cooking mode.
  • When cycle finishes, check grain for doneness.  If needed add more water in 1/2 cup increments until grains are done.

Ò¿Ó

Since the lamb steak had been well-browned on the griddle, it provided good rich flavor for the grains and the garbanzo beans.  Some of this was an extra meal (with a side of ratatouille), and the rest was packed (with the Handi-Vac®) for the freezer for later (especially cooler weather) meals.

mixed grains with tomatoes and lamb

Roast NY Strip Loin

This is a great way to do strip. If you’re cooking for one, you can use a strip steak cut about 2-2-1/2-inches thick. It gives some “leftovers” for a roast beef sandwich. It’s one way to cook roast beef for a single-serving meal with not too many leftovers.

Russ's avatarThe Domestic Man

The NY strip loin, sometimes called loin roast or top loin, is a cut taken from the top of the cow’s short loin. The short loin is located near the spine, past the ribs but before the tenderloin and round. This is a crowded area of the cow in terms of butchery, as the porterhouse and tenderloin also come from this section. In fact, this strip loin is basically an uncut series of NY strip steaks. Confused yet? Don’t worry, you don’t need to know how to break down a cow in order to cook up this delicious specimen.

We’re going to roast this loin in a method similar to my most popular post, this Perfect Eye of Round. We’ll blast the roast at 500F to create a nice crust, then reduce heat to 250F until it’s medium-rare.

Not one to leave a job half done, I also roasted…

View original post 108 more words

Fårikål (Norwegian lamb and cabbage stew)

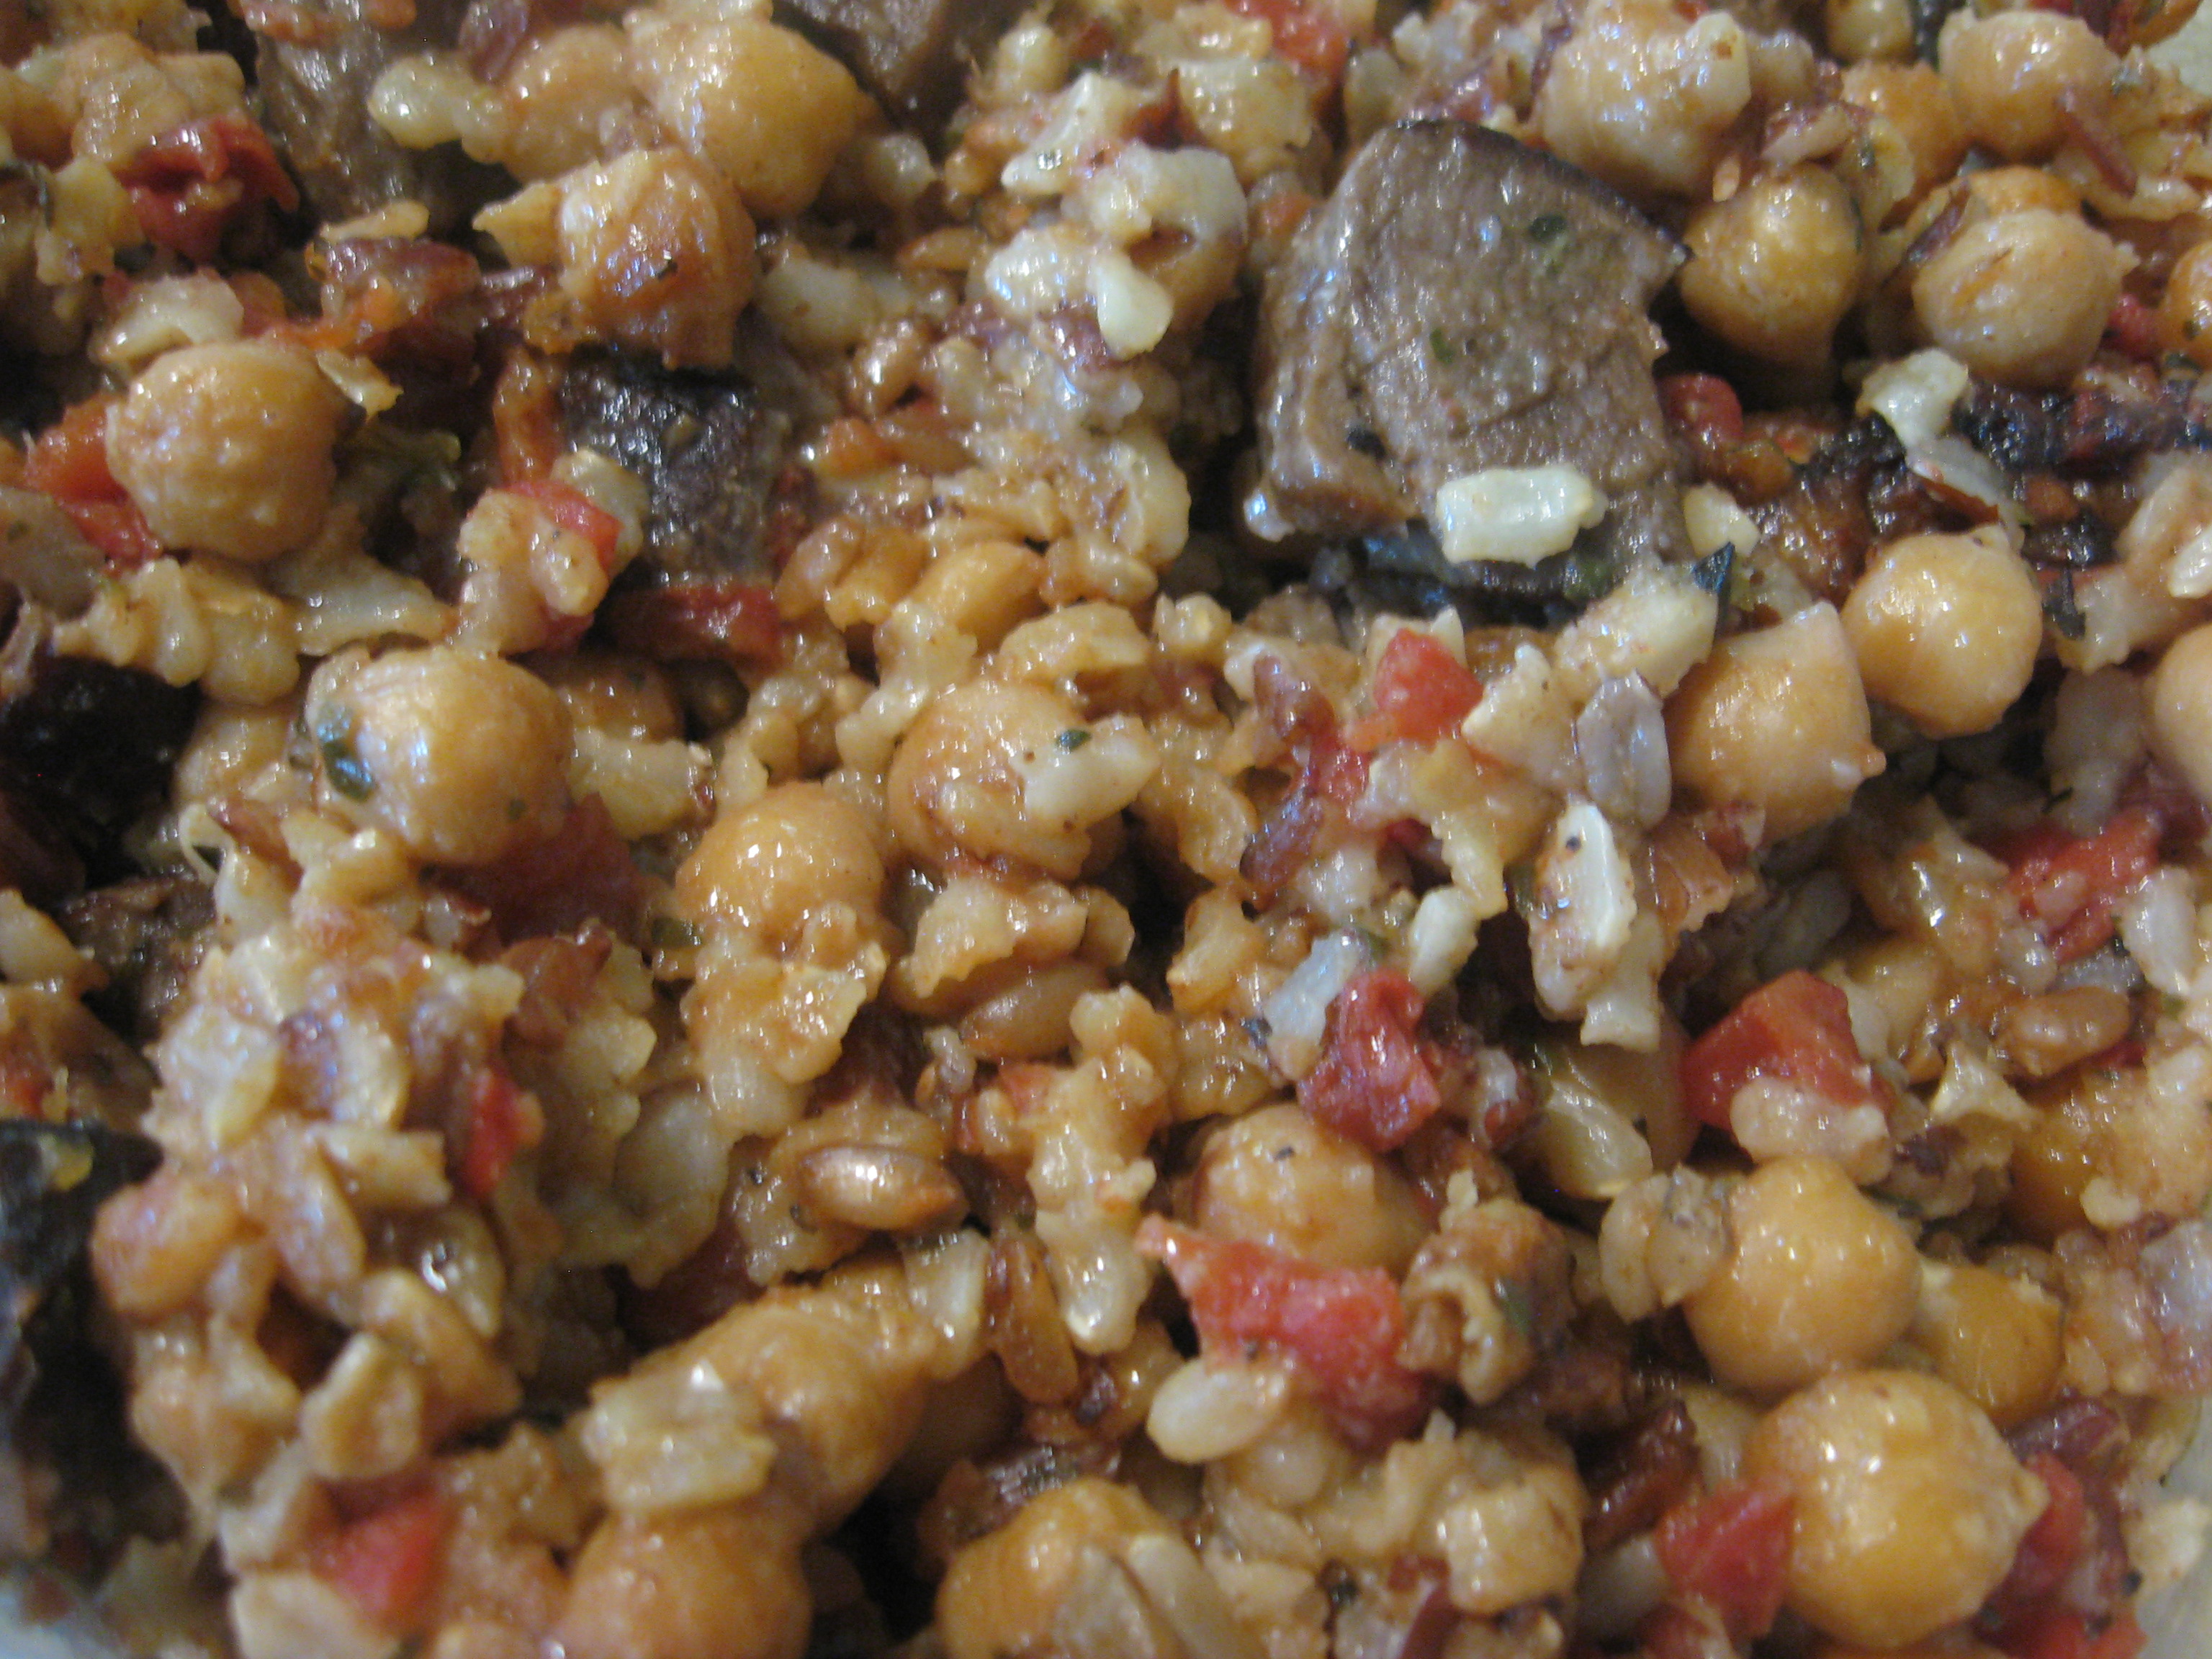
Cold, rather dreary day so I’m making some warm, cuddly, comfort food from my most recent cookbook, The Kitchen of Light by Andreas Viestad.

I made the lamb and cabbage stew–well, sort of–I had goat meat in the freezer so I substituted that for lamb.  As I’m writing, I’m smelling it cooking–and practically drooling on my keyboard.

The stew is in the oven in my “small” Dutch oven (did not make the whole recipe). It smells SO good. I’ve been reading posts from a friend on Facebook singing the praises of this stew–reheats well–which means I can make a batch and freeze some.

The seasoning of this stew is bay leaves and black peppercorns–a lot of black peppercorns, cooked with the meat and cabbage.  This surprised me when I read the recipe because I’ve seen sources saying that black peppercorns will be bitter with long cooking, so it’s not usually added until late in cooking, though this is not dry heat, so that may make a big difference. This recipe calls for 1 to 2 tablespoons of black peppercorns.  (From tasting so far, I think I’m going to want to add more black peppercorns.)

Product.DisplayNameReally good, fresh-ground black pepper is one of my favorite spices.  I’ve gotten hooked on the India Special Extra Bold Tellicherry  and that’s what I’m using in this recipe.  Regular Tellicherry or Malabar pepper should also work.

Fårikål (Norwegian lamb and cabbage stew)

This recipe is adapted  from The Kitchen of Light (Andreas Viestad)–It’s easily adapted for single-serving cooking, but also suitable for making the full recipe and reheating/freezing.

Ingredients

  • 6 pounds of bone-in lamb shoulder, trimmed and cut into 1-1/2-inch pieces.
  • 4 pounds of green cabbage, shredded
  • 1 to 2 tablespoons black peppercorns
  • 2 bay leaves
  • 3 tablespoons unsalted butter
  • 1 tablespoon all-purpose flour
  • 4 cups cold water
  • fine sea salt (to taste)

Preparation

  • Layer the meat and cabbage in a large pot
  • Add black peppercorns, bay leaves, butter, and sprinkle in flour
  • Add water
  • Bring to a simmer, covered,
  • Cook about 2 hours over medium-high heat about 2 hours
  • To increase spiciness, add 1 more tablespoon peppercorns and cook an additional 15 minutes
  • Season to taste with salt
plated lamb and cabbage stew

Lamb and cabbage stew (from Wikipedia)

My first adaptation was the use of goat meat since that’s what I had in the freezer–as well as goat brown stock.

The goat meat was excellent, but in the future  I’ll use bone-in lamb shoulder chops, cut into appropriate-sized chunks.  My other adaptation of this recipe was to put it in the oven to cook at 300°F until the meat was very tender. It’s unlikely that I’ll want to make full quantity  of this recipe–more likely half, which will still give more than one meal, and  some to freeze.

This is NOT a pretty dish.  By the time the meat is really tender, the cabbage is NOT going to be pretty and bright green.  There’s more discussion of this dish on My Little Norway.  I like more peppercorns than that recipe uses–I actually added a lot more–and finished my serving with carefully roasted black peppercorns, coarsely crushed.

This has me looking for other recipes using cabbage–which I think is an under-appreciated winter vegetable. Too often I think it’s thought of as “slaw”.  After reading Viestad’s cookbook and North: The New Nordic Cooking of Iceland  by Gunnar Karl Gislason and Jody Eddy,  I want to explore more Scandinavian cooking.  I found lots more recipes on New Scandinavian Cooking, too–and the manifesto of the “New Nordic Cuisine”.

For a beverage with this dish? Well, a porter would be excellent. If I were doing wine, I think I’d look for something really robust–something that has at least some alicante bouchet in it, or maybe a Minervois–I think this calls for some research!

A son goût!


Under-appreciated veggies: Brussels sprouts

bagged Brussels sprouts at Harris Teeter supermarket

Brussels sprouts

Obviously I’m writing this because I have Brussels sprouts in hand now!  They are a favorite winter veggie in my kitchen but I think they are sometimes under-appreciated and under-used by those of us doing single-serving cooking, possibly because the come in packages that contain too many.  Some of these may be underused because we’ve had them prepared in ways that did not really let them make their best impression.  I thought I’d address some of these, especially the cool weather crops–starting with one that seems to be a love-it-or-hate-it vegetable: Brussels sprouts.  Until I started cooking for myself, I was in the hate-it camp.  Most of the Brussels sprouts that I had were over-cooked, mushy, and bitter; in a word, nasty!

Fortunately, I’ve discovered ways to make Brussels sprouts a desirable vegetable because they have some excellent qualities: they are  inexpensive and readily available in the wintertime.  They are nutritious–I’ll not give you all the details here, but you can find all that sort of information from the Nutrient Database Laboratory.  They are versatile–you can use them as a substitute for cabbage in some recipes, and (a concern if you’re cooking for one), they store well in the fridge.

First, storage:  Brussels sprouts often come prepackaged in a mesh bag that’s about a pound or so.  That’s a lot of Brussels sprouts if you’re cooking for one and had to use them all at one time.  Fortunately that’s not the case–they’re small, separate units so you are not trying to preserve a cut vegetable (always more difficult)–big bonus for those cooking for one.  I store mine with a paper towel that has been dampened and then squeezed mostly dry, in a partly open zipper-lock bag in the vegetable drawer.   I’ve seen suggestions (The Victory Garden Cookbook–see bibliography) that the flavor gets stronger with storage.  I’ve not found that to be a problem, but that may be because I do keep my fridge really cold, and the damp paper towel helps even out moisture. However, if you do find that you don’t like the taste after they’ve been stored for a few days, the other option of something to do with the rest of the bag would be to blanch and freeze part of them.  Blanching is simple:  bring a large pot of water to a boil, salt it heavily (after it’s come to a boil), and put in the Brussels sprouts for about 2 minutes; then “shock” in an ice bath, drain, and freeze.  (The purpose of the blanching is to stop enzyme action, and it keeps the color bright and green.)

Now for cooking them. Personally I’m not a fan of boiling veggies as a method of cooking them (other than blanching before freezing)–there are so many nutrients that are water soluble!  So my preference is for some cooking method that does not involve putting them into huge quantities of water to cook completely.  So that leaves steaming, stir-frying, roasting, and  microwaving.  The best way to avoid having “nasty” sprouts is NOT to overcook them.

I’ve added them to soups, used them instead of cabbage with braised pork, and added them to one-dish meals like roasted potatoes with sausages, and lots of other things.  They lend themselves well to improvisation and substitution.

Recipes for steaming, blanching, roasting and microwaving can be found in a number of cookbooks so I’ll not post here, except for the recipe that I just made to go along with my baked sweet potato.

For more information on how to cook and specific recipes, I suggest you might want to check The Victory Garden Cookbook by Marian Morash (see bibliography).  As I was sitting here at the computer writing this, my e-mail notification popped up and said it had received a notification of a new post from domestic diva M.D., a blog that I think is worth following for anyone who cooks.  I was surprised to see that the subject was  roasted Brussels sprouts.  

Since it was about lunch time, I was preheating the oven to bake a sweet potato (a very large sweet potato so that I’ll have some for another use as well).  I read the recipe and grabbed the last of the Brussels sprouts from the fridge.  I didn’t have the full amount, but this is a recipe that does not depend on the quantity–which is great for us solo cooks.  Since I was baking my potato in a 350 ° F oven, I did alter the cooking time just a bit–I popped the Brussels sprouts prepared as in the recipe into the oven for about 45 minutes right along side my sweet plate with half  a baked sweet potato and roasted Brussels sproutspotato, and there was my colorful, nutritious lunch!  This is the kind of improvisation that can make cooking for one easy–many recipes aren’t dependent on how many you have or how many you want to cook and eat right now.

You should check out this recipe.  I’d not used garlic powder with them before, but it was yummy and much easier to use than minced garlic.  One of the comments on this post suggested adding Parmesan cheese–I did not try that because I’m out of Parmigano-Reggiano (horrors!), but it sounds  like something that would taste great!

Cooking dried beans

We’re all aware that we should have more whole grains, beans, and legumes in our diet–we’ll talk about grains later, but let’s consider dried beans now.  They taste good, are good for you, and economical.

Beans are a pantry staple for me–both canned and dried.  The canned ones are mostly for “emergency” use.  It’s very easy to cook your own dried beans–especially if you use a slow cooker or put them in a slow over.  Either way, they are on their own without needing attention from you, other than checking them occasionally.

The advantages of cooking your own are multiple: the texture and flavor are likely going to be better than those coming out of a can; you can control seasoning (and the amount of salt), and you have so many more different heirloom beans with different flavors!  Yes, different flavors–not all beans taste alike–and even from the supermarket, you have a lot to from which to choose. If you find that you do like beans, then it’s worth a venture into a gourmet store, or online to find some the wonderful heirlooms that are available.

It does need a bit of planning.  First, you’ll need to sort them to remove any debris like small stones and broken beans–but that’s easily done if you just put the beans on a plate or a rimmed baking sheet.  Since dried beans do need to be rehydrated,  it’s best if you soak your beans overnight.   The quick-soaking methods are not recommended as they can affect the nutrition and the texture of your cooked beans. (Cook’s Illustrated, “Dried Beans 101). Once cooked you can freeze them so that you have a supply of cooked beans on hand when you need them.

Soaking in tap water can toughen them, depending on the mineral content of your tap water.  To avoid this, it’s best to soak them in brine; three (3) tablespoons of salt to each gallon of water will keep the tap water from toughening them, and even displace some of the minerals (calcium and magnesium) that occur naturally in the skins.

You want to cook beans at a gentle simmer so that they don’t break up or split open.  That’s easy with a slow cooker, or in the oven at a very low heat; an advantage of either of these methods is that they don’t require your attention–just a periodic check to see if they are done yet.  It’s an easy thing to do on the weekend when you want to have a lazy day.  In the slow cooker, they can cook while you’re away.

What seasonings you use will depend on what you’re planning to do with these beans.  If I’m cooking a large quantity to freeze some for various uses, I will likely keep the seasonings to a minimum–some onion, bay leaves–to have more flexibility in what I do with them later.   One caution, though:  it seems that most food scientists agree that adding acidic ingredients can keep dried beans from softening during cooking.  So you don’t want to add acidic things (like tomatoes) until the beans are tender.  If you see older recipes that suggest adding baking soda to the cooking water, I would give that a pass as the alkalinity can affect the nutrition.

Occasionally you’ll get a batch of beans that just don’t soften with cooking–that probably means that they are very old, so buy your dried beans where there is a good turnover and don’t let them linger on your pantry shelf for years–go ahead and cook them and freeze them.  I think that you’ll find that if you have them readily available you will use them.

Once you “get into” beans, you’ll find that there are so many wonderful varieties. For an introduction to some of them, take a look at The Cook’s Thesaurus.  Keep in mind that lentils and some “peas” don’t need soaking so may be substituted if you’ve not planned ahead.  Additional nutritional information and survey of some varieties of dried beans can be found at Fruit & Vegetable of the Month (CDC).

My pantry is almost never without canned beans either:  black beans, navy beans, cannellini beans, pinto beans, and garbanzo as the basics, but those are more for when I’ve not planned ahead or for emergency use.  There are huge differences in the taste and, particularly, the texture of canned beans, so you’ll want to explore using different brands for the “emergency” pantry stash. Some store brands (Harris Teeter) are fine for basic uses, but as the texture can vary, you need to buy according to the used–if I’m making a cold bean salad in the summer, I might want Goya, or Progresso instead.

Harvesting & using herbs

Now that you have all those lovely herbs growing in your kitchen garden (or just in containers) you need to get them into the kitchen and use them.  There are some general things that apply to harvesting and using almost all herbs in order to get the best flavor in your dishes.

Even though there are “classic” combinations (e.g. basil and tomatoes) don’t be afraid to experiment…that’s the point of having this selection available at your kitchen door!  Smell and taste the leaves of your herbs.  Think about the dish you’re cooking, how you feel today….

Try something different–fresh oregano or marjoram with the pasta sauce today; or maybe even tarragon or fennel with tomatoes.  (Yes, the leaves of that Florence/bulb fennel can be used as seasoning too.)   Experiment!  Taste!  Smell!  That’s what herbs are all about.

In reading through cookbooks, you’ll find may different opinions about when to harvest, whether or not you want herbs to bloom.  Here are a few generalizations about growing, harvesting, and using those wonderful plants that come from my experience:

  • For best flavor you want to keep most of your herbs from blooming; once the plant starts blooming and making seed it is less flavorful.  (You can find all sorts of articles pro and con; this is my opinion.)  To do this you will want to pinch out forming flowers at the tips.  This is particularly true for basils.
  • You generally need to keep herbs trimmed or they can get very unruly, lanky and leggy and straggly.  If you’re not using enough to keep them bushy, and retard blooming, then give them a “butch” every once in a while to keep them bushy and full.
  • Rosemary is an exception it’s not “pinchable” as it blooms along the stems themselves.
  • If you have several plants or if you want to use the flowers (they are edible) then you may want to let part of them bloom–they are lovely, but you sacrifice flavor in exchange for the blooms.
  • Don’t harvest more than one-third of the plant at a time–the herb needs enough leaves to keep growing since it depends on the leaves for photosynthesis and growth.
  • Fresh herbs are best when harvested as needed–not to be stored in the refrigerator for days. That is the whole point of having those pots on the deck.  When I need to trim, I either find something to do with the trimmings (make an herb vinaigrette or put the leaves in salads), or give them to friends…I won’t store them in the fridge.
  •  You’ll be cutting springs rather than picking individual leaves for most herbs (e.g. thyme, tarragon, sage), and then stripping the leaves from the stems (if the stems are woody or tough).
  • Bay is an exception: harvest by picking individual leaves, not sprigs, and not the newest leaves on the plant.  To harvest bay leaves, take the individual leaf and pull downward sharply.
  • You may want to add herbs at several times during cooking:  early to allow flavors to “meld”, but also again near the end in order to have the fresh flavor as many herbs lose some flavor with heating; you can give you dish a “fresh” boost by adding a bit more of the fresh herbs at the end of cooking.
  • If your recipe calls for dried herbs and you are substituting fresh herbs, you’ll need to use about three or four times as much of the fresh as the dried:  e.g. one teaspoon of dried thyme = one tablespoon of fresh thyme.
  • The way that an herb is cut can affect the flavor of a dish.  The more finely it is cut, the more rapidly the essential oils will diffuse into your dish, and the faster the essential oils may dissipate with heating.  Coarsely chopped herbs will release flavor more slowly and “hang around” longer.
  • You can preserve herbs for off season use by freezing but just throwing them into the freezer in a bag doesn’t do well. You can freeze them in ice by coarsely chopping them, packing them in ice-cube trays, and then cover with cold water and freeze. Color may suffer, but flavor is preserved  though you have to consider the effect that the extra water will have on adding to a dish.
  • My favorite way of freezing is to make a “pesto”–an herb and oil purée–of the herbs and pack into zipper-lock freezer bags.  You can cut off what you need.  This has the advantage of not adding additional water, and I think that it keeps flavor better than water and is more versatile.  The approximate proportions for this would be 1/4 cup oil for each gently packed cup of fresh herbs.  This works with basil, tarragon, marjoram, oregano, dill and cilantro.


The microwave in my kitchen

I guess I’m not really fond of many small appliances or kitchen gadgets.  There seem to be a lot that just take up drawer space or counter space and don’t work that well.   In many ways the microwave has mostly been just a “gadget” in my kitchen.  Most of the microwave recipes that I found were just not that good: edible, but that’s about it. Many of the early cookbooks that I looked at seemed to suggest that anything could be cooked well in the microwave.  Admittedly, I’ve not looked at a lot of newer ones because they seemed so uncritical about what does or does not cook well in the microwave.  So for me it was for melting chocolate, making popcorn, heating a cup of water….

I’ve revised my opinion slightly after finding the Microwave Gourmet cookbook by Barbara Kafka.  This author is a traditionally trained chef, and approached the microwave in a very skeptical frame of mind, and that has produced a useful microwave cookbook.  There is no hesitation in saying what NOT to cook in the microwave.

One of the really useful features of this book  is a dictionary where you can look things you might want to know about cooking in the microwave, and find times, suggested container sizes in which to cook it.  I’ve use this more than almost any other part of the book, except possibly the information on how to arrange foods in containers in order to have them cook properly.

I’ve tried the microwave risotto, and it’s not bad for times when you don’t want to spend the time standing by the stove stirring for 25 minutes or so.  (I’m anxious to compare the results of this with the Cook’s Illustrated simplified risotto.)

The most-used recipe in that book for me is the one for quick chicken broth or stock.  I’m mostly a stove-top or oven stock maker, but this is great when you don’t have canned stock or want some really good broth for soup.  Here is the recipe:

Use bones (carcass from the roast chicken, or necks, backs, wings, or giblets (except liver).  You can collect these in the freezer until you have enough, or if you’re lucky, you can buy backs cheaply and make this whenever you need to.

  • 2 pounds chicken
  • 4 cups water

For 4 cups, place the bones and water in a 2-quart dish and cover tightly with microwave plastic wrap.  Cook at 100% for 30 minutes.  (Cook 40 minutes for broth that will jell.)

For 2 cups, use 1 pound bones, and 2 cups water.  Cook for 20 minutes.

This cookbook has directions for making  the classic stocks and broths in the microwave–including vegetable and fish/seafood broths.  Although I’m sure I will not give up the stove-top or oven long, slow preparation of stock I think that I’ll turn to the microwave more frequently, especially in hot weather.  I’ve not done a side-by-side tasting of each method, but this is certainly better than canned!

I’ve also cooked chicken in the microwave according to instructions in this book and been pleased with the results.  I use chicken thighs instead of breasts, but instructions/times can be found in the Dictionary section of this cookbook.  An unexpected benefit of cooking the chicken this way  is some very good strong broth; just enough to make one good  serving of chicken soup.  To me the texture of the chicken is a bit different when done in the microwave– more chewy, but not tough, or disagreeable at all (I actually like that “chew”).  I expect that I’ll be using the microwave more often to cook chicken now.

“Convenience” foods for cooking for one

Time frequently seems to be of the essence when cooking–for one or for many.  There are some things that I discovered that save me lots of time–and that means that I’m much more likely to cook a meal, rather than do carry-in, or reach for the peanut butter jar!

When you see “convenience” food, I dare say your first thought is processed, open-heat-and-eat food.  That’s not what I’m talking about here.  I’m thinking of things you prepare yourself with choice ingredients, and freeze, or otherwise “put by” for later uses that can shave time off of recipes.

How many recipes do you have that start with  a “flavor base” like  sofrito (Spanish), soffrito (Italian), mirepoix or mirepois (French)?    Lots, probably.  How many times have you passed on that recipe because you don’t have those, you did not want to spend the time mincing, dicing, or you pulled that bag of celery out of the crisper, and–yuck–it’s no longer fit to use!   Cooking for one, I find celery a particularly frustrating ingredient.  I like celery–but it always seems to go bad in the crisper.

Many flavor bases to start soups, stews, et cetera begin with carrots, celery, onion, diced or minced and sautéed  in olive oil (or maybe butter).  True it’s only a few minutes work to do this–if you have the ingredients.  My solution to this has been to take celery, carrots, onions, and use the food processor to chop a large batch of this useful mixture, sauté in a mild olive oil with just a touch of salt, and then pack it into small containers in lots of a couple tablespoons (or freeze in ice-cube trays and transfer to zipper-lock bag), and put it in the freezer so that when I need it, I have the basic prepared carrots, celery and onions, to which I can add garlic and herbs as needed for a particular recipe, and I’m off to a running start.

I do keep canned beans around as a “convenience” food, but I much prefer to cook my own dried legumes (pulses).  Since that is a time consuming thing, I have found a way to make those into “convenience” ingredients:  cook a large batch until almost fully cooked, and then freeze with some of the liquid in small quantities–a cup or so, whatever you would most likely use.  I’ve found that they hold well in the freezer, and can finish cooking quickly, so that you have the advantage of home-cooked quality, without the time investment.  I’ve done this with lentils (my favorites being the French LePuy) of all sorts.  True, lentils cook quickly and do not require soaking, but I can still save time with these.   I particularly like to do this “precook” with beans since that means that I can have lots of variety and have the convenience of canned, with specialty beans that are very tasty.

Grains can also be done this way too.  That left-over serving of rice that I’m sure I’m not going to use this week gets labeled, dated, and put into the freezer for a quick serving when I don’t want to take the time of cook rice from scratch.

Risotto is another favorite main dish for me–right in my category of comfort food with mac ‘n’ cheese, and tomato soup; I don’t find cooking it to be difficult–in fact it’s rather relaxing, but time consuming.  I’ve tried some of the “quick” recipes (see Risotto post) and have not been too dissatisfied with them, but I’ve also found that I can make a big batch of risotto to the point where it’s ready for the addition of the Parmigiano-Reggiano, and then freeze it is serving-size batches.   It will thaw quickly, and lets me have risotto fairly frequently.   It’s easy to add vegetables or seafood or other quick-cooking things as you finish this preparation.

Another “convenience” ingredient is homemade broth or stock.  While I will admit to keeping canned/boxed broth/stock on hand, I much prefer to have the real homemade thing, and that is not hard to do:  make a large batch on a cold rainy day when it’s good to be indoors; freeze it in small quantities for future use.   I’ve found a very quick way to make chicken broth too.  More about that later.

All these little conveniences can add up to much better small-time cooking with big-time flavor even when cooking just for one.